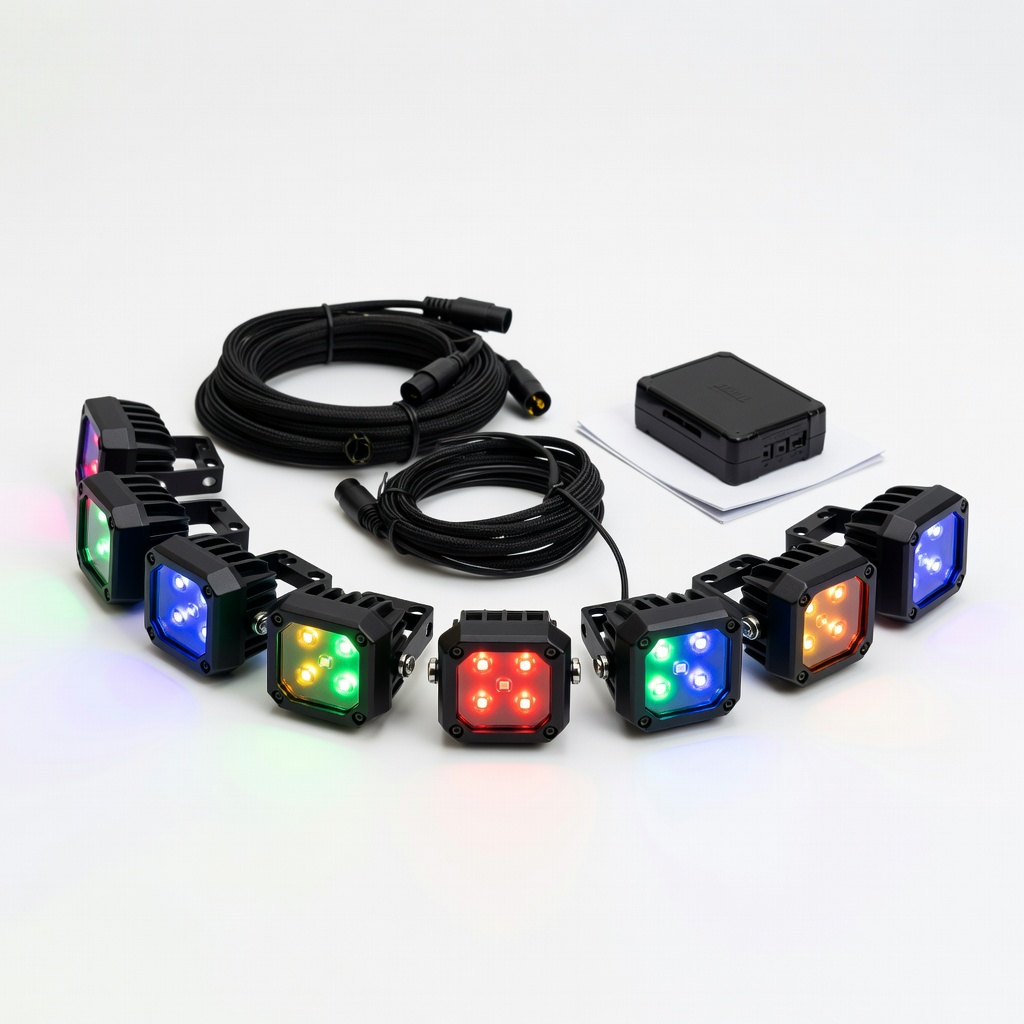
Nilight BA09 8PCS RGB LED Rock Lights Kit
Mount 4-8 pods along bumper for dynamic trail lighting.
$59.99
Nilight BA09 8PCS RGB LED Rock Lights Kit Versatile RGB accent lighting with app control, IP68 waterproof, perfect for bumper underglow.
Get the App
Better experience on mobile
Transform your off-road rig with custom accent lights for enhanced style and visibility in 1-2 hours.
Off-road enthusiasts know that a stock bumper is functional, but adding accent lighting elevates your vehicle's presence on trails and at night events. Whether you're highlighting rock sliders, mounting points, or the entire bumper edge, accent LEDs provide style, better ground illumination, and safety without breaking the bank.
This guide walks you through installing accent lighting step-by-step, tailored for intermediate DIYers with basic wiring knowledge. You'll learn safe mounting, wiring best practices, and testing to ensure reliability on rough terrain. Expect a straightforward process using common tools—no advanced fabrication required.
Total time: 1-2 hours depending on bumper complexity. Difficulty: Intermediate (familiarity with vehicle electrical systems recommended). By the end, your bumper will glow with pro-level accents ready for any adventure.
Estimated Time: 1-2 hours Difficulty: intermediate
Collect all tools and lights. Park your vehicle on a flat surface, engage the parking brake, and disconnect the negative battery terminal for safety. Lay out parts to verify compatibility with your bumper (measure light spacing).
This prevents mid-install trips to the store and ensures you're ready. Success looks like an organized workspace with battery safely disconnected—no sparks ahead.
💡 Tips:
⚠️ Warnings:
Sketch or dry-fit lights on the bumper. Decide on pattern—e.g., under bumper edge, along frame rails, or corner accents. Space evenly (4-6 inches apart for strips/pods) for balanced glow.
Planning avoids uneven looks or weak spots. Mark positions with tape. Expect a mockup that previews the final vibe.
💡 Tips:
Degrease bumper with isopropyl alcohol. Sand rough spots if powder-coated. Drill pilot holes if brackets needed (use metal bits for steel/aluminum).
Clean surfaces ensure strong adhesion/mounts. A prepped bumper shines clean, ready for secure installs without peeling later.
⚠️ Warnings:
Secure lights using provided brackets, zip ties, or adhesive (VHB tape for no-drill). Tighten bolts firmly but avoid over-torquing.
Proper mounting withstands vibration. Lights should sit flush, aimed for desired beam (e.g., flood for ground wash).
💡 Tips:
Run wires from lights along frame rails toward battery, avoiding exhaust/ sharp edges. Use zip ties every 12 inches; poke through grommets for cab entry.
Clean routing prevents chafing on trails. Wires should be slack-free but protected.
⚠️ Warnings:
Connect light wires to harness (match colors: red+, black-). Crimp ring terminals for battery/relay. Solder or crimp with heat shrink for waterproof joints.
Solid connections prevent failures. Use relay for high-draw lights to avoid dimming.
💡 Tips:
Mount relay near battery; wire switch in cab (dash or overhead). Ground to chassis.
Switch enables easy control. Relay clicks on test power-up.
⚠️ Warnings:
Reconnect battery, test all functions (on/off, modes). Tug wires, add silicone sealant to mounts/connections.
Full glow without flickers means success. Drive test for rattles.
💡 Tips:
Problem: Lights flicker or won't turn on
Solution: Check fuse/relay connections; test voltage at lights (>12V). Tighten grounds.
Problem: Dim output or color issues
Solution: Verify wire gauge (14-16AWG); clean corroded terminals.
Problem: Intermittent failure on bumps
Solution: Re-secure mounts/wires; add strain relief loops.
Problem: Battery drain
Solution: Confirm relay setup; add cutoff switch. Seek pro if parasitic draw persists.
Versatile RGB accent lighting with app control, IP68 waterproof, perfect for bumper underglow.
Best for: Mount 4-8 pods along bumper for dynamic trail lighting.
Price Range: $59.99
Plug-and-play with relay and fuse; handles up to 360W for multiple lights.
Best for: Powers accent lights from battery with easy cab switch.
Price Range: $16.99
Assorted sizes for waterproof splices; adhesive-lined for superior seals.
Best for: Insulate all wire joints against moisture.
Price Range: $12.99
Premium SAE-compliant pods for bright white accent; durable aluminum housing.
Best for: Corner bumper mounts for legal road/trail use.
Price Range: $139.00 per pair
UV-resistant, 50lb tensile for secure wire/bumper routing.
Best for: Bundling wires and temp mounts.
Price Range: $9.99 for 100-pack
Mount 4-8 pods along bumper for dynamic trail lighting.
Nilight BA09 8PCS RGB LED Rock Lights Kit Versatile RGB accent lighting with app control, IP68 waterproof, perfect for bumper underglow.
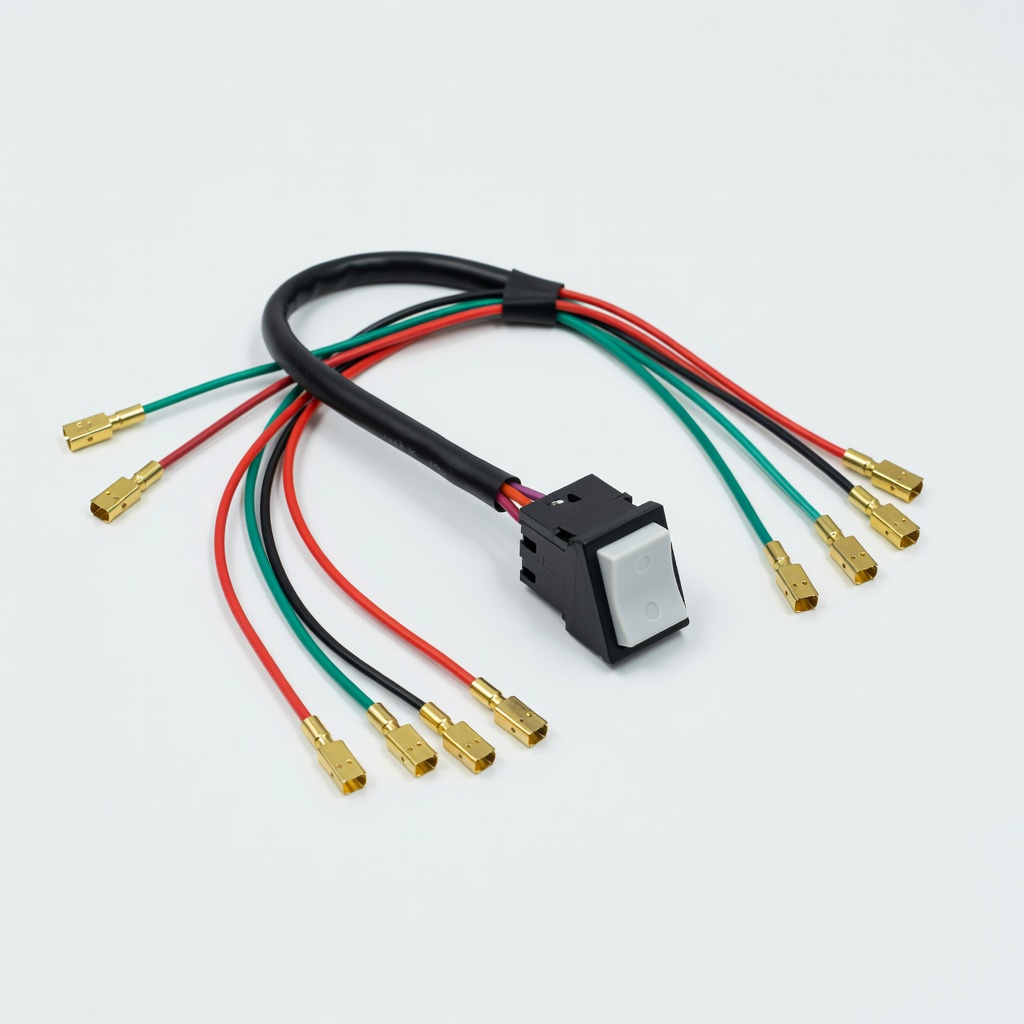
Powers accent lights from battery with easy cab switch.
Nilight 4-Pin Rocker Switch Wiring Harness Kit Plug-and-play with relay and fuse; handles up to 360W for multiple lights.
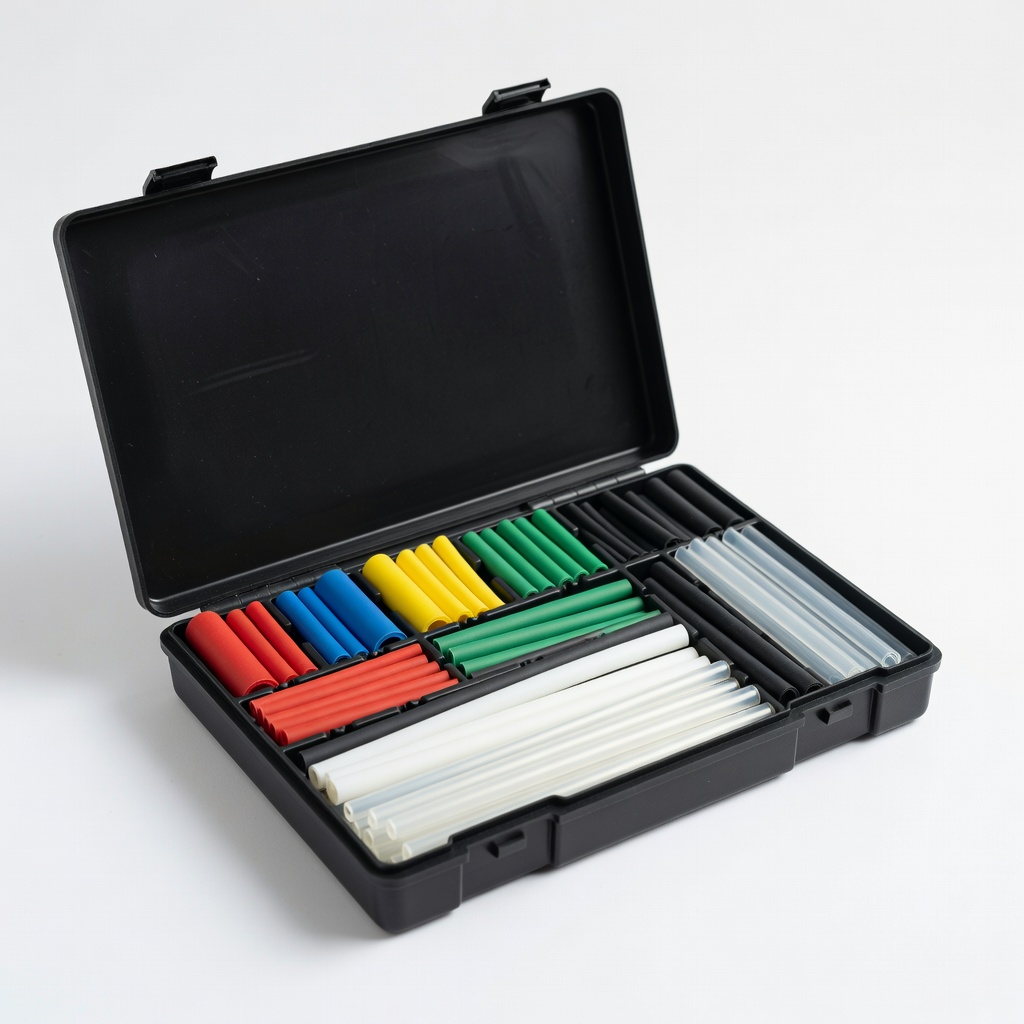
Insulate all wire joints against moisture.
Ticonn 328PCS Heat Shrink Tubing Kit Assorted sizes for waterproof splices; adhesive-lined for superior seals.
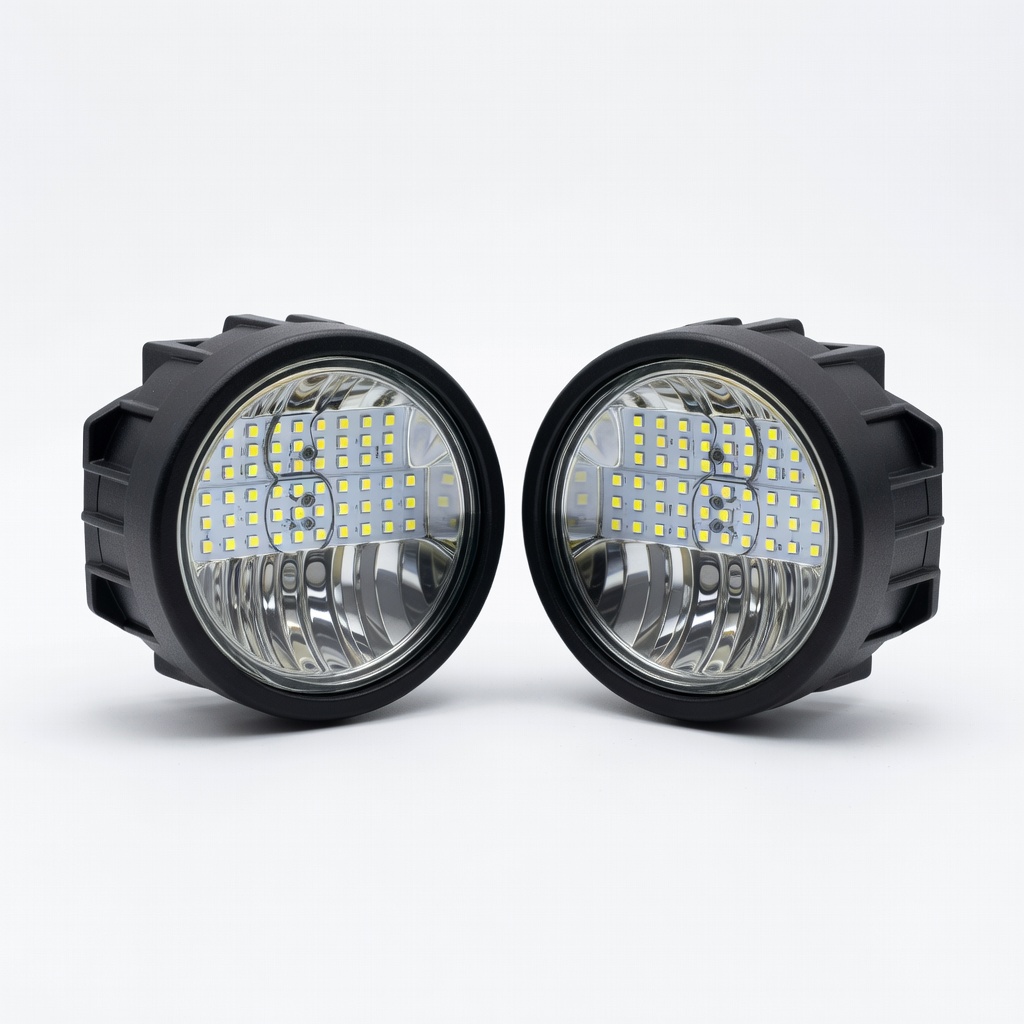
Corner bumper mounts for legal road/trail use.
Diode Dynamics SS3 LED Fog Light Pods Premium SAE-compliant pods for bright white accent; durable aluminum housing.
Bundling wires and temp mounts.
Gorilla Heavy Duty Zip Ties 12" UV-resistant, 50lb tensile for secure wire/bumper routing.