
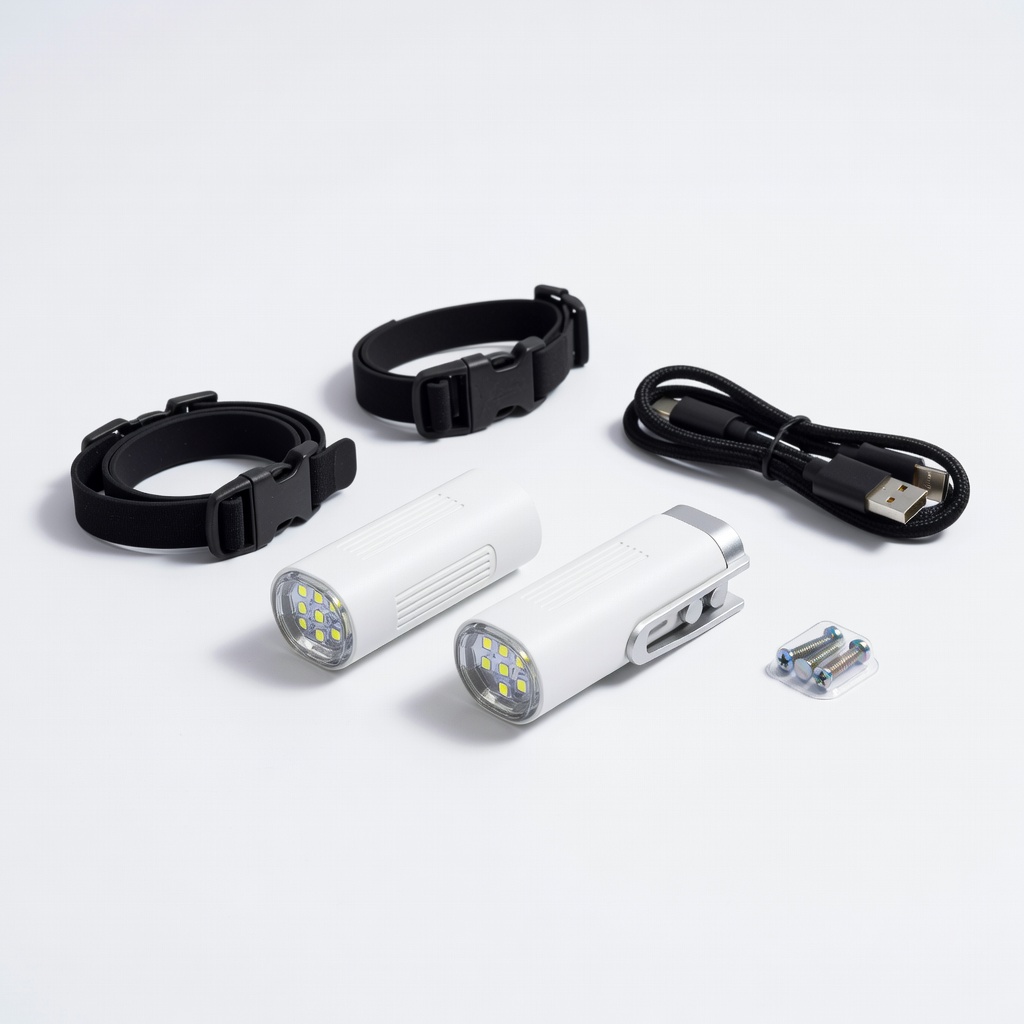
Blingsting 2nd Generation Bike Lights Kit
Full frame underglow for trails; easy zip-tie install.
$39.99
Blingsting 2nd Generation Bike Lights Kit Complete frame accent kit with RGB modes, remote, and waterproof design—perfect for MTB customization.
Get the App
Better experience on mobile
Transform your MTB with vibrant, waterproof LED accent lights for enhanced night trail visibility and style in just 45-60 minutes.
Riding mountain bike trails at dusk or night without proper lighting can be risky and uninspiring. Accent lighting—vibrant LED strips or wheel lights along your frame, handlebars, or spokes—boosts visibility for safer off-road adventures while adding a custom, glowing aesthetic that turns heads.
In this intermediate guide, you'll learn a step-by-step process to install accent lights securely on your mountain bike. We'll cover planning placement, mounting, wiring, and testing, using common tools and kits. Expect a clean, professional setup that withstands mud, vibrations, and water.
The entire install takes 45-60 minutes, assuming basic bike maintenance skills like handling zip ties and wires. No soldering required for most kits, but we'll note advanced options.
Estimated Time: 45-60 minutes Difficulty: intermediate
Before mounting, decide where to place lights for maximum effect and safety. Common spots on MTBs: along the top tube and down tube for frame glow, under the saddle, on handlebars, or wheel spokes for motion trails. Avoid blocking brakes, shifters, or suspension pivots.
Sketch a quick diagram or use painter's tape to mock up positions. Ensure lights won't interfere with pedaling or trail clearance. For wheel lights, confirm spoke compatibility (most fit 20-29" wheels).
Success looks like: A balanced layout with even spacing, no overhangs.
💡 Tips:
⚠️ Warnings:
Park your bike on a stable stand or upside down on a soft surface to access the underside. Clean mounting areas with isopropyl alcohol and cloth to remove dirt, grease, or mud—critical for adhesive or zip tie grip.
Unpack your light kit, charge batteries fully, and test lights standalone. Cut zip ties to length if needed.
Success looks like: Spotless surfaces and powered-up lights ready to go.
💡 Tips:
⚠️ Warnings:
Start with frame strips. Peel adhesive backing (if included) or loop zip ties through light mounts and frame tubes. Tighten snugly but not crushing—leave 1-2mm slack for flex.
Route wires downward along the frame, using smaller zip ties every 6-8 inches to prevent snags. For handlebar lights, position away from grips.
Success looks like: Lights hugging contours securely, wires tucked.
💡 Tips:
⚠️ Warnings:
For spoke lights, attach to inner spokes (avoid outer for clearance). Clip or strap per kit instructions—most snap on hub-to-rim. Spin wheel to ensure no rub.
Frame wheel lights mount similarly to main strips but lower. Connect segments if multi-part.
Success looks like: Wheels spin freely with lights centered.
💡 Tips:
⚠️ Warnings:
Attach battery packs (USB rechargeable common) to seat post or under saddle with velcro/zip ties. Plug in lights—most kits have quick-connects or daisy-chain.
Route power wires cleanly, bundling extras with tape. If splicing, strip 1/4-inch wire, twist, tape securely (solder optional for pros).
Success looks like: All connections firm, no exposed wire.
💡 Tips:
⚠️ Warnings:
Power on everything. Cycle through modes (steady, flash, RGB patterns). Check for flickering, dimness, or heat. Spin wheels, bounce bike to simulate trails.
Remote control? Pair via app if Bluetooth-enabled.
Success looks like: Uniform glow, no fails, patterns sync.
💡 Tips:
⚠️ Warnings:
Trim excess zip tie ends. Apply electrical tape over connections and optional silicone sealant. Give a shake-test.
Take a short test ride on pavement.
Success looks like: Rock-solid install, lights survive bumps.
💡 Tips:
⚠️ Warnings:
Problem: Lights flicker or won't turn on
Solution: Check connections and battery charge. Clean corroded plugs; replace if damaged.
Problem: Uneven glow or dimming
Solution: Inspect wire splices for poor contact. Shorten long runs or upgrade battery.
Problem: Lights detach during ride
Solution: Re-secure with heavier-duty zip ties or adhesive mounts. Avoid flex zones.
Problem: Water damage after rain
Solution: Dry fully, apply dielectric grease inside connectors. Upgrade to IP67-rated kits.
Problem: Interference with bike electronics
Solution: Reroute wires away from cables. Use shielded if persistent—rare for accents.
Complete frame accent kit with RGB modes, remote, and waterproof design—perfect for MTB customization.
Best for: Full frame underglow for trails; easy zip-tie install.
Price Range: $39.99
10 patterns, spoke-safe, USB rechargeable—adds dynamic wheel trails without tools.
Best for: Spoke mounting for motion visibility on night rides.
Price Range: $19.99
Flexible strip for handlebars/frames, 4 modes, durable aluminum—great value accent.
Best for: Handlebar or fork accents for targeted lighting.
Price Range: $16.99
UV-resistant, strong hold for securing lights on rough terrain.
Best for: All mounting and wire management.
Price Range: $8.99
Insulates wires reliably, weatherproof for outdoor use.
Best for: Covering connections to prevent shorts.
Price Range: $5.99
Full frame underglow for trails; easy zip-tie install.
Blingsting 2nd Generation Bike Lights Kit Complete frame accent kit with RGB modes, remote, and waterproof design—perfect for MTB customization.
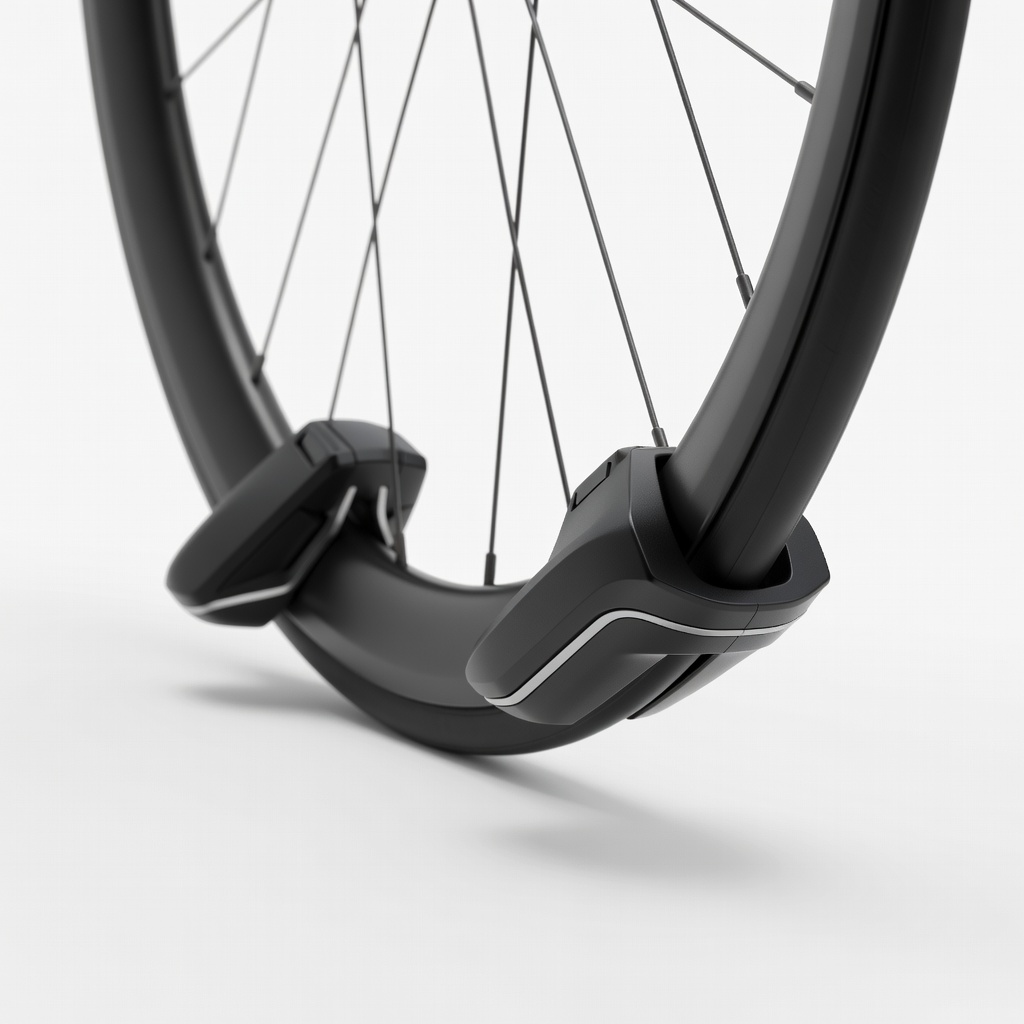
Spoke mounting for motion visibility on night rides.
GAC Ironman Bike Wheel Lights 10 patterns, spoke-safe, USB rechargeable—adds dynamic wheel trails without tools.
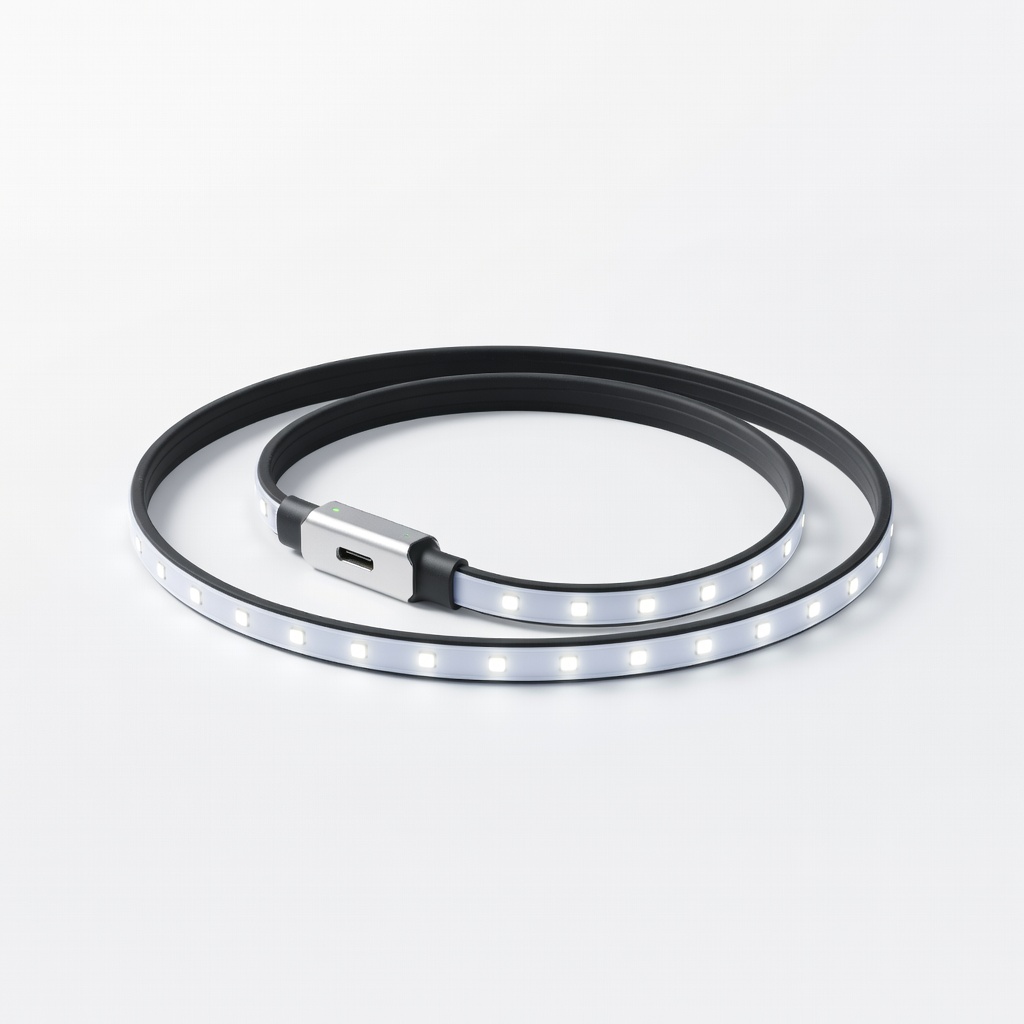
Handlebar or fork accents for targeted lighting.
Ascher USB Rechargeable Bike Light Strip Flexible strip for handlebars/frames, 4 modes, durable aluminum—great value accent.
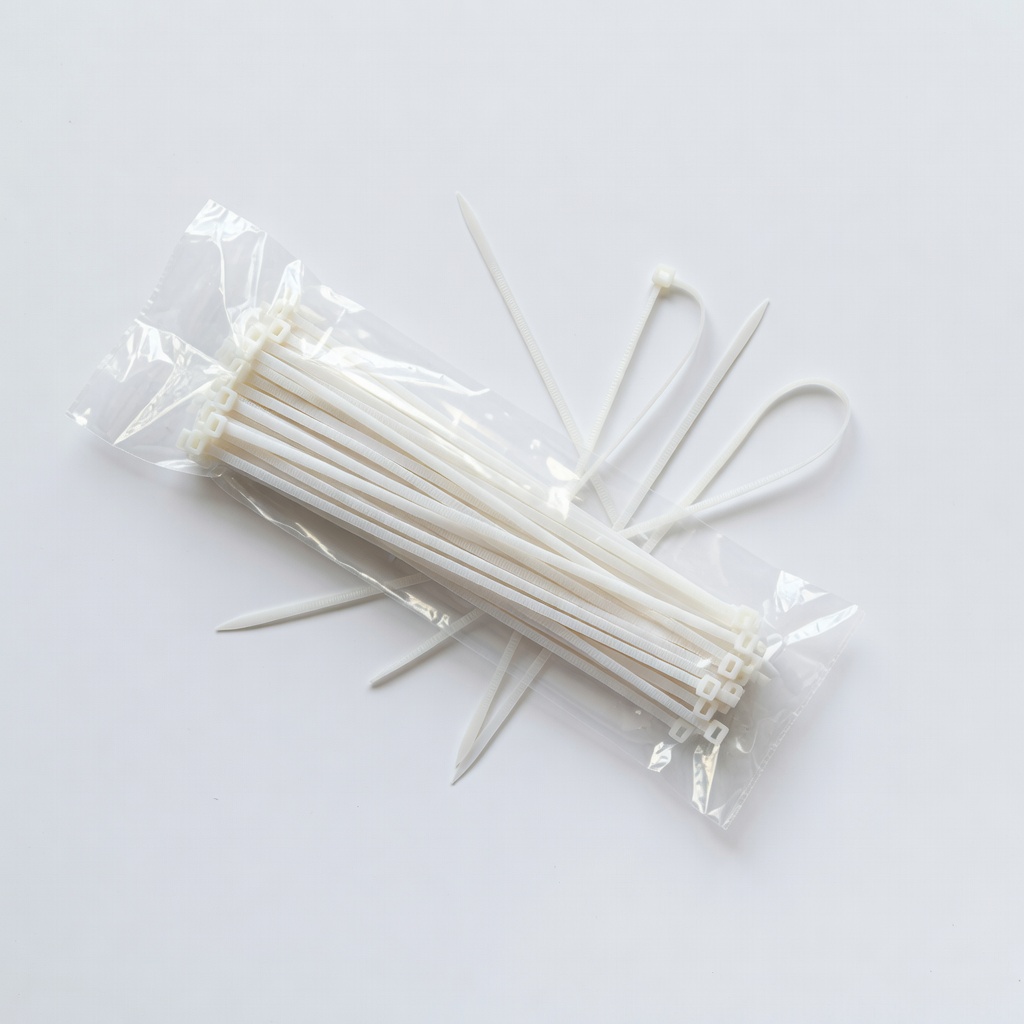
All mounting and wire management.
Tesky Heavy Duty Zip Ties 12 Inch UV-resistant, strong hold for securing lights on rough terrain.
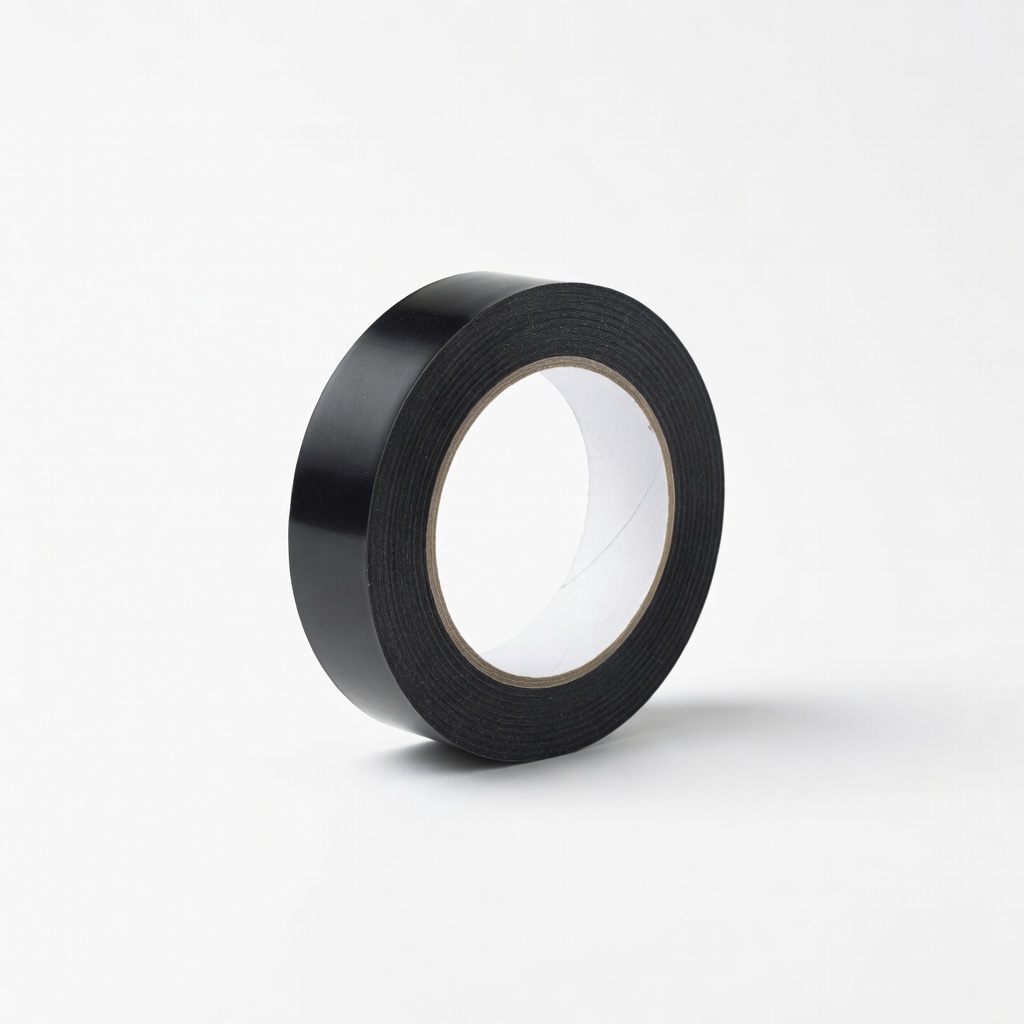
Covering connections to prevent shorts.
3M Electrical Tape Black Insulates wires reliably, weatherproof for outdoor use.