
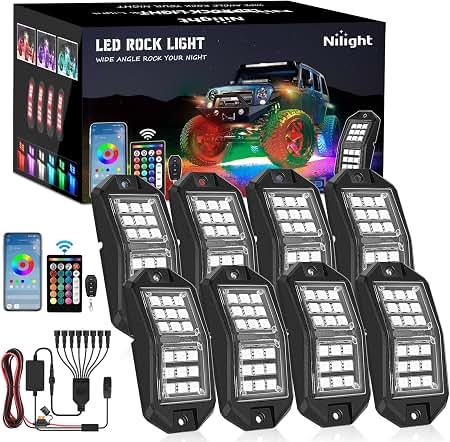
Nilight 4PCS RGB LED Rock Lights Kit
Wheel well accent on Jeeps/Tacomas; vibration-proof.
$35-45
Nilight 4PCS RGB LED Rock Lights Kit IP68 waterproof, 12 color modes, easy plug-and-play for beginners turning pro.
Get the App
Better experience on mobile
Boost your truck's style and visibility with custom accent lights like rock lights—complete this intermediate DIY in 2-4 hours.
Off-road trucks demand rugged style and superior visibility, but stock lighting often falls short in dark trails or dusty conditions. Accent lighting, like vibrant RGB rock lights or LED strips, not only enhances aesthetics but improves safety by illuminating wheel wells, underbody, and cab edges. Tired of a bland rig? This guide turns your truck into a nighttime beast.
You'll learn to plan, mount, wire, and test accent lights safely, focusing on popular rock light kits for underbody glow. The process covers layout design to final tweaks, ensuring waterproof, vibration-proof installs that withstand off-road abuse.
Expect 2-4 hours total (more for complex trucks like Jeeps or Tacomas). Intermediate skills needed: basic wiring, drilling, and truck familiarity. No prior electrical experience? Brush up first.
Estimated Time: 2-4 hours (planning: 30 min, install: 1.5-3 hours) Difficulty: intermediate
Sketch your truck's underbody, wheel wells, and cab edges. Mark 4-8 spots for rock lights (e.g., 2 per wheel well for even glow). Consider clearance from suspension, exhaust, and moving parts—aim for 6-12 inches above ground.
Why it matters: Poor placement leads to damage off-road. Use painter's tape to mock up light positions. For RGB kits, plan wiring routes along frame rails to battery.
Success: Tape outlines lights without interference; paths avoid heat sources.
💡 Tips:
⚠️ Warnings:
Unbox your kit: verify pods, wires, relay, fuse. Test lights with 12V battery (plug-and-play if possible). Clean mounting surfaces with isopropyl alcohol.
Prep truck: Park on level ground, chock wheels. This ensures safe access under the vehicle.
Success: All parts accounted for; surfaces dry and clean.
💡 Tips:
Safety first: Negative (-) terminal first to avoid shorts. Use wrench; secure cable away.
Why: Prevents shocks or electrical damage during wiring. Off-road trucks have high amps—sparks fly otherwise.
Success: Multimeter shows 0V at battery.
⚠️ Warnings:
Drill pilot holes per kit instructions (use step bits for clean edges). Secure pods with included brackets/screws; apply silicone sealant around bases for waterproofing.
Mount in wheel wells/frame: Tighten firmly but avoid over-torquing aluminum frames.
Success: Pods flush, angled downward for ground wash; no wobble when shaken.
💡 Tips:
⚠️ Warnings:
Feed power/ground wires from lights along frame (zip-tie every 12 inches). Use loom or split-loom for protection. Route to cab for switch, then battery.
Avoid pinch points, sharp edges—add grommets through firewall.
Success: Wires slack-free, protected, reach battery with 1-2 ft spare.
💡 Tips:
Connect relay: Battery + to relay input, light leads to output. Crimp/solder grounds. Install inline fuse (15-30A). Mount switch in dash (drill if needed).
For RGB: Wire controller per manual.
Success: Clean crimps, heat-shrunk; no exposed copper.
⚠️ Warnings:
Reattach battery (+ first). Toggle switch: Check all lights on, modes cycle (RGB). Inspect for flickering/hot wires.
Drive test: Bounce truck, verify secure.
Success: Bright, even glow; no errors.
💡 Tips:
Double-zip wires, add grease to connectors. Clean up; apply touch-up paint to holes.
Success: Install looks factory; ready for trails.
💡 Tips:
Problem: Lights flicker or dim
Solution: Check loose connections/voltage drop; upgrade wire gauge or add relay.
Problem: One pod dead
Solution: Swap wires to test; replace faulty pod—common in kits.
Problem: RGB won't change colors
Solution: Verify controller wiring/app pairing; reset unit.
Problem: Overheating
Solution: Improve airflow; check exhaust proximity. Seek pro if persists.
IP68 waterproof, 12 color modes, easy plug-and-play for beginners turning pro.
Best for: Wheel well accent on Jeeps/Tacomas; vibration-proof.
Price Range: $35-45
Pre-wired with 40A relay/fuse; simplifies complex runs.
Best for: Long-distance battery connections on full-size trucks.
Price Range: $20-25
Durable aluminum housing, app control; pro-grade for heavy abuse.
Best for: Underbody on lifted trucks like Ford Raptors.
Price Range: $80-100
Waterproof, illuminated; reliable for dash mounts.
Best for: Inline control without apps.
Price Range: $15-20
Protects wires from rocks/abrasion; cheap insurance.
Best for: Frame rail routing.
Price Range: $10-15
Wheel well accent on Jeeps/Tacomas; vibration-proof.
Nilight 4PCS RGB LED Rock Lights Kit IP68 waterproof, 12 color modes, easy plug-and-play for beginners turning pro.
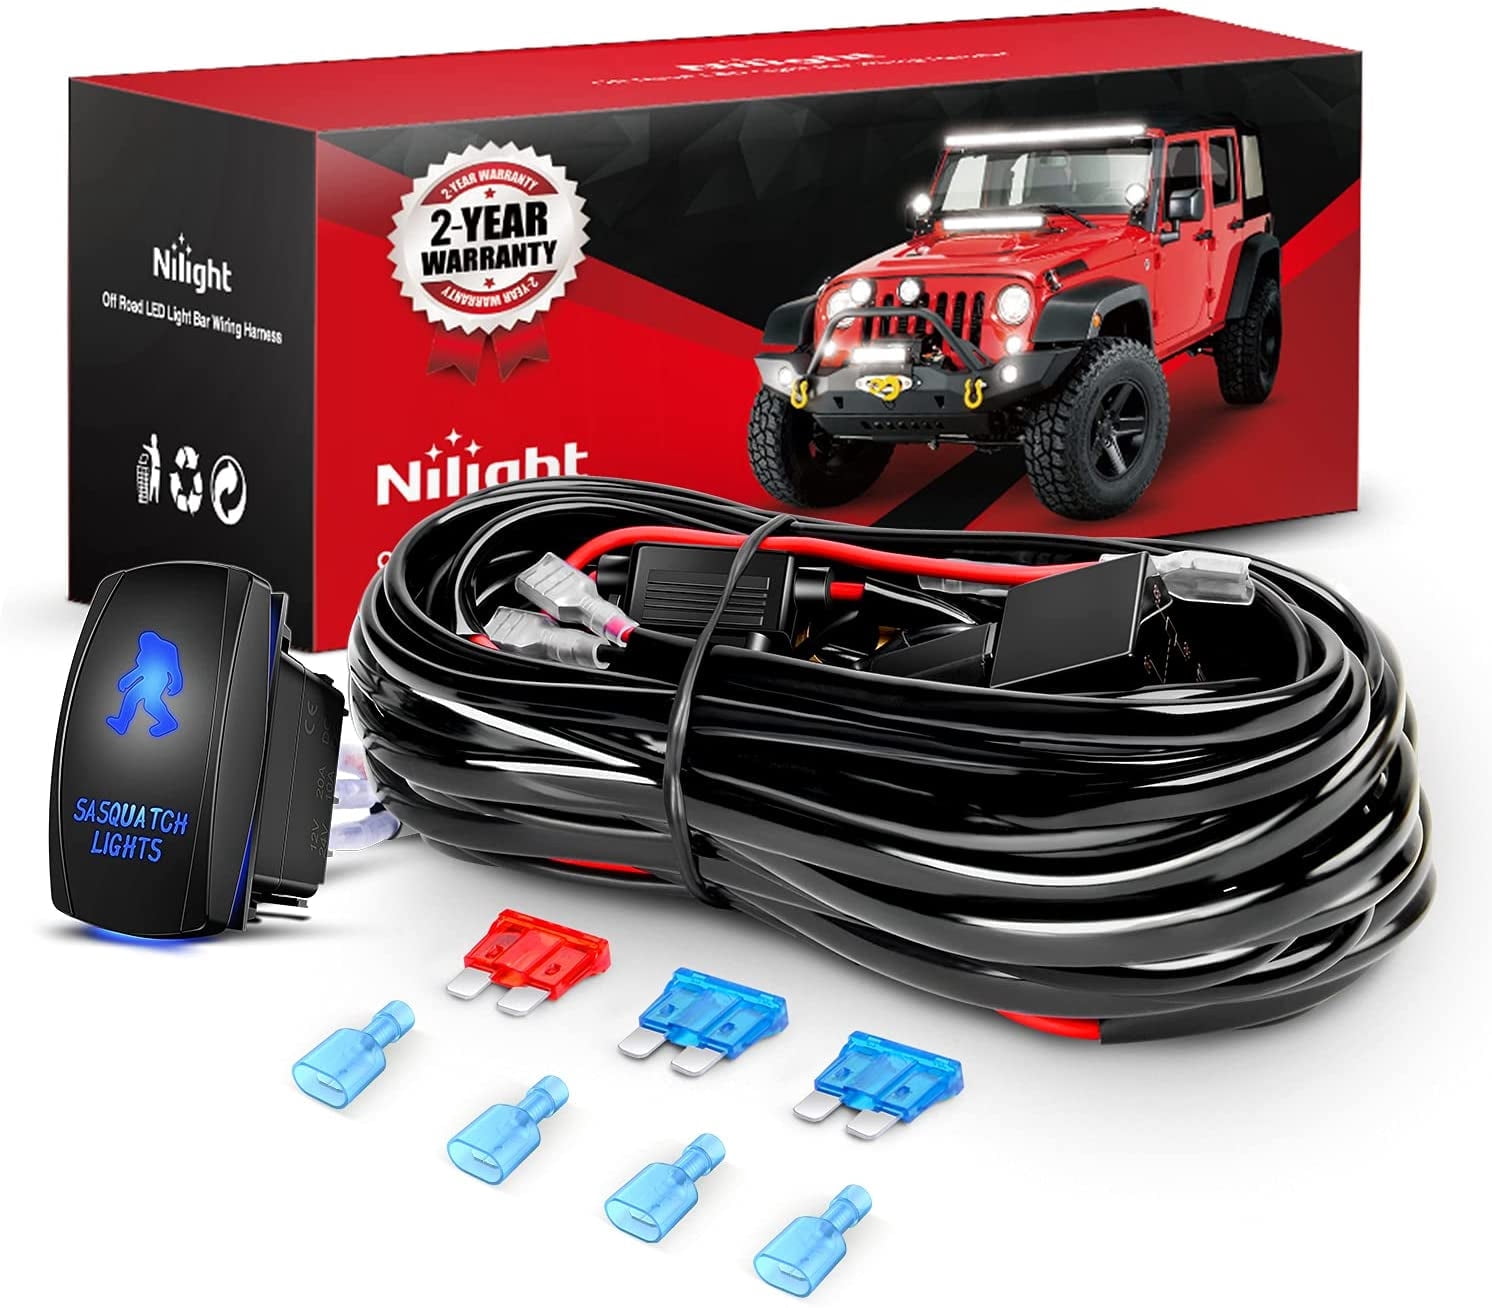
Long-distance battery connections on full-size trucks.
Nilight 30FT Wiring Harness with Relay and Switch Pre-wired with 40A relay/fuse; simplifies complex runs.
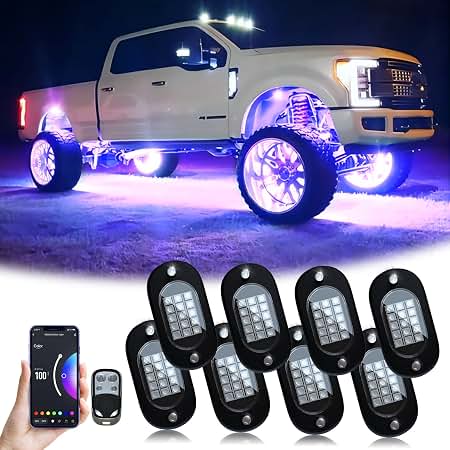
Underbody on lifted trucks like Ford Raptors.
Rough Country 6-Light RGB Rock Light Kit Durable aluminum housing, app control; pro-grade for heavy abuse.
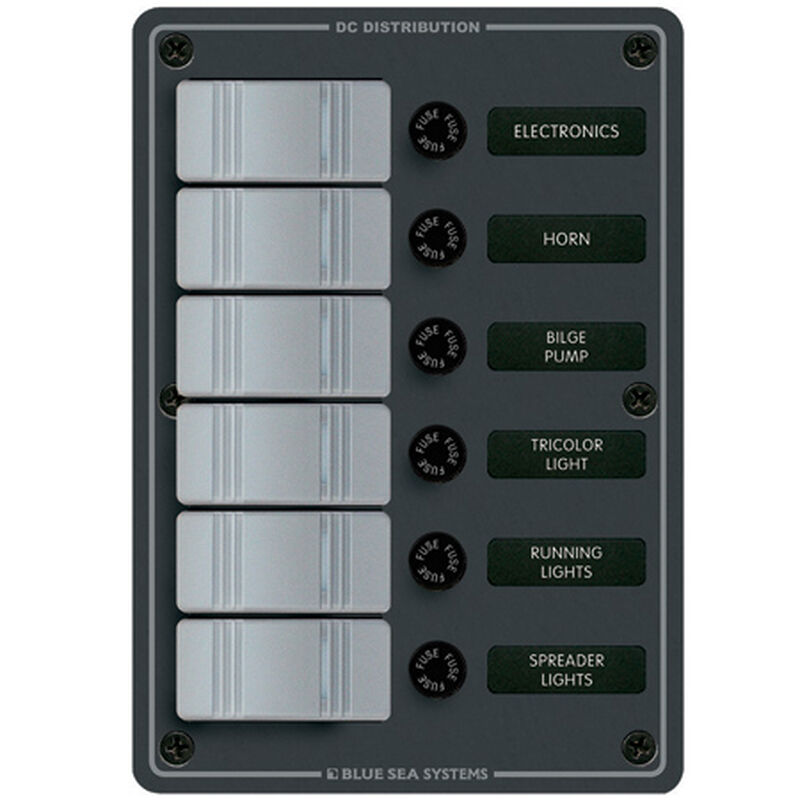
Inline control without apps.
Blue Sea Systems Toggle Switch Panel Waterproof, illuminated; reliable for dash mounts.
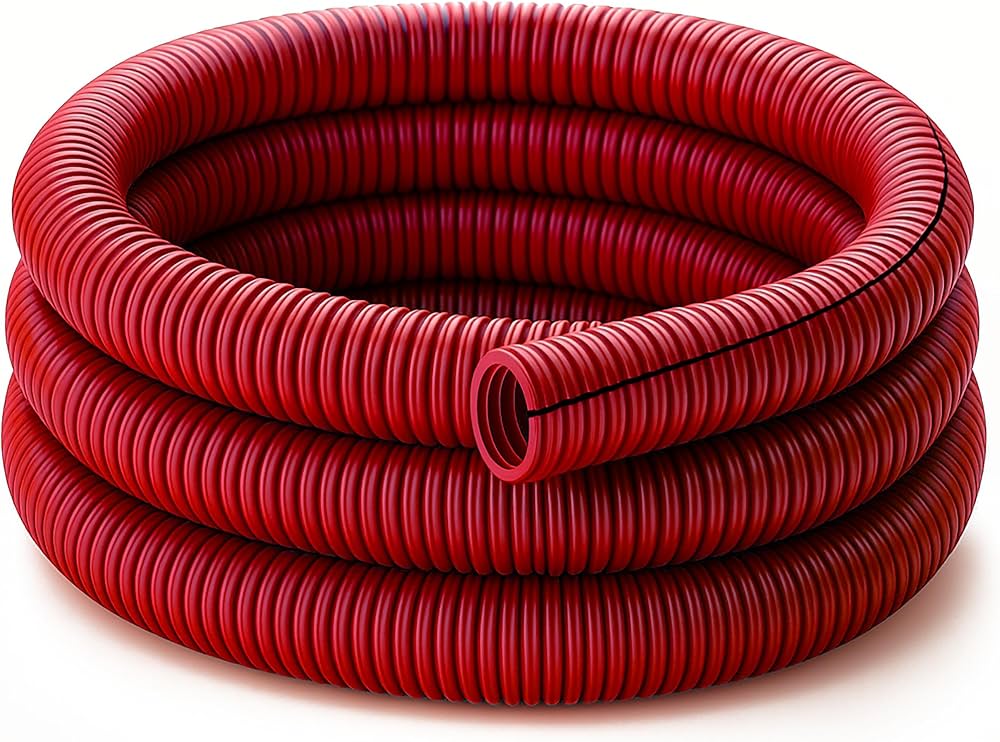
Frame rail routing.
Agrotronix Split Loom Tubing 1/2" Protects wires from rocks/abrasion; cheap insurance.