A dimly lit kitchen island can make meal prep feel like a chore, but accent lighting transforms it into a focal point that enhances both aesthetics and usability. Whether you're highlighting a beautiful countertop or creating task lighting for cooking, proper installation elevates your space without breaking the bank.
In this guide, you'll learn to safely install LED accent lighting under your kitchen island, from planning the layout to testing the final setup. We'll cover wired LED strips or puck lights, assuming basic electrical knowledge. Expect a 2-4 hour project for intermediate DIYers—no prior pro experience needed, but working with electricity requires caution.
The process involves planning, prepping, mounting, wiring, and testing. By the end, you'll have customizable, dimmable lighting that impresses guests and improves your kitchen's vibe.
▸What You'll Need
- •LED strip lights or puck lights (12V/24V, 16-32ft for islands, waterproof IP65+)
- •Matching power supply (calculate wattage: length x watts/ft)
- •Aluminum mounting channels for strips (optional but recommended for heat dissipation)
- •Wire (18-22 AWG, low-voltage landscape wire)
- •Connectors (solderless clips or Wago lever nuts)
- •Voltage tester or multimeter
- •Drill with bits, screwdriver set, wire strippers
- •Double-sided tape or screws for mounting
- •Electrical tape and zip ties
- •Optional: Dimmer switch compatible with LEDs
Estimated Time: 2-4 hours (depending on island size and wiring access)
Difficulty: intermediate
▸Step-by-Step Instructions
Step 1: Plan Your Lighting Layout
Measure your kitchen island's perimeter (typically 6-10ft per side) and decide on lighting type: continuous LED strips for even glow or puck lights for spots. Sketch the layout, noting corners and power outlet locations. Calculate total footage and wattage (e.g., 5W/ft strip x 20ft = 100W power supply).
Why it matters: Proper planning prevents shortages or uneven lighting. Expect a seamless under-counter glow illuminating 2-4 inches below the edge.
💡 Tips:
- •Use warm white (2700K-3000K) for cozy kitchens; RGB for parties.
⚠️ Warnings:
- •Undersized power supply causes flickering—always oversize by 20%.
Step 2: Gather Materials and Shut Off Power
Collect all tools and test LEDs with power supply on a bench. Turn off the circuit breaker for your kitchen outlets and verify with a voltage tester—no lights or beeps.
Safety first: This prevents shocks. You'll know it's safe when the tester shows 0V.
💡 Tips:
- •Label the breaker for future ease.
⚠️ Warnings:
- •Never skip power-off; kitchen wiring can carry 120V.
Step 3: Clean and Prep Mounting Surface
Wipe the underside of the island with isopropyl alcohol for adhesion. Dry-fit mounting channels or tape along the soffit/overhang.
Clean surfaces ensure secure hold; expect strips to stay put for years.
💡 Tips:
- •Mark screw holes lightly with pencil.
⚠️ Warnings:
- •Avoid silicone caulk on LEDs—it traps heat.
Step 4: Cut and Install LED Strips or Pucks
Cut strips at marked lines (every 2-4 inches). Peel backing and press into channels or directly to surface. For pucks, drill pilot holes and screw in place, spacing 12-18 inches apart.
Secure firmly—test wiggle by hand. Success: Lights hug the contour without gaps.
💡 Tips:
- •Use channel diffusers for softer light spread.
Step 5: Connect LED Segments
Use solderless connectors or clips to join strips at corners/power points. Strip 1/4 inch wire, insert into terminals, and snap shut.
This maintains voltage drop-free flow. Expect bright, uniform output across runs.
💡 Tips:
- •Support long runs with zip ties every 2ft.
⚠️ Warnings:
- •Polarity matters—match + to +.
Step 6: Run Wiring to Power Source
Fish low-voltage wire from lights to a nearby outlet or cabinet interior. Secure with staples or ties, avoiding sharp edges.
Keeps wiring hidden and safe. You'll have a neat bundle ready for connection.
Step 7: Wire Power Supply and Connect
Mount power supply in a ventilated cabinet spot. Connect DC output to LED input (+/-), AC input to a GFCI outlet via plug or hardwire (if qualified).
Powers everything reliably. Plug in temporarily to test.
💡 Tips:
- •Add inline fuse for protection.
⚠️ Warnings:
- •Use GFCI outlets in kitchens.
Step 8: Test, Secure, and Restore Power
Turn breaker on, test full brightness/dimming. Adjust positions, secure loose wires, add covers.
Final check: Even glow, no hot spots. Enjoy your lit island!
💡 Tips:
- •Dimmer test ensures compatibility.
▸Pro Tips
- •Oversize power supply by 20% for future expansions.
- •Use magnetic channels for easy removal/cleaning.
- •Incorporate smart plugs (e.g., Kasa) for app control.
- •Diffuse light with frosted covers to reduce glare.
- •Plan for motion sensors in high-traffic kitchens.
- •Test color temps in your kitchen lighting before buying.
- •Zip-tie wires in bundles for a pro look.
▸Common Mistakes to Avoid
- •Ignoring voltage drop: Solution—use thicker wire or shorter runs.
- •Mounting without channels: LEDs overheat; always use aluminum profiles.
- •Wrong power supply: Causes dimming/failure; match specs exactly.
- •Skipping GFCI: Unsafe in wet kitchens; always use protected outlets.
- •Poor polarity: Lights won't work; double-check +/-.
- •Over-tightening screws: Cracks cabinets; use pilot holes.
▸Troubleshooting
Problem: Lights flicker or dim at ends
Solution: Check voltage drop—shorten runs or upgrade to 24V system. Test power supply output.
Problem: No power at all
Solution: Verify breaker, polarity, and connections. Replace faulty strip.
Problem: Overheating
Solution: Improve ventilation; ensure channels are used. Reduce wattage.
Problem: Buzzing noise
Solution: Incompatible dimmer—switch to LED-rated one.
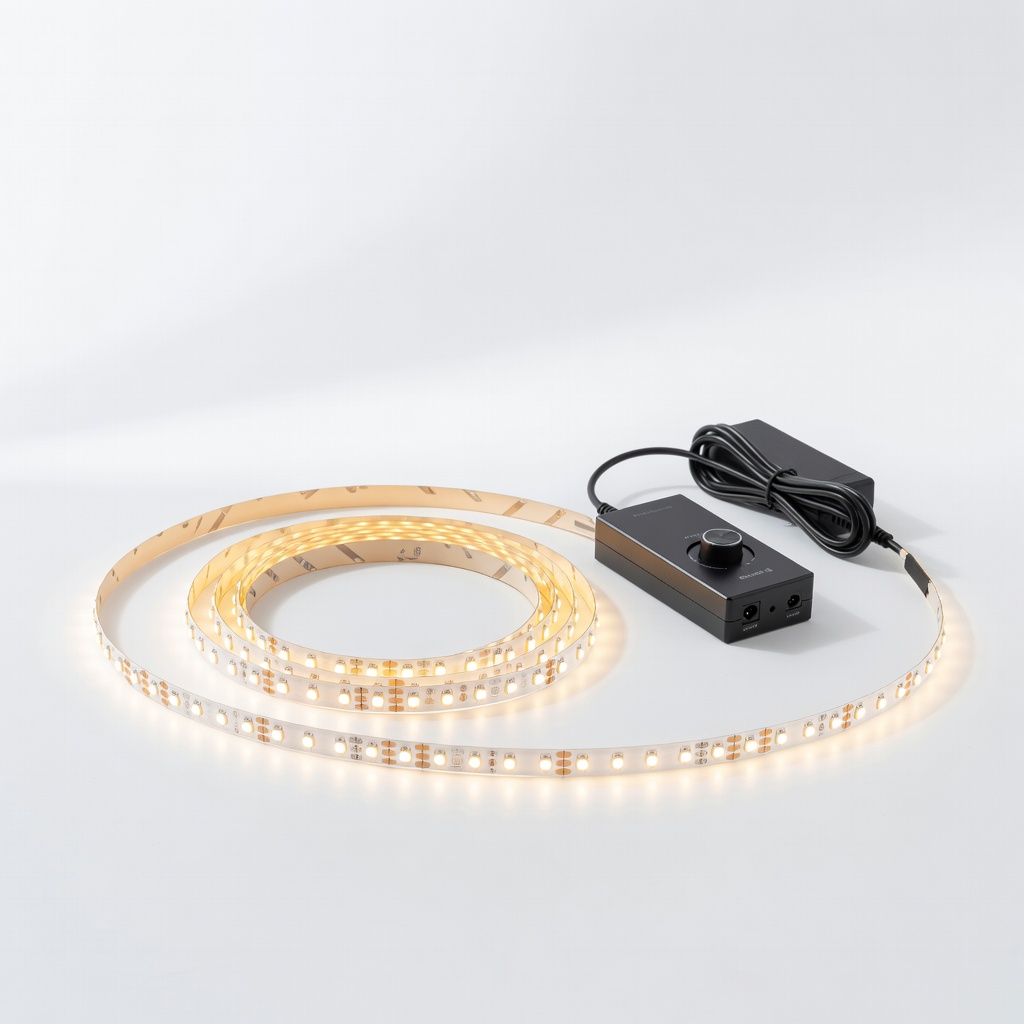
HitLights 16.4ft LED Strip Lights Kit (Dimmable)
Plug-and-play kit with power supply; waterproof and easy connectors for clean installs.
Best for: Full island perimeters under 20ft; warm white for daily use.
Price Range: $19.99
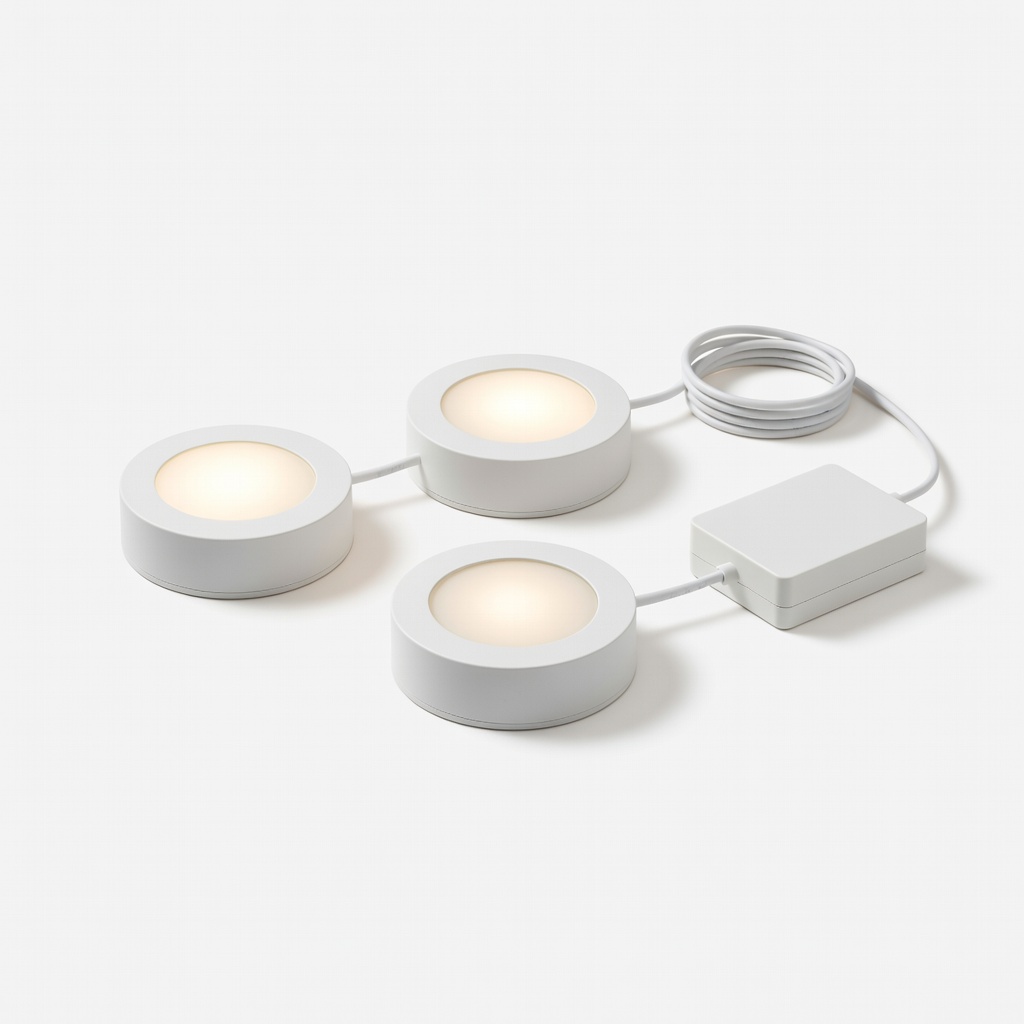
Armacost Lighting 3-Light Under Cabinet Puck Kit
Battery-free, linkable pucks with high CRI for accurate food colors.
Best for: Spot lighting over sinks/prep areas; dimmable.
Price Range: $39.99
Wathai 24V 5A Power Supply
Reliable, overload-protected; perfect match for longer LED runs.
Best for: Powering 50-80W setups without voltage sag.
Price Range: $24.99
Klein Tools ET40 Voltage Tester
Accurate, non-contact tester essential for safe electrical work.
Best for: Verify power-off before wiring.
Price Range: $24.98
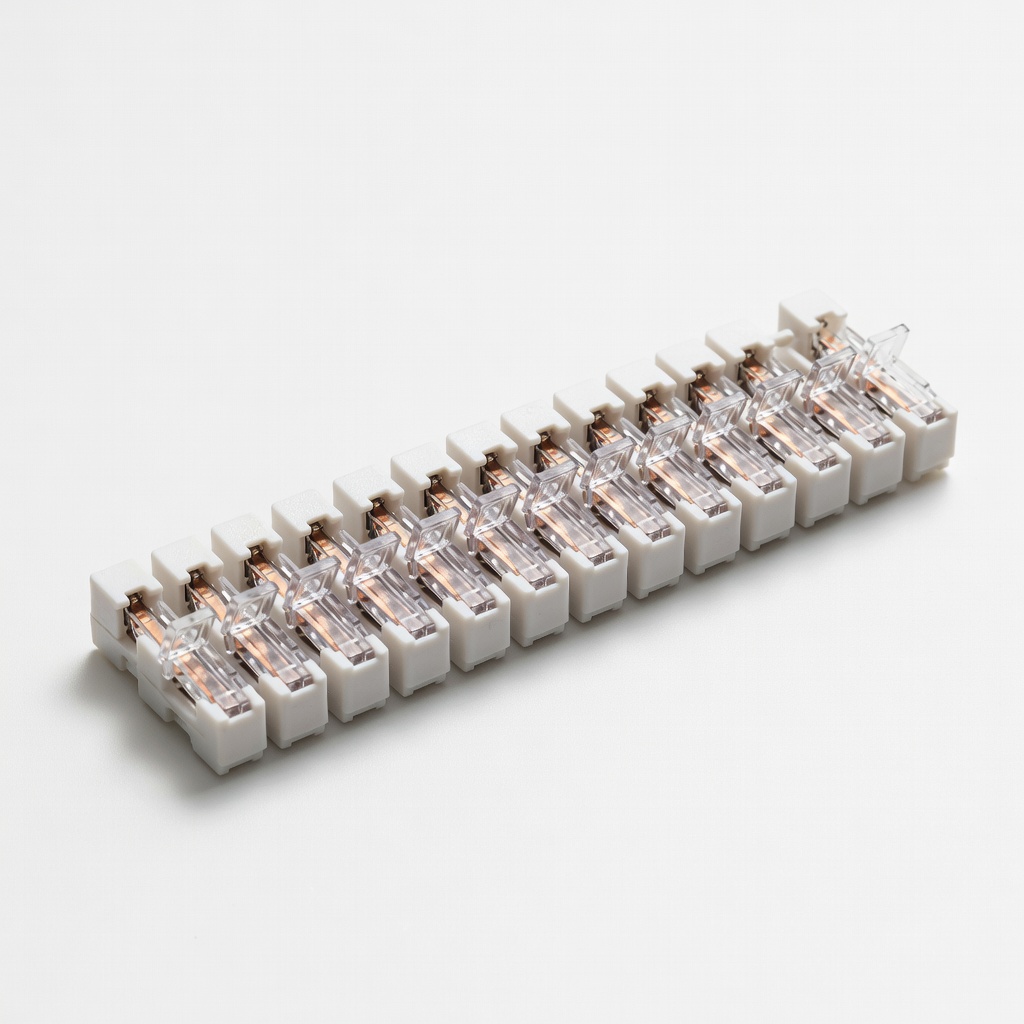
Wago 221 Lever-Nut Connectors (Pack of 25)
Tool-free, reusable for secure low-voltage splices.
Best for: Joining strips or wires without soldering.
Price Range: $14.97