
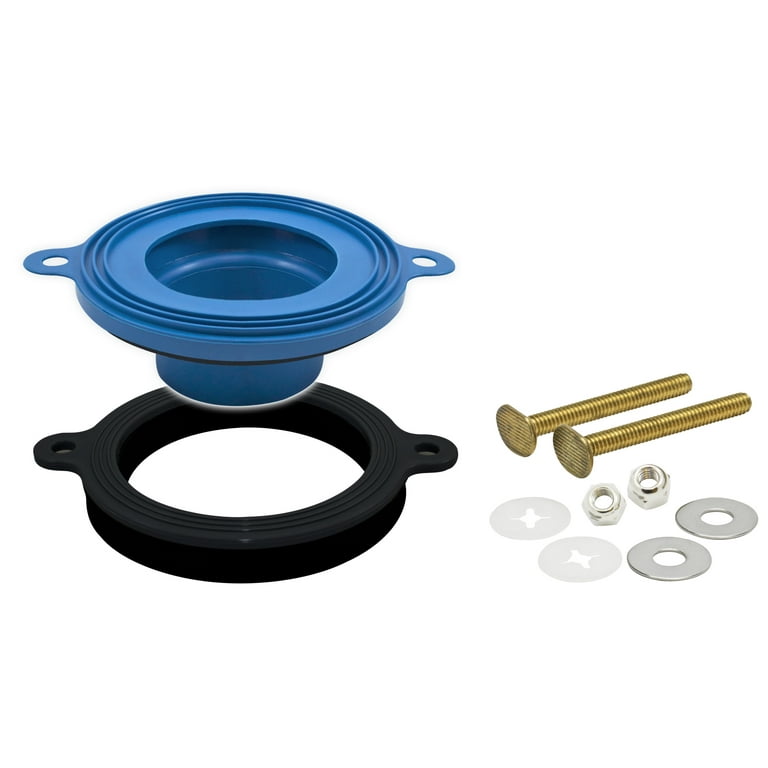
Fluidmaster 7530 Adjustable Wax-Free Toilet Seal
Best for DIYers who want a reusable, leak-proof seal without wax.
$12-$15
Fluidmaster 7530 Adjustable Wax-Free Toilet Seal Eliminates wax mess; works for flanges up to 1/2" above floor.
Get the App
Better experience on mobile
Learn to replace or install a toilet flange on a concrete slab with step-by-step instructions, tool recommendations, and expert tips.
If you're remodeling a bathroom or dealing with a cracked or corroded toilet flange on a concrete floor, replacing it can seem intimidating. Concrete is unforgiving, and getting the flange at the right height is critical. In this guide, we'll walk you through how to cut out an old flange, drill into concrete, and secure a new flange that will last for decades. We'll cover the tools you need, common pitfalls, and pro tips to ensure a watertight seal. This project takes about 1-2 hours for an experienced DIYer and requires moderate skill with a hammer drill and concrete anchors.
Estimated Time: 1-2 hours Difficulty: advanced
Shut off the water supply and flush the toilet to empty the tank. Disconnect the supply line, remove the toilet bolts, and lift the toilet off the flange. Stuff a rag into the drain pipe to prevent debris from falling in. Use a pry bar or hammer to break off the old flange if it's cast iron (it may shatter) or cut it with an angle grinder if it's metal. For PVC flanges, use an oscillating tool to cut around the inside of the pipe. Remove all debris and vacuum the area thoroughly. Success looks like a clean, exposed concrete surface around the drain pipe with no old flange pieces remaining.
💡 Tips:
⚠️ Warnings:
Place the new toilet flange over the drain pipe to check fit. It should sit flush on the concrete floor, with the top of the flange about 1/4" above the finished floor (or level with it if using a wax ring). If the floor is uneven, use a level to mark high spots. The flange must be centered and square with the wall. If the pipe is flush with the concrete, you may need a flange with an internal sleeve or a flange extender. Once satisfied, mark the anchor holes through the flange slots using a marker. Remove the flange and set aside.
💡 Tips:
⚠️ Warnings:
Fit your hammer drill with a masonry bit matching the anchor diameter (usually 1/2" or 5/8"). Drill holes at the marked spots, going about 1/4" deeper than the anchor length (e.g., for 2" anchors, drill 2.25" deep). Keep the drill perpendicular to the floor. Vacuum out the dust from each hole. Success means clean, straight holes with no cracking around the edges.
💡 Tips:
⚠️ Warnings:
Place the flange back over the drain. Insert concrete sleeve anchors through the flange slots and tap them into the holes with a hammer until snug. Then tighten each anchor using a socket or driver—do not overtighten, as it can crack the concrete or strip the anchor. The flange should be firmly pressed against the floor. Check for level; if needed, use plastic shims under the flange before final tightening.
💡 Tips:
⚠️ Warnings:
Insert the two toilet flange bolts into the slots on the flange, positioning them opposite each other (12 and 6 o'clock relative to the wall). Slide the bolts so they are parallel to the wall. Place a new wax ring (with horn) onto the flange, pressing it down gently to seat. If the flange is below the finished floor, use a flange extender (available in kit form) to raise it. Alternatively, use a wax ring with a plastic funnel that extends into the pipe.
💡 Tips:
⚠️ Warnings:
Carefully lower the toilet bowl over the flange, aligning the mounting holes with the bolts. Push down firmly to compress the wax ring. Tighten the nuts onto the bolts alternately until snug—do not overtighten as it can crack the porcelain. Reattach the tank, reconnect water, and flush to check for leaks. Let the wax ring settle for an hour before use.
💡 Tips:
⚠️ Warnings:
Problem: Flange does not sit flush on the concrete floor; rocks when pressed.
Solution: Use plastic shims under the low side to level the flange. Apply a thin layer of epoxy or leveling compound if needed. Ensure anchors are in solid concrete, not over a void.
Problem: Anchor hole hits rebar and cannot drill deep enough.
Solution: Use a shorter anchor or relocate the hole at least 1.5" away from the original. If relocating, ensure the new hole is still within the flange slot area.
Problem: Toilet wobbles after installation.
Solution: Remove toilet, check if flange is level (if not, shim the flange). Ensure the toilet base is clean and use repair shims under the toilet if needed. Retighten bolts evenly.
Problem: Water leaks at base after flushing.
Solution: The wax ring may not be compressed enough (too low flange) or the wax ring is damaged. Remove toilet, inspect flange height, use a thicker wax ring or extender, and reinstall with a new ring.
Eliminates wax mess; works for flanges up to 1/2" above floor.
Best for: Best for DIYers who want a reusable, leak-proof seal without wax.
Price Range: $12-$15
High-quality hammer drill with variable speed for precise concrete drilling.
Best for: Essential for drilling anchor holes in concrete with minimal effort.
Price Range: $130-$180
Rust-resistant stainless steel ring, fits 3" or 4" drain pipes.
Best for: Direct replacement for old flanges in concrete floors.
Price Range: $20-$30
Strong stainless steel anchors with Phillips head for easy installation.
Best for: Securely fasten flange to concrete floor without splitting.
Price Range: $8-$15 per pack of 10
Cuts through cast iron or PVC flanges cleanly with metal/wood cutting blade.
Best for: Removing old flange without damaging the drain pipe.
Price Range: $80-$120
Best for DIYers who want a reusable, leak-proof seal without wax.
Fluidmaster 7530 Adjustable Wax-Free Toilet Seal Eliminates wax mess; works for flanges up to 1/2" above floor.
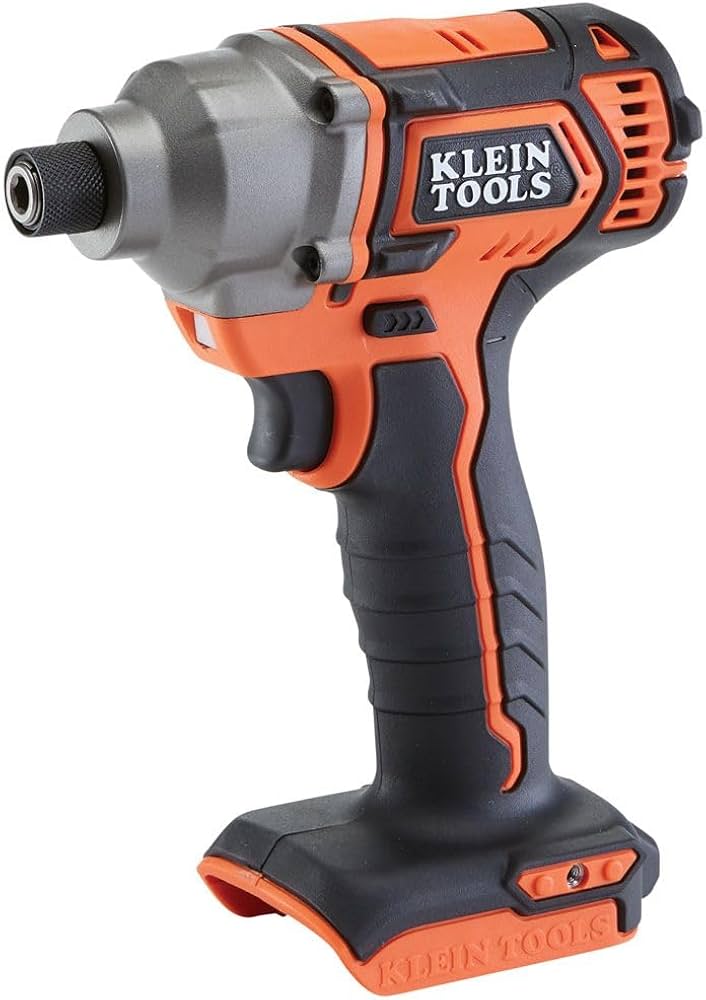
Essential for drilling anchor holes in concrete with minimal effort.
Klein Tools 69255 Impact Hammer Drill High-quality hammer drill with variable speed for precise concrete drilling.
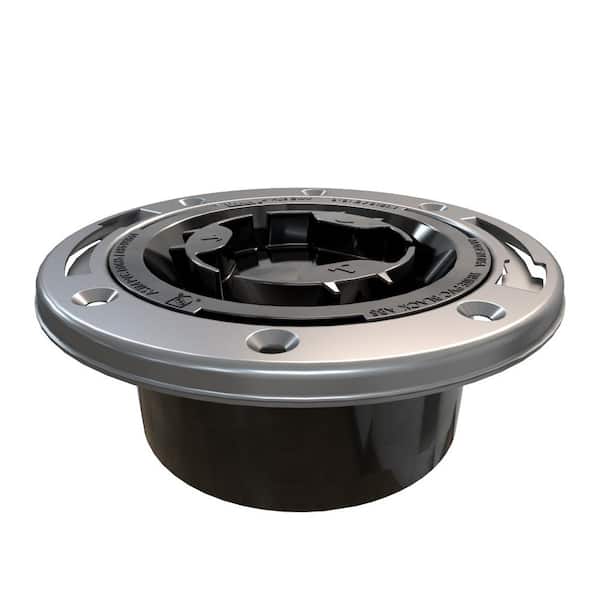
Direct replacement for old flanges in concrete floors.
Oatey 435012 Toilet Flange with Stainless Steel Ring Rust-resistant stainless steel ring, fits 3" or 4" drain pipes.
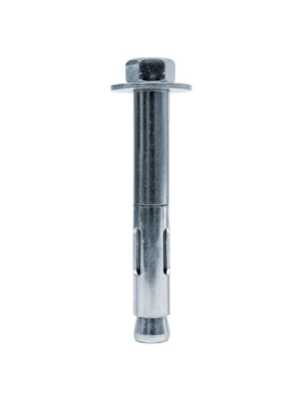
Securely fasten flange to concrete floor without splitting.
Concrete Sleeve Anchors (5/16" x 2-1/4") by Arboron Strong stainless steel anchors with Phillips head for easy installation.
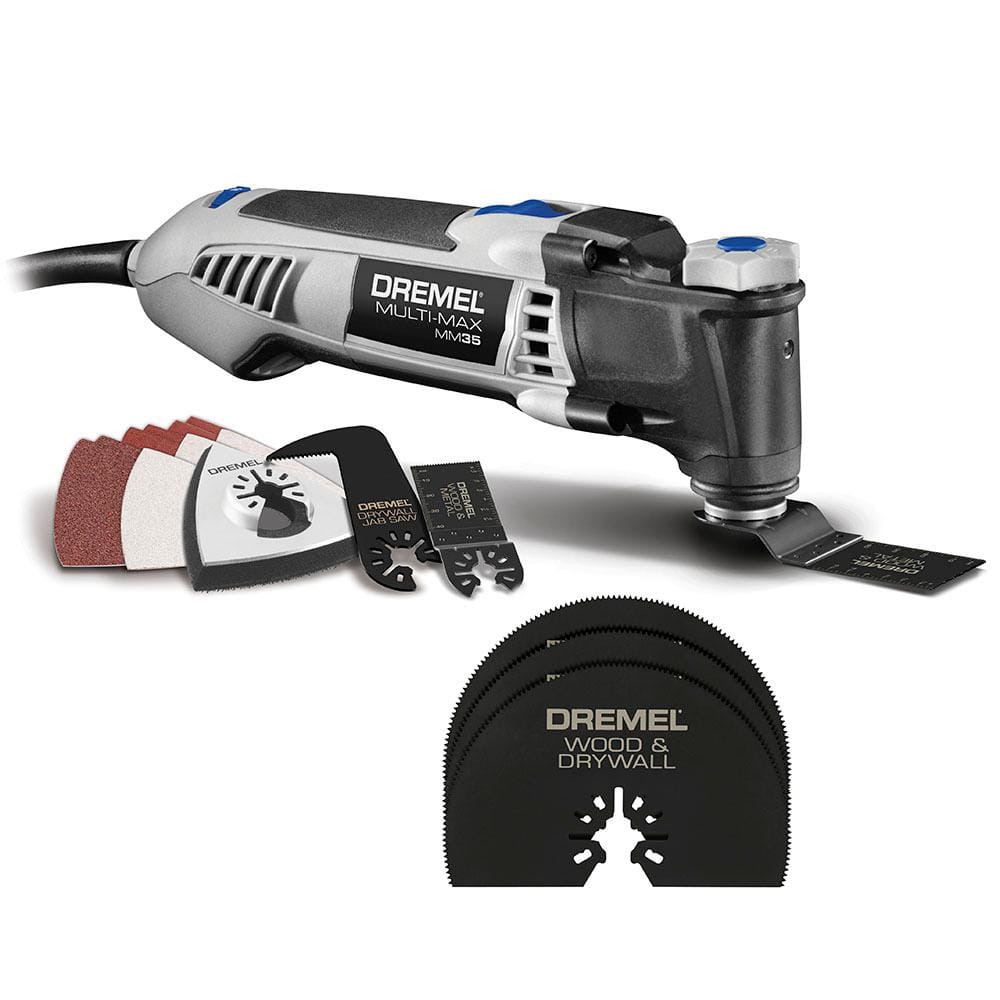
Removing old flange without damaging the drain pipe.
Dremel 3000 Oscillating Multi-Tool Cuts through cast iron or PVC flanges cleanly with metal/wood cutting blade.