Installing a programmable thermostat is one of the easiest and most cost-effective ways to reduce your energy bills and keep your home comfortable year-round. By automatically adjusting the temperature based on your schedule, you can save up to 10% on heating and cooling costs without sacrificing comfort. In this guide, you'll learn how to safely remove your old thermostat, properly wire a new programmable model, and set it up for optimal performance. The entire project typically takes 30 to 60 minutes and requires basic DIY skills. Whether you're replacing an outdated manual thermostat or upgrading to a smart model, the steps are largely the same.
▸What You'll Need
- •New programmable thermostat (compatible with your HVAC system)
- •Flathead and Phillips screwdrivers
- •Drill with small drill bit (for wall anchors if needed)
- •Wire strippers (optional, for trimming wires)
- •Level (to ensure thermostat is straight)
- •Voltage tester or multimeter (to confirm power is off)
- •Pencil and paper or smartphone for labeling wires
- •Wire labels or colored tape (recommended for accuracy)
- •Camera or phone to take a photo of the old wiring
- •Small flashlight (if area is dark)
Estimated Time: 30–60 minutes
Difficulty: intermediate
▸Step-by-Step Instructions
Step 1: Turn Off Power to the HVAC System
Safety first! Go to your circuit breaker or fuse box and shut off the power to your furnace and air conditioner. This prevents electric shock and protects your new thermostat. Use a voltage tester on the wires at the thermostat location to confirm power is off. Do not rely solely on the thermostat display turning off—it may be battery-powered or have residual charge.
💡 Tips:
- •Before flipping breakers, inform everyone in the house to avoid accidental restarts.
- •If your system has a separate emergency shutoff switch near the heating unit, turn that off too.
⚠️ Warnings:
- •Failure to turn off power can result in serious injury or damage to the thermostat.
Step 2: Remove the Old Thermostat Faceplate
Gently pull the old thermostat’s faceplate away from the wall base. Most models snap off or have small tabs you can press. If there are screws, remove them first. Set the faceplate aside—you may want to keep it as a backup. Now you’ll see the wires connected to the wall plate.
💡 Tips:
- •Take a clear, close-up photo of the wire connections before disconnecting anything. This serves as a reference if you get confused later.
Step 3: Label and Disconnect Wires
Each wire should be connected to a terminal with a letter (R, W, Y, G, C, etc.). Use wire labels or colored tape to mark each wire with its terminal letter as you disconnect it. Loosen the terminal screws with a screwdriver and gently pull the wire out. If wires are tangled, straighten them carefully. Common wire functions: R (power), W (heat), Y (cool), G (fan), C (common/neutral).
💡 Tips:
- •Use a pencil to label the wall near each wire if you don’t have labels.
- •If you see a jumper wire (a small wire connecting two terminals), note its positions—you likely won't need it with a programmable thermostat.
⚠️ Warnings:
- •Do not let the bare wire ends touch each other once disconnected. They may still carry voltage if the power wasn't fully shut off.
Step 4: Remove the Old Wall Plate
Unscrew the old thermostat base from the wall. Use a screwdriver to remove the mounting screws. If the plate is painted or stuck, gently pry it off with a flathead screwdriver wrapped in tape to avoid damaging drywall. You may need to patch any holes or clean paint chips before installing the new plate.
💡 Tips:
- •If the old plate leaves a large gap, you can use a small piece of drywall or spackle to patch it, then sand smooth.
⚠️ Warnings:
- •Be careful not to damage the wires coming out of the wall. If they are brittle, you might want to cut and strip them carefully.
Step 5: Install the New Thermostat Base
Feed the wires through the center hole of the new base. Align the base level on the wall. If the existing screw holes line up, use them. Otherwise, mark new hole positions with a pencil through the mounting slots. Drill pilot holes if needed, then insert wall anchors and drive the screws snugly. Ensure the base is flush against the wall.
💡 Tips:
- •Use a level to ensure the base is perfectly horizontal—an uneven thermostat looks sloppy and may not function correctly.
⚠️ Warnings:
- •Do not overtighten screws; plastic bases can crack.
Step 6: Connect the Wires to the New Base
Refer to your photo or labels. Insert each wire into its corresponding terminal on the new base. For most programmable thermostats, you push the wire into the terminal hole then tighten the screw to clamp it. Give each wire a gentle tug to ensure it’s secure. Common configurations: R to R, W to W, Y to Y, G to G, C to C. Follow the instructions that came with your thermostat—some models label terminals differently (e.g., RH vs RC).
💡 Tips:
- •If your old thermostat had a jumper between RC and RH, check if the new thermostat has a built-in jumper or dip switch. Do not install an external jumper unless instructed.
- •If you don’t have a C wire, select a thermostat that is compatible with a two-wire system or use a C-wire adapter.
⚠️ Warnings:
- •Mixing up wires (e.g., putting W on Y) can cause the system to operate incorrectly or fail.
Step 7: Attach the Thermostat Faceplate
Gently push any excess wire back into the wall. Align the faceplate with the base and snap it into place. Some models require screws; others just click. Avoid pinching wires. Once attached, check that it sits flush and the display turns on (if using battery power, insert fresh batteries first).
💡 Tips:
- •If the display doesn’t turn on, check that batteries are installed correctly or that the C wire is providing power.
⚠️ Warnings:
- •Do not force the faceplate if wires are obstructing it—reposition them to avoid damage.
Step 8: Restore Power and Test the System
Go back to the circuit breaker and turn on power to the furnace and AC. Wait a moment for the thermostat to boot up. Follow the on-screen prompts to configure basic settings: language, time, and date. Then test each function: turn on heating, cooling, and fan. Listen for the system to respond. If nothing happens, check the wiring connections again.
💡 Tips:
- •If your system doesn’t start immediately, be patient—some HVAC systems have a 5-minute delay to protect the compressor.
⚠️ Warnings:
- •If you smell burning or hear unusual noises, turn off power immediately and consult a professional.
Step 9: Program Your Thermostat Schedule
Set your weekly schedule for heating and cooling. Typical programmable thermostats allow four periods per day: Wake, Leave, Return, Sleep. Adjust temperatures to save energy when you’re away or asleep. For example, set heat to 68°F when home and 62°F when away. Most models have a 'hold' feature that bypasses the schedule temporarily. Save your settings.
💡 Tips:
- •Start with the Energy Star recommended settings: 68°F for heating, 78°F for cooling when home, and wider setbacks when away.
- •Use the ‘auto-away’ feature if available to let the thermostat detect when no one is home.
⚠️ Warnings:
- •Avoid drastic temperature changes exceeding 8°F in a short period—your system may struggle to catch up efficiently.
Step 10: Final Checks and Wi-Fi Setup (if applicable)
For smart thermostats, download the manufacturer’s app and follow the connection instructions. Connect to your home Wi-Fi network. Enable location services if you want geofencing. Register your thermostat for warranty updates. Finally, walk through the house to ensure all rooms are comfortable and there are no error codes on the display.
💡 Tips:
- •Place the thermostat away from direct sunlight, drafts, and heat sources for accurate readings.
- •Keep the user manual handy for future reference.
▸Pro Tips
- •Take a photo of old wiring before disconnecting anything. It’s a lifesaver if you get confused.
- •Use a voltage tester to confirm power is off. But if you don’t have one, at least flip the breakers and check with a non-contact voltage detector.
- •Label wires with clear, small stickers rather than masking tape—tape can fall off.
- •If you have a heat pump, ensure your new thermostat is compatible and has the right terminal (O/B).
- •For older homes without a C wire, choose a thermostat that works without it (e.g., Energate or some Honeywell models) or install a C-wire adapter.
- •Before buying, check if your HVAC system is low-voltage (most are) and ensure the thermostat supports your system type (conventional, heat pump, millivolt).
- •During installation, push extra wire back into the wall but do not cram—use a screwdriver to gently tuck it in.
- •If your new thermostat uses batteries, use high-quality alkaline or lithium batteries for longer life.
▸Common Mistakes to Avoid
- •Not turning off power: This can cause a short, shock, or damage the thermostat. Always double-check with a voltage tester.
- •Mislabeling or forgetting wires: Label as you go; a photo is not enough if labels fall off. Take a photo AND label.
- •Ignoring compatibility: Buying a thermostat that doesn’t match your system (e.g., single-stage vs. multi-stage, heat pump vs. conventional) leads to malfunction.
- •Overtightening screws on the base: Plastic bases can crack. Snug is enough.
- •Skipping the programming: Even the best thermostat won't save energy if you don't set a schedule. Spend 10 minutes on programming.
▸Troubleshooting
Problem: Thermostat display is blank or won’t turn on.
Solution: Check if the power is on at the breaker. If the thermostat uses batteries, replace them. If it uses a C wire, ensure the connection is tight. Try resetting the thermostat by removing batteries or turning off power for 30 seconds.
Problem: Heating or cooling does not come on.
Solution: Verify the thermostat is set to the correct mode (heat/cool) and the setpoint is above/below room temperature. Check wiring—especially the common (C) wire if needed. Ensure the HVAC system itself is functioning (e.g., furnace switch is on, air filter is clean).
Problem: Fan runs continuously or doesn't run when called.
Solution: Check the G-wire connection. If the fan is on 'Auto' but still runs, the thermostat might have a fan cycle option that keeps the fan running periodically. Disable that feature in settings.
Problem: Temperature readings are inaccurate.
Solution: Make sure the thermostat is not near a heat source (sunlight, lamp, kitchen) or drafty window. Check for dust inside the thermostat. Recalibrate if the model allows offset adjustments.
Problem: Wi-Fi connectivity issues (smart thermostats).
Solution: Place the thermostat closer to your router if possible. Restart the thermostat and router. Ensure your Wi-Fi network is 2.4GHz (some thermostats don’t support 5GHz). Check firewall or parental controls blocking the device.
Problem: System short-cycles (turns on and off rapidly).
Solution: This may be a compressor protection delay (built-in). Wait 5 minutes. If it persists, check if the thermostat is properly sized for the system (e.g., using a heat pump with the correct O/B terminal). Consult a professional.
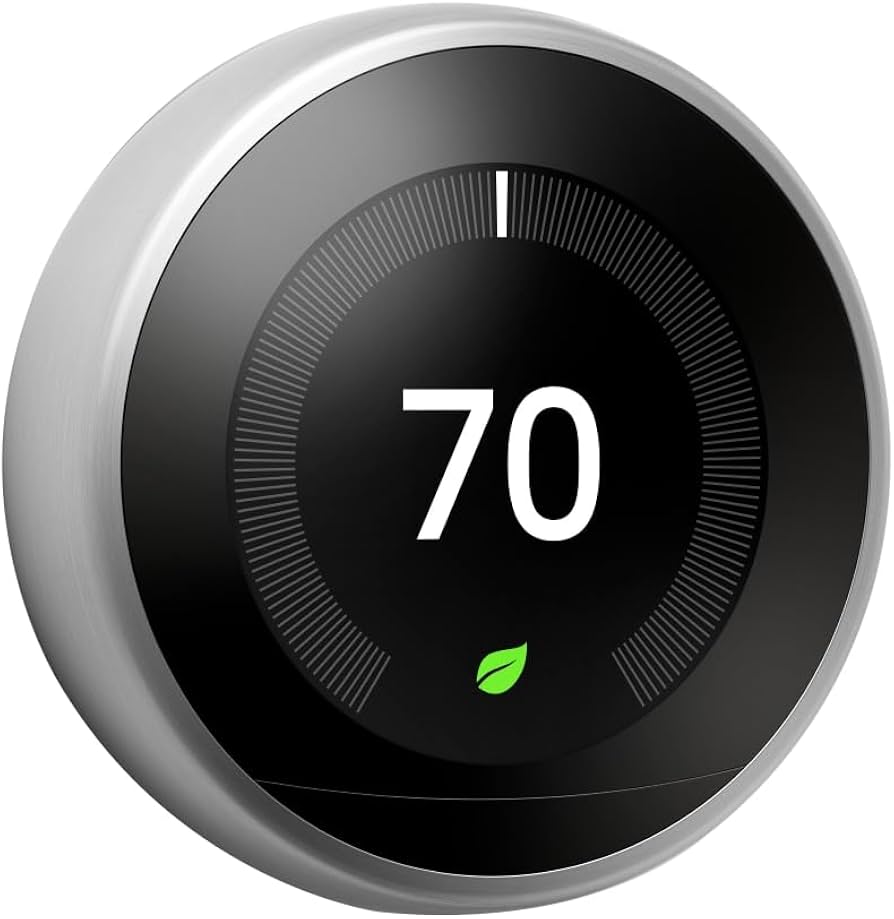
Nest Learning Thermostat (3rd Gen)
Auto-schedules itself based on your habits, works with 95% of low-voltage systems, and has a sleek design.
Best for: Best for users who want a smart thermostat that learns and adjusts automatically without manual programming.
Price Range: $200–$250
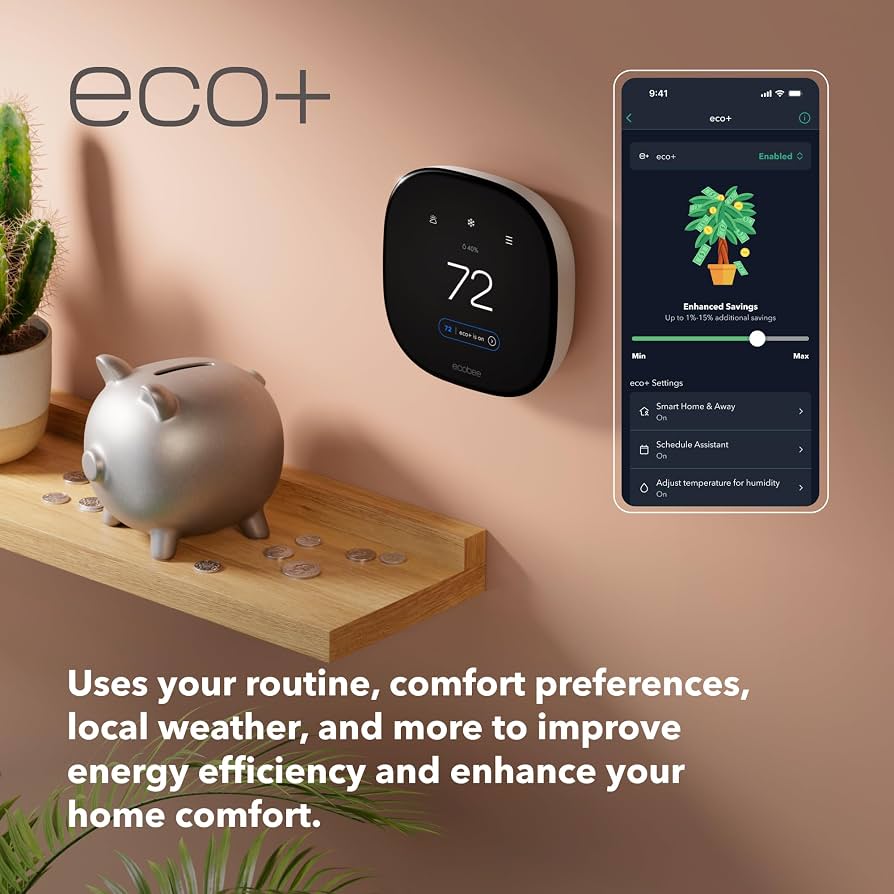
Ecobee SmartThermostat with Voice Control
Includes a remote sensor for balancing temperatures in problem rooms, works with Alexa, and has excellent scheduling features.
Best for: Ideal for multi-story homes or rooms that are too hot/cold; the remote sensor helps even out temperatures.
Price Range: $200–$250
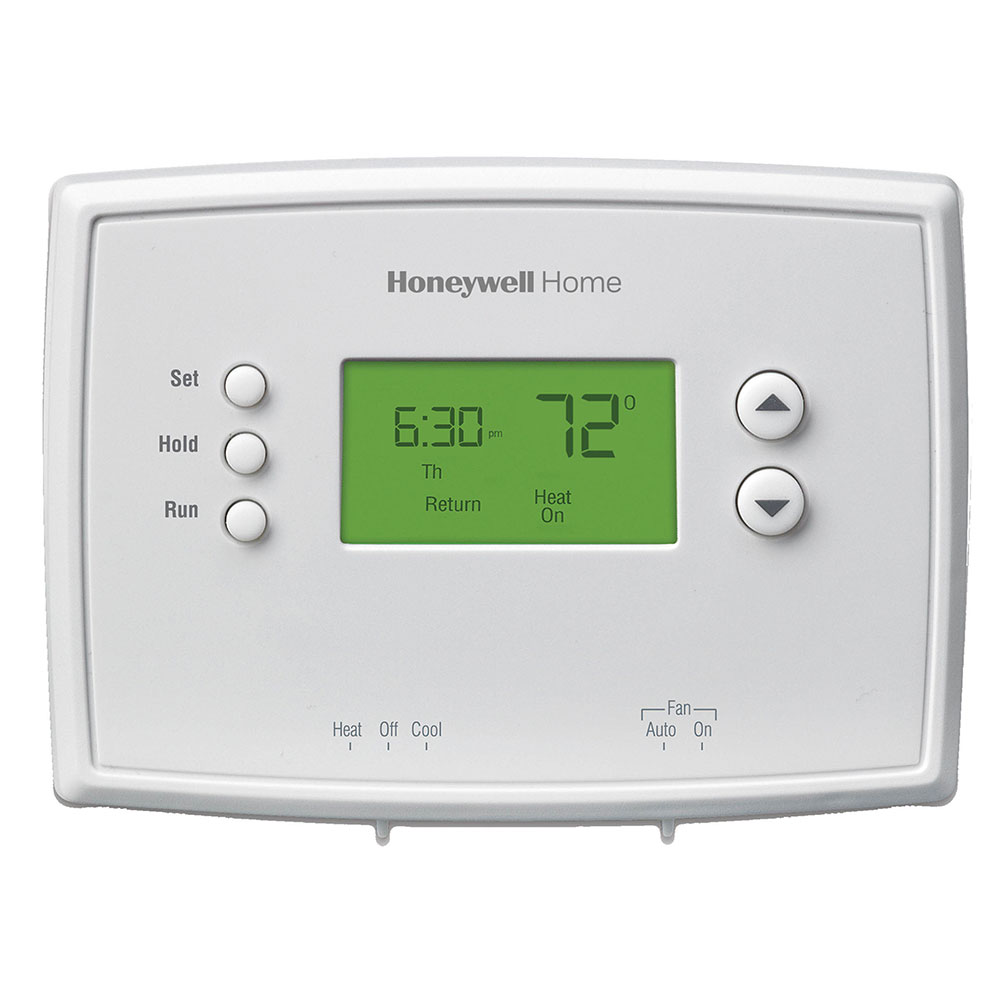
Honeywell Home RTH2300B Programmable Thermostat
Affordable, reliable, and easy to program with a simple backlit display. Compatible with most conventional systems.
Best for: Great for budget-conscious users who want a straightforward programmable thermostat without Wi-Fi.
Price Range: $30–$50
Klein Tools NCVT-1 Non-Contact Voltage Tester
Essential safety tool to confirm power is off before touching wires. Compact and easy to use.
Best for: Use before starting installation to ensure no live voltage on thermostat wires.
Price Range: $15–$25
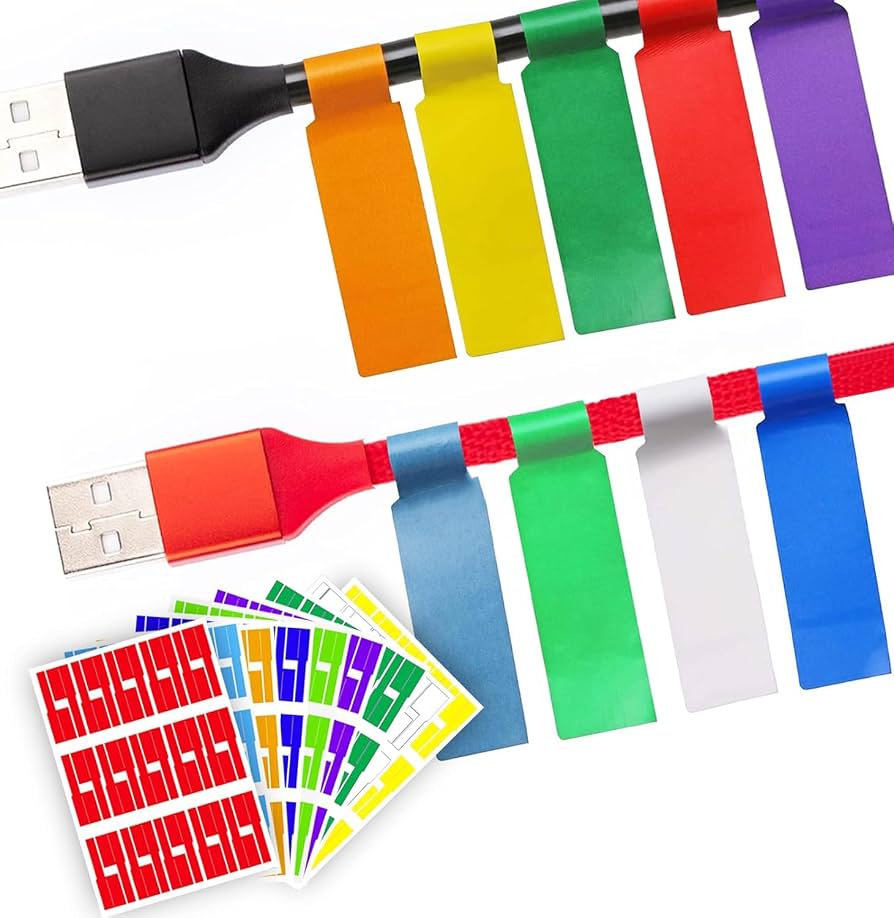
30pcs Wire Label Stickers for Thermostat Installation
Pre-printed labels with common thermostat wire codes (R, W, Y, G, C, etc.) make labeling quick and error-free.
Best for: Label each wire as you disconnect it to avoid confusion during wiring.
Price Range: $5–$10