Adding a new hard drive to your desktop PC is one of the most effective ways to increase storage space or boost performance with an SSD. Whether you're upgrading from a traditional HDD to a lightning-fast NVMe drive or simply adding a secondary drive for files and games, the process is straightforward if you follow the right steps. In this guide, you'll learn how to select the correct drive, prepare your computer, physically install the drive, connect cables, and initialize it in your operating system. The entire process typically takes 20–40 minutes and requires only basic tools like a screwdriver. While the task is intermediate level due to handling sensitive components, even a novice can succeed with careful attention.
▸What You'll Need
- •Compatible internal hard drive (SATA or NVMe)
- •SATA data cable (if using SATA drive)
- •SATA power cable from power supply (or adapter)
- •Phillips #2 screwdriver
- •Screws for mounting (usually included with drive or case)
- •Anti-static wrist strap or mat (optional but recommended)
- •Your desktop PC user manual (for drive bay locations and cable routing)
- •A flash drive or backup method for important data (safety)
Estimated Time: 20–40 minutes
Difficulty: intermediate
▸Step-by-Step Instructions
Step 1: Choose the Right Drive for Your Needs
Before opening your PC, decide what type of hard drive you need. The most common forms are 2.5-inch SATA SSDs, 3.5-inch SATA HDDs, and M.2 NVMe SSDs. SATA drives are widely compatible, while M.2 NVMe offers much faster speeds but requires an M.2 slot on your motherboard. Check your motherboard’s specifications for available SATA ports and M.2 slots. If you’re adding a secondary drive, a large HDD is great for media, while an SSD works best for your operating system or frequently used applications. For maximum performance, choose an NVMe SSD if your motherboard supports it.
💡 Tips:
- •If you're replacing your main drive, consider cloning your existing OS to the new drive using software like Macrium Reflect.
- •Check power supply wattage: most drives draw little power, but a high-end GPU might require extra headroom.
Step 2: Gather Tools and Prepare Your Work Area
You'll need a #2 Phillips screwdriver, the drive itself, and possibly a SATA data cable (if not included with your motherboard). Work on a clean, flat, non-carpeted surface to avoid static electricity. If possible, use an anti-static wrist strap clipped to the metal chassis of the case. Otherwise, periodically touch a grounded metal object (like the power supply case) to discharge static. Turn off your PC and unplug all cables, including the power cord. Press the power button to drain any residual charge.
💡 Tips:
- •Take a photo of the existing cable connections before disconnecting anything – it helps when reassembling.
⚠️ Warnings:
- •Never work on a PC while it is plugged in or powered on. Even when off, the power supply can hold dangerous charge; always unplug.
Step 3: Open the PC Case and Locate Drive Bays
Remove the side panel (usually left side when facing the front) by unscrewing thumb screws or sliding a latch. For most modern cases, the panel slides off backward. Once open, identify the drive bays. 3.5-inch bays are typically in the front bottom area; 2.5-inch bays might be behind the motherboard tray or in dedicated caddies. For M.2 drives, locate the M.2 slot on the motherboard – it’s a small horizontal slot, often near the CPU. If your case has a removable drive cage, you might need to unscrew it for easier access.
💡 Tips:
- •Some cases have tool-less drive mounts where the drive clicks into a plastic sled – no screws required.
⚠️ Warnings:
- •Be careful not to bump or disconnect existing cables. Avoid touching motherboard components unnecessarily.
Step 4: Install the Drive into the Bay or Slot
For SATA drives: Slide the drive into an empty bay until its screw holes align with the chassis holes. Secure it with four screws (two per side) using your screwdriver. For 2.5-inch drives in a 3.5-inch bay, you may need an adapter bracket. For tool-less bays, snap the drive into the carrier and insert it into the bay. For M.2 drives: Insert the drive at a 30-degree angle into the slot, then press down flat and secure it with the small screw that came with the motherboard. Do not overtighten.
💡 Tips:
- •If your case has a dedicated 2.5-inch mounting position (often behind the motherboard tray), use that for SSDs to improve airflow.
⚠️ Warnings:
- •M.2 drives are fragile. Handle them by the edges, not the gold connectors. Do not force the drive – if it doesn't fit, check the keying (B/M).
Step 5: Connect Cables to the SATA Drive (Skip for M.2)
If you installed a SATA drive, you need to connect two cables: a SATA data cable and a SATA power cable. The power cable comes from your power supply; it’s a wider, L-shaped connector. The data cable is narrower. Plug the power cable into the drive’s power port (it only fits one way). Then plug one end of the SATA data cable into the drive, and the other end into an available SATA port on the motherboard (usually labeled SATA1, SATA2, etc.). Ensure the latch clicks on both ends. For M.2 drives, no cables are needed – the drive plugs directly into the motherboard.
💡 Tips:
- •Use the first SATA port (often SATA0 or SATA1) for your main drive if installing multiple. Check your manual for port priority.
⚠️ Warnings:
- •Route cables neatly to avoid obstructing fans. Don't bend cables sharply. If the power connector doesn't fit, don't force – you may need a different cable from the PSU.
Step 6: Close the Case and Reconnect Peripherals
Once the drive is secured and cables connected, tidy up any loose cables using zip ties if needed. Make sure no cables are near fans or moving parts. Replace the side panel and secure it with screws or latches. Reconnect all external cables: monitor, keyboard, mouse, and power cord. Double-check that the power switch on the back of the PSU is turned on (I position).
💡 Tips:
- •If your case has a dedicated SSD mounting bracket that slides out, install the drive on the bracket first, then mount the bracket back into the case.
⚠️ Warnings:
- •Before closing, double-check that all connections are snug. A loose data cable can cause intermittent drive detection issues.
Step 7: Boot Up and Enter BIOS/UEFI to Verify Detection
Turn on the PC. Immediately press the key to enter the BIOS/UEFI (common keys: Del, F2, F10, or Esc). Navigate to the storage or boot section to see if your new drive appears in the list of drives. If it's an M.2 NVMe drive, it may appear under an NVMe configuration menu. If the drive is not detected, turn off the PC and reseat the drive or check cable connections. You may need to enable the M.2 slot or change SATA mode (e.g., from IDE to AHCI) in BIOS.
💡 Tips:
- •Make a note of your current BIOS settings before making changes, so you can revert if necessary.
⚠️ Warnings:
- •If you changed SATA mode and had an existing OS drive, switching from IDE to AHCI may cause boot failure. It's safer to set the mode to match your current installation.
Step 8: Initialize the Drive in Windows
After Windows boots, the drive may not appear in File Explorer because it hasn't been initialized. Right-click the Start button and select Disk Management. If the drive appears as a black bar labeled “Unknown” and “Not Initialized,” right-click it and choose Initialize Disk. Choose GPT (recommended for drives over 2TB or modern systems) or MBR. Then right-click the unallocated space and select New Simple Volume. Follow the wizard to assign a drive letter and format the drive (NTFS is typical). Once complete, the drive will appear in File Explorer.
💡 Tips:
- •For maximum performance on an SSD, make sure the partition is aligned properly – Windows does this automatically with GPT.
- •If you plan to use the drive for data only (not OS), you can format it as exFAT for cross-platform compatibility with Mac/consoles.
⚠️ Warnings:
- •Formatting erases all data on the drive. Ensure you've selected the correct disk – double-check its size to avoid accidentally wiping your OS drive.
Step 9: Install the Drive on Linux or macOS (If Applicable)
On Linux, use a tool like GParted or the command line to partition and format the drive. On macOS, use Disk Utility (found in Applications/Utilities). Select the new drive (usually labeled as “external” or by its model), then choose Erase to format it as APFS or Mac OS Extended (Journaled). For both systems, the drive should be automatically detected after booting, but may require initialization.
💡 Tips:
- •On Linux, you can use
lsblk to list all block devices and identify your new drive by size.
- •For a dual-boot system, consider partitioning the drive with multiple filesystems.
⚠️ Warnings:
- •Be careful not to format the wrong drive – especially on systems with multiple disks.
Step 10: Test the Drive and Transfer Data
After initialization, open File Explorer and verify the new drive appears with the correct drive letter. Copy some files to and from the drive to ensure read/write operations work. You can also run a quick health check using tools like CrystalDiskInfo (for Windows) or smartctl (Linux/macOS). If this is your new OS drive, boot from it and ensure all components are recognized. For a secondary drive, start moving your data.
💡 Tips:
- •If the drive is an SSD, consider enabling TRIM in Windows (usually automatic) for long-term performance. Run
fsutil behavior query DisableDeleteNotify in Command Prompt to check.
⚠️ Warnings:
- •If you notice very slow transfer speeds or errors, check the SATA cable version (SATA III 6Gbps) and connection. Older cables may limit speed.
▸Pro Tips
- •Always use the screws that came with your drive or case; mismatched screws can damage the drive or case threads.
- •If your power supply doesn't have enough SATA power connectors, use a SATA power splitter (Y-cable).
- •For M.2 drives, install the standoff screw into the correct mounting hole before inserting the drive (check motherboard manual for support length).
- •Use cable ties to secure loose cables – improves airflow and makes future upgrades easier.
- •Label your drives with small stickers or marker on the case to avoid confusion later.
- •If installing an HDD in an anti-vibration mount, ensure it's seated correctly to reduce noise.
- •After installation, check your system's BIOS boot order to ensure the correct drive boots first if you have multiple OS drives.
▸Common Mistakes to Avoid
- •Mistake: Not grounding yourself, leading to static discharge that can kill components. Solution: Use an anti-static wrist strap or touch a grounded metal object before handling parts.
- •Mistake: Forcing a SATA connector upside down or a M.2 drive into the wrong key slot. Solution: Align the connectors gently; SATA and M.2 are keyed and only fit one way.
- •Mistake: Forgetting to connect the SATA data cable or power cable, or not pushing them fully until they click. Solution: Double-check all connections before closing the case.
- •Mistake: Using the wrong screw length for mounting – a screw too long can short-circuit the drive’s circuit board. Solution: Use only the screws provided with the drive or case.
- •Mistake: Not initializing the drive in Disk Management before expecting it to appear in File Explorer. Solution: Go to Disk Management and follow the initialization and formatting steps.
▸Troubleshooting
Problem: Drive not detected in BIOS or Windows.
Solution: Reseat the drive check cables. For SATA drives, try a different SATA port and cable. For M.2, verify the slot is enabled in BIOS. Also ensure the drive is fully inserted and secured.
Problem: Windows shows the drive but it doesn't appear in File Explorer.
Solution: Open Disk Management. The drive likely needs to be initialized (right-click the black bar) and a volume created (right-click unallocated space).
Problem: Drive is detected but shows incorrect capacity (e.g., 2TB shows as 2GB).
Solution: This often means the drive is not initialized properly or uses MBR on a large drive. Reinitialize as GPT to see full capacity.
Problem: Computer makes clicking noise from new HDD.
Solution: If it's a constant clicking (not normal seek noise), the drive may be failing. Back up data immediately and consider returning the drive. Ensure it's mounted securely to reduce vibration.
Problem: M.2 drive is very hot under load.
Solution: NVMe drives can run hot. If your motherboard doesn't have a heatsink, consider purchasing an aftermarket M.2 heatsink. Also ensure adequate case airflow.
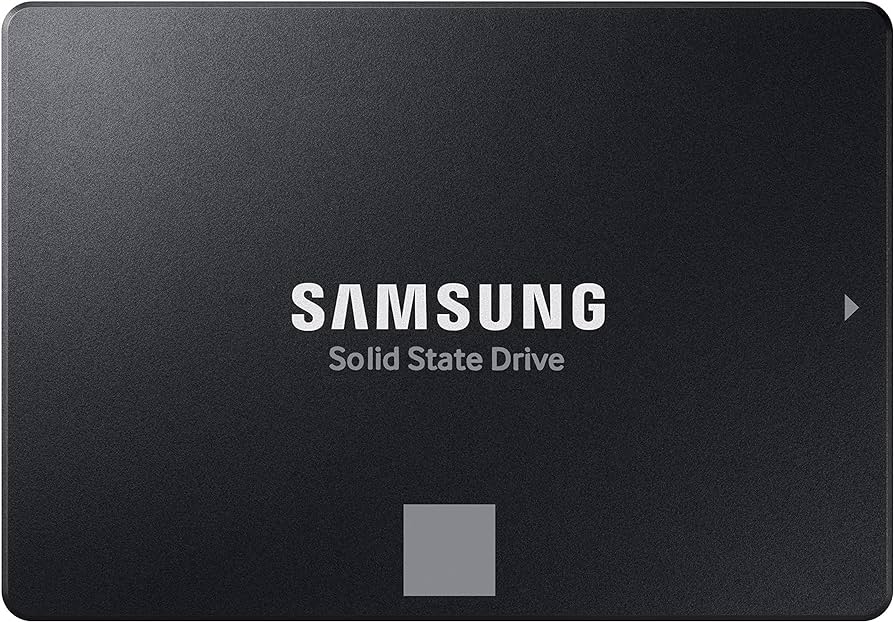
Samsung 870 EVO 2.5-inch SATA SSD
Reliable, fast, and well-reviewed SATA SSD for upgrading older systems or adding storage. Excellent for OS and applications.
Best for: When you want a cost-effective speed boost for a desktop with SATA connections.
Price Range: $50–$100
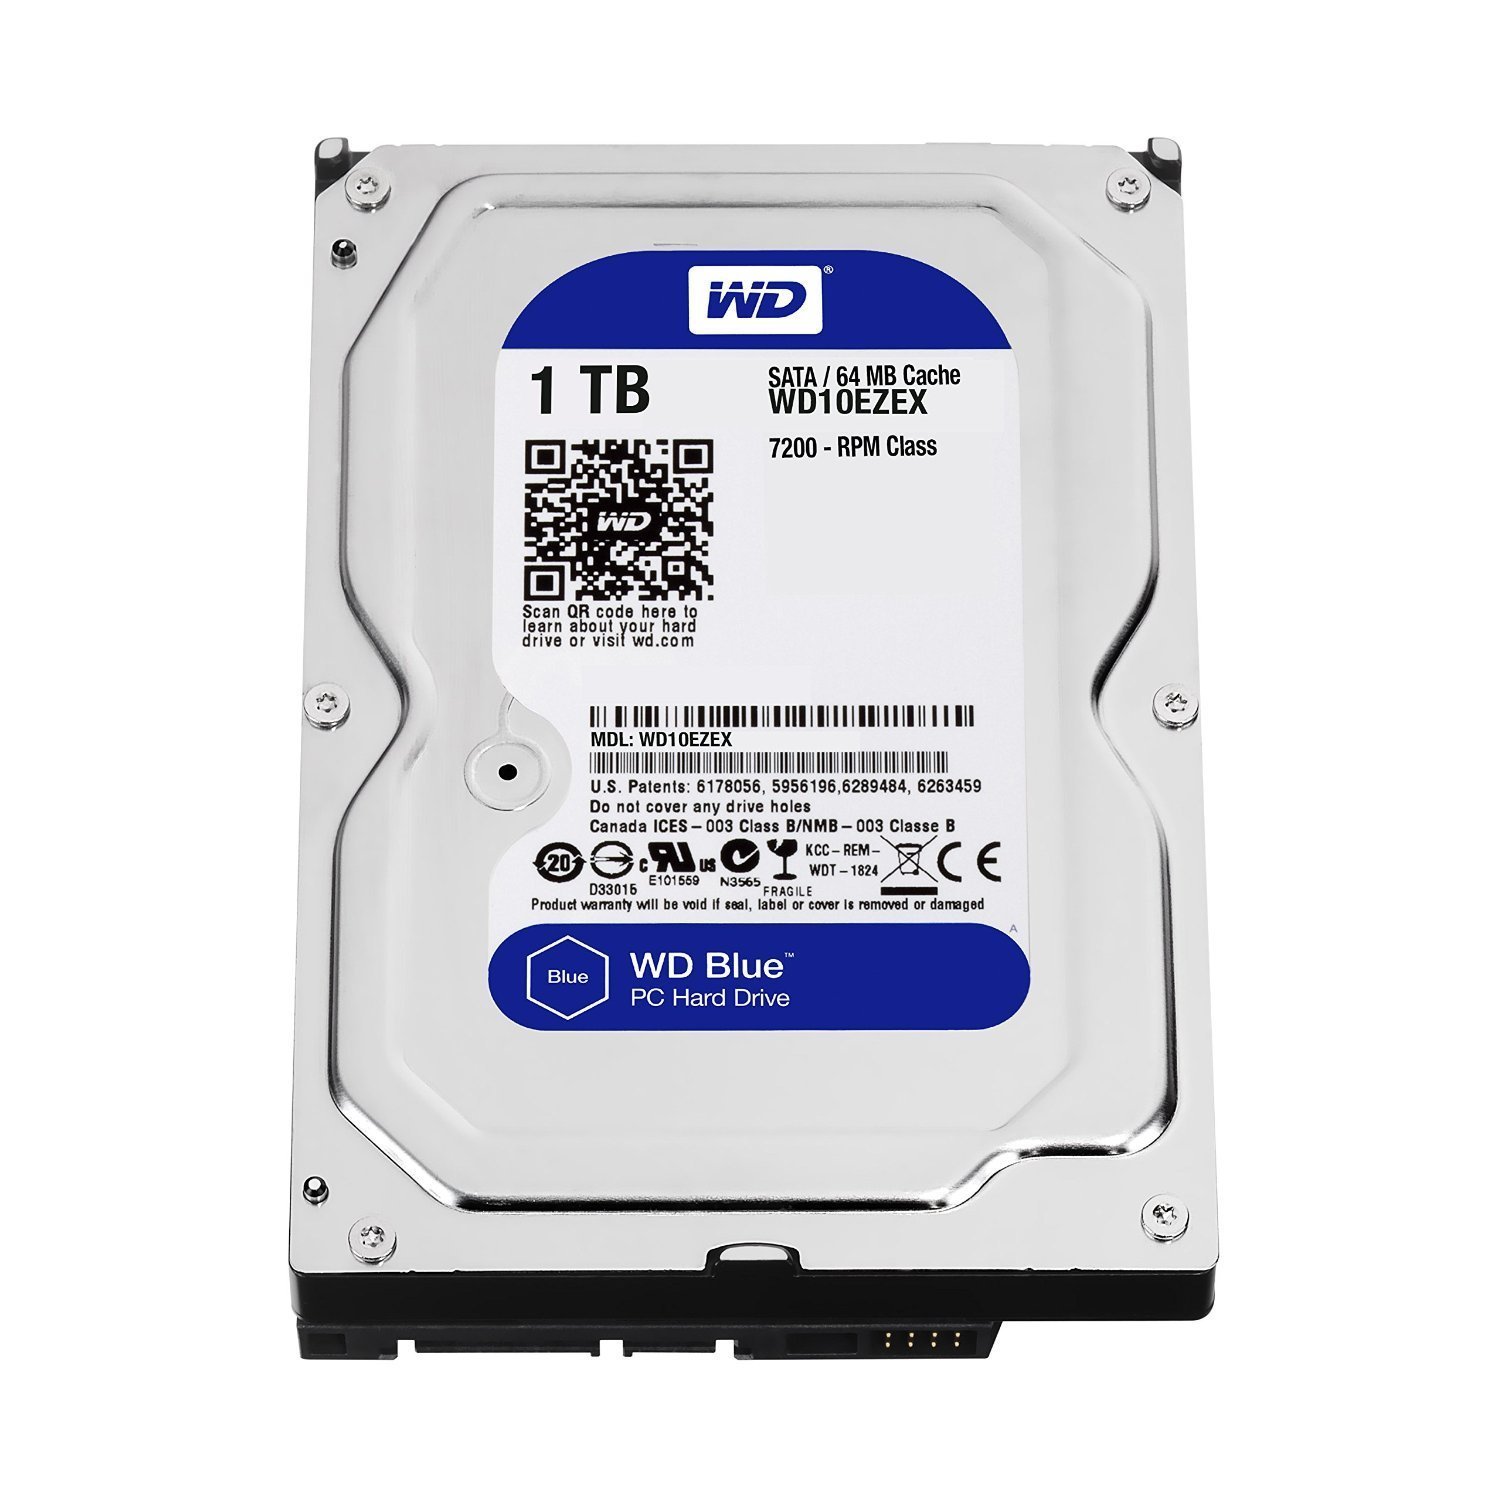
WD Blue 1TB 3.5-inch Internal Hard Drive
Popular HDD for bulk storage of media, games, and backups. Quiet and reliable.
Best for: When you need large, affordable storage for files and games where speed isn't critical.
Price Range: $40–$50
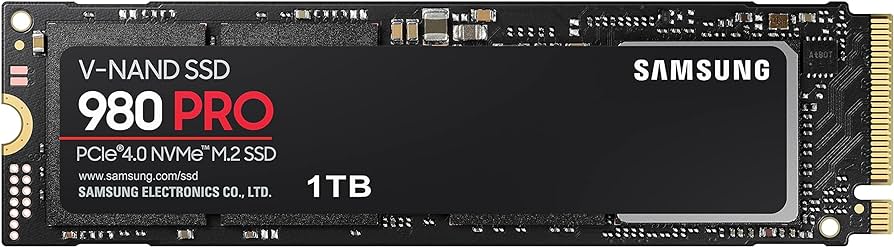
Samsung 980 Pro NVMe M.2 SSD
High-performance PCIe 4.0 NVMe drive for demanding tasks like video editing or gaming. Blazing fast speeds.
Best for: When you want the fastest possible storage performance for your primary drive (requires M.2 slot and PCIe 4.0 support).
Price Range: $70–$200
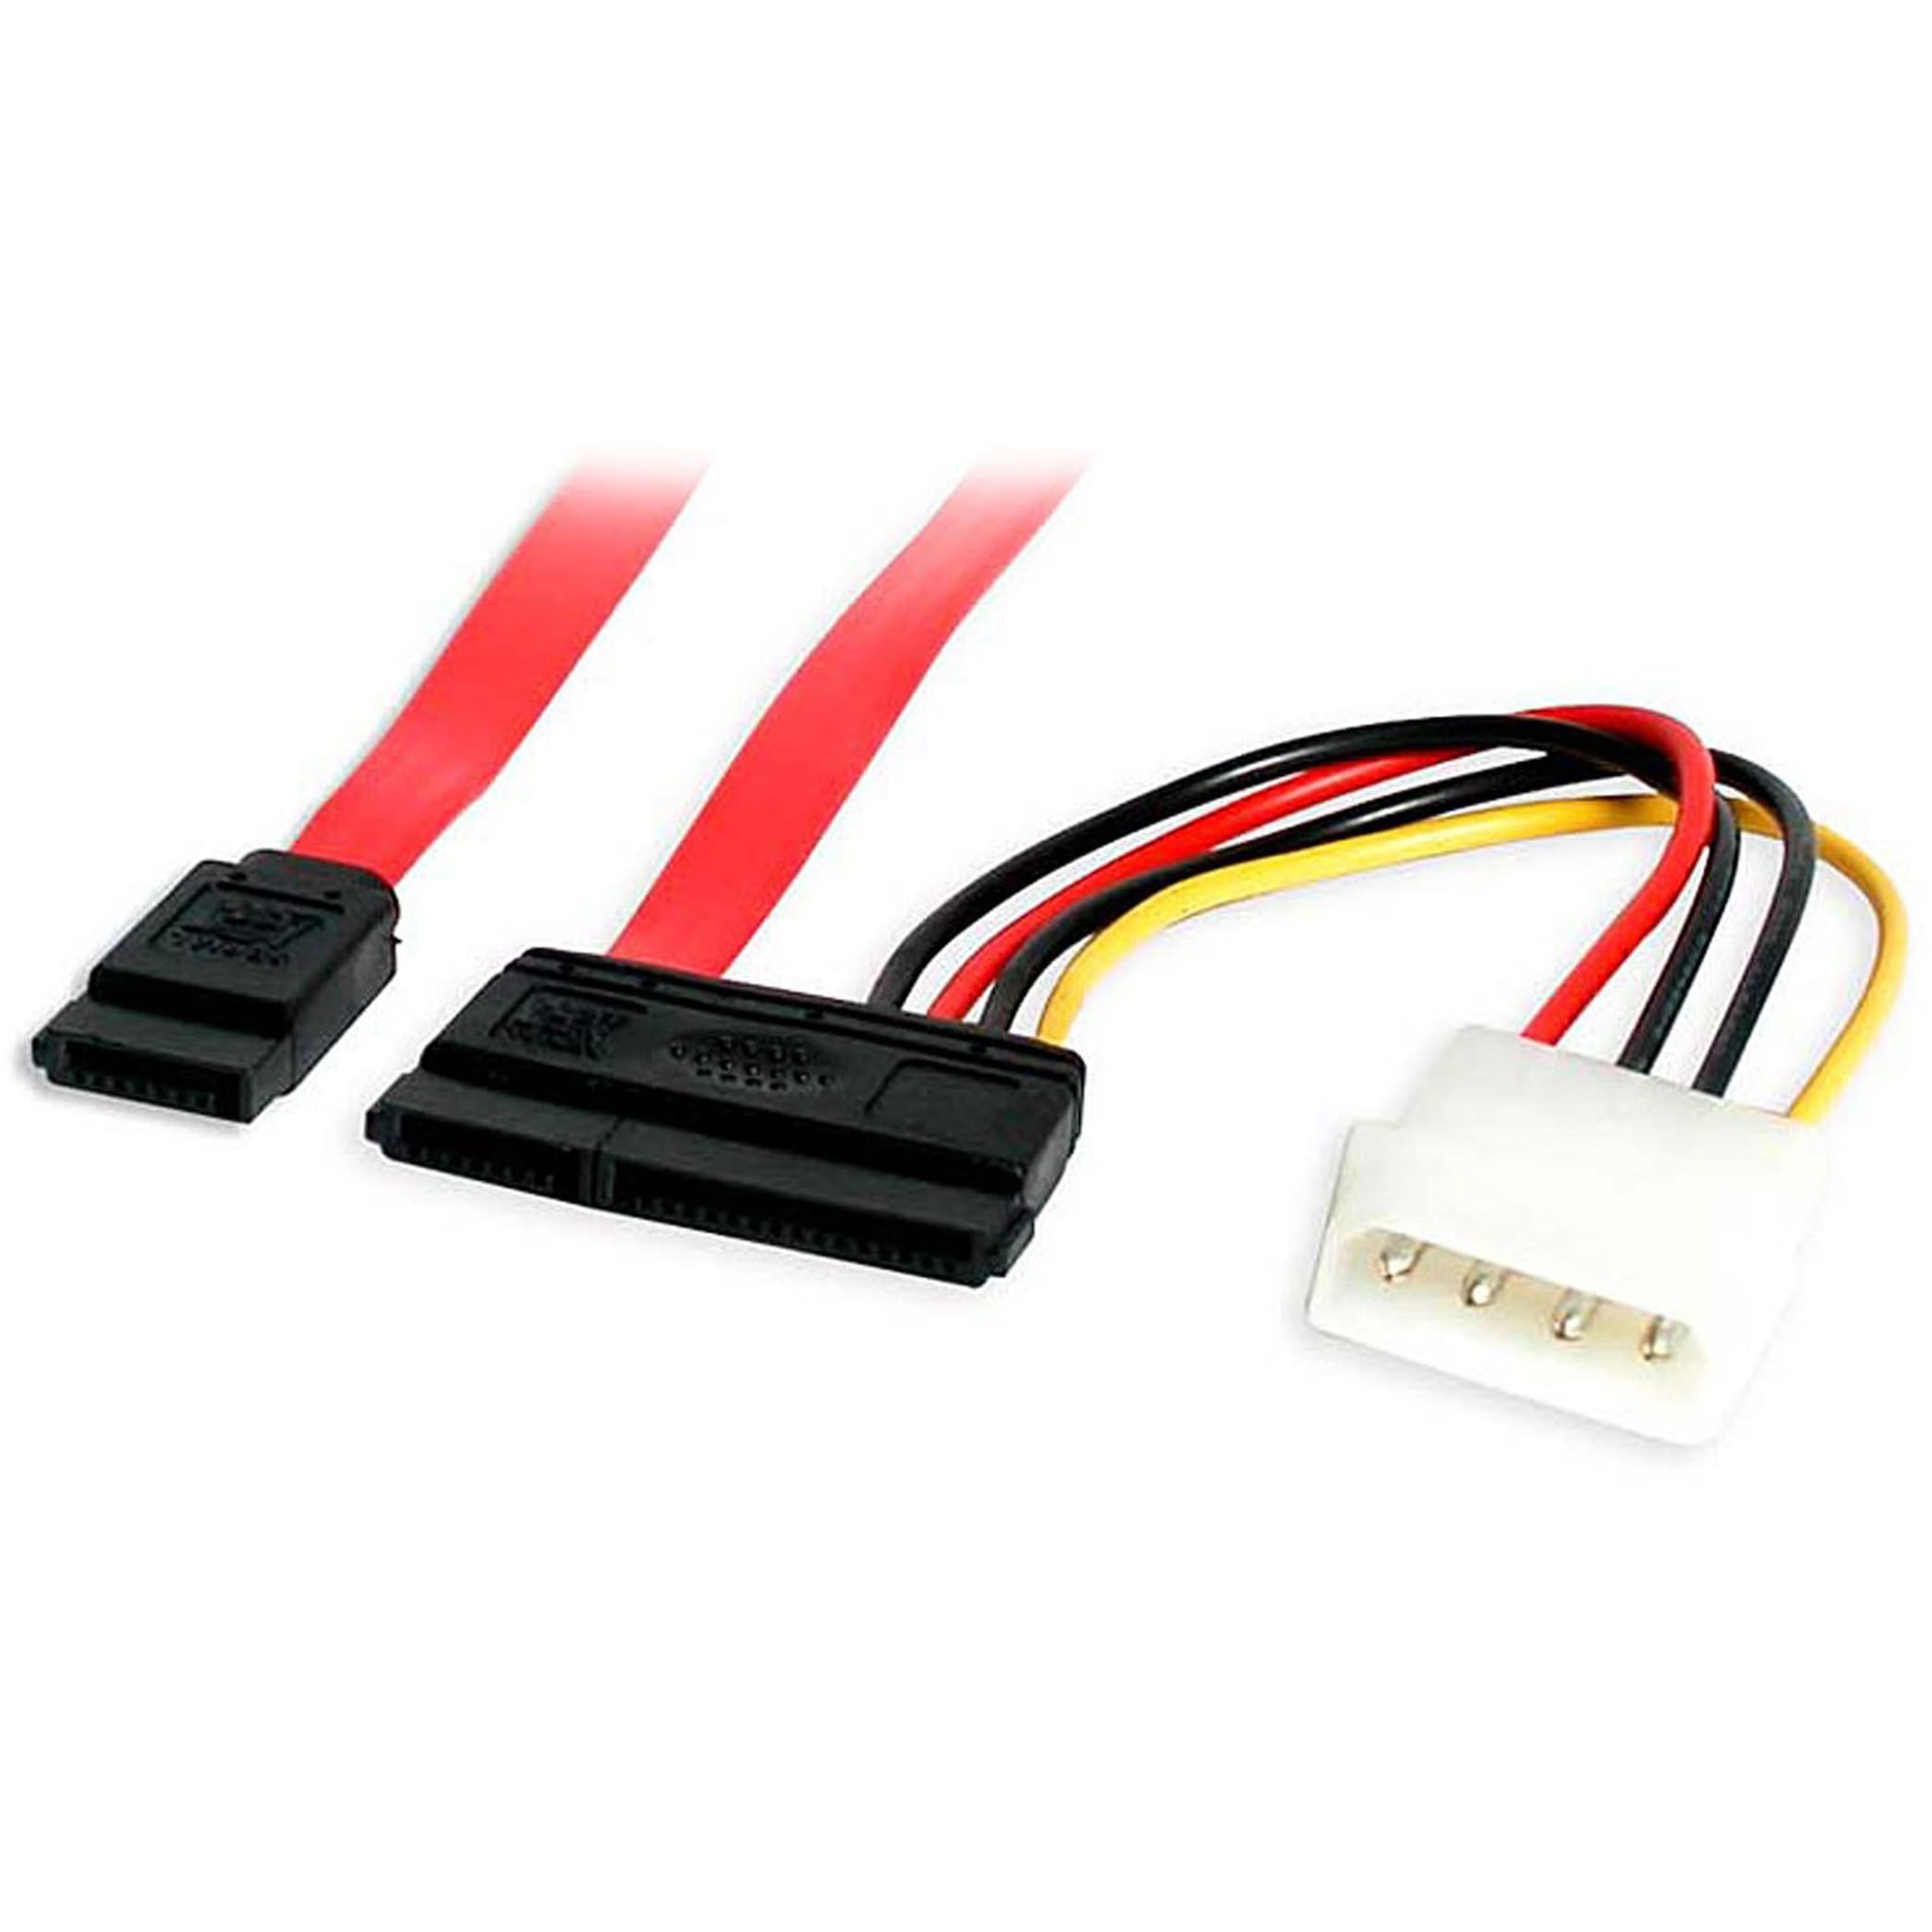
StarTech.com SATA III Cable (2-Pack)
High-quality, locking SATA cables with 6Gbps speed support. Includes two to have a spare.
Best for: When you need a reliable SATA cable for a new drive or to replace old cables.
Price Range: $5–$10
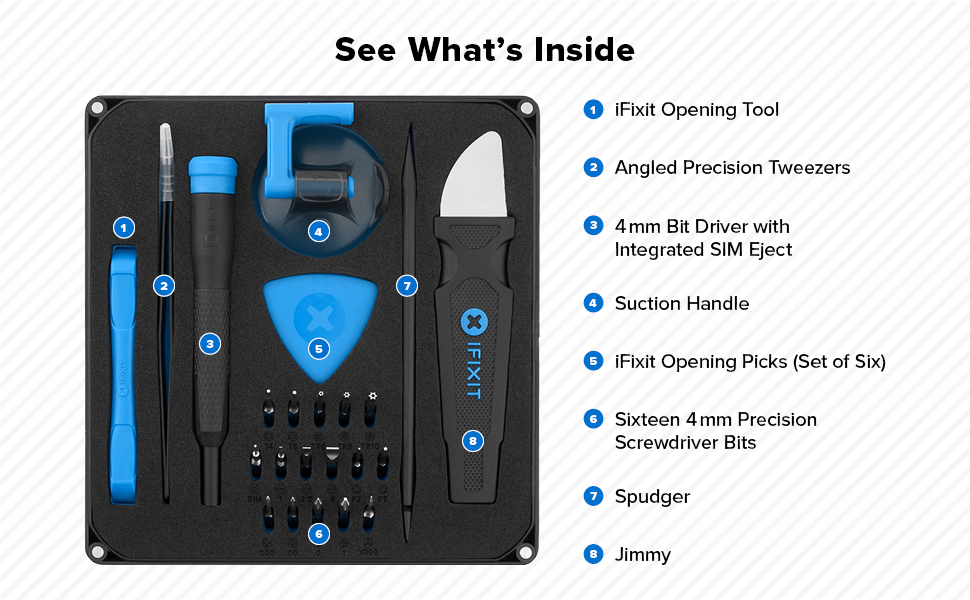
iFixit Essential Electronics Toolkit
Contains all necessary screwdrivers (including Phillips #2), spudgers, and an anti-static wrist strap. Perfect for PC building.
Best for: When you need a complete toolkit for installing drives and other PC components.
Price Range: $25–$35