Replacing a garbage disposal might seem daunting, but with the right tools and guidance, it's a straightforward DIY project that can save you money on plumber fees. This guide walks you through every step—from removing the old unit to connecting the plumbing and wiring the disposal. We'll cover essential safety precautions, common pitfalls, and pro tips to ensure a leak-free, long-lasting installation. Expect to spend 1–2 hours, and if you have basic plumbing and electrical skills, you'll succeed.
▸What You'll Need
- •New garbage disposal unit (compatible with sink flange diameter)
- •Sink flange gasket (often included with disposal)
- •Plumber's putty or silicone caulk
- •Mounting assembly (includes snap ring, mount ring, and bolts)
- •Discharge tube (conduit connecting disposal to drain pipe)
- •Slip-joint pliers or channel locks
- •Flathead and Phillips screwdrivers
- •Wire strippers/cutters
- •UL-listed wire connectors (wire nuts)
- •Electrical tape
- •Hose clamps (if connecting dishwasher)
- •Bucket and towels
- •Safety glasses and gloves
Estimated Time: 1–2 hours
Difficulty: intermediate
▸Step-by-Step Instructions
Step 1: Turn Off Power and Disconnect Old Unit
First, turn off the circuit breaker supplying power to the disposal. Confirm power is off by flipping the wall switch and trying the disposal. Unplug the disposal if it's corded. Place a bucket under the sink drain. Use screwdrivers to disconnect the drain pipes from the old disposal's discharge tube. Loosen the slip nuts with pliers. Also disconnect the dishwasher drain hose if attached. Then, remove the old mounting assembly by rotating the mount ring counterclockwise with a screwdriver until the disposal drops free. If the old unit is hard to remove, use a disposal wrench (or Allen wrench) to turn the mounting ring. Remove the old sink flange by prying it up from the sink top after loosening the mount ring.
💡 Tips:
- •Take a photo of the wiring connections before disconnecting to simplify your new hookup.
- •If the old disposal is rusted or stuck, spray penetrating oil on the mounting ring and wait 15 minutes.
⚠️ Warnings:
- •Never work on electrical connections with power on; double-check with a voltage tester.
- •Support the old disposal when loosening the mount ring—it can fall suddenly.
Step 2: Clean and Prepare the Sink Opening
Clean the sink opening thoroughly to remove old putty or debris. Scrape off old plumber's putty from the sink flange area using a putty knife. Ensure the rim is smooth and dry. Insert the new sink flange from the top of the sink, then place the rubber gasket and fiber gasket (if provided) over the flange from underneath. Apply a thin bead of plumber's putty around the top edge of the flange before inserting, or use the gasket method depending on the manufacturer's instructions. Most disposals use a three-bolt mount system; follow the included manual.
💡 Tips:
- •Roll plumber's putty into a rope and press it evenly around the flange underside for a watertight seal.
- •Do not overtighten—hand tighten only, then final tightening after installing the mounting ring.
⚠️ Warnings:
- •If using a stainless steel sink, avoid abrasive cleaners that can scratch.
Step 3: Install the Mounting Assembly
From under the sink, slide the mounting ring over the sink flange, followed by the mount ring and snap ring. Press the snap ring into the groove on the flange until it clicks. Place the mount ring (the one with the three mounting bolts) over the snap ring and rotate it to align with the tabs. Insert the three mounting bolts through the mount ring and into the mounting ring. Tighten the bolts evenly with a screwdriver to snug the assembly against the sink. This step secures the flange and prepares the mount for the disposal unit.
💡 Tips:
- •Tighten the bolts in a star pattern to ensure even compression.
- •Use a level on the flange to check that it's parallel to the sink bottom.
⚠️ Warnings:
- •Do not overtighten bolts as they can crack the sink flange.
Step 4: Attach the Discharge Tube and Dishwasher Connection
The discharge tube is the curved pipe that carries wastewater from the disposal to the drain. Slide the discharge tube over the disposal's outlet. Secure it with the provided gasket and tighten the slip nut with pliers. If you have a dishwasher, locate the dishwasher drain port on the disposal (usually a small, capped opening). Use a flathead screwdriver to punch out the knockout plug inside the port. Then connect the dishwasher drain hose to the port using a hose clamp. Ensure the hose doesn't have any sharp bends.
💡 Tips:
- •Discharge tubes are universal, but check if you need an extension for deeper sinks.
- •Apply a thin layer of plumber's grease on the gasket to prevent leaks.
⚠️ Warnings:
- •Forgetting to remove the knockout plug will block dishwasher drainage. Always punch it out before connecting the hose.
- •Use hose clamps that won't corrode—stainless steel is best.
Step 5: Wire the Garbage Disposal
Most disposals are hardwired or plug-in. If hardwired, remove the electrical cover plate on the underside of the disposal. Connect the white (neutral) wire from the house to the white wire from the disposal, and the black (hot) to the black. The green or bare copper ground wire connects to the green ground screw inside the box. Use wire nuts and wrap with electrical tape. Push wires into the box and replace the cover plate. If using a plug-in model, simply plug it into a grounded outlet under the sink (if one is present).
💡 Tips:
- •Use a voltage tester to confirm the circuit is dead before touching wires.
- •Take a clear photo of the old disposal's wiring if you need a reference.
⚠️ Warnings:
- •Never use an extension cord with a disposal—fire hazard.
- •Ensure the disposal's amp rating matches the circuit breaker (typically 15 or 20 amps).
Step 6: Mount the Disposal Unit to the Assembly
With the mounting assembly in place, lift the disposal up from under the sink. Align the three tabs on the disposal's mounting bracket with the mounting bolts on the assembly. Rotate the disposal onto the bolts—you may need to turn it clockwise to lock it in. Tighten the three bolts evenly with a screwdriver until the disposal is snug against the mount. Avoid overtightening; it should feel solid with no wobble. The disposal should hang straight.
💡 Tips:
- •Use a magnet or helper to hold the disposal while you align the tabs—it's heavy.
- •Apply a small amount of lubricant to the rubber gasket inside the mounting ring to ease rotation.
⚠️ Warnings:
- •If the disposal doesn't rotate easily, check that the tabs are properly aligned and the snap ring is seated.
- •Do not force it—risk of cracking the housing.
Step 7: Reconnect the Drain Pipes
Connect the discharge tube from the disposal to the drain pipe you previously disconnected. Use the slip nuts and washers provided with your new disposal or existing ones. Align the pipes and tighten slip nuts hand-tight, then a quarter-turn with pliers. If you have a dishwasher drain hose connected to the disposal, ensure it is clamped. Reconnect any other drain lines (e.g., double sink). Check for any unused ports that need a cap.
💡 Tips:
- •Use Teflon tape on threaded connections to prevent leaks.
- •Place a bucket under the pipes when testing to catch drips.
⚠️ Warnings:
- •Pipe sections must slope slightly downward toward the main drain to prevent standing water.
- •Do not use excessive force when tightening plastic slip nuts—they can crack.
Step 8: Restore Power and Test for Leaks
Turn the circuit breaker back on. For hardwired units, flip the wall switch to off. Run water into the sink (hot and cold) and then turn on the disposal. Listen for unusual noises. Check all connections for drips: sink flange, discharge tube, drain pipe connections, and dishwasher port. Let water run for a minute. If no leaks, run a few ice cubes through to verify grinding performance. Turn off the disposal and allow water to drain completely.
💡 Tips:
- •Plug the sink and fill with water, then pull the plug to test the flange seal under pressure.
- •If the disposal hums but doesn't turn, it may be jammed—use the built-in reset button and manual rotation via the hex hole in the bottom.
⚠️ Warnings:
- •Never put your hand inside the disposal to clear a jam—use tongs or a disposal wrench.
- •If the disposal trips the breaker immediately, there may be a short—recheck wiring.
Step 9: Final Adjustments and Cleanup
If any leaks appear, tighten the affected connections slightly. For a leaking sink flange, try tightening the three mounting bolts a quarter-turn more. Wipe away excess plumber's putty from the sink rim. Clean the area and remove any tools. Test the dishwasher cycle if applicable to ensure drain hose is secure. Your installation is complete.
💡 Tips:
- •Keep the owner's manual and disposal wrench (often stuck magnetically to the disposal) for future maintenance.
- •Run a lemon peel or citrus through the disposal weekly for fresh scent.
⚠️ Warnings:
- •Do not use chemical drain cleaners if a leak persists—they can damage plumbing.
▸Pro Tips
- •Before starting, check local plumbing codes—some areas require a licensed electrician for hardwiring.
- •Use a silicone-based lubricant on o-rings and gaskets to prevent leaks and make future removal easier.
- •Install a dedicated air switch for the disposal if you don't have a wall switch—convenient and easy with a countertop button.
- •Always run cold water while operating the disposal to solidify any grease and prevent clogs.
- •Dispose of large fibrous items (celery, corn husks) in small batches to avoid jams.
- •After installation, label the breaker for the disposal for quick shutoff during emergencies.
▸Common Mistakes to Avoid
- •Forgetting to remove the dishwasher knockout plug, causing the dishwasher to back up.
- •Reversing hot and neutral wires—creates a shock hazard and may not work.
- •Overtightening plastic slip nuts, cracking them and causing leaks.
- •Not supporting the disposal while mounting, leading to a loose fit or dropping the unit.
- •Skipping the plumber's putty or gasket at the sink flange, resulting in a persistent leak.
▸Troubleshooting
Problem: Disposal hums but doesn't grind.
Solution: Turn off power, then use a 1/4-inch hex wrench (included) to manually rotate the disposal's motor shaft via the hole in the bottom. If it moves freely, press the reset button and try again. If still jammed, use tongs to remove debris.
Problem: Water leaks from under the sink flange.
Solution: Tighten the three mounting bolts evenly. If leaking persists, remove the flange, apply new plumber's putty, and reinstall.
Problem: Disposal trips the circuit breaker immediately.
Solution: Check wiring connections for a short—ensure wire nuts are tight and no bare wires touch the housing. Also verify that the disposal's amp draw does not exceed the breaker rating.
Problem: Dishwasher doesn't drain into disposal.
Solution: Verify the knockout plug inside the dishwasher inlet port has been pushed out. Also check that the dishwasher drain hose is not kinked or clogged.
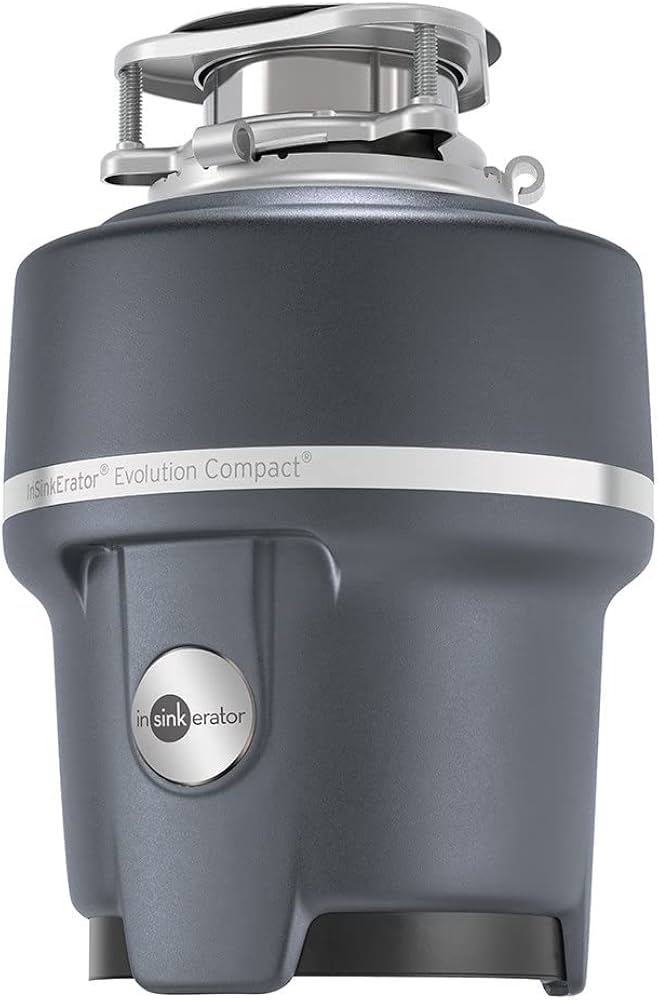
InSinkErator Evolution Compact Garbage Disposal
Proven reliability, SoundSeal technology for quiet operation, and a powerful 3/4 HP motor ideal for most households.
Best for: Best overall replacement for standard sink sizes; easy installation with standard mount.
Price Range: $150–$180
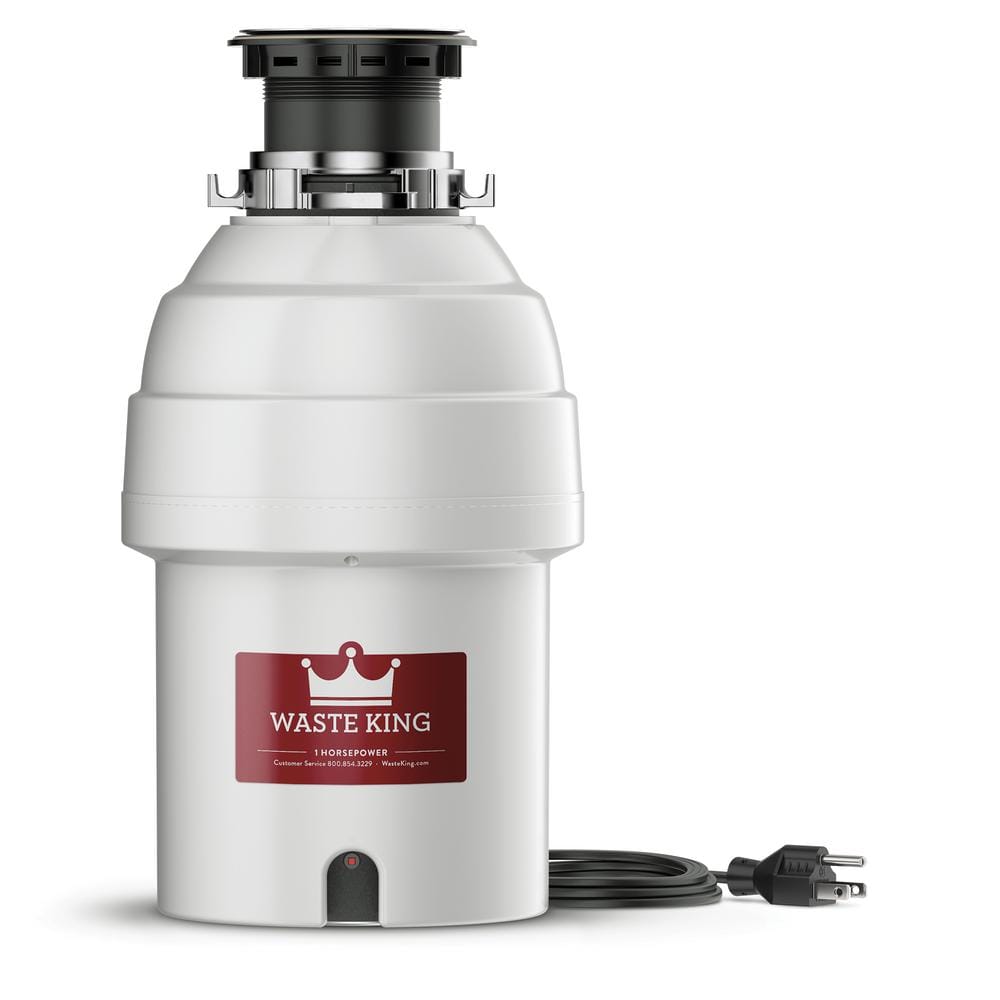
Waste King L-8000 Legend Series Garbage Disposal
Powerful 1 HP motor and corrosion-resistant stainless steel components at a competitive price; lifetime warranty.
Best for: For households with heavy usage or large families who frequently grind tough scraps.
Price Range: $100–$130
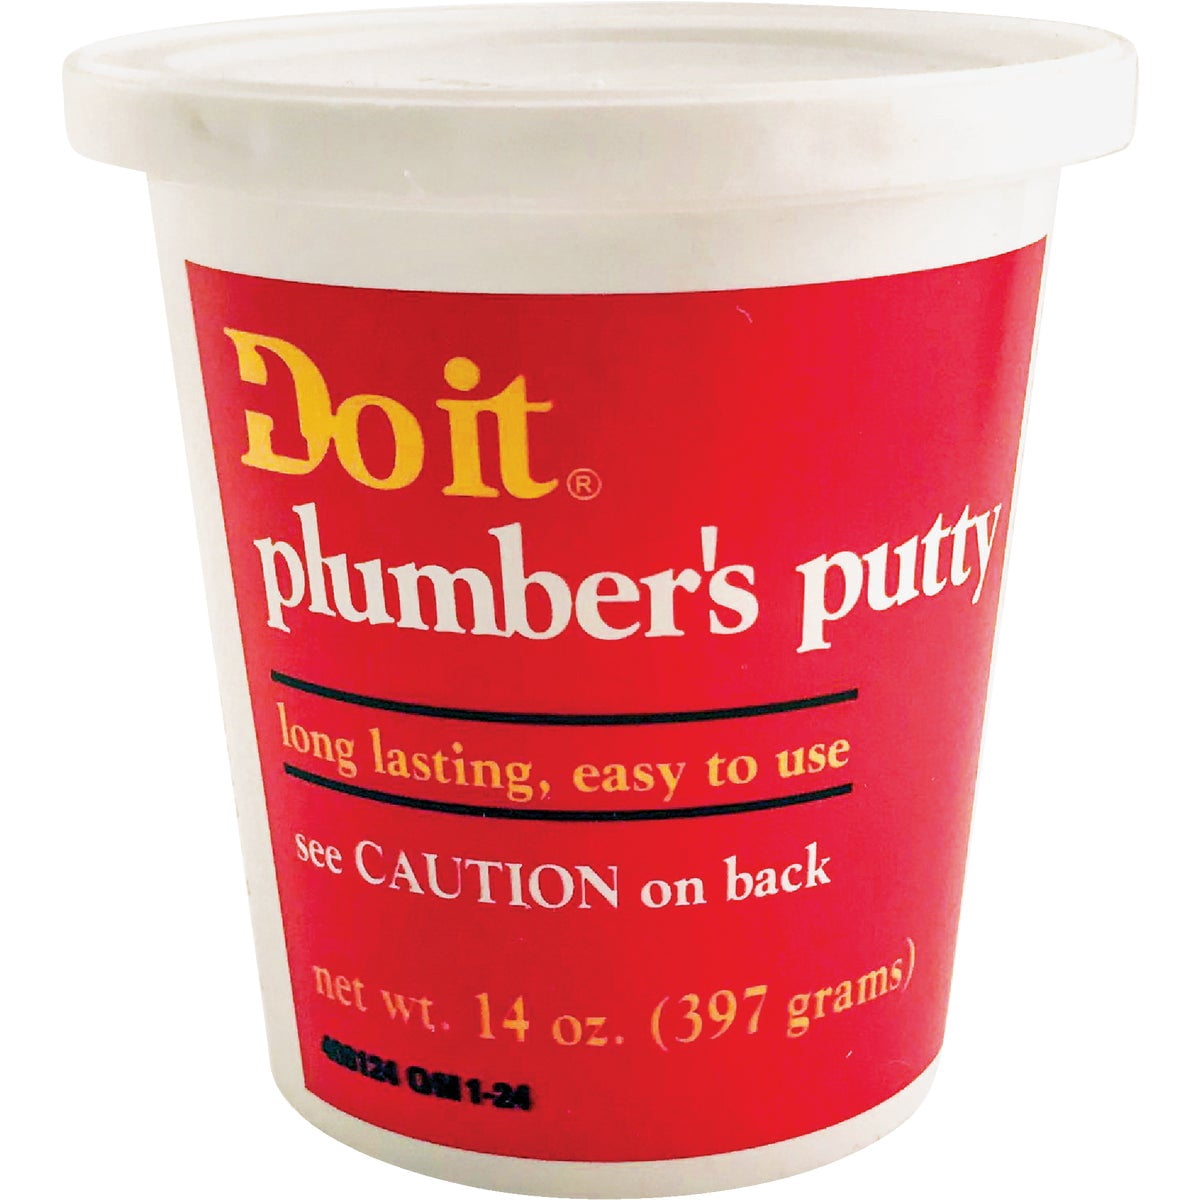
Oatey Plumber's Putty 8 oz
Standard putty used by professionals; sets quickly and remains flexible for a watertight seal.
Best for: Sealing the sink flange during installation—essential for leak-free connection.
Price Range: $4–$7
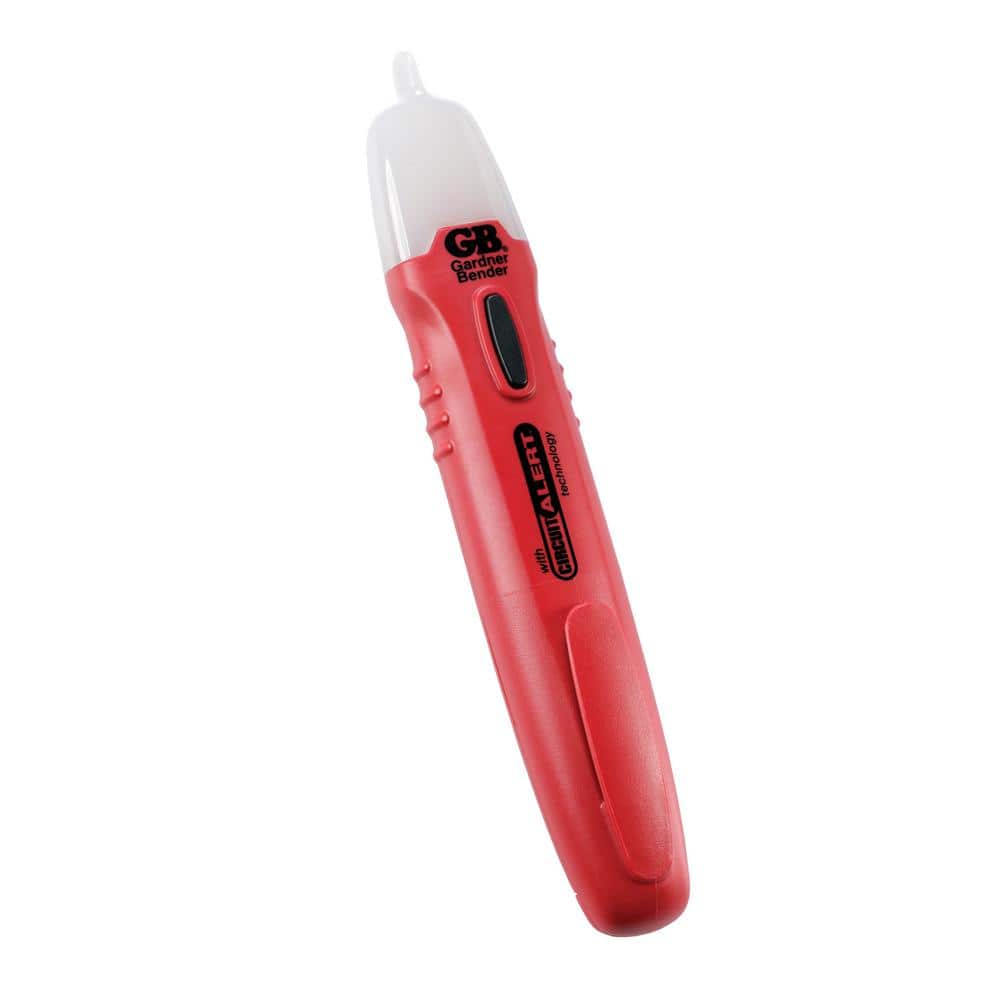
Gardner Bender Voltage Tester Non-Contact
Non-contact voltage tester to safely confirm power is off before handling wires.
Best for: Critical for safety when working with electrical connections; indicates live wires without touching them.
Price Range: $10–$15
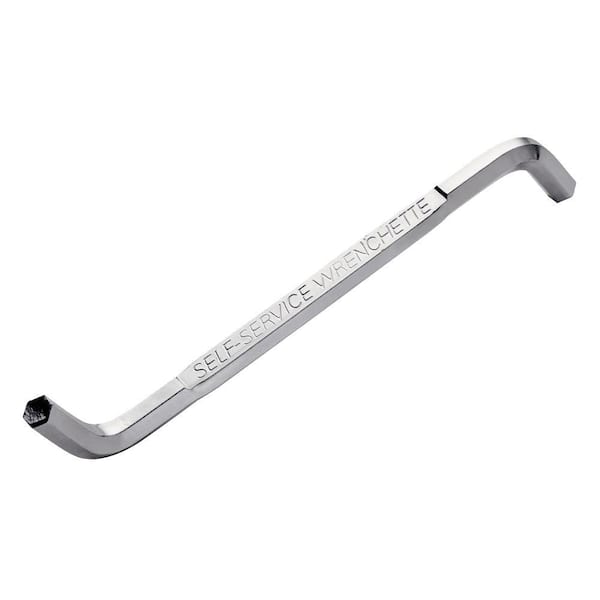
Disposal Wrench (Hex Key) Set
Essential for manually turning the motor shaft when jammed; also useful for removing the mount ring during replacement.
Best for: Troubleshooting a jammed disposal or loosening the mounting assembly during removal.
Price Range: $6–$12