Adding a 12V accessory socket (cigarette lighter style) to your vehicle gives you extra power for charging phones, running dash cams, or powering small inverters. Whether your car didn't come with enough outlets or you want one in a custom location like a trunk or center console, this is a straightforward DIY project. In this guide, you'll learn how to choose the right socket, safely tap into your vehicle's electrical system, and install it cleanly. Expect to spend about 1-2 hours depending on your wiring experience.
▸What You'll Need
- •12V accessory socket (panel-mount or flush-mount, with wiring pigtail)
- •Wire (14-16 gauge automotive primary wire, red for positive, black for negative)
- •Add-a-circuit fuse tap (mini or low-profile mini, matching your vehicle's fuse type)
- •Fuse (5-10 amp, depending on accessories you'll plug in)
- •Ring terminals or spade connectors (for ground connection)
- •Crimping tool and wire stripper
- •Multimeter (for testing voltage and continuity)
- •Drill with step-bit or hole saw (size matching socket)
- •Screwdriver (Phillips/flathead)
- •Zip ties (for routing and securing wires)
- •Electrical tape or heat shrink tubing
- •Safety glasses
Estimated Time: 1-2 hours
Difficulty: intermediate
▸Step-by-Step Instructions
Step 1: Choose the Location and Mounting Type
Decide where you want the socket. Common locations include a blank panel on the dashboard, the side of the center console, or the trunk. Ensure the area is flat and provides clearance behind for the socket body and wiring. Check behind the panel for obstructions like air ducts or metal brackets. Use a panel-mount socket if you'll drill through plastic or metal; flush-mount sockets require a precise rectangular cutout. Mark the center of the hole with a center punch or marker.
💡 Tips:
- •Look for existing blanking plates that can be removed rather than drilling new holes.
- •Avoid locations near heat sources or moving parts.
⚠️ Warnings:
- •Never drill into fuel lines, brake lines, or wire harnesses – check both sides of the panel before drilling.
Step 2: Drill the Mounting Hole
Using a step-bit or hole saw that matches the socket's outer diameter, drill a pilot hole from the marked center. Start with a small drill bit (1/8 inch) to ensure alignment, then enlarge to the final size. If drilling metal, use cutting oil to ease the process and reduce heat. Smooth any rough edges with a file or deburring tool to avoid damaging the socket's lock ring or wires.
💡 Tips:
- •Test fit the socket before wiring to ensure it snaps in or locks properly.
- •For plastic panels, run the drill in reverse first to avoid cracking.
⚠️ Warnings:
- •Wear safety glasses; metal or plastic shavings can fly up.
Step 3: Run Power Wire from Fuse Box
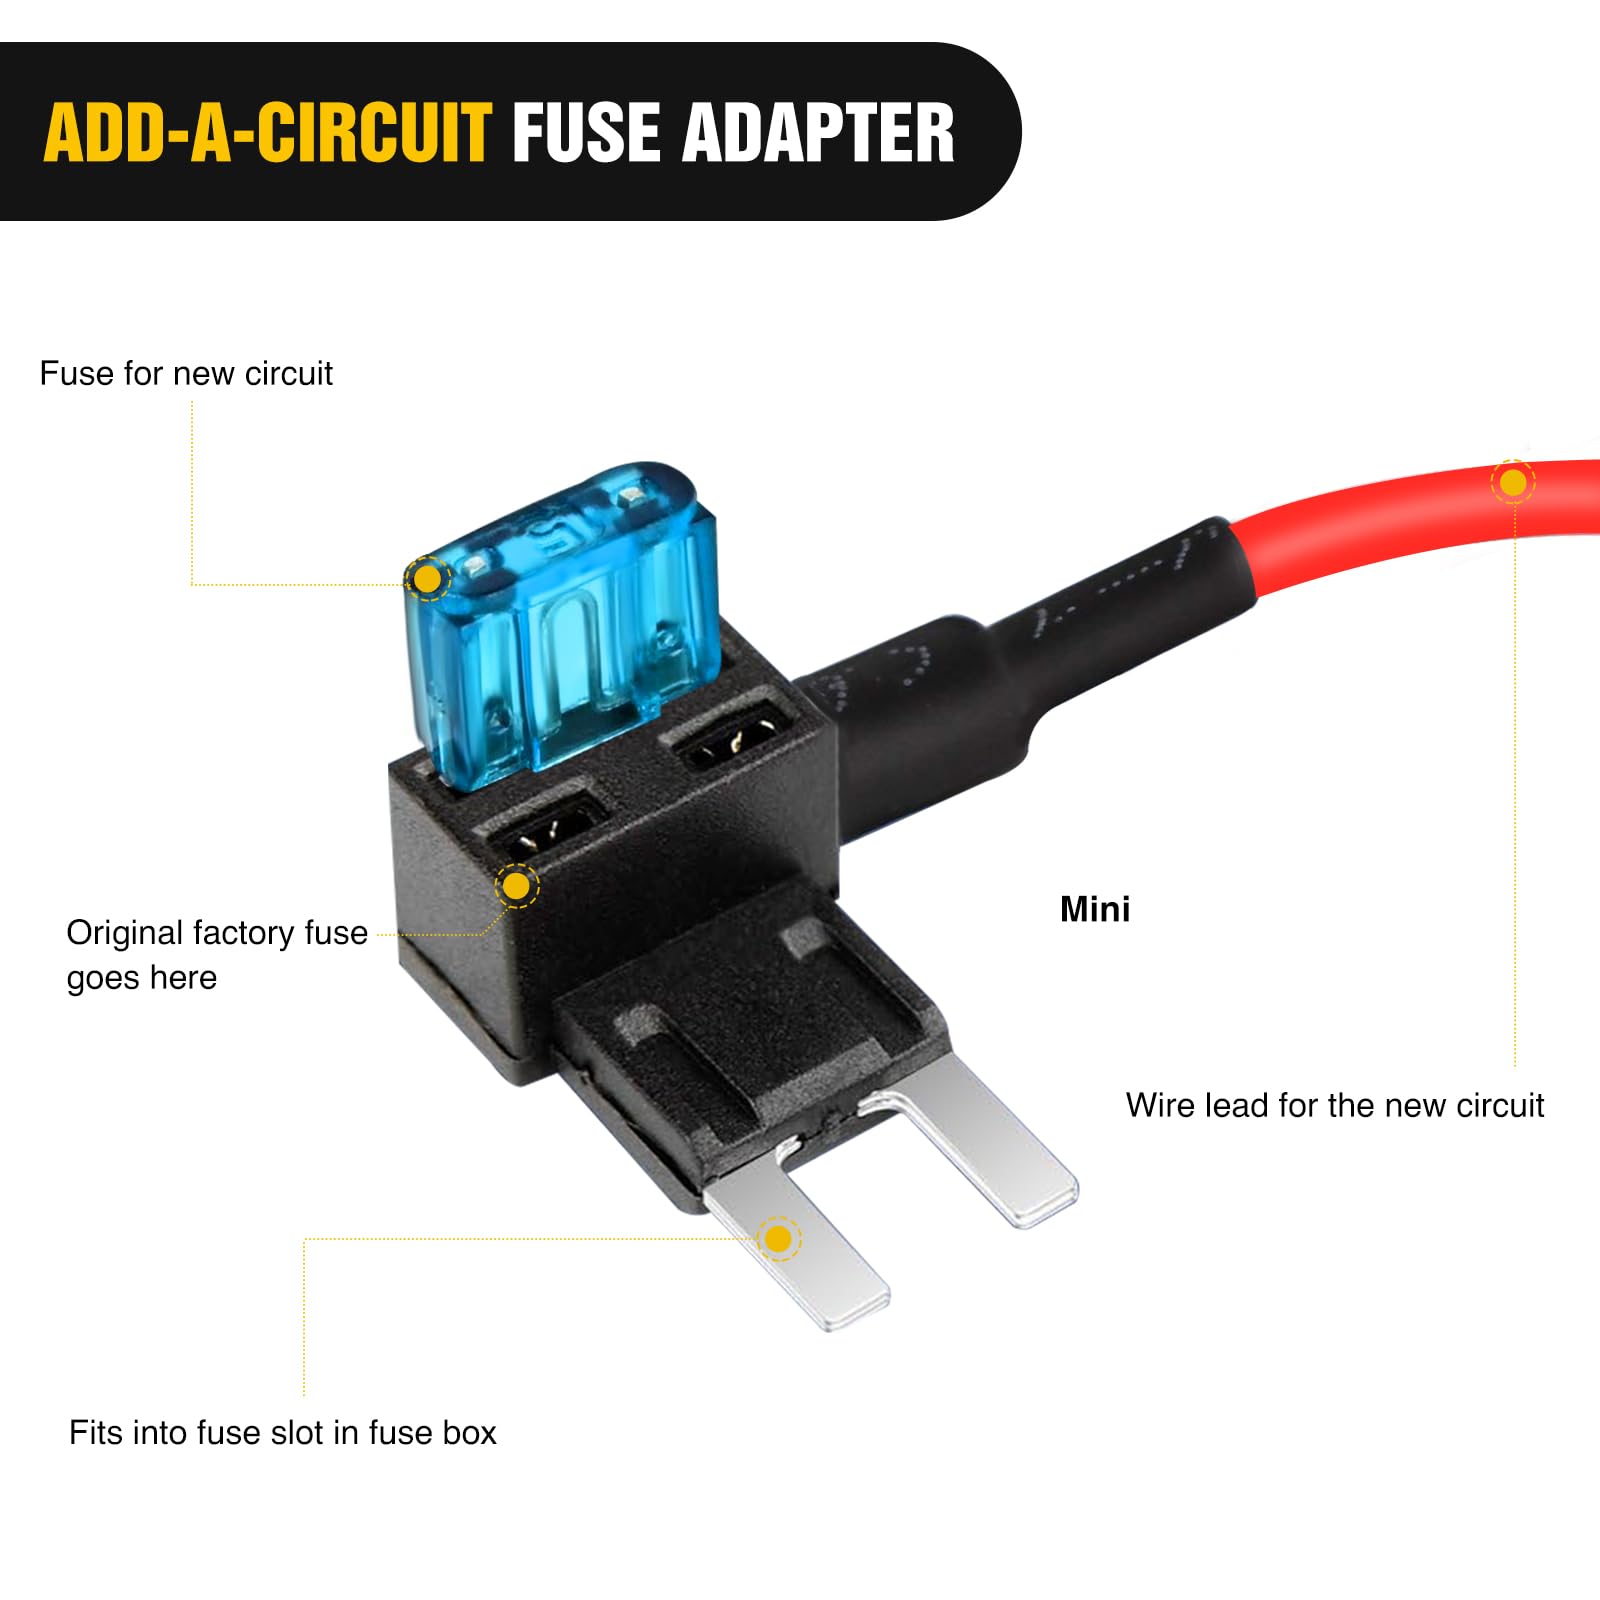
Locate your vehicle's interior fuse box (usually under the dash or on the driver's side kick panel). Use an add-a-circuit fuse tap to safely tap into a circuit that's switched with ignition (or constant if you want always-on power). Choose a circuit that can handle extra load – avoid critical systems like airbags. Remove the chosen fuse, insert the tap with the original fuse in the bottom slot and a new fuse (5-10A) in the top slot. Route the positive wire from the tap to your socket location, keeping it away from sharp edges and moving pedals. Leave enough slack to connect to the socket.
💡 Tips:
- •Use a test light to find a circuit that only has power when key is on (accessory position).
- •Zip tie the wire to existing harnesses to prevent snagging.
⚠️ Warnings:
- •Do not exceed the circuit rating; check your vehicle's fuse panel diagram.
Step 4: Connect Ground Wire to Chassis
Attach a black ground wire to a clean metal point on the vehicle chassis. Look for an existing bolt or screw that connects to bare metal – a seat bolt or a ground stud near the fuse box works well. Scrape away any paint or rust with sandpaper to ensure good continuity. Crimp a ring terminal onto the ground wire and secure it under the bolt. Route the ground wire parallel to the positive wire, but keep them bundled together to avoid loops that can cause interference.
💡 Tips:
- •Use a multimeter to check continuity between your chosen ground point and the negative battery terminal.
- •Use a star washer to bite through paint for a better connection.
⚠️ Warnings:
- •Never ground to painted surfaces or aluminum panels that may corrode.
Step 5: Wire the 12V Socket
Most sockets come with a center pin (positive) and either a ring terminal or spade connector (negative). Strip about 1/2 inch off the ends of your positive and negative wires, then crimp appropriate connectors. Slide the connectors onto the socket terminals: positive to the center pin, negative to the outer tab. If your socket uses screw terminals, simply wrap the wire around the screw and tighten. Ensure the connections are snug and will not pull apart. Optionally, solder and heat shrink for extra durability.
💡 Tips:
- •Check the socket polarity with a multimeter before final connection – center pin should read continuity to positive wire.
⚠️ Warnings:
- •Reverse polarity can blow a fuse or damage sensitive electronics.
Step 6: Mount the Socket and Test
Push the socket assembly into the hole from the front. Install the lock ring or retaining nut from behind to secure it. If using a flush-mount socket, screw it in place with provided hardware. Turn your ignition on (or connect battery if using constant circuit) and test with a 12V device like a phone charger or test light. Confirm the socket works and the charger lights up. If it doesn't work, check fuses and connections with a multimeter – you should see 12V between the center pin and outer shell.
💡 Tips:
- •Plug in a simple LED light rather than a high-draw device for the first test.
- •Use a multimeter to verify voltage at the socket before inserting expensive devices.
⚠️ Warnings:
- •If the socket gets hot instantly, you may have a short – disconnect and recheck.
Step 7: Secure Wiring and Reassemble Panels
Once the socket is working, bundle excess wire and secure them with zip ties to existing harnesses, away from pedals and sharp edges. Double-check that no wires are pinched or rubbing against metal. Reinstall any panels or trim pieces you removed. Tuck the add-a-circuit fuse tap neatly behind the fuse box cover if possible. Replace the fuse box cover. Congratulations – you have a working new 12V outlet!
💡 Tips:
- •Label the new circuit on your fuse box cover for future reference.
- •Leave a small service loop in the wire so you can pull the socket out later if needed.
⚠️ Warnings:
- •Ensure all panels click fully into place; loose panels can rattle.
▸Pro Tips
- •Use a socket with a built-in fuse for extra protection – some models have a small holder on the wire.
- •If you want constant power, tap into a circuit that is always hot (like interior lights).
- •Consider a dual USB + 12V combo socket for maximum utility.
- •Use a digital multimeter with continuity beep – it speeds up finding circuits.
- •Label wires with tape as you run them to avoid confusion later.
- •Add a quick-disconnect plug between the socket and power wire for easy removal.
- •Test all accessories you plan to use before finalizing the install – some may drain battery if circuit is constant.
▸Common Mistakes to Avoid
- •Using too thick or too thin wire – 14-16 gauge is ideal; thinner may overheat, thicker harder to route.
- •Tapping into a circuit already near its capacity (e.g., radio or wipers) causing blown fuses.
- •Forgetting to fuse the new circuit – add-a-circuit or inline fuse is mandatory.
- •Poor ground connection causing intermittent operation or charging failure.
- •Drilling into hidden objects – always verify behind the panel with a flashlight and check for obstructions.
▸Troubleshooting
Problem: Socket has no power.
Solution: Check the fuse in the add-a-circuit tap and the original circuit fuse. Use a multimeter to test voltage at the fuse tap and at the socket. Ensure the ground is tight and making metal-to-metal contact.
Problem: Socket works but blows fuse when plugging in a device.
Solution: The device may be drawing too much current. Check the device rating (max 10A for most sockets). Also check for a short in the socket wiring – remove and inspect for stray wire strands touching metal.
Problem: Socket is loose or won't stay in panel.
Solution: If the panel is thick, you may need a different mounting type. Use a lock nut or a backing plate. Some sockets require a specific hole diameter; verify you drilled the correct size.
Problem: Charging is slow or voltage drop.
Solution: Long wire runs can cause voltage drop. Keep wiring under 6 feet if possible. Use 14 gauge wire for longer runs. Check all connections for corrosion or looseness.
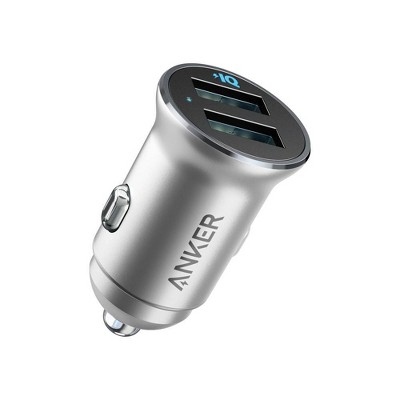
Anker PowerDrive 2 USB Car Charger
Once you have a 12V socket, a high-quality USB charger ensures fast charging for phones and tablets. Anker is known for reliability and safety.
Best for: For charging multiple devices simultaneously while driving.
Price Range: $15-$20
Add-A-Circuit Fuse Tap (Mini)
Essential for safely tapping into your fuse box without splicing wires. Choose mini or low-profile mini to match your vehicle.
Best for: Any 12V accessory installation where a fused connection is needed.
Price Range: $5-$10
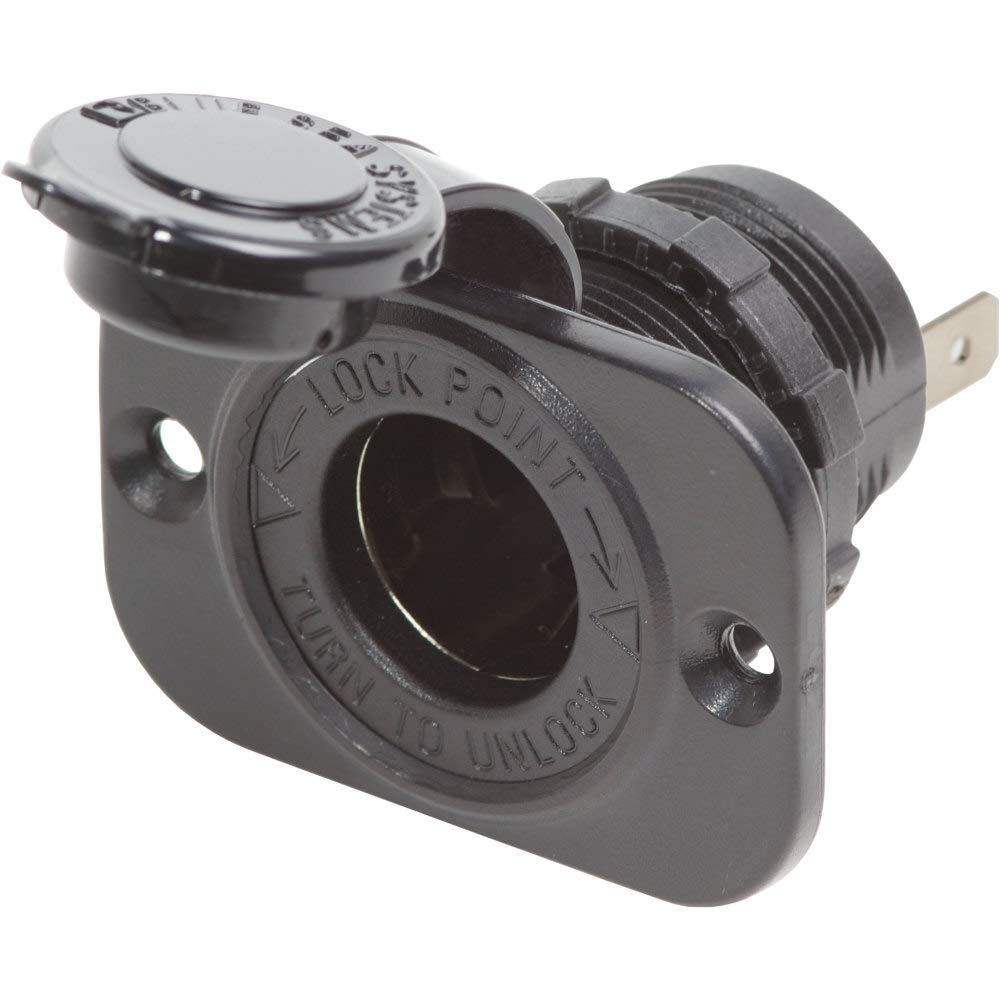
Blue Sea Systems 12V Socket (Panel Mount)
Known for marine-grade durability, this socket has a built-in LED ring and corrosion-resistant construction. Great for long-term or off-road use.
Best for: Permanent installation in a dash, console, or trunk where reliability matters.
Price Range: $20-$35
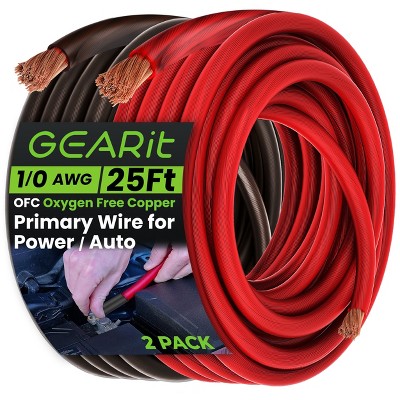
GearIT 12V Wire Kit (14-Gauge, 25ft)
Pre-wound two-conductor wire (red/black) saves time and ensures proper gauge for the job.
Best for: Any vehicle wiring project, including 12V socket installations.
Price Range: $10-$15
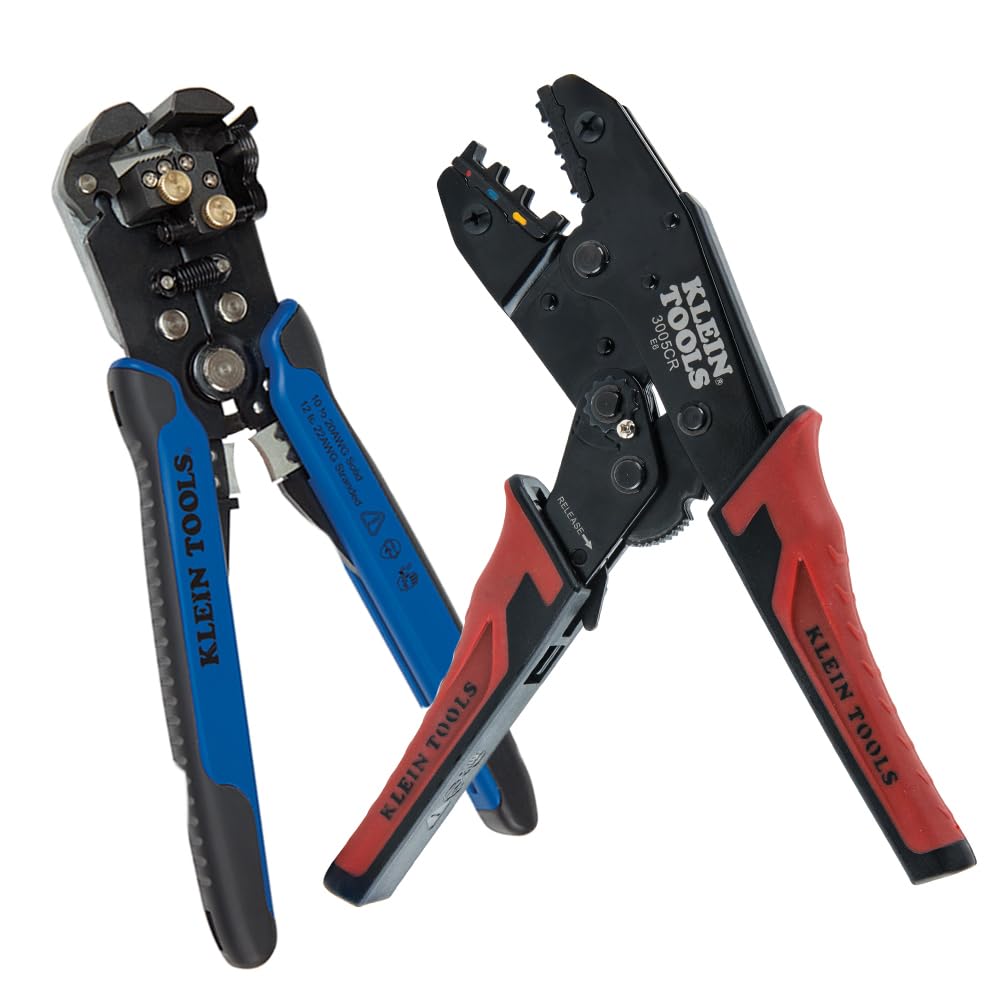
Klein Tools Wire Crimper/Stripper
A quality crimping tool makes secure connections and strips wire without damage. Essential for reliable electrical work.
Best for: Crimping ring terminals, spade connectors, and fuse tap wires.
Price Range: $25-$40