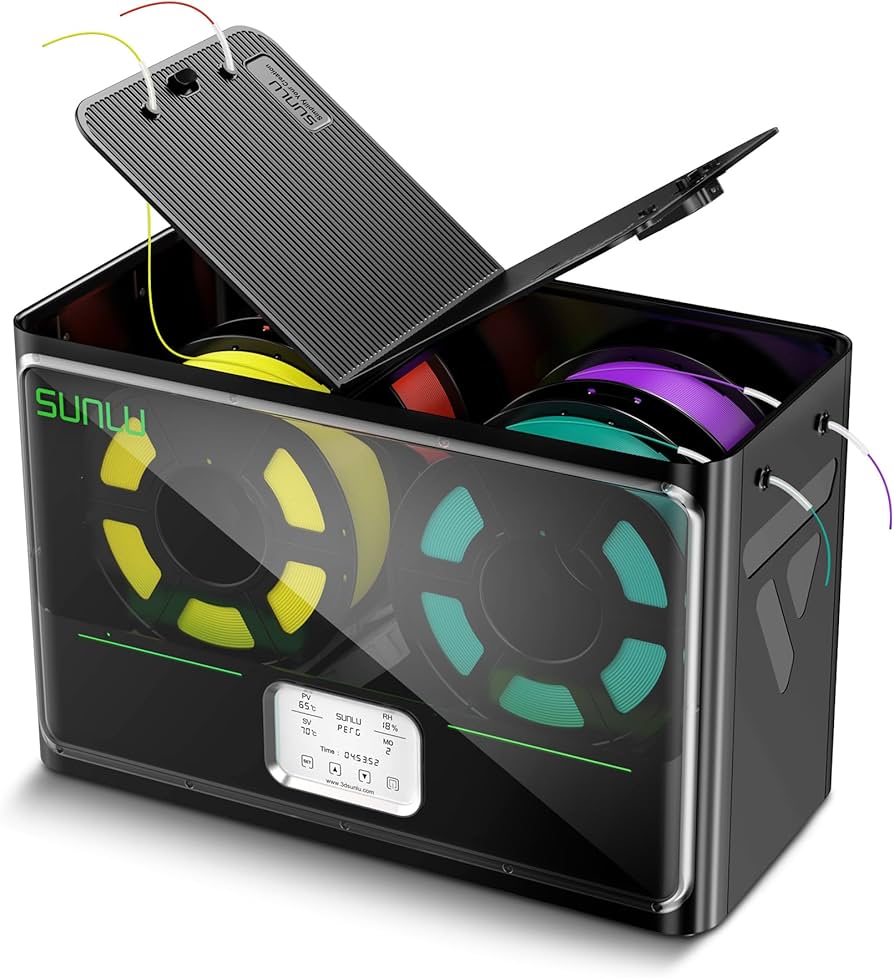
SUNLU Filament Dryer Box S4
Multi-material users needing bulk drying near printer.
$79.99-$89.99
SUNLU Filament Dryer Box S4 Holds 4 spools with independent temp control, built-in hygrometer, and app connectivity for precise drying.
Get the App
Better experience on mobile
Learn to set up a filament dryer in under 30 minutes to eliminate moisture issues and achieve flawless 3D prints every time.
Moist filament is the silent killer of 3D prints, causing stringing, bubbles, poor layer adhesion, and failed prints that waste time and material. If you've ever scrapped a print mid-way due to soggy PLA or PETG, installing a filament dryer is your fix. This guide walks intermediate 3D printers through the process step-by-step.
You'll learn how to unbox, assemble, connect, and test a filament dryer for seamless integration with your printer setup. Expect crystal-clear prints with no more humidity woes. The whole process takes 20-30 minutes and requires basic tools—no advanced soldering or mods needed.
We'll cover popular dryers like box-style units (e.g., SUNLU or Creality), focusing on safe, effective installation near your printer for continuous dry feeding.
Estimated Time: 20-30 minutes Difficulty: intermediate
Open the packaging and lay out all parts: dryer box, power adapter, filament spool holder (if separate), PTFE tube adapter, manual, and any screws. Check for damage or missing items—most dryers like the SUNLU S4 ship pre-assembled with a hinged lid and desiccant compartment.
Why it matters: Ensures you have everything for a smooth setup and catches defects early. Success looks like all parts matching the manual's diagram, with no cracked housing or frayed cables.
💡 Tips:
⚠️ Warnings:
Place the dryer on a stable, flat surface within 1-2 meters of your printer's extruder, avoiding direct heat sources or drafts. Elevate if needed for easy tube routing. For enclosed printers like Ender 3 enclosures, mount on a shelf.
This prevents filament tension issues during feeds. Success: Dryer is level, power accessible, and filament path is straight (under 1.5m total length).
💡 Tips:
If your dryer has a removable spool holder (common in Creality models), snap or screw it into place per manual. Install any PTFE tube couplers into the dryer's exit port—twist until snug.
Why: Proper assembly seals moisture out. Expect a secure fit with no wobble; test spin the holder freely.
⚠️ Warnings:
Plug in the power adapter to the dryer and a grounded outlet. Power on—LCD should light up, fans spin quietly, and heaters activate (check manual for boot sequence). Set to room temp first (no filament yet).
Monitors for faults. Success: Display shows temp ~25°C, humidity <40% if equipped.
💡 Tips:
Open lid, place spool on holder, thread filament through any internal guides or desiccant chamber. Close lid securely—most dryers auto-seal.
Keeps filament isolated from ambient air. Success: Spool spins smoothly, no binding.
⚠️ Warnings:
Cut PTFE tube to length (straight path preferred). Push one end firmly onto dryer's exit port, other into printer's extruder/PTF holder. Secure with clips or tape to avoid kinks.
Ensures dry feed without snags. Success: Filament pulls freely from dryer to hotend with light tension.
💡 Tips:
Select filament type on LCD (e.g., PLA: 45-50°C, 4-6 hours; PETG: 65°C). Start a dry cycle or set continuous mode. Monitor first run.
Tailors to material. Success: Temp stabilizes, humidity drops below 15%.
Heat printer nozzle, extrude filament manually. Run a small test print (calibration cube). Inspect for strings/bubbles.
Validates full setup. Success: Smooth extrusion and clean print layers.
⚠️ Warnings:
Problem: Dryer not heating
Solution: Check power adapter fuse; ensure vents clear. Reset via manual.
Problem: Filament jams in tube
Solution: Straighten tube, lubricate lightly with dry PTFE spray, shorten length.
Problem: High humidity reading persists
Solution: Replace desiccant, run longer cycle, seal lid gaps with tape.
Problem: Noisy fan
Solution: Clean dust with compressed air; contact support if defective.
Holds 4 spools with independent temp control, built-in hygrometer, and app connectivity for precise drying.
Best for: Multi-material users needing bulk drying near printer.
Price Range: $79.99-$89.99
Affordable single-spool dryer with fast heat-up and easy PTFE integration, perfect for Ender printers.
Best for: Budget setups with one filament at a time.
Price Range: $45-$55
Compact, reliable with desiccant drawer and accurate sensors; seals exceptionally well.
Best for: Desktop space savers wanting set-it-and-forget-it drying.
Price Range: $60-$70
Pro-grade with high airflow and multi-voltage support for workshops.
Best for: Heavy users or international setups needing durability.
Price Range: $150-$200
Multi-material users needing bulk drying near printer.
SUNLU Filament Dryer Box S4 Holds 4 spools with independent temp control, built-in hygrometer, and app connectivity for precise drying.
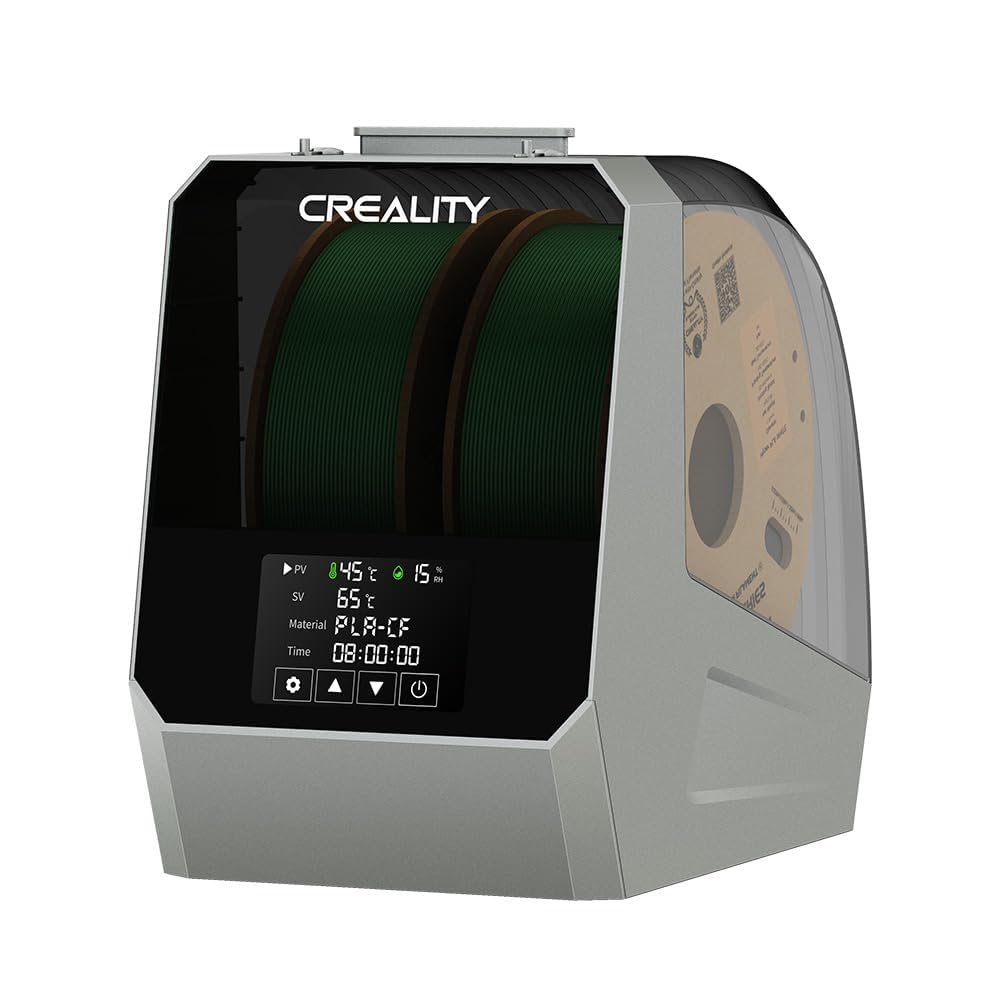
Budget setups with one filament at a time.
Creality Filament Dry Box Affordable single-spool dryer with fast heat-up and easy PTFE integration, perfect for Ender printers.
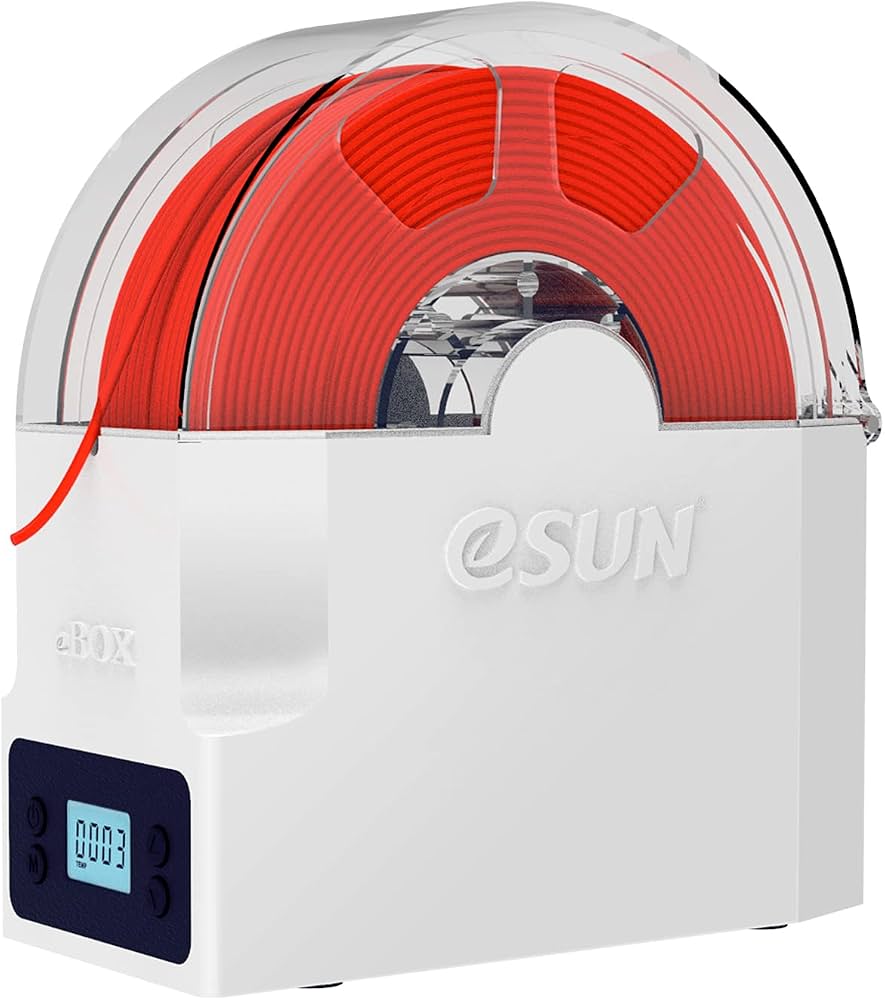
Desktop space savers wanting set-it-and-forget-it drying.
eSUN eBox Filament Dryer Compact, reliable with desiccant drawer and accurate sensors; seals exceptionally well.
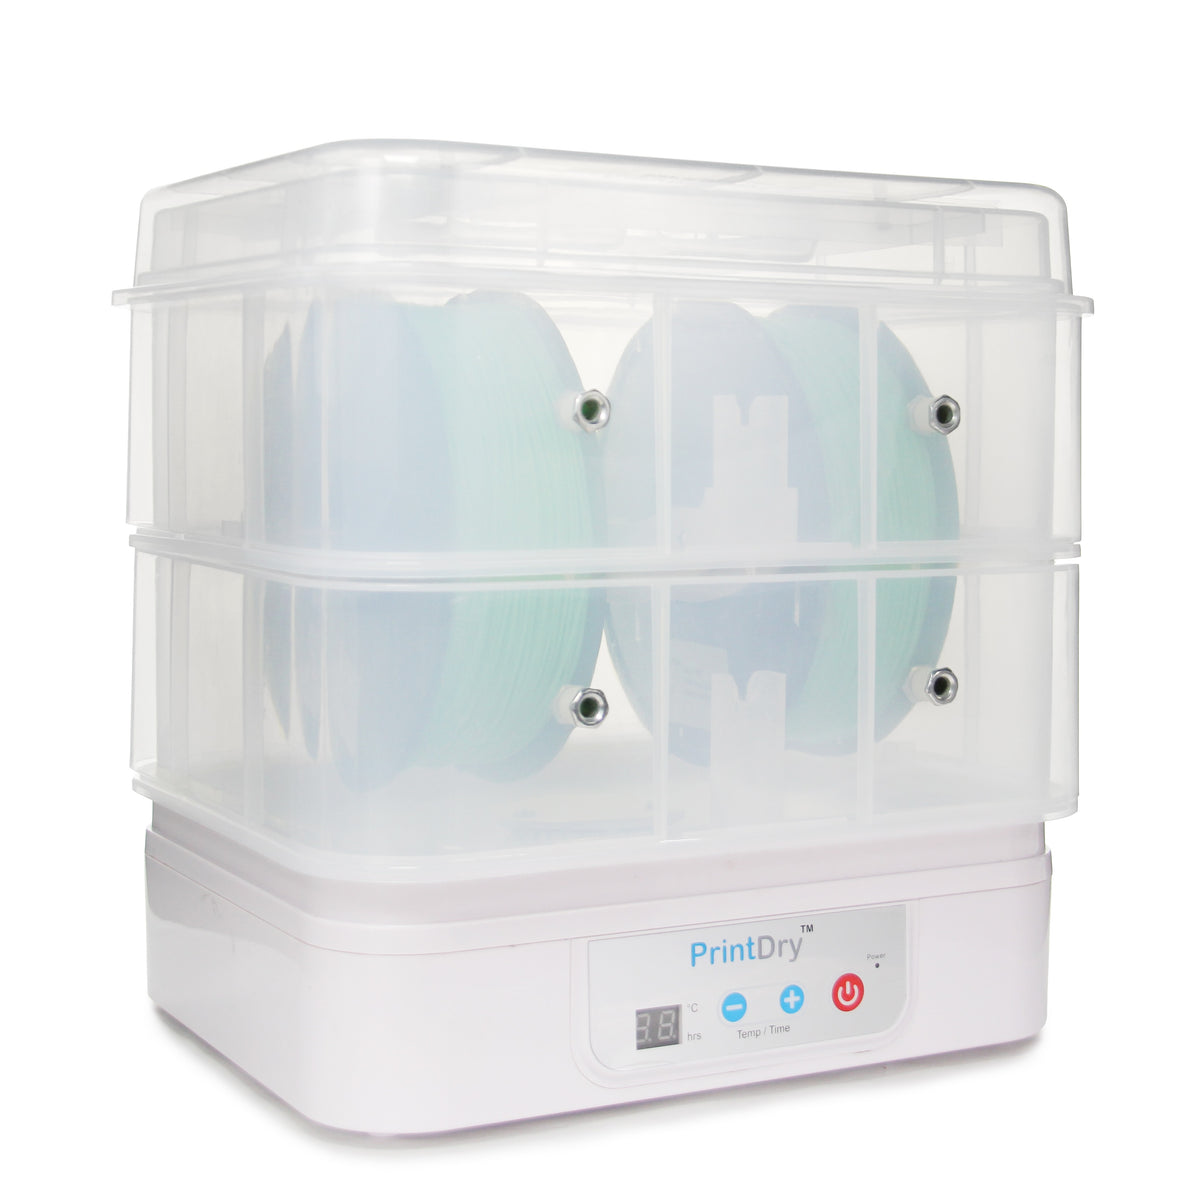
Heavy users or international setups needing durability.
PrintDry Filament Dryer Pro Pro-grade with high airflow and multi-voltage support for workshops.