
NOCO NCP2 Battery Corrosion Preventative Spray
Spray after every install/maintenance for 2x longer life.
$9.99
NOCO NCP2 Battery Corrosion Preventative Spray Creates waterproof seal on terminals to stop corrosion, the #1 battery killer in RVs.
Get the App
Better experience on mobile
Safely swap 12V batteries in your RV using spark-free techniques to power your adventures reliably without fire risks.
Sparking during RV battery installation is a common nightmare that can lead to fires, damage, or costly repairs—especially with high-amp 12V deep-cycle setups. Whether upgrading to lithium or replacing lead-acid batteries, one wrong connection under load can create dangerous arcs. This guide shows intermediate DIYers how to install batteries spark-free by prioritizing safety and proper sequencing.
You'll learn a proven 10-step process: disconnecting power, removing old batteries, connecting positives first (key to no sparks), and testing. Expect secure, vibration-proof installs that last years. Total time: 1-2 hours for 2-4 batteries; intermediate skill needed (basic wiring knowledge, tool comfort).
No more guesswork—follow these steps for confidence on the road.
Estimated Time: 1-2 hours Difficulty: intermediate
Park your RV on level ground away from flammables. Turn off propane, lights, appliances, inverter, and generator. Unplug shore power and set battery disconnect switch to OFF if equipped.
Why it matters: This prevents accidental loads that cause sparks when reconnecting. Success: All DC/AC systems dark, no hum from inverter.
Verify with multimeter: No voltage at battery terminals.
💡 Tips:
⚠️ Warnings:
Wear gloves/glasses. Loosen and remove negative (-) black cables from ALL batteries first using wrench. Tape exposed ends. Then disconnect positive (+) red cables.
Why: Negatives first breaks the ground path, minimizing arc risk. Expect: Cables slide off easily; if corroded, clean later.
Remove hold-down straps/boxes, lift out old batteries (use carrier tool for 50+ lb units).
💡 Tips:
⚠️ Warnings:
Vacuum/wipe tray for dirt/acid residue. Scrub old terminals with wire brush and baking soda solution; rinse/dry.
Inspect new 12V batteries: Check date code, charge level (12.6V+ for lead-acid, 13.2V+ lithium), no damage. Top off electrolyte if flooded type.
Success: Spotless tray, batteries at full charge—no weak links.
💡 Tips:
Place batteries in tray matching polarity (often alternated for balance). Secure loosely with hold-downs/straps—don't tighten yet.
Why: Proper fit prevents vibration shorts. Space 1/4" apart for cooling. Success: Batteries stable, terminals accessible.
⚠️ Warnings:
Apply dielectric grease to terminals. Connect positive cables between batteries (shortest cables first), then to RV positive bus/lead.
Tighten snugly. Spark-free key: No negative path exists yet, so arcs impossible even if tools slip.
Expect: Secure reds, no play. Multimeter shows voltage rise per battery.
💡 Tips:
Now attach negative cables battery-to-battery, then to RV chassis ground/negative bus. Tighten all.
Why last: Completes circuit safely under no load. Success: Full bank voltage (12.6V+), no heat/smoke.
⚠️ Warnings:
Tighten hold-downs firmly. Apply anti-corrosion washers/gel on all terminals. Zip-tie cables away from heat/moving parts.
Why: Vibration-proofing extends life. Success: No rattle, clean routing.
💡 Tips:
Turn on battery switch. Measure bank voltage (12.6-13.6V). Check each battery individually. Power on lights—smooth operation?
Success: Steady voltage, no drops >0.2V, systems functional. Full charge if needed.
⚠️ Warnings:
Plug in shore power, turn on charger. Monitor for 30 min—no unusual heat. Log install date.
Why: Confirms integration. Done: Reliable 12V power ready for road.
💡 Tips:
Take old batteries to recycler (auto stores free). Don't trash—hazardous waste.
Success: Eco-friendly closure.
Problem: Low voltage after install (<12V)
Solution: Check loose connections, test each battery separately. Charge fully. Seek pro if sulfation.
Problem: Sparks on negative connect
Solution: Load still on—double-check all switches OFF. Retry positives first.
Problem: Overheating cables
Solution: Undersized wire—upgrade to 2/0 AWG for 400Ah+ banks. Inspect crimps.
Problem: No charge from converter
Solution: Polarity reversed—verify + to + bus. Pro electrician if persists.
Creates waterproof seal on terminals to stop corrosion, the #1 battery killer in RVs.
Best for: Spray after every install/maintenance for 2x longer life.
Price Range: $9.99
Accurate voltage/amperage testing ensures safe, balanced bank—no guesswork.
Best for: Verify each step 8; ongoing diagnostics.
Price Range: $12.99
Stainless washers with sealant fit between posts/cables—permanent protection.
Best for: Install on all 8+ terminals during step 7.
Price Range: $9.99
Isolates bank instantly for safe work—prevents accidental loads.
Best for: Mount near batteries; use in step 1 ongoing.
Price Range: $18.99
Drop-in RV replacement, spill-proof, maintenance-free for hassle-free installs.
Best for: Upgrade house bank; matches most RVs.
Price Range: $179.99
Spray after every install/maintenance for 2x longer life.
NOCO NCP2 Battery Corrosion Preventative Spray Creates waterproof seal on terminals to stop corrosion, the #1 battery killer in RVs.

Verify each step 8; ongoing diagnostics.
AstroAI Digital Multimeter TRMS 6000 Counts Accurate voltage/amperage testing ensures safe, balanced bank—no guesswork.

Install on all 8+ terminals during step 7.
Red Hound Battery Anti-Corrosion Washers (48 Pack) Stainless washers with sealant fit between posts/cables—permanent protection.
Mount near batteries; use in step 1 ongoing.
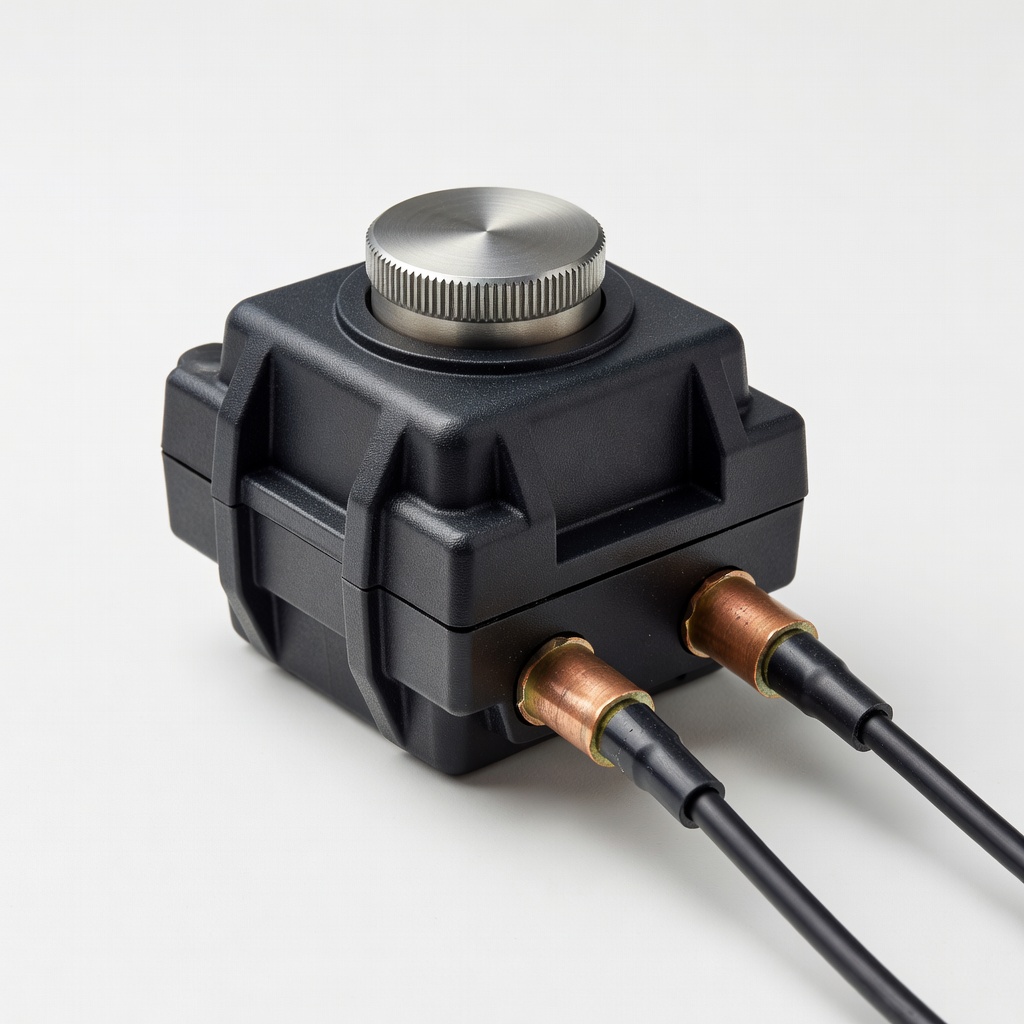
PriorityStart Heavy Duty Battery Disconnect Switch Isolates bank instantly for safe work—prevents accidental loads.

Upgrade house bank; matches most RVs.
WEIZE 12V 100Ah AGM Deep Cycle Battery Drop-in RV replacement, spill-proof, maintenance-free for hassle-free installs.