Running out of power during an RV adventure is every camper's nightmare, especially with solar systems that demand proper battery integration. Whether upgrading to lithium or sticking with AGM, correct 12V battery installation ensures your fridge, lights, and devices stay powered without costly mistakes.
In this guide, you'll learn how to safely install 12V batteries into your RV solar system, from site prep to final testing. We'll cover parallel and series wiring for optimal capacity and voltage. Expect a straightforward process for intermediate DIYers—no electrical engineering degree required.
Total time: 1-2 hours. Difficulty: Intermediate (basic wiring knowledge helps). By the end, your system will deliver stable 12V power, ready for boondocking.
▸What You'll Need
- •12V deep-cycle batteries (AGM, Gel, or LiFePO4; match your solar system's amp-hour needs)
- •Battery cables (2/0 AWG marine-grade for high current; red positive, black negative)
- •Battery terminals/connectors (tinned copper lugs)
- •Wrench set (10mm-13mm for terminals)
- •Digital multimeter
- •Battery tray or hold-down straps
- •Safety gear: insulated gloves, safety glasses, rubber mat
- •Wire crimper/strippers
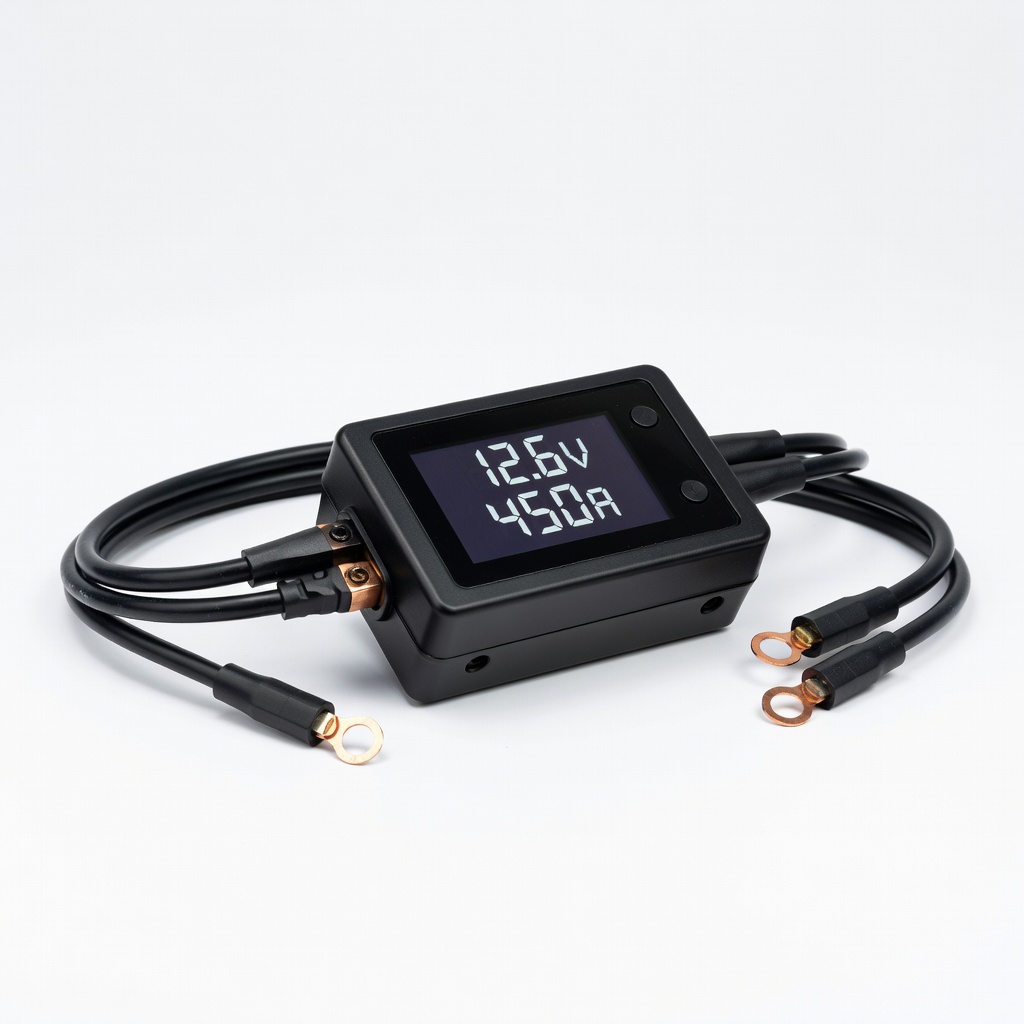
- •Optional: Battery monitor/shunt for tracking SOC
- •Anti-corrosion spray (e.g., dielectric grease)
Estimated Time: 1-2 hours (depending on number of batteries)
Difficulty: intermediate
▸Step-by-Step Instructions
Step 1: Prepare Your Workspace and Safety Gear
Start by parking your RV in a well-ventilated area away from flames or sparks. Disconnect all power sources: shore power, solar panels (via charge controller), and inverter. This prevents shocks or shorts.
Wear safety glasses, insulated gloves, and stand on a rubber mat. Remove battery covers if applicable. Success looks like: Zero voltage reading on your multimeter across terminals.
Why it matters: Batteries store massive energy; arcing can cause fires.
💡 Tips:
- •Label cables before disconnecting to avoid mix-ups.
⚠️ Warnings:
- •Never smoke or use open flames near batteries.
Step 2: Select and Inspect Battery Location
Choose a dry, ventilated spot in your RV battery bay (under dinette or chassis-mounted). Ensure space for expansion (AGM batteries swell) and easy access. Clean the area of dirt/debris.
Inspect batteries: Check for damage, date codes, and matching specs (e.g., all 12V 100Ah LiFePO4). Test each with multimeter (should read ~12.6V+ fully charged).
Success: Batteries fit snugly in tray without wobbling.
💡 Tips:
- •Mount lithium batteries horizontally if specified by manufacturer.
⚠️ Warnings:
- •Avoid engine heat sources—batteries hate >100°F temps.
Step 3: Install Battery Hold-Downs
Secure the battery tray if not pre-installed. Place batteries in position and fasten with hold-down straps or brackets. Torque to manufacturer specs (usually 5-7 Nm).
Apply dielectric grease to terminals to prevent corrosion.
Success: Batteries immovable by hand but accessible for maintenance.
💡 Tips:
- •Use foam pads under batteries to reduce vibration.
⚠️ Warnings:
- •Loose batteries can short during travel—double-check!
Step 4: Plan Wiring Configuration
Decide parallel (same voltage, more capacity) or series (double voltage for 24V systems). For most RV solar: Parallel 12V bank (positive-to-positive, negative-to-negative).
Cut cables to length, strip 1/2 inch insulation, crimp lugs securely.
Success: Cable lengths equalized to balance load.
💡 Tips:
- •Keep positive/negative cables identical length for even charging.
Step 5: Connect Batteries in Parallel
Connect all positives together first with jumper cables, then negatives. Use thickest cables for low resistance.
Start with shortest jumper between first two batteries.
Success: Multimeter shows ~12V across bank, no hot spots.
💡 Tips:
- •Connect bus bars for 3+ batteries to simplify.
⚠️ Warnings:
- •Connect positives before negatives to avoid sparks.
Step 6: Wire to Solar Charge Controller and Inverter
Run main positive/negative cables from battery bank to charge controller input, then fuse (200A+ inline). Connect output to inverter/bus bars.
Install fuses/breakers near positive terminal.
Success: Secure, insulated connections with no exposed wire.
💡 Tips:
- •Use color-coded cables: red +, black -.
⚠️ Warnings:
- •Oversized fuses prevent fires from shorts.
Step 7: Reconnect and Initial Test
Double-check polarity. Reconnect solar panels via controller. Power on inverter.
Measure voltage: Should hold 12.6-13.8V under light load.
Success: Lights work, no alarms, voltage stable.
💡 Tips:
- •Use a load tester for deeper check.
Step 8: Monitor and Finalize
Install battery monitor if using. Cycle charge/discharge overnight. Log initial SOC.
Tighten all connections after 24 hours.
Success: System runs flawlessly for days off-grid.
💡 Tips:
- •Calibrate lithium BMS via app if smart battery.
▸Pro Tips
- •Always charge batteries individually before banking to equalize.
- •Use a torque wrench for terminals—overtightening cracks posts.
- •Label every cable end for future maintenance.
- •Elevate batteries slightly for spill drainage (AGM/lead-acid).
- •Invest in a shunt-based monitor for precise state-of-charge.
- •Parallel up to 4 batteries max without bus bars.
- •Winterize: Insulate bay for cold weather performance.
▸Common Mistakes to Avoid
- •Mixing battery types/ages: Causes imbalance, reduces lifespan—use identical batteries.
- •Undersized cables: Leads to voltage drop, overheating—stick to 2/0 AWG.
- •Skipping fuses: Risks fire from shorts—install 1.25x max fuse rating.
- •Ignoring polarity: Sparks damage electronics—verify with multimeter.
- •Poor ventilation: Hydrogen gas buildup in lead-acid—ensure airflow.
▸Troubleshooting
Problem: Low voltage reading (<12V)
Solution: Check connections for looseness/corrosion; recharge individually; test under load.
Problem: One battery not charging
Solution: Verify jumper cables; swap positions to isolate bad battery.
Problem: Overheating cables
Solution: Upgrade to thicker gauge; add fuses; check for shorts.
Problem: BMS shutdown (lithium)
Solution: Let cool; full charge via dedicated charger; check app diagnostics.
Problem: Sparking on connect
Solution: Disconnect immediately; connect negatives last; use pre-charge resistor.
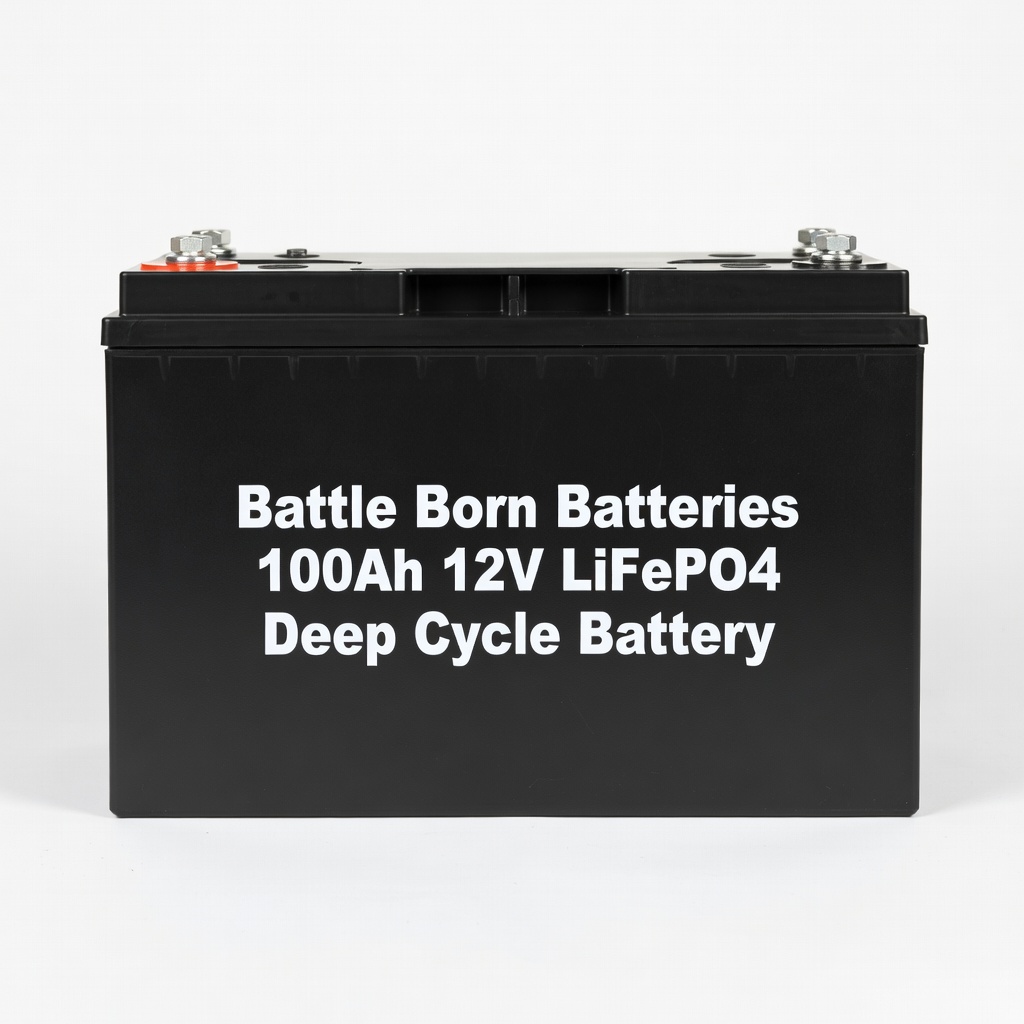
Battle Born Batteries 100Ah 12V LiFePO4 Deep Cycle Battery
Top-rated for RVs: lightweight, 5x lifespan of AGM, built-in BMS for safety.
Best for: Primary bank for solar (parallel 2-4 for 200-400Ah).
Price Range: $850-$950
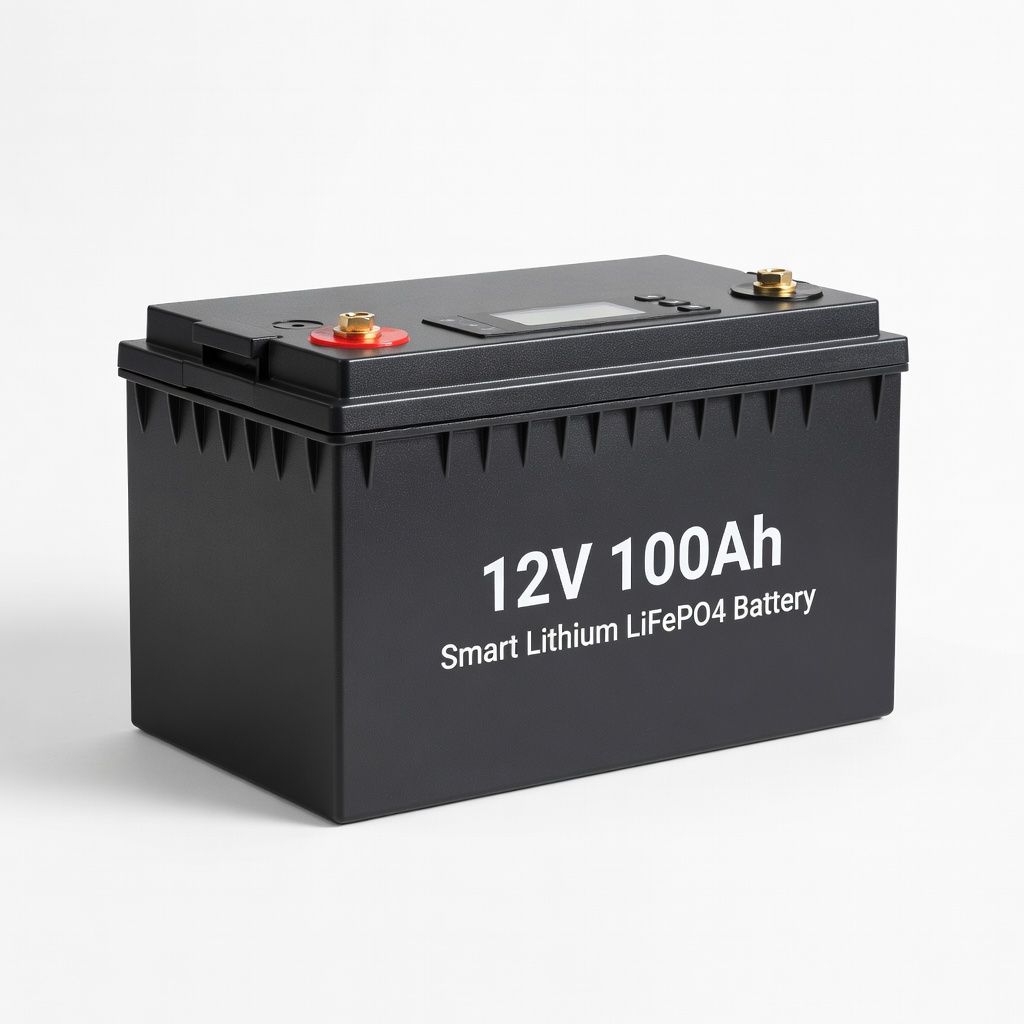
Renogy 12V 100Ah Smart Lithium LiFePO4 Battery
Bluetooth app monitoring, self-heating for cold climates, RV-optimized.
Best for: Upgrade for tech-savvy users needing SOC tracking.
Price Range: $600-$700
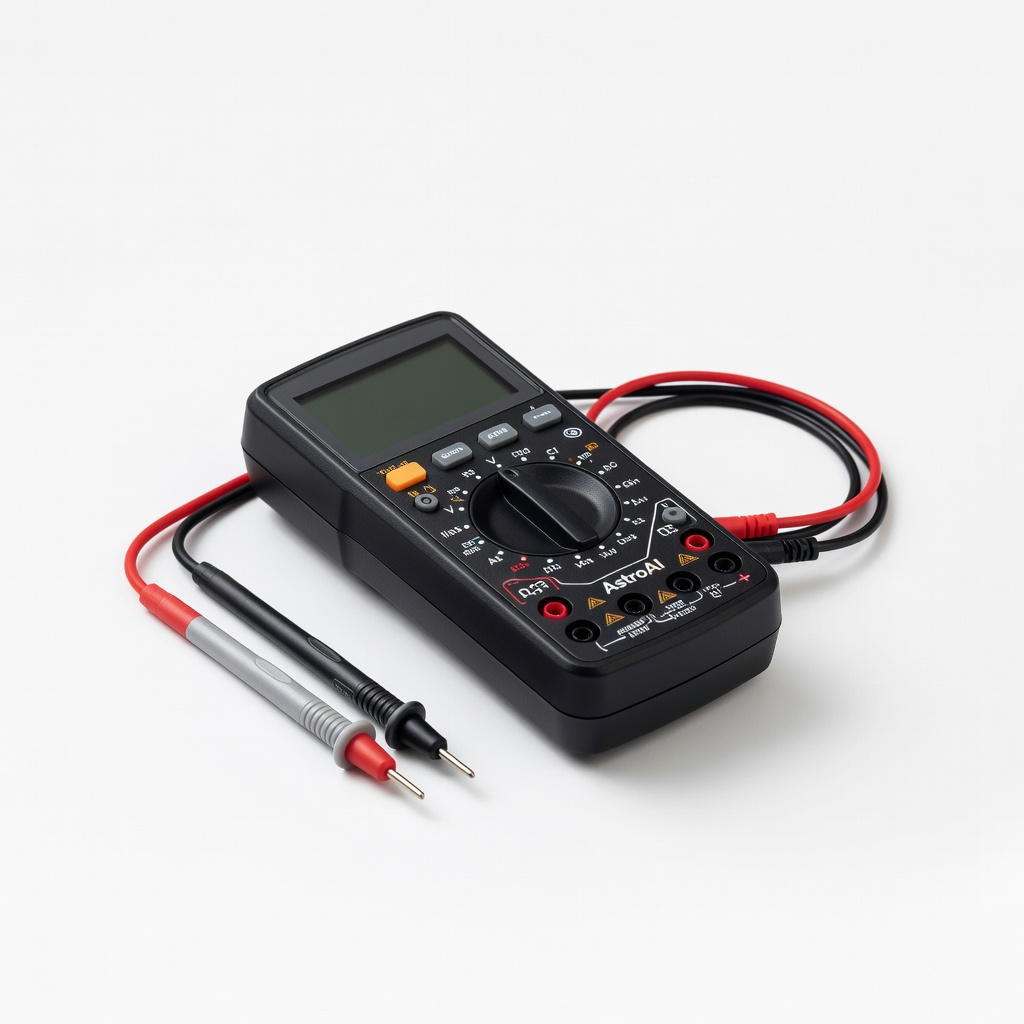
AstroAI Digital Multimeter
Accurate voltage/current testing, auto-ranging, essential for safe installs.
Best for: Verify every connection during install.
Price Range: $15-$20
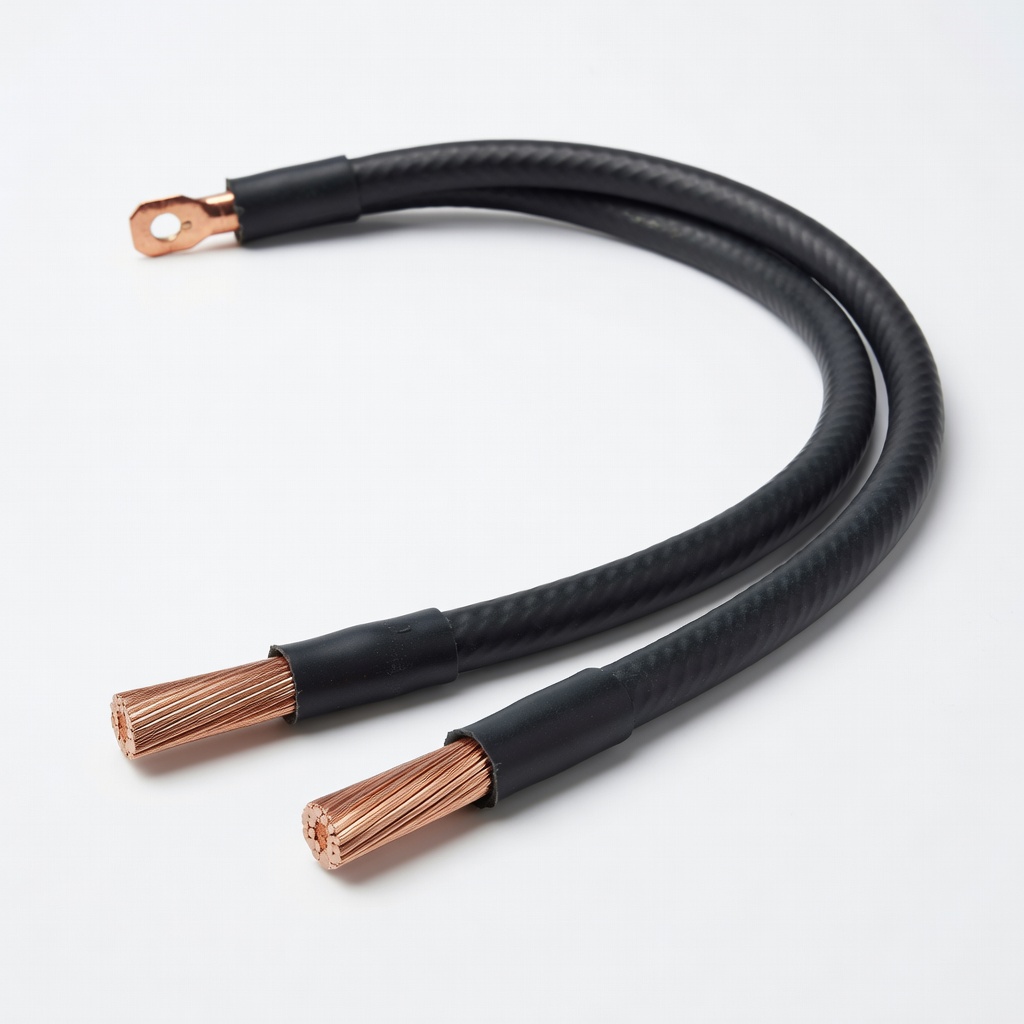
WindyNation 2/0 AWG Battery Cables
Marine-grade tinned copper, flexible for RV vibration, low resistance.
Best for: Interconnects and main runs.
Price Range: $25-$40 per set
Victron Energy SmartShunt 500A Battery Monitor
Precise SOC tracking, Bluetooth, integrates with solar apps.
Best for: Monitor bank health post-install.
Price Range: $110-$130