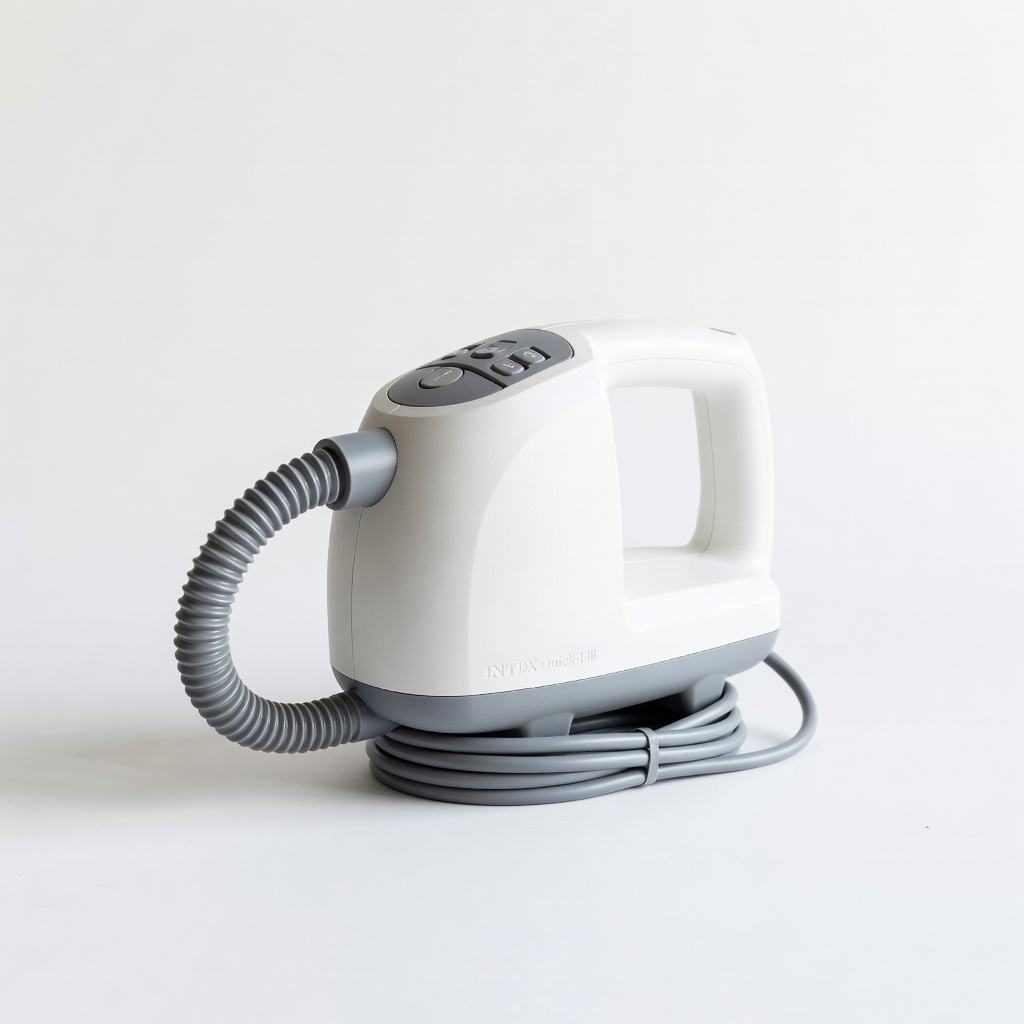
Intex Quick-Fill AC Electric Pump
Ideal for home guests or quick camping setups needing reliability.
$20-30
Intex Quick-Fill AC Electric Pump High-powered for fast inflation (under 3 minutes for queen size) with auto-shutoff to prevent overfill.
Get the App
Better experience on mobile
Master fast setup and takedown for your air mattress in under 10 minutes, ideal for guests or camping trips without the hassle.
Struggling with a floppy air mattress that takes forever to inflate or deflates into a bulky mess? You're not alone—many people waste time and energy on this simple task, leading to frustration during sleepovers or outdoor adventures. This guide solves that by teaching you efficient techniques to get your air mattress ready in minutes.
You'll learn step-by-step methods for both inflating and deflating, using common tools like built-in pumps or affordable electric ones. Whether your mattress has a self-inflating feature or requires manual effort, these instructions keep it beginner-friendly. Expect the whole process to take just 5-15 minutes, depending on your setup—no advanced skills needed.
By the end, you'll have a firm, comfortable bed that's easy to store, saving you time and space for more enjoyable activities.
Estimated Time: 5-15 minutes total (5-10 for inflation, 2-5 for deflation) Difficulty: beginner
Start by removing the air mattress from its storage bag or box. Lay it out flat on a clean, level surface like a floor or tent ground to avoid twists or uneven inflation.
Unfold the mattress completely, shaking it gently to remove any dust or debris. This step ensures even air distribution and prevents wrinkles that could cause discomfort or slow deflation later. For twin or queen sizes, this might take a minute, but it's crucial for a smooth process.
What success looks like: The mattress is fully extended, valve facing up, ready for the next step without folds.
💡 Tips:
⚠️ Warnings:
Find the inflation valve, usually on the side or edge—it's a small cap or plug. Remove the cap and check for any debris inside the valve stem.
If your mattress has a built-in pump, ensure it's connected and powered. For external pumps, this is where you'll attach the hose shortly. Why it matters: A clean valve prevents air leaks during inflation. Expect a simple twist or pull to open it—no tools required.
Success: Valve is open and accessible, with no blockages.
💡 Tips:
⚠️ Warnings:
If using an external pump, connect the hose securely to the valve—most have a snug fit or twist-lock. Plug in an electric pump to a nearby outlet or insert batteries for portability.
For built-in pumps, just switch it on. Electric pumps are fastest, inflating a queen-size in 2-4 minutes. Manual foot or hand pumps work but take longer (5-10 minutes of effort). This step sets up efficient airflow.
Success: Pump is humming steadily, with air starting to flow into the mattress visibly expanding.
💡 Tips:
⚠️ Warnings:
Turn on the pump and let it run until the mattress reaches your desired firmness—most take 3-5 minutes with an electric model. Watch for even expansion across the surface.
Why it matters: Under-inflation leads to sagging, while over-inflation can strain seams. Press down on the center to test; it should feel supportive like a firm bed. Stop the pump and close the valve tightly once done.
Success: Mattress is plump, bouncy, and holds shape without hissing leaks.
💡 Tips:
⚠️ Warnings:
Lie down or sit on the mattress to check comfort. If too soft, reopen the valve briefly and add more air. If too firm, release a bit by loosening the valve slightly.
This fine-tuning ensures a good night's sleep. Most beginners overlook it, but it prevents tossing and turning. Expect minor adjustments taking 30 seconds.
Success: The mattress feels just right—supportive yet cushioned.
💡 Tips:
⚠️ Warnings:
When done using it, twist or pull open the valve fully to release air. You'll hear a whoosh as pressure escapes— this starts the quick deflate process.
Why it matters: Proper deflation packs it compactly for storage. Built-in pumps often have a deflate mode; use it for speed. Expect initial fast release, slowing as it empties.
Success: Air begins flowing out steadily without resistance.
💡 Tips:
⚠️ Warnings:
Kneel or walk gently on the mattress to push out trapped air toward the valve. Start from the far end and work systematically.
For faster results, use the pump's deflate function if available—it sucks air out in 1-2 minutes. Manual pressing takes 2-3 minutes but works everywhere. This ensures complete emptying for easy rolling.
Success: Mattress is mostly flat and floppy, with minimal air pockets.
💡 Tips:
⚠️ Warnings:
Once deflated, roll it tightly from the far end toward the valve, squeezing out any last air. Secure with the built-in straps or ties.
Place it back in the storage bag to protect from dust and damage. Why it matters: Tight rolling prevents creases and makes transport easy. A queen-size rolls to about 12-18 inches wide.
Success: Mattress is compact, valve sealed, ready for storage or next use.
💡 Tips:
⚠️ Warnings:
Problem: Slow or no inflation
Solution: Check pump connection and power; clean valve for blockages. If pump fails, try manual or replace batteries.
Problem: Air leaks during use
Solution: Locate hiss with soapy water on seams; patch with repair kit. For valve issues, replace the cap.
Problem: Hard to deflate completely
Solution: Use pump's reverse mode or bounce on it while open. Ensure valve is fully extended.
Problem: Mattress won't stay firm
Solution: Re-inflate and monitor temperature—cold air contracts. Seek pro repair if persistent leak.
High-powered for fast inflation (under 3 minutes for queen size) with auto-shutoff to prevent overfill.
Best for: Ideal for home guests or quick camping setups needing reliability.
Price Range: $20-30
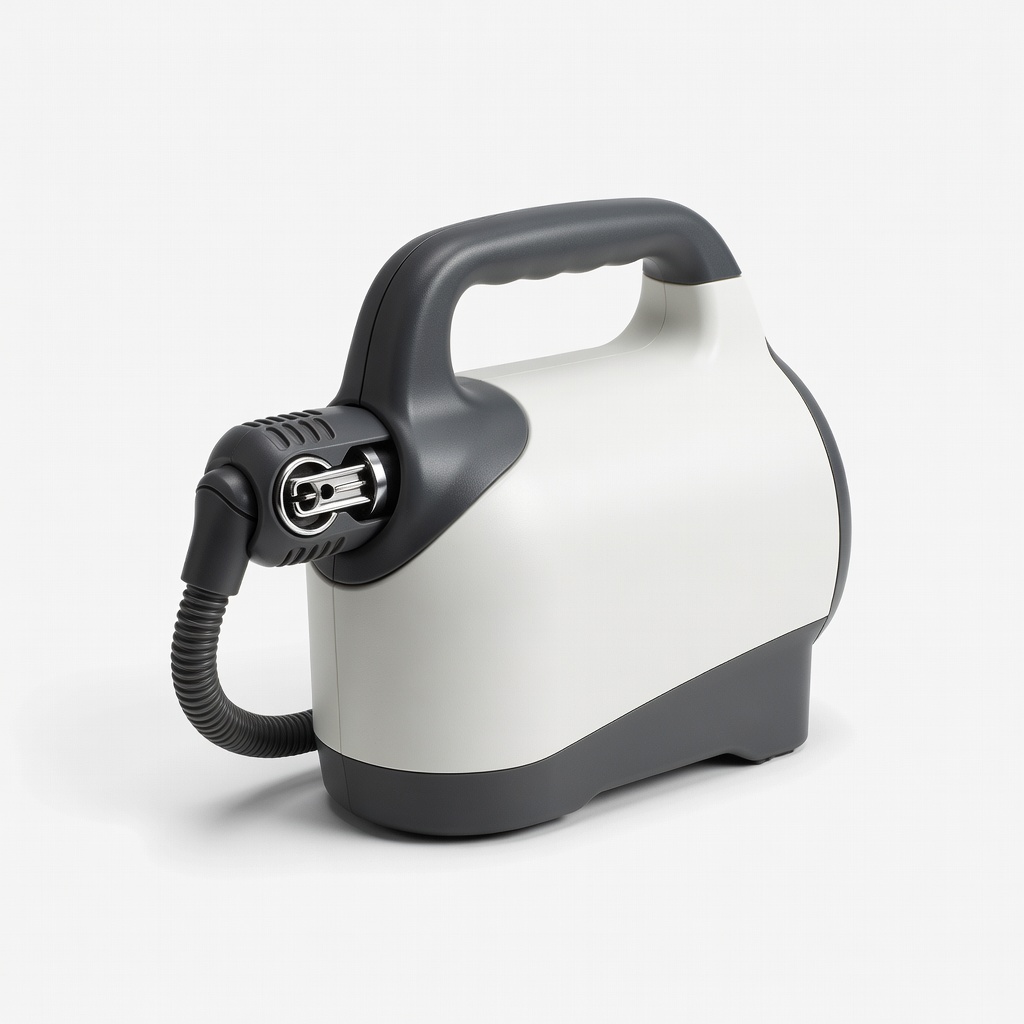
Compatible with most mattresses, dual valves for inflate/deflate speed, durable for outdoor use.
Best for: Great for versatile pumping without built-in features, especially manual backups.
Price Range: $15-25
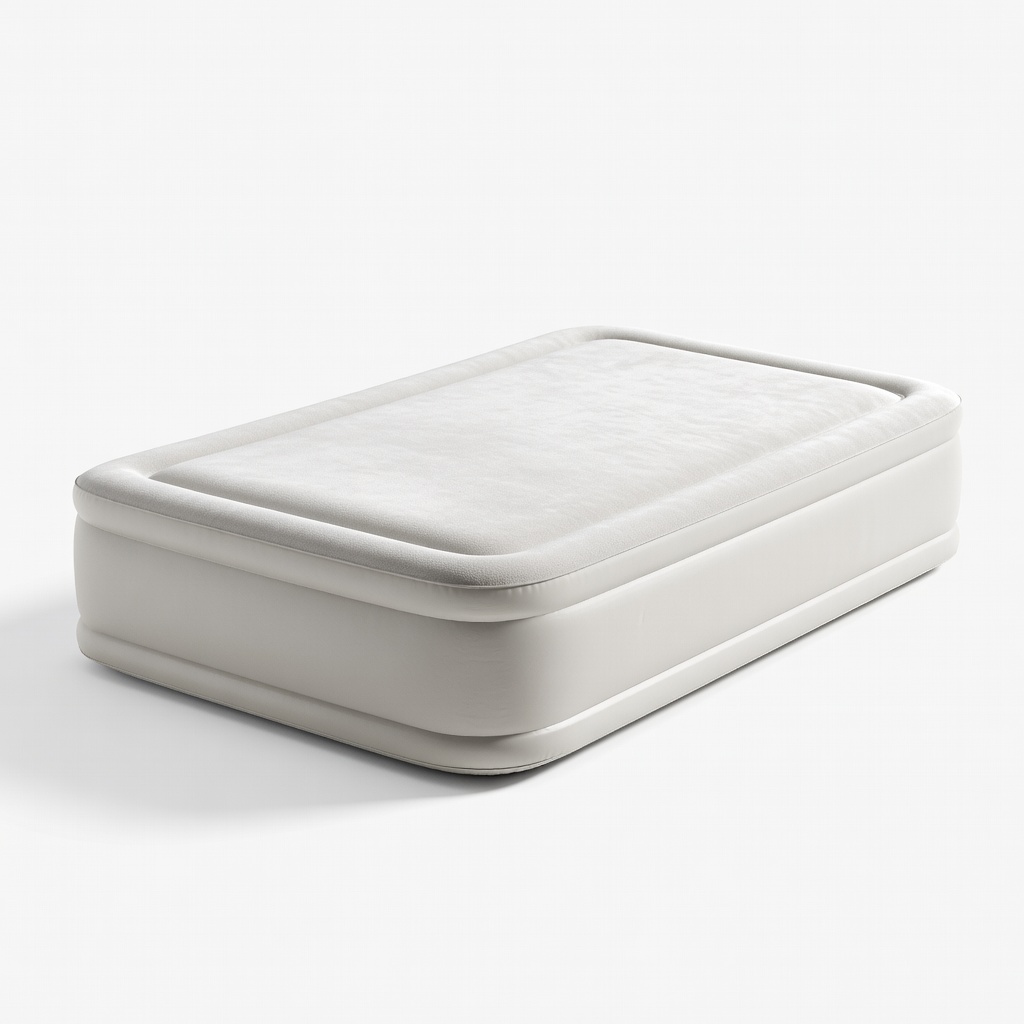
Built-in pump for one-touch inflation/deflation, comfortable and leak-proof for beginners.
Best for: All-in-one solution if buying a new mattress; quick setup for frequent sleepovers.
Price Range: $100-150
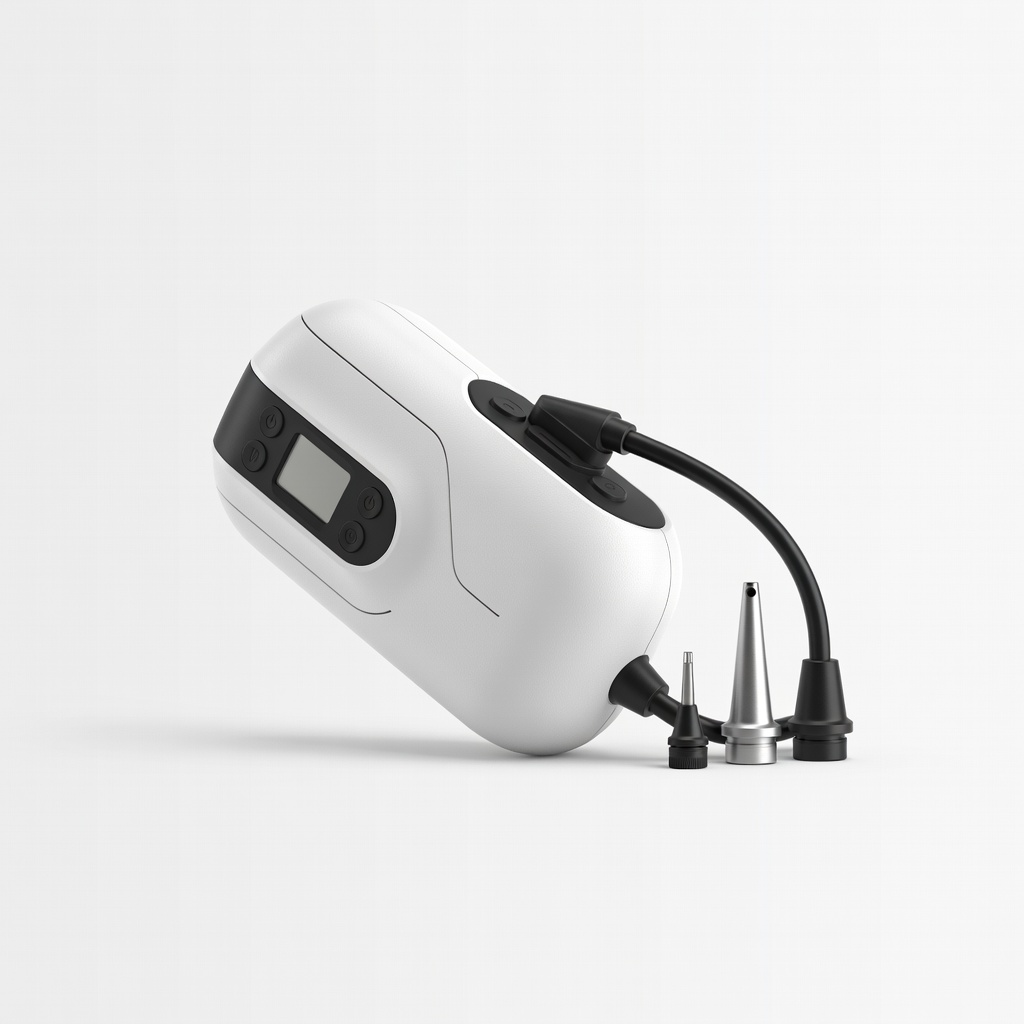
Battery or AC powered, compact for travel, multiple nozzles for various valves.
Best for: Perfect for off-grid camping or car trips where outlets aren't available.
Price Range: $25-35
Includes patches and glue for quick fixes, preventing downtime from small leaks.
Best for: Essential add-on for long-term use, especially after outdoor adventures.
Price Range: $8-12
Ideal for home guests or quick camping setups needing reliability.
Intex Quick-Fill AC Electric Pump High-powered for fast inflation (under 3 minutes for queen size) with auto-shutoff to prevent overfill.
Great for versatile pumping without built-in features, especially manual backups.
Coleman Double Lock Valve Pump Compatible with most mattresses, dual valves for inflate/deflate speed, durable for outdoor use.
All-in-one solution if buying a new mattress; quick setup for frequent sleepovers.
SoundAsleep Dream Series Air Mattress Built-in pump for one-touch inflation/deflation, comfortable and leak-proof for beginners.
Perfect for off-grid camping or car trips where outlets aren't available.
IVATION Portable Electric Air Pump Battery or AC powered, compact for travel, multiple nozzles for various valves.
Essential add-on for long-term use, especially after outdoor adventures.
Air Mattress Repair Kit by Wakeman Includes patches and glue for quick fixes, preventing downtime from small leaks.