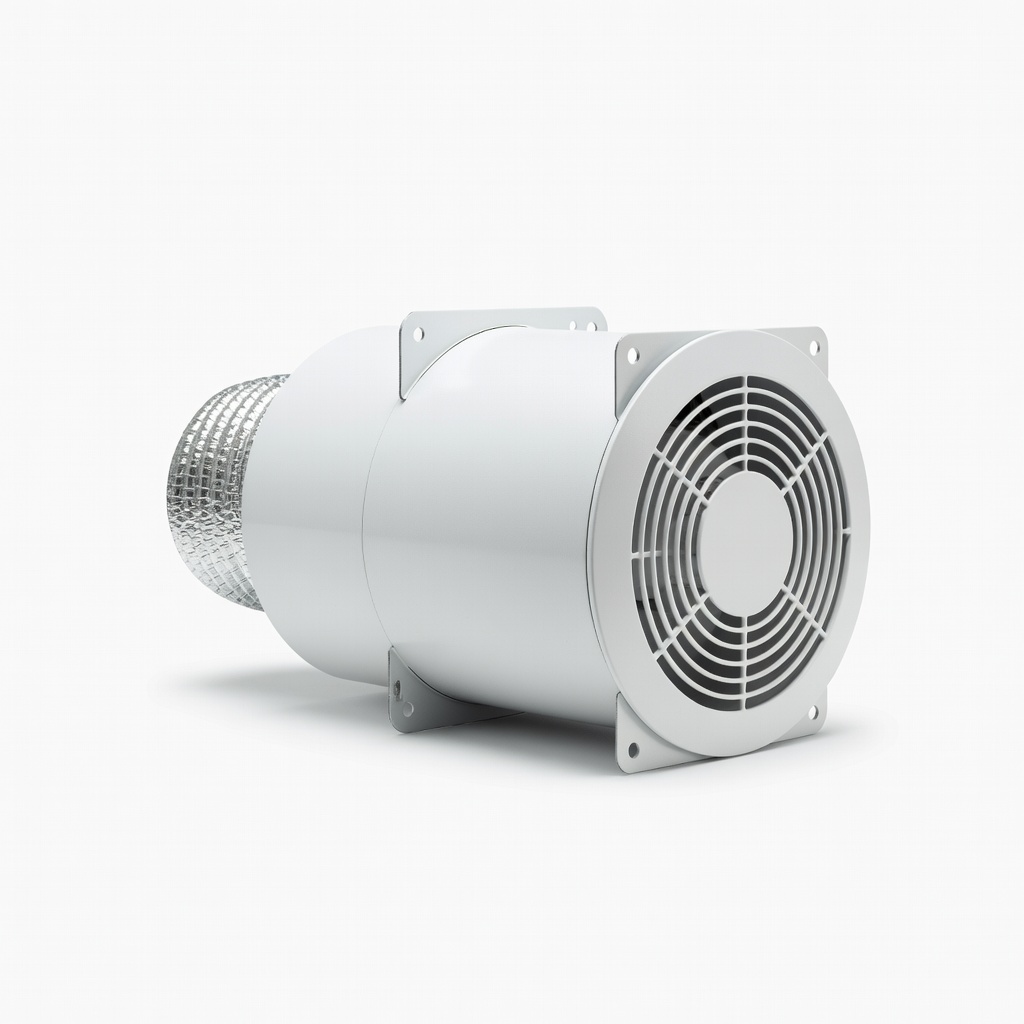
AC Infinity Cloudline S6 Inline Duct Fan
Primary exhaust for medium tents.
$89.99
AC Infinity Cloudline S6 Inline Duct Fan Quiet, powerful 402 CFM with speed controller—ideal for 4x4 tents, reduces noise by 50%.
Get the App
Better experience on mobile
Boost plant growth and prevent mold with this step-by-step guide to optimizing airflow in your grow tent—achieve fresh CO2 exchange and even temperatures in under 2 hours.
Poor airflow in grow tents leads to stagnant air, high humidity, mold growth, and stunted plants. If your leaves are yellowing, buds aren't forming, or you're battling powdery mildew, bad ventilation is often the culprit. Good airflow ensures fresh CO2 reaches plants, regulates temperature, and strengthens stems by mimicking natural breezes.
In this guide, you'll learn how to assess, upgrade, and maintain airflow for optimal results. We'll cover calculating fan needs, installing exhaust and circulation fans, and testing your setup. Perfect for intermediate growers with basic tent experience.
Expect 1-2 hours of hands-on work, depending on your tent size. No advanced tools needed—just some duct tape and a ladder if your tent is tall. By the end, you'll have a tent with 10-15 air exchanges per hour.
Estimated Time: 1-2 hours Difficulty: intermediate
Start by inspecting your grow tent. Open all flaps and vents. Use a hygrometer to measure temperature and humidity at multiple spots: top, middle, bottom, and near plants. Ideal is 70-80°F and 40-60% RH during veg, lower in flower.
Light a smoke stick or incense and observe movement. Stagnant smoke means poor exchange. Calculate air exchanges: Tent volume (L x W x H in cubic feet) x 1 air change per minute for exhaust fan CFM target.
Success: Identify weak spots like hot tops or humid bottoms.
💡 Tips:
⚠️ Warnings:
Why it matters: Undersized fans won't exchange air fast enough; oversized create turbulence.
Formula: CFM = (Tent volume in cu ft x 1) / 60 for minutes, but aim for 10-15 exchanges/hour so multiply by factor. For 4x4x6 ft (96 cu ft): ~100-150 CFM. Add 20% if using carbon filter (reduces flow).
Use online calculators or charts. Expect: Match fan to tent size (4-inch for 2x2/2x4, 6-inch for 4x4+).
Success: A spec sheet with your target CFM.
💡 Tips:
Mount the inline fan on the tent's top passive vent hole (cut if needed with hole saw). Attach carbon filter inline: Fan → Filter → Duct → Outside exhaust port.
Secure with clamps. Plug in and set to medium speed. Why? Pulls hot/humid air up and out, creating negative pressure for fresh intake.
Success: Air whooshes out duct; tent feels suction when flaps opened.
⚠️ Warnings:
Create passive intake: Cut or open bottom vents opposite exhaust. For active, add small intake fan blowing in cool air.
Why? Replaces exhausted air with fresh, CO2-rich outside air. Position low to pull cool air up through canopy.
Success: Gentle inflow without billowing flaps.
💡 Tips:
Clip 1-2 6-inch oscillating fans inside: one low for under-canopy, one mid-height. Angle to bend leaves gently.
Why? Simulates wind, strengthens stems, distributes CO2/H2O evenly, prevents hot spots.
Run on low-medium. Success: Leaves rustle continuously without thrashing.
⚠️ Warnings:
Adjust angles: Exhaust pulls up, circ fans swirl horizontally, intake pushes low. Use speed controller for quiet operation.
Test with smoke: Aim for full sweep in 30-60 seconds.
Success: Even temps (±2°F), humidity drops 5-10%, no dead zones.
💡 Tips:
Run full setup 30 mins. Check anemometer (optional) for 5-10 mph breeze. Monitor VPD (vapor pressure deficit) charts.
Log readings daily first week.
Success: Stable environment, vigorous plant response in 3-5 days.
⚠️ Warnings:
Clean filters monthly, check ducts for tears quarterly. Replace carbon yearly.
Why? Clogs reduce CFM 50% over time.
Success: Consistent performance year-round.
💡 Tips:
Problem: High humidity despite fans
Solution: Increase exhaust speed or add dehumidifier; ensure negative pressure.
Problem: Noisy setup
Solution: Add duct silencer or speed controller; mount fans on anti-vibe pads.
Problem: Uneven temps
Solution: Reposition osc fans; add more circulation.
Problem: Low CFM output
Solution: Clean filter; check for duct kinks or blockages.
Problem: Pests entering
Solution: Install fine mesh on all intakes; seal holes.
Quiet, powerful 402 CFM with speed controller—ideal for 4x4 tents, reduces noise by 50%.
Best for: Primary exhaust for medium tents.
Price Range: $89.99
Removes odors effectively while maintaining 80% airflow—scrubbed air prevents detection.
Best for: Inline with exhaust fan for stealth grows.
Price Range: $59.99
Oscillates quietly, clips securely—provides gentle breeze without drying plants.
Best for: Internal circulation in any tent size.
Price Range: $19.99
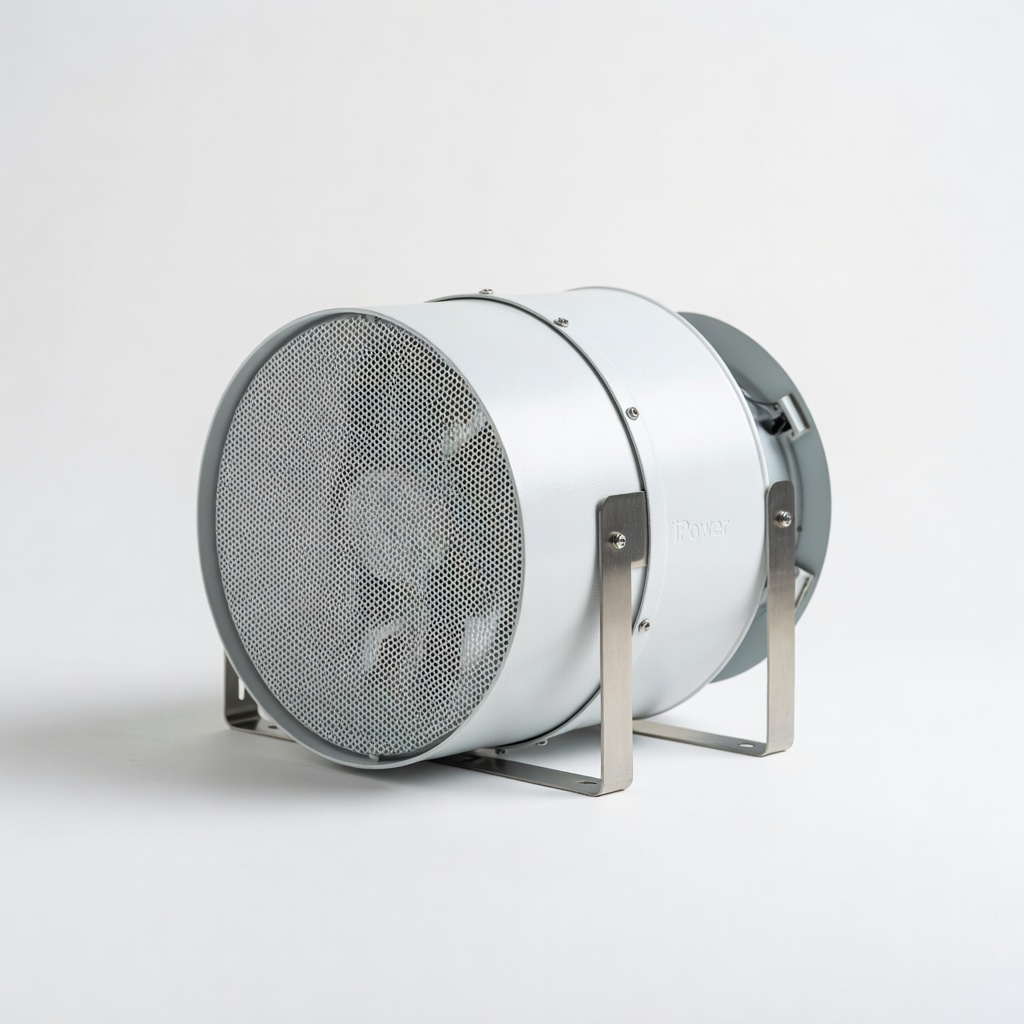
Budget-friendly 195 CFM for small tents—reliable starter exhaust.
Best for: 2x2 or 2x4 tents on a budget.
Price Range: $29.99
Automates temp/RH-based fan speeds—prevents over/under ventilation.
Best for: Advanced monitoring for consistent results.
Price Range: $64.99
Primary exhaust for medium tents.
AC Infinity Cloudline S6 Inline Duct Fan Quiet, powerful 402 CFM with speed controller—ideal for 4x4 tents, reduces noise by 50%.

Inline with exhaust fan for stealth grows.
Vivosun 6-Inch Carbon Filter Removes odors effectively while maintaining 80% airflow—scrubbed air prevents detection.
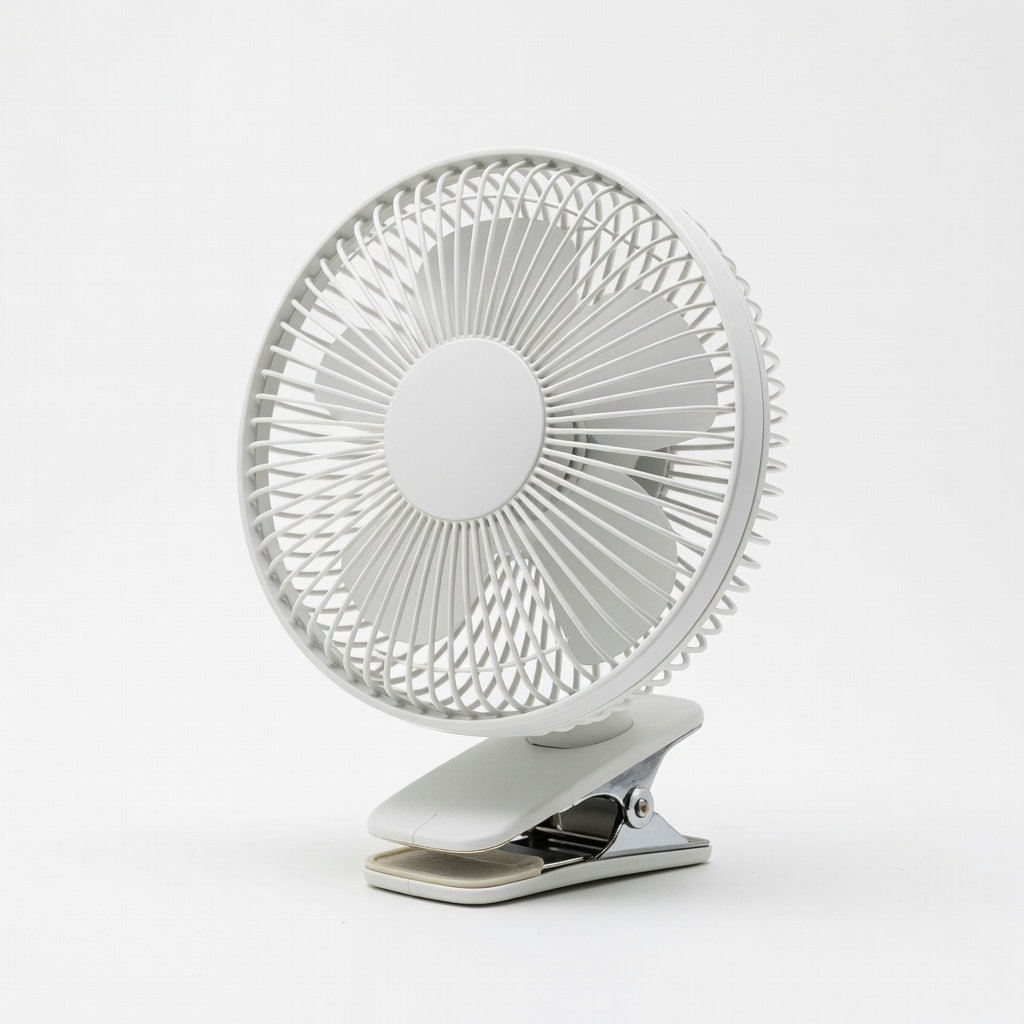
Internal circulation in any tent size.
Hurricane 6" Clip Fan Oscillates quietly, clips securely—provides gentle breeze without drying plants.
2x2 or 2x4 tents on a budget.
iPower 4-Inch Inline Duct Fan Budget-friendly 195 CFM for small tents—reliable starter exhaust.
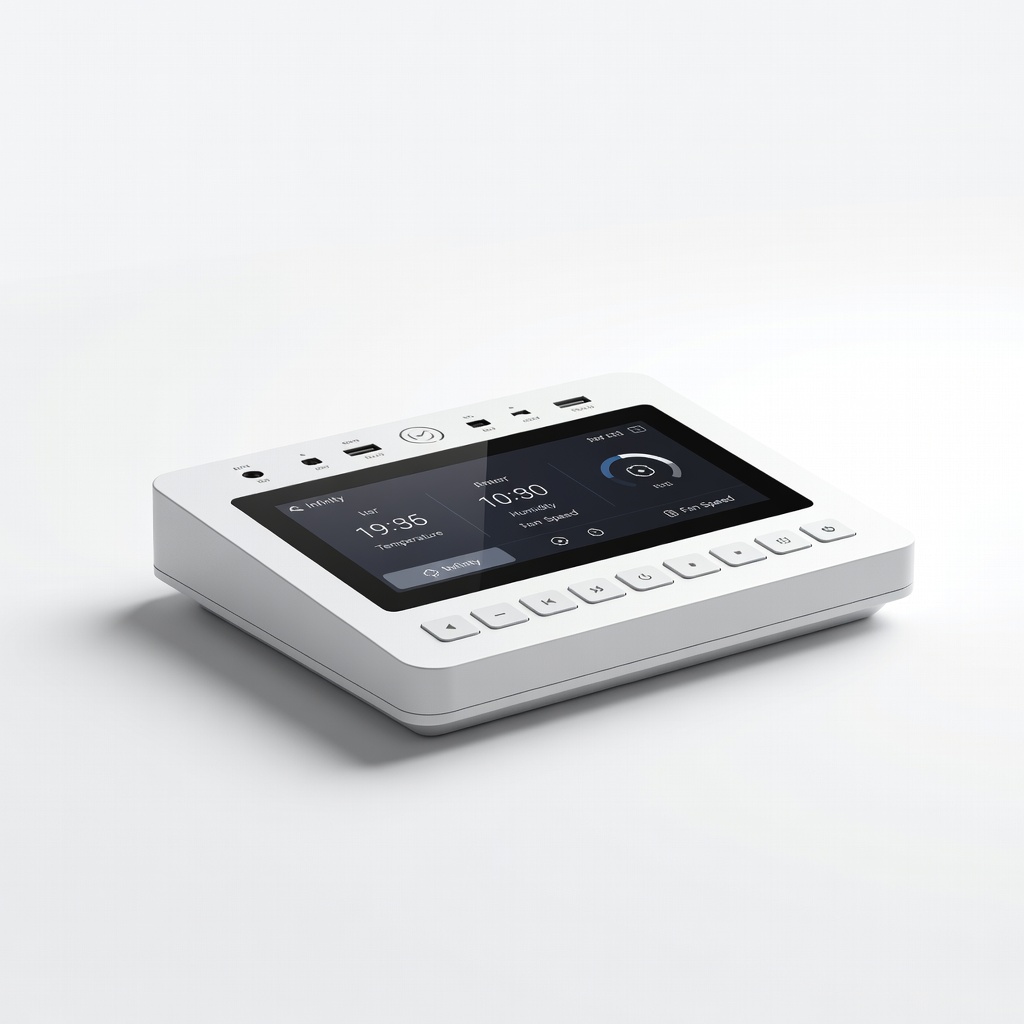
Advanced monitoring for consistent results.
AC Infinity Controller 69 Pro Automates temp/RH-based fan speeds—prevents over/under ventilation.