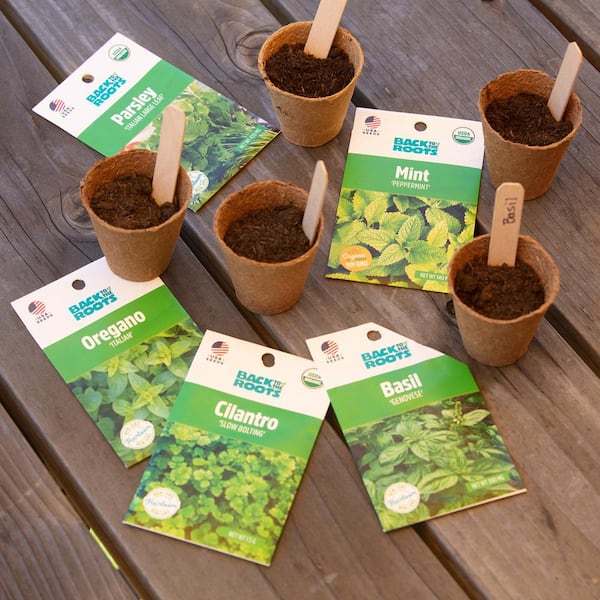
Do you dream of fresh basil for your pasta sauce or mint for your tea, no matter the season? Growing herbs indoors is a rewarding and easy way to keep your favorite flavors within arm's reach. You don't need a sunny garden or a green thumb — just a few simple tools and some basic knowledge. In this guide, you'll learn exactly how to set up an indoor herb garden, from choosing the right herbs to harvesting them successfully.
We'll walk you through each step: selecting the best herbs, providing the perfect light and water, and troubleshooting common issues. By the end, you'll have a thriving indoor herb garden that can produce fresh leaves every day of the year. Whether you're a cooking enthusiast, a beginner gardener, or just someone who loves green spaces, this guide will set you up for success.
▸What You'll Need
- •Small pots or containers with drainage holes (2-6 inch size)
- •High-quality potting mix (not garden soil)
- •Herb seeds or starter plants (basil, cilantro, parsley, mint, chives, thyme, oregano, rosemary)
- •Grow light (full-spectrum LED recommended, especially in winter)
- •Watering can or small pitcher
- •Fertilizer (organic liquid fertilizer, diluted)
- •Pruning shears or scissors
- •Optional: humidity tray, moisture meter, seed starting tray
- •Optional: self-watering pots or planters with a water reservoir
Estimated Time: Initial setup 1-2 hours; ongoing maintenance 10–15 minutes weekly
Difficulty: beginner
▸Step-by-Step Instructions
Step 1: Choose Your Herbs
Start with herbs that grow well indoors and match your cooking or fragrance preferences. Easy winners include basil, chives, mint, parsley, cilantro, oregano, and thyme. These herbs adapt well to container life and don't require excessive space. If you're a beginner, choose 2-3 varieties to start with so you can learn their quirks without feeling overwhelmed.
Think about what you use most in the kitchen. Basil is perfect for Italian dishes, mint for tea and desserts, and cilantro for Mexican or Asian cuisine. Also consider the growth habit of each herb: mints like to spread and are best grown alone in a container, while upright herbs like parsley and thyme can share a pot if it's large enough.
To ensure a constant fresh supply, you can stagger plantings every couple of weeks. This way, as one batch matures, the next one is ready to take over.
💡 Tips:
- •Start with transplants from a nursery for a faster harvest.
- •Buy seeds online or from a local gardening store for more variety.
⚠️ Warnings:
- •Avoid starting with finicky herbs like lavender or dill as they require special conditions or more light.
Step 2: Select the Right Containers
Choose pots that have at least one drainage hole to prevent waterlogging, which is a common killer of indoor herbs. The pot size depends on the plant: small herbs like chives and thyme do well in 4-inch pots, while bushy basil or rosemary will need a 6-8 inch pot. If you reuse old containers, clean them thoroughly with soapy water and rinse well.
You can get creative — repurposing mason jars, tin cans, or ceramic mugs works as long as you add a layer of pebbles at the bottom and drill or cut a drainage hole. An easier option is to use a self-watering pot for busy people; these have a water reservoir that keeps the soil moist consistently.
Whatever you choose, place a saucer or tray underneath to catch excess water and protect your windowsill or surfaces. This also makes watering simpler because you can water from the top and let the excess collect.
💡 Tips:
- •Use transparent containers to easily inspect root growth, but keep them in a cachepot to block light and prevent algae.
- •If your container lacks drainage, layer pebbles at the bottom to create space for excess water, but note this is a temporary fix.
⚠️ Warnings:
- •Never let pots sit in standing water for long periods; it can cause root rot.
Step 3: Use High-Quality Potting Mix
Standard garden soil is too heavy and can compact in containers, suffocating roots. Instead, use a well-draining potting mix that is light, fluffy, and formulated for container gardening. Look for a mix that contains perlite or vermiculite to improve aeration and moisture retention.
Before planting, moisten the potting mix slightly with water. Fill your pot about three-quarters full, place the plant or seeds at the optimal depth (according to the seed packet or transplant guide), and then fill the rest of the way. Gently firm the soil around the base of the plant, but do not pack it too tightly — roots need air.
For seeds, sprinkle them on the surface of the moist mix and just press them down or cover with a thin layer of mix, depending on the seed size. Keep the mix consistently moist until germination.
💡 Tips:
- •Mix in a handful of compost for slow-release nutrients.
- •Use a sterile seed-starting mix if starting seeds, not general purpose potting soil, to avoid disease.
⚠️ Warnings:
- •Steer clear of potting mixes with added chemical fertilizers if you're growing edible herbs — choose organic or unfertilized blends.
Step 4: Provide Adequate Lighting
Most herbs need at least 6-8 hours of direct sunlight per day. For indoor growing, a south-facing windowsill is the best bet. But during winter months or on cloudy days, even a bright window often isn't enough. That's where grow lights come in—they can supplement or completely replace natural light for herbs.
Install a full-spectrum LED grow light 6-12 inches above the plants. Leave it on for 10-14 hours a day. You can use a timer to keep your light schedule consistent, which helps promote healthy, uniform growth. Position the light close enough to prevent leggy stems but not so close that it burns the leaves.
💡 Tips:
- •Rotate your pots every few days so all sides receive equal light.
- •Use a cheap timer to automate your grow light schedule.
⚠️ Warnings:
- •Avoid placing plants too far from a grow light, as they will stretch and become weak.
Step 5: Set Up a Watering Routine
Proper watering is the most critical skill in indoor herb gardening. Too much water is more common than too little. Most herbs prefer the soil to be slightly dry between waterings. Check the top inch of soil; if it feels dry to the touch, it's time to water. Use a watering can with a narrow spout to water directly at the base of the plant, avoiding the leaves to prevent fungal diseases.
Water thoroughly until water drains out the bottom, then empty the saucer after a few minutes. The frequency depends on many factors: pot size, humidity, temperature, and whether the plant is actively growing. In a warm, dry room, you might need to water every 2-3 days; in cooler or more humid conditions, once every 5-7 days is enough.
A moisture meter can take the guesswork out of this step. Just insert the probe into the soil and read the moisture level. This is especially helpful for beginners.
💡 Tips:
- •Spraying leaves with water can increase humidity; do it in the morning.
- •Use room-temperature water to avoid shocking the roots.
⚠️ Warnings:
- •Never water on a fixed schedule; always check the soil moisture first.
Step 6: Maintain Ideal Temperature and Humidity
Herbs generally prefer temperatures between 65°F and 75°F (18°C-24°C) during the day, slightly cooler at night. Keep them away from cold drafts, air conditioning vents, and heat sources like radiators, which can cause temperature fluctuations and dry the air.
Indoor air is often very dry, especially in winter. Many herbs (like basil and cilantro) prefer moderate to high humidity. You can increase humidity by placing a tray filled with water and pebbles under the pots, grouping plants together, or using a small humidifier nearby. Misting the leaves occasionally also helps, but don't do it so often that the soil stays waterlogged.
Monitor for signs of stress: drooping leaves can mean too much or too little water, while brown leaf edges often indicate low humidity.
💡 Tips:
- •Group your herbs together to create a microclimate with higher humidity.
- •Avoid placing plants on top of a refrigerator or TV, which generate heat.
⚠️ Warnings:
- •Do not expose herbs to sudden temperature swings; they can drop leaves or go into shock.
Step 7: Fertilize Sparingly
Herbs grown in containers need regular feeding because nutrients leach out with every watering. However, you want to encourage tasty leaf growth, not huge plants. Use a balanced, water-soluble fertilizer diluted to half strength every 2-4 weeks during the growing season (spring through summer). In winter, when growth slows, reduce feeding to once a month or stop altogether.
Organic liquid fertilizers, like fish emulsion or seaweed extract, are excellent choices for edible herbs. They provide a gentle nutrient boost without the risk of chemical buildup.
Be careful not to over-fertilize; too much nitrogen can lead to lush foliage but a less intense flavor. Always water the plant before applying fertilizer to avoid burning the roots.
💡 Tips:
- •Use compost tea for a gentle, all-natural boost.
- •For herbs living in naturally nutrient-rich soilless mixes, you may not need fertilizer for the first few months.
⚠️ Warnings:
- •Never fertilize dry soil, as it can burn the roots.
Step 8: Prune and Harvest Regularly
Harvesting isn't just about getting leaves—it's also a form of pruning that keeps herbs bushy and productive. As a rule, never remove more than one-third of the plant at a time. Use sharp scissors to snip stems just above a pair of leaves, which encourages the plant to branch out and grow new shoots.
For leafy herbs like basil, pick the top leaves and pinch off any flower buds as soon as they appear. Flowering tells the plant to put energy into seed production and makes leaves taste bitter. For hardy herbs like rosemary and thyme, you can strip leaves from a woody stem, but don't cut below the green growth near the base.
Harvest in the morning after the dew has dried, when aromatic oils are at their peak. Regular harvesting (at least once a week) stimulates new growth and prevents plants from becoming leggy.
💡 Tips:
- •Use a pinch-and-boon method: gently pinch off the top two leaves with your fingers to encourage bushiness.
- •Try harvesting from the outer growth first, leaving the inner core intact.
⚠️ Warnings:
- •Avoid leaving herbs unpruned for more than a month; they'll start flowering and lose flavor.
Step 9: Watch for Pests
Indoor herbs can attract common houseplant pests like aphids, spider mites, and gnats. These often arrive on new plants or through open windows. Regularly inspect the undersides of leaves and the soil surface for signs of infestation: yellow speckles, webbing, or tiny flying insects.
If you spot a problem, isolate the affected plant immediately to prevent spread. For soft-bodied pests like aphids, you can hose the plant down in a shower or use a mixture of mild soap and water as a spray. Neem oil is an organic fungicide and pesticide that's effective against aphids, mites, and leaf spot. Always read the label to ensure it's safe for edible herbs.
Fungus gnats, small black flies, are a common nuisance in houseplant soil. They breed in overly moist soil, so letting the top inch dry out can break their life cycle. Yellow sticky traps are great for catching adults.
💡 Tips:
- •Quarantine any new plant for a week before adding it to your collection.
- •Keep a spray bottle of diluted neem oil handy for quick treatment.
⚠️ Warnings:
- •Avoid using broad-spectrum pesticides on herbs; they can leave harmful residues and harm beneficial insects.
Step 10: Refresh and Repot When Needed
Over time, your herbs may outgrow their container or the soil may become exhausted. If you see roots poking out of the drainage holes, or if water runs straight through the pot, it's time to repot. Typically, repot once a year in early spring.
Choose a pot that is 2 inches wider in diameter. Gently lift the plant, shake off loose soil, and inspect the roots. If they form a tight ball, loosen them slightly with your fingers. Place the plant in its new pot, fill around the sides with fresh potting mix, and water thoroughly.
Alternatively, you can take a different approach: divide perennial herbs like chives or orange mint. Cut the root ball into sections and pot them up separately, giving you more plants for free.
If you don't want to repot, you can top-dress by scraping off the top inch of soil and replacing it with fresh, nutrient-rich potting mix.
💡 Tips:
- •Repot mature herbs into new containers every 12-18 months to keep them healthy.
- •Use the opportunity to check for root rot and trim away any brown, mushy roots.
⚠️ Warnings:
- •Do not repot an actively flowering or stressed plant; it can survive but you'll lose the current harvest.
▸Pro Tips
- •Start with one easy herb like basil or chives to build confidence before expanding.
- •Place your herb garden near the kitchen, so you'll remember to water and use them frequently.
- •Use a fan to gently circulate air around your plants; it strengthens stems and reduces fungal issues.
- •Label each pot with the herb name and planting date to keep track of growth.
- •If you only have a north-facing window, rely mostly on a grow light; low light will make herbs leggy.
- •Harvest no more than one-third of a plant at a time to avoid shocking it.
- •Mist your herbs several times a week if your home is dry, or use a pebble tray.
- •Consider succession planting: sow new seeds every couple of weeks for a continuous supply.
▸Common Mistakes to Avoid
- •Overwatering: Giving herbs more water than they need suffocates roots and causes rot. Always check soil moisture before watering.
- •Insufficient light: Herbs stretch and lose flavor when they don't get enough light. Invest in a grow light or choose the sunniest window.
- •Using the wrong soil: Garden soil compacts in containers and doesn't drain well, leading to soggy roots and poor growth.
- •Skipping pruning: Allowing herbs to flower reduces leaf production and alters taste. Regularly pinch back buds and harvest leaves.
- •Fertilizing too much: Overfeeding herbs can cause rapid but leafless growth and a duller flavor. Dilute your fertilizer and feed sparingly.
▸Troubleshooting
Problem: Leaves turning yellow
Solution: Yellow leaves often indicate overwatering. Check the drainage and let the soil dry out more between waterings. If the lower leaves are yellow and the plant is flowering, it may be too hot or too dry.
Problem: Leggy, stretched stems
Solution: This is a classic sign of not enough light. Move your herb to a sunnier location or place a grow light closer to the plant (6 inches away). Rotate the pot regularly for even growth.
Problem: Leaves have brown edges or burnt tips
Solution: Low humidity is the usual culprit, especially indoors in winter. Increase humidity with a pebble tray or humidifier. Also, avoid splashing water on the leaves during watering.
Problem: White, fuzzy mold on soil surface
Solution: This is a saprophytic fungus that appears in damp, poorly ventilated conditions. Scrape it off, let the soil dry out, and improve air circulation. If it persists, repot with fresh mix.
Problem: No scent or flavor in your herbs
Solution: Fragrance and flavor drop when plants lack sunlight or are water-stressed. Ensure they receive at least 6 hours of bright light and water consistently—not too wet, not too dry.
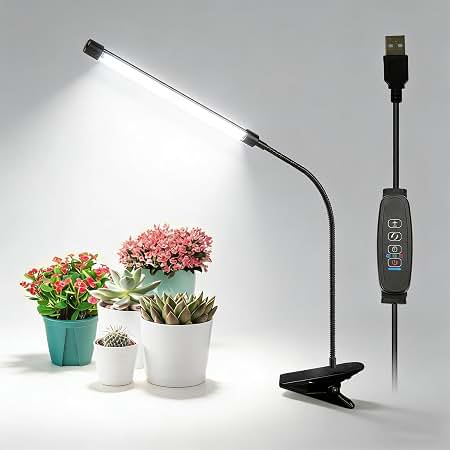
GrowLED Full Spectrum LED Grow Light
Even a sunny windowsill may not deliver enough light, especially in winter. A quality LED grow light provides the full spectrum herbs need to produce vibrant leaves without too much heat.
Best for: Place over your herb shelf or countertop, and set on a timer for 10-14 hours a day to mimic a sunny day.
Price Range: $30-$50
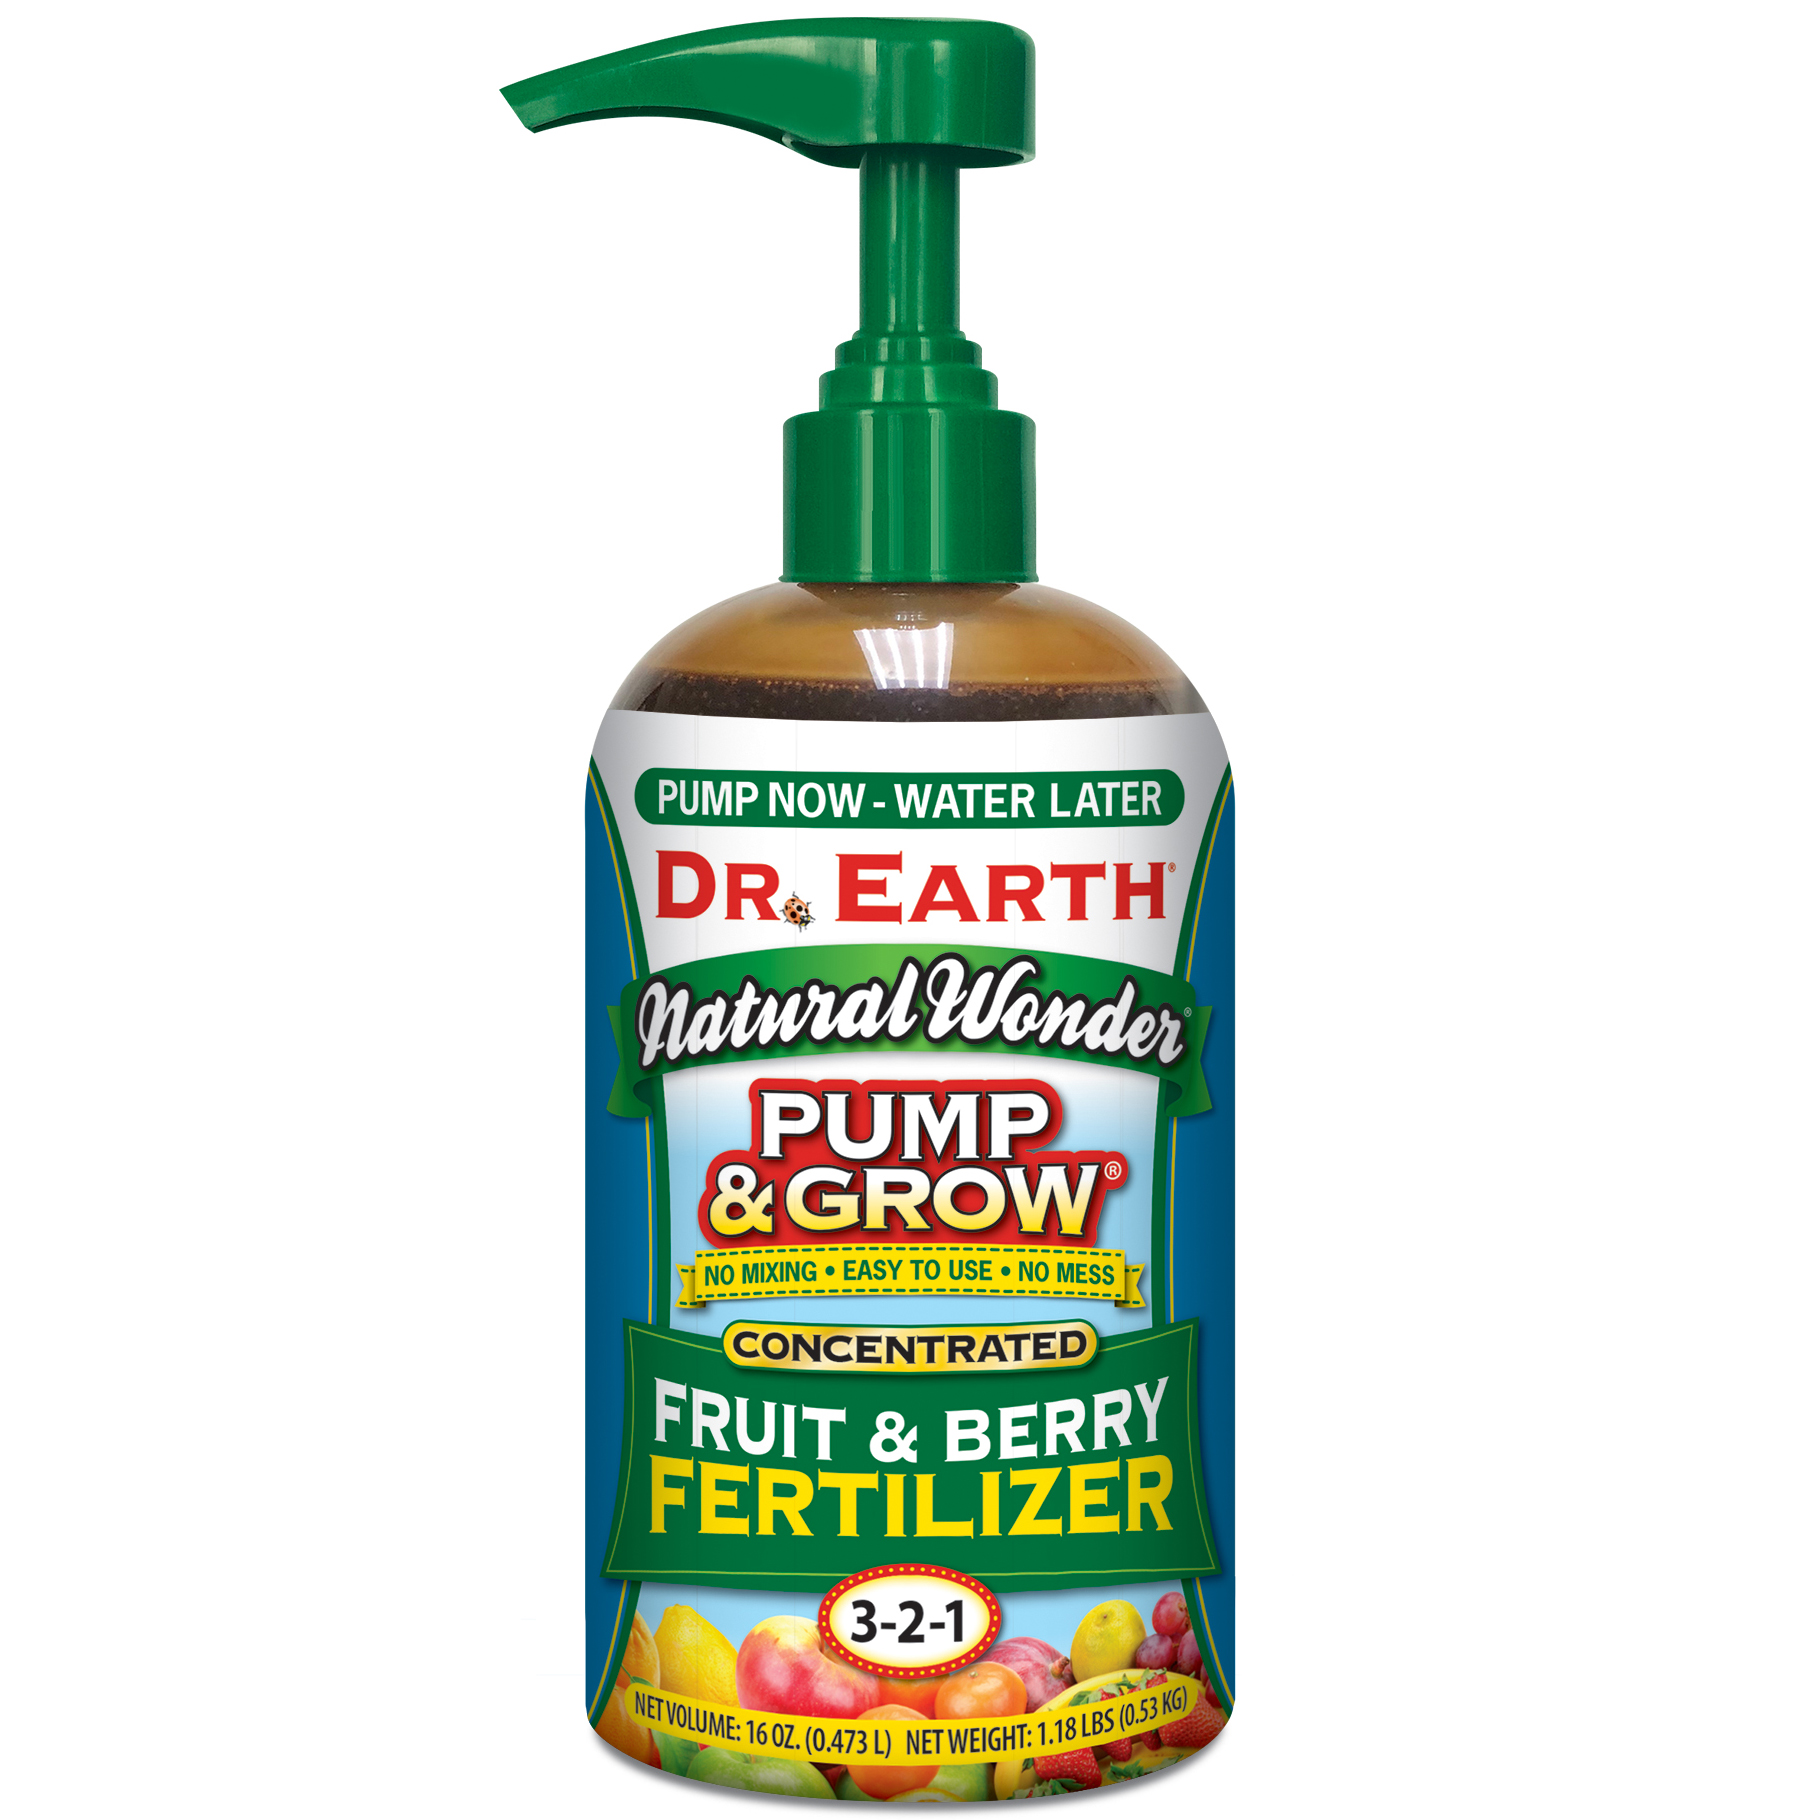
Dr. Earth Organic Liquid Fertilizer
Organic liquid fertilizers are gentle on herbs and provide essential nutrients without harmful chemicals. They're especially effective for edible plants.
Best for: Dilute with water and feed your herbs every 2-4 weeks during the growing season.
Price Range: $10-$20
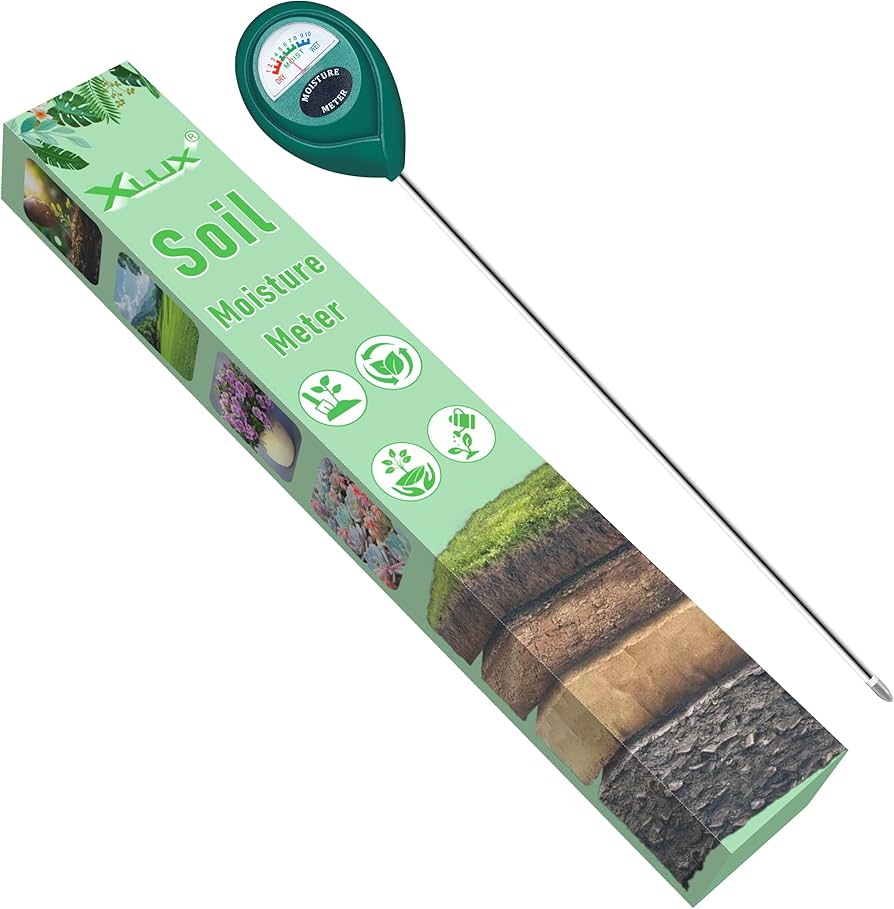
XLUX Soil Moisture Meter
Knowing when to water is the hardest part of indoor gardening. A moisture meter takes the guessing out and prevents overwatering.
Best for: Insert into the soil near the roots to read the moisture level instantly; water when the meter shows a reading in the 'dry' zone.
Price Range: $10-$13
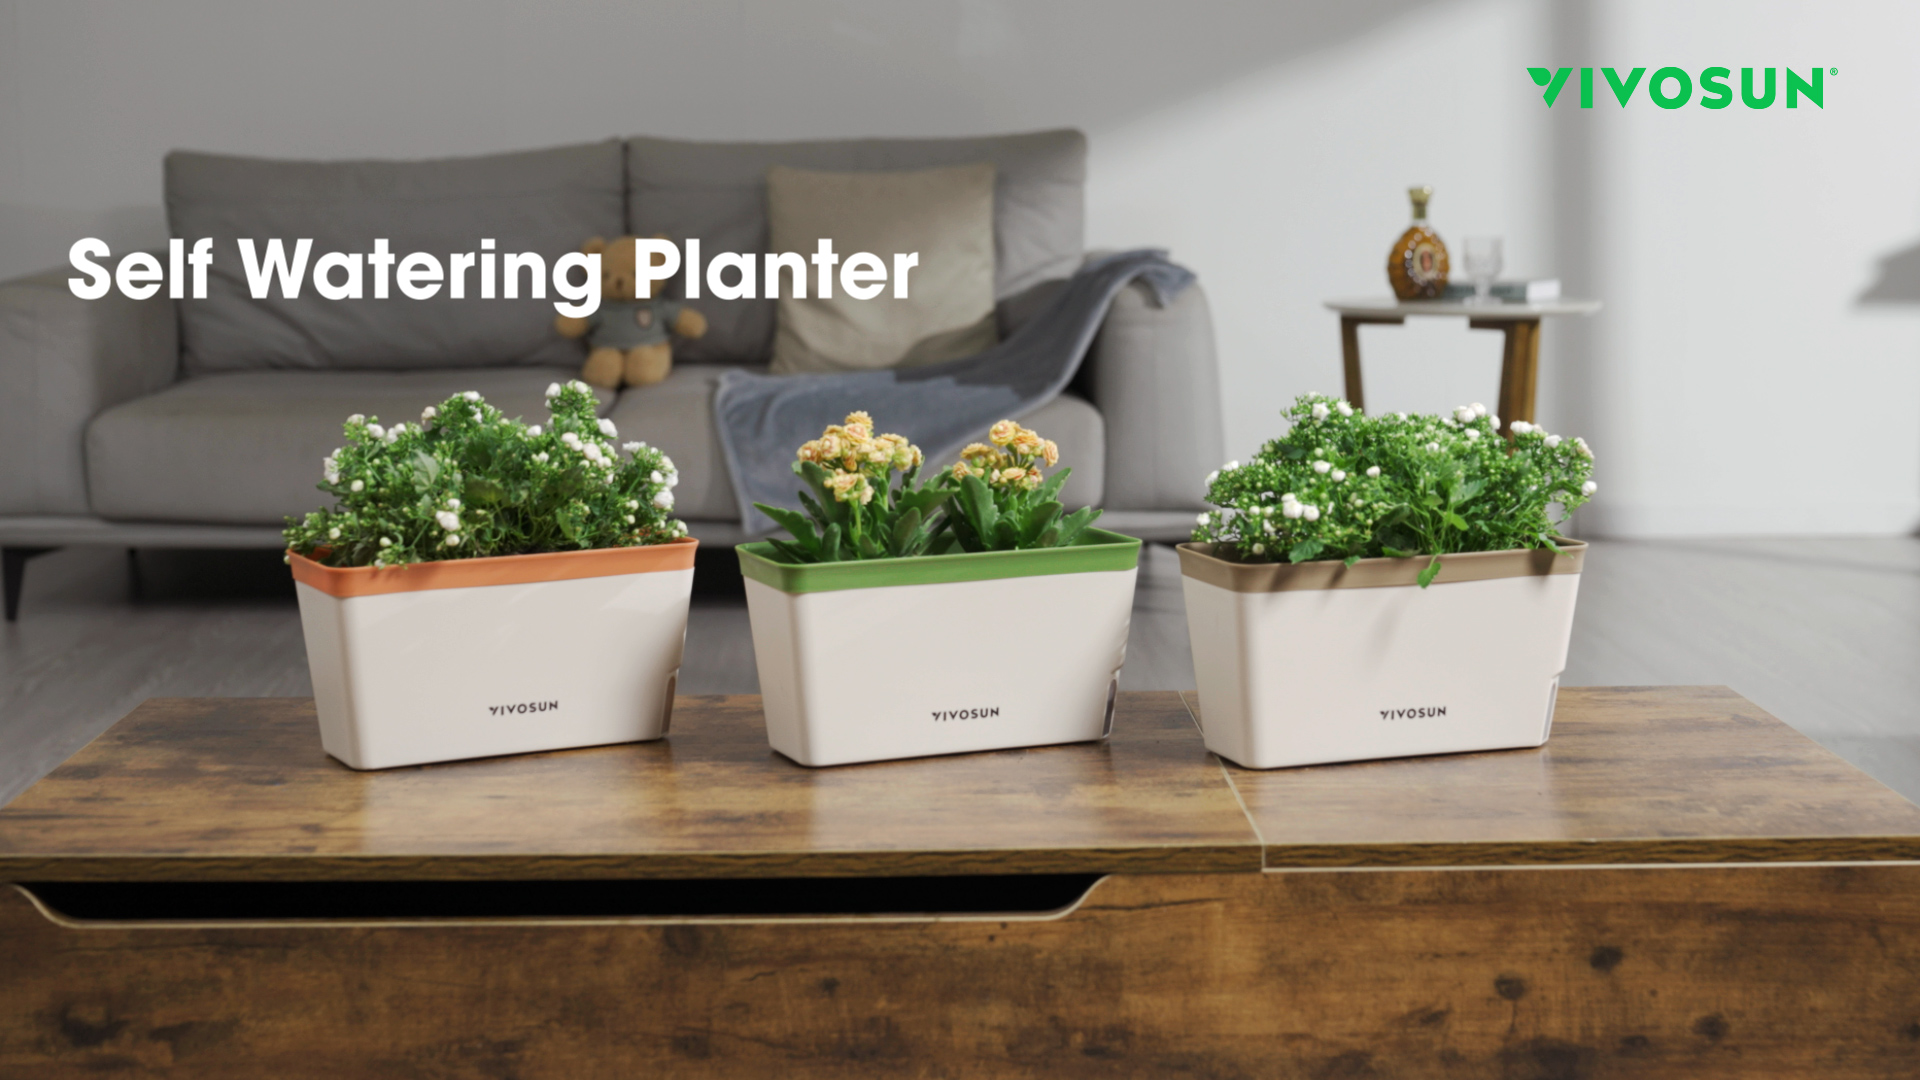
Vivosun Self-Watering Planter Set
Self-watering pots have a built-in reservoir that delivers moisture gradually, keeping the soil evenly damp and giving you more time between watering sessions.
Best for: Best for busy individuals or frequent travelers. Plant your herbs in the inner pot, fill the reservoir, and the plant can draw water as needed.
Price Range: $25-$40
Back to the Roots Organic Herb Seed Collection
High-quality seeds are essential for a thriving herb garden. This organic collection includes popular varieties and is perfect for beginners.
Best for: Use for starting your herbs from seed in soil or a seed-starting kit, following the packet directions for depth and care.
Price Range: $15-$25