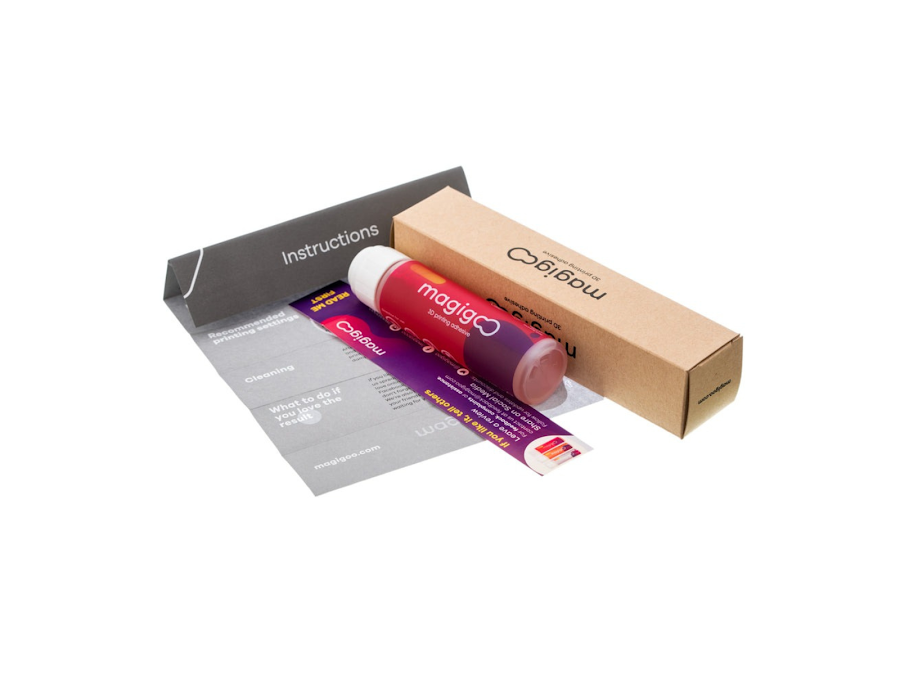
Magigoo Original 3D Printing Bed Adhesive
Apply thin layer before every print to boost brim grip on PLA/ABS.
$19.99
Magigoo Original 3D Printing Bed Adhesive Pen-style applicator for mess-free adhesion, perfect for brims on glass/PEI.
Get the App
Better experience on mobile
Master brim settings in your slicer to eliminate warping and achieve flat, perfect 3D prints effortlessly as a beginner.
Warping is one of the most frustrating issues for 3D printing beginners—your print starts great but corners lift, ruining the whole thing. It happens due to uneven cooling, poor bed adhesion, or drafts, especially with materials like ABS or large prints. Don't worry; adding a brim is a simple, effective fix that extends your print's base for better grip without much extra material.
In this guide, you'll learn step-by-step how to add and optimize brims in free software like Ultimaker Cura. You'll prevent warping on future prints, saving filament and time. The process takes just 15-30 minutes to set up, plus normal print time, and requires no advanced skills—just your printer and slicer.
By the end, expect perfectly flat first layers every time, even on tricky prints.
Estimated Time: 15-30 minutes setup + print time (1-4 hours depending on model) Difficulty: beginner
Download and install the latest version of Ultimaker Cura from the official website (ultimaker.com/software/ultimaker-cura). This free slicer is beginner-friendly and perfect for brim settings.
Launch Cura and set up your printer profile: Go to Settings > Printer > Add Printer, select your model (e.g., Creality Ender 3), or use a generic profile. Why? Accurate profiles ensure correct brim generation and bed size.
Expect a clean interface with a central build plate view. Test by importing a simple model like a calibration cube.
💡 Tips:
⚠️ Warnings:
File > Open File(s) or drag your STL into Cura. Position it on the build plate using the move/rotate tools (shortcut: V for move).
Scale if needed (right-click > Scale) and ensure it's flat on the bed—no supports for brim testing yet. Center it for even brim formation.
Success looks like your model snug on the virtual bed, ready for slicing. This prevents edge warping from overhangs.
💡 Tips:
Switch to Prepare tab. Under Build Plate Adhesion, select Brim from the dropdown (not Skirt or Raft).
This generates a 1-layer skirt around your print's perimeter. Why brims? They increase bed contact area by 10-20mm, anchoring corners against contraction stresses.
Preview: Click Preview after slicing—zoom to see the thin brim outline hugging your model.
💡 Tips:
⚠️ Warnings:
Click the gear icon next to Brim for details. Set Brim Width to 5-10mm (8mm ideal for beginners), Brim Line Count to 10-20 lines.
Adjust Brim Speed to 30-50mm/s for good adhesion. Enable Print Sequence: Below if available. These settings maximize grip without wasting filament.
Expect 5-15g extra material use—minimal for flat results.
💡 Tips:
⚠️ Warnings:
In Material tab: Bed temp 60°C for PLA, nozzle 200°C. Cooling at 100% after layer 2.
Initial Layer flow 105-110% for squish. Add adhesive: Wipe glue stick on bed.
Why? Hot bed + adhesion prevents first-layer lift. Clean bed with IPA first.
💡 Tips:
Hit Slice. Review layers: Layer 0 shows brim. Check travel moves—no strings.
Export G-code to USB/SD. Success: Green slicing, brim visible in preview.
Transfer to printer.
💡 Tips:
⚠️ Warnings:
Start print. Watch first layer: Brim should stick firmly, model flat.
If warping starts, pause and re-level bed. Prints finish with brim attached.
Cool bed to 40°C before removal.
💡 Tips:
Flex bed or use spatula to peel brim gently. It snaps off cleanly.
Check base: Flat, no lifts. Sand edges if needed.
Iterate: Note successful settings for future.
💡 Tips:
⚠️ Warnings:
Problem: Brim doesn't stick
Solution: Clean bed, add glue/Magigoo, increase initial layer flow to 110%.
Problem: Warping despite brim
Solution: Add enclosure, dry filament, or switch to Raft for severe cases.
Problem: Brim too hard to remove
Solution: Lower brim speed to 40mm/s, use fewer lines (10 max).
Problem: Print shifts during brim
Solution: Re-level bed, check belts loose.
Pen-style applicator for mess-free adhesion, perfect for brims on glass/PEI.
Best for: Apply thin layer before every print to boost brim grip on PLA/ABS.
Price Range: $19.99
Reduces drafts and holds heat, amplifying brim effectiveness.
Best for: For open-frame printers during warping-prone large prints.
Price Range: $69.99
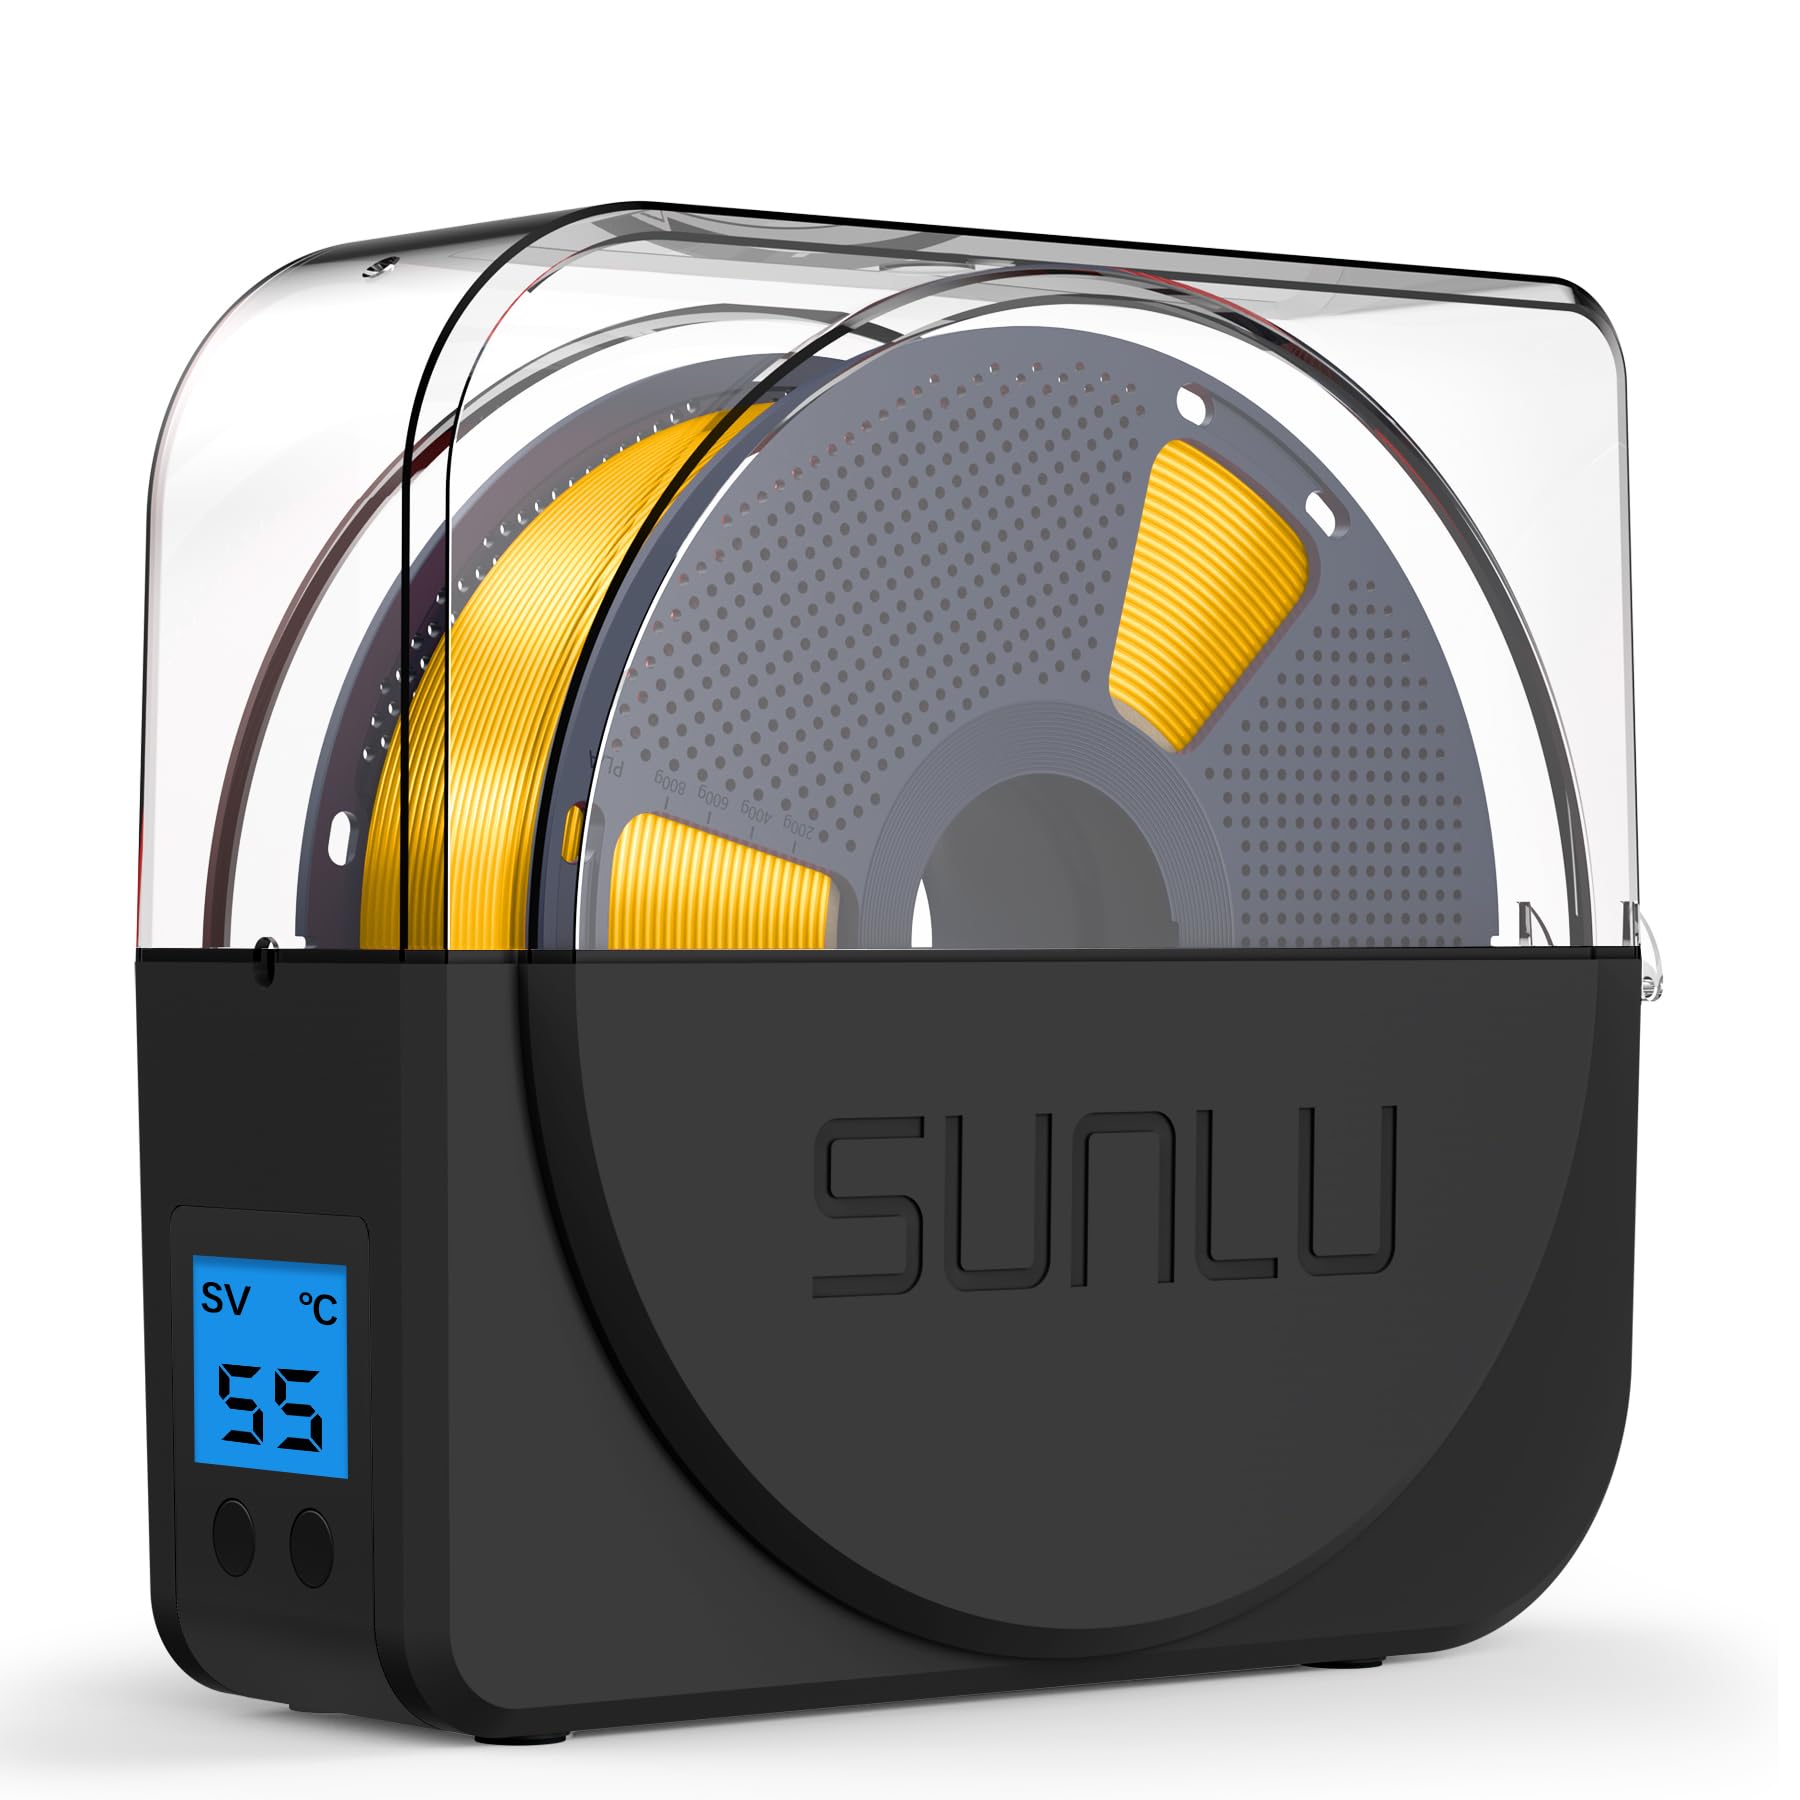
Dries filament to prevent moisture-induced warping under brims.
Best for: Dry PLA 4-6 hours before printing humid environments.
Price Range: $49.99
Superior grip for brims without glue, easy release.
Best for: Replace stock bed for consistent first-layer success.
Price Range: $24.99
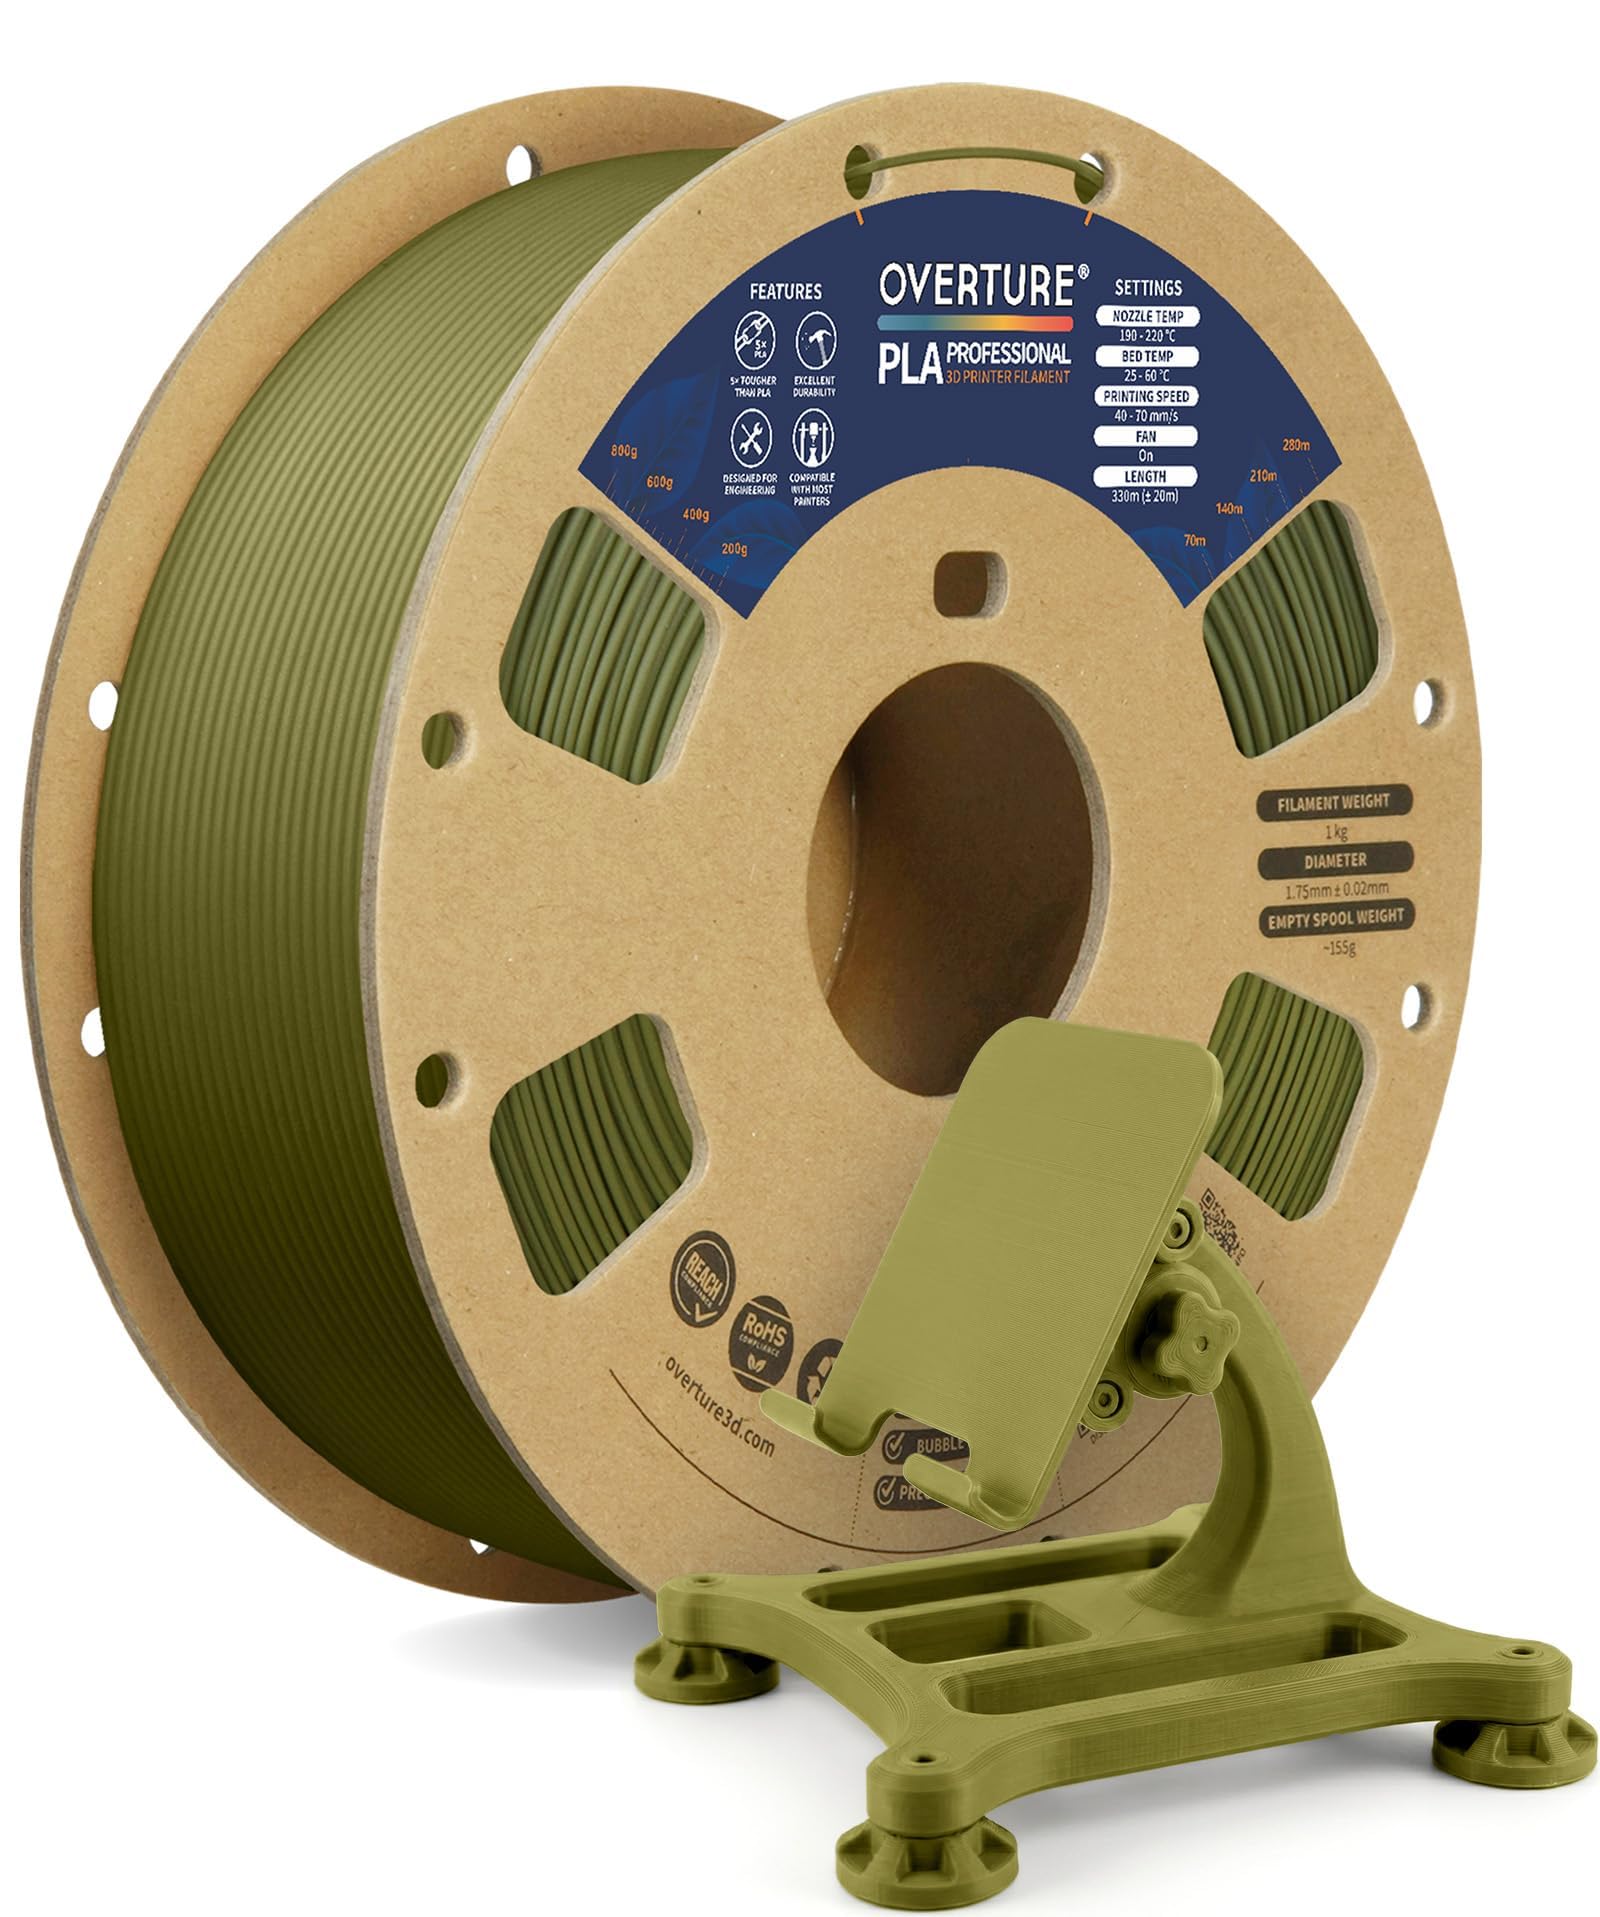
Low-warp formula works best with brims, reliable quality.
Best for: Beginner daily printing with minimal adjustments.
Price Range: $21.99
Apply thin layer before every print to boost brim grip on PLA/ABS.
Magigoo Original 3D Printing Bed Adhesive Pen-style applicator for mess-free adhesion, perfect for brims on glass/PEI.

For open-frame printers during warping-prone large prints.
Creality Ender 3 Enclosure Kit Reduces drafts and holds heat, amplifying brim effectiveness.
Dry PLA 4-6 hours before printing humid environments.
SUNLU Filament Dryer Box Dries filament to prevent moisture-induced warping under brims.

Replace stock bed for consistent first-layer success.
Creality PEI Textured Build Plate Superior grip for brims without glue, easy release.
Beginner daily printing with minimal adjustments.
Overture PLA Filament 1.75mm Low-warp formula works best with brims, reliable quality.