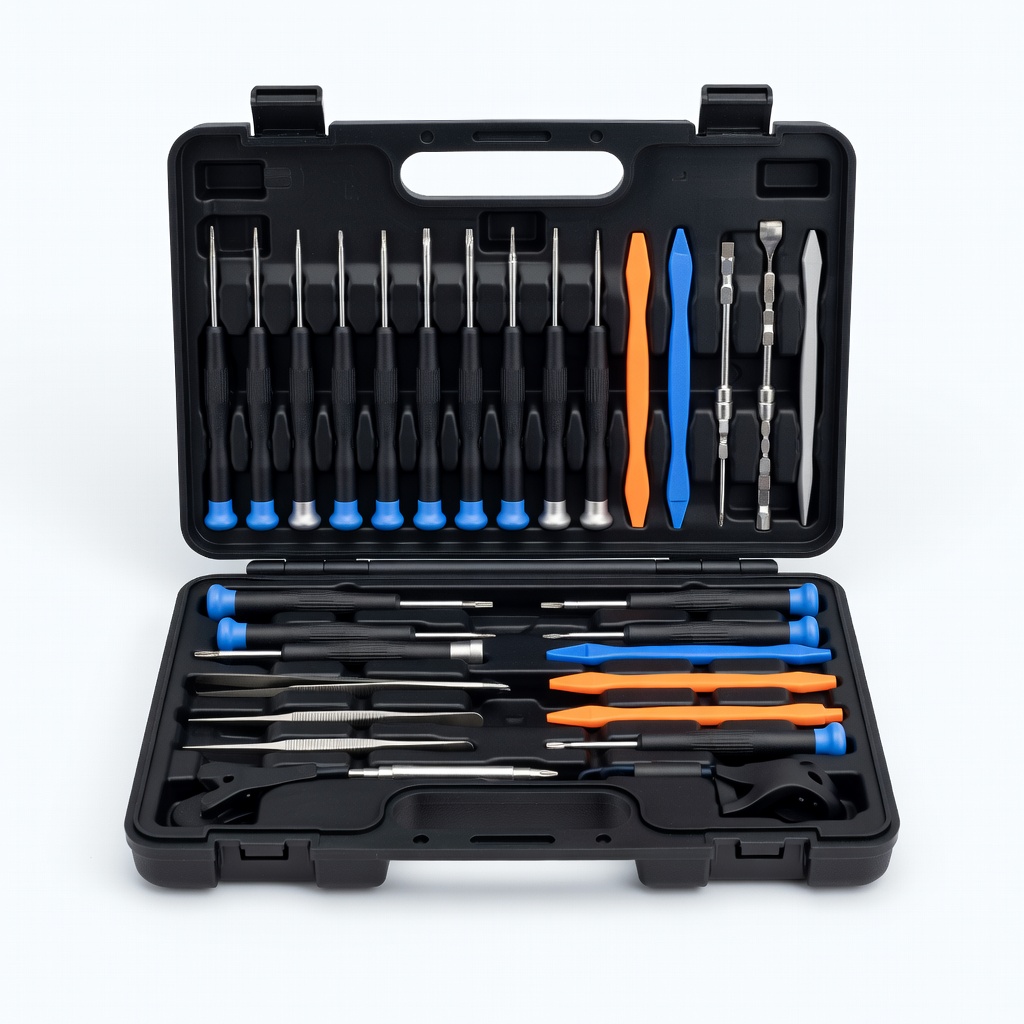
iFixit Pro Tech Toolkit
When opening earcups to check wires—ideal for beginners tackling hardware fixes.
$50-70
iFixit Pro Tech Toolkit Essential for safe disassembly with precision screwdrivers that fit headphone screws, preventing stripping.
Get the App
Better experience on mobile
Restore balanced audio to your headphones with easy troubleshooting steps, no advanced skills required, and get both ears working again in minutes.
Nothing ruins a music session or podcast binge like only one side of your headphones working. Whether it's wired earbuds or over-ear models, one-sided audio is a common frustration that affects millions of users annually. The good news? Most issues are simple to fix at home without buying a replacement.
In this guide, you'll learn how to diagnose the problem, from basic software checks to minor hardware tweaks. We'll cover step-by-step instructions tailored for beginners, helping you identify if it's a loose wire, dirty connection, or something else. By the end, you'll have clear sound in both ears or know when it's time to upgrade.
Expect the process to take 10-30 minutes, depending on the issue. It's beginner-friendly, requiring no soldering or special expertise—just patience and a few household items.
Estimated Time: 10-30 minutes Difficulty: beginner
Start by ruling out software glitches. One-sided audio often stems from unbalanced volume settings or app-specific issues.
Go to your device's sound settings (on iOS: Settings > Sounds & Haptics; on Android: Settings > Sound; on Windows: Right-click speaker icon > Open Sound settings). Ensure the left and right balance is centered—slide it to the middle if it's off. Also, check if mono audio is enabled and disable it.
Test playback in a music app or video. Success looks like equal volume in both channels. This quick check fixes 30% of cases without tools.
💡 Tips:
⚠️ Warnings:
Examine the headphone cable from plug to earpieces for kinks, frays, or bends. These often cause intermittent or one-sided sound due to broken internal wires.
Gently wiggle the cable while playing audio—if sound cuts in one ear, the wire is likely damaged. For wireless headphones, check for loose battery connections, but focus on wired for beginners.
Success: No obvious damage means move on; if damaged, note the spot for later repair. This step prevents unnecessary disassembly.
💡 Tips:
⚠️ Warnings:
Dirt, lint, or oxidation in the jack or on the plug can block signals to one side.
Unplug the headphones, dip a cotton swab in isopropyl alcohol, and gently clean inside the device's audio jack and the headphone plug. Let it dry for 1-2 minutes. Blow out debris with compressed air if available.
Reinsert and test. Success: Crisp, balanced audio returns as connections improve. This fixes debris-related issues in 40% of cases.
💡 Tips:
⚠️ Warnings:
Confirm if the issue is with your headphones or the original device.
Plug into a different phone, computer, or audio source. Play a stereo test track (search 'stereo test audio' online) to verify both channels.
If it works on the new device, the problem is your original device's jack or settings—revisit step 1. Success: Isolates the fault, saving time on headphone repairs.
💡 Tips:
⚠️ Warnings:
For persistent issues, open the headphones to inspect wires (skip if uncomfortable—consider professional help).
Use a small screwdriver to remove earpad screws or clips (check your model online for guides). Locate the wires soldered to drivers; look for loose or broken connections.
If a wire is loose, gently twist and re-solder if you have tools (or tape temporarily). Reassemble and test. Success: Both sides play fully after reconnection.
This step requires care but fixes most hardware faults.
💡 Tips:
⚠️ Warnings:
If wires are irreparable, swap the cable or driver.
Order a compatible replacement (see product recommendations). Unsolder old part, attach new one following a guide.
Test post-replacement. Success: Full stereo sound, like new. For beginners, this might mean buying pre-soldered cables.
💡 Tips:
⚠️ Warnings:
Problem: Sound cuts in and out while moving the cable
Solution: The wire is frayed internally—splice and solder or replace the cable entirely. If temporary, wrap with electrical tape.
Problem: Fix works but reverts after a day
Solution: Poor reconnection; recheck solder joints or clean again. Consider humidity affecting contacts—store in dry place.
Problem: No improvement after all steps
Solution: Driver may be blown; test with multimeter for continuity. Seek professional repair or replace headphones if over 2 years old.
Problem: Wireless headphones still one-sided
Solution: Update firmware via app, reset to factory settings, or check battery contacts. If persists, battery or Bluetooth module issue—professional help needed.
Essential for safe disassembly with precision screwdrivers that fit headphone screws, preventing stripping.
Best for: When opening earcups to check wires—ideal for beginners tackling hardware fixes.
Price Range: $50-70
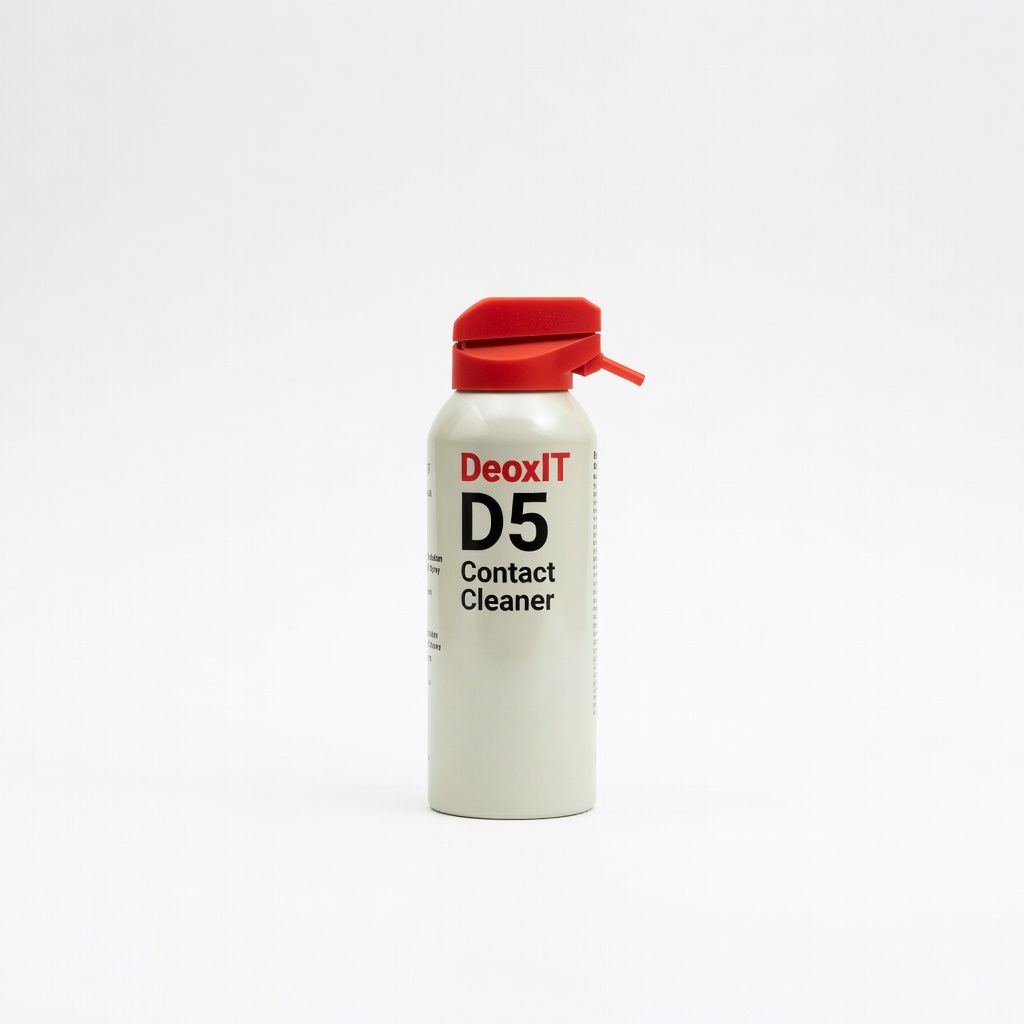
Better than isopropyl for removing oxidation from jacks and plugs without residue, ensuring reliable connections.
Best for: Cleaning stubborn corrosion in audio ports for long-lasting fixes.
Price Range: $15-20
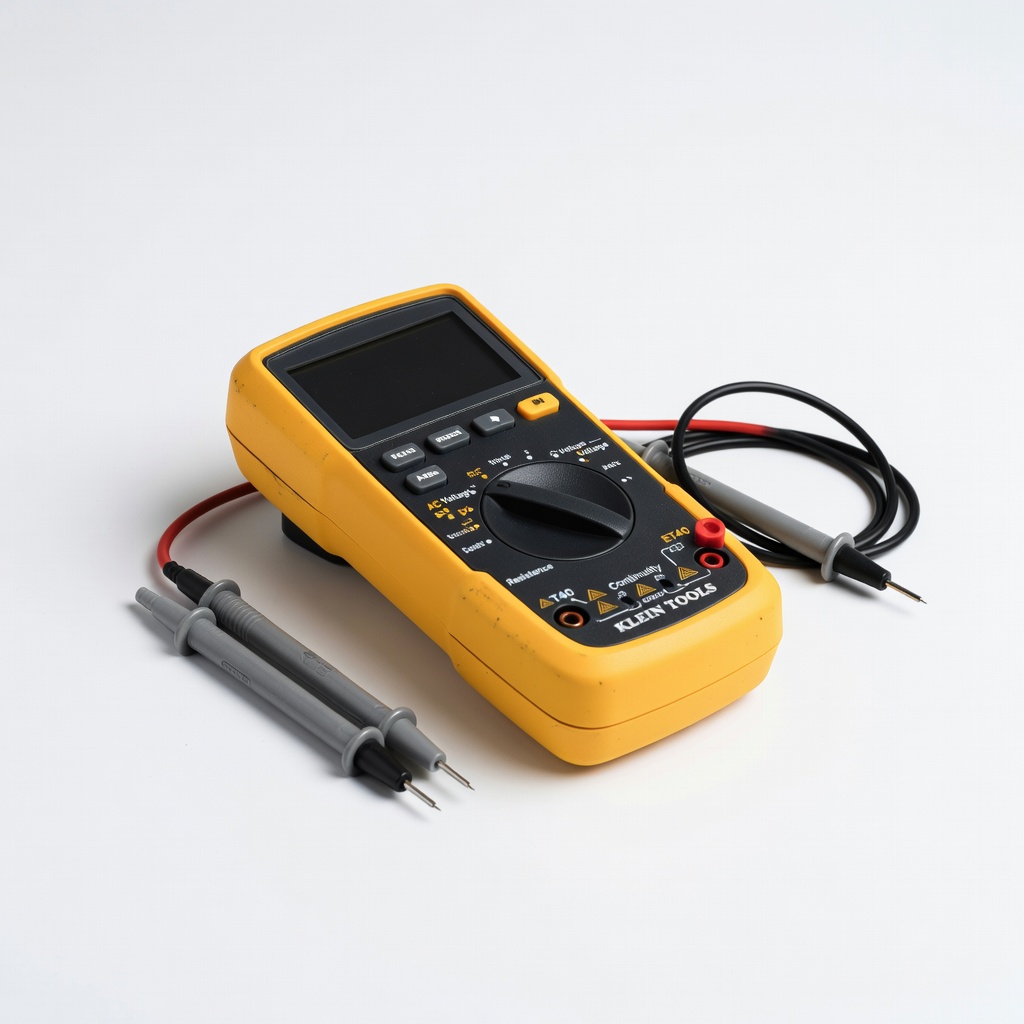
Affordable tool to test wire continuity, confirming if a break is the issue before repairs.
Best for: Advanced troubleshooting for internal wires without guesswork.
Price Range: $20-30
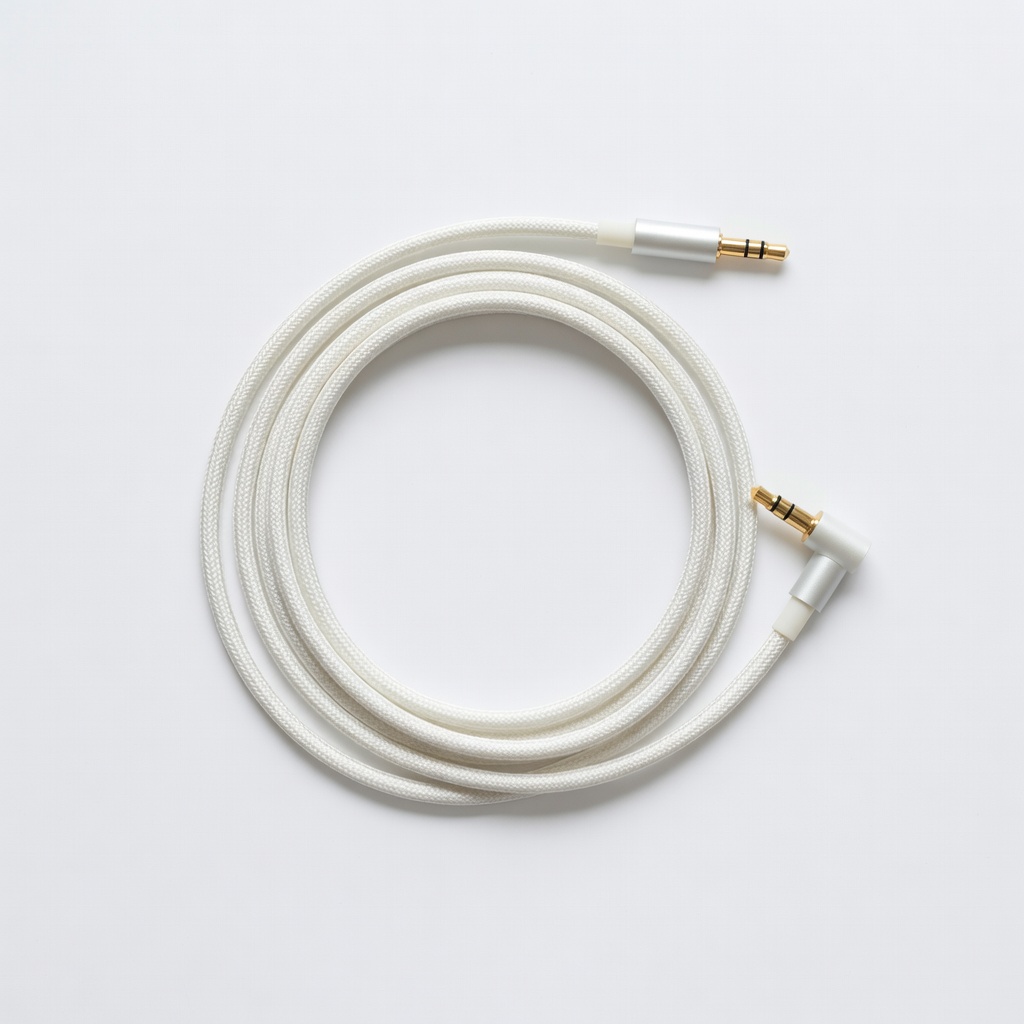
Universal 3.5mm cables that match most models, easy plug-and-play fix for damaged wires.
Best for: Quick swap if cable is the culprit, no soldering needed.
Price Range: $10-15
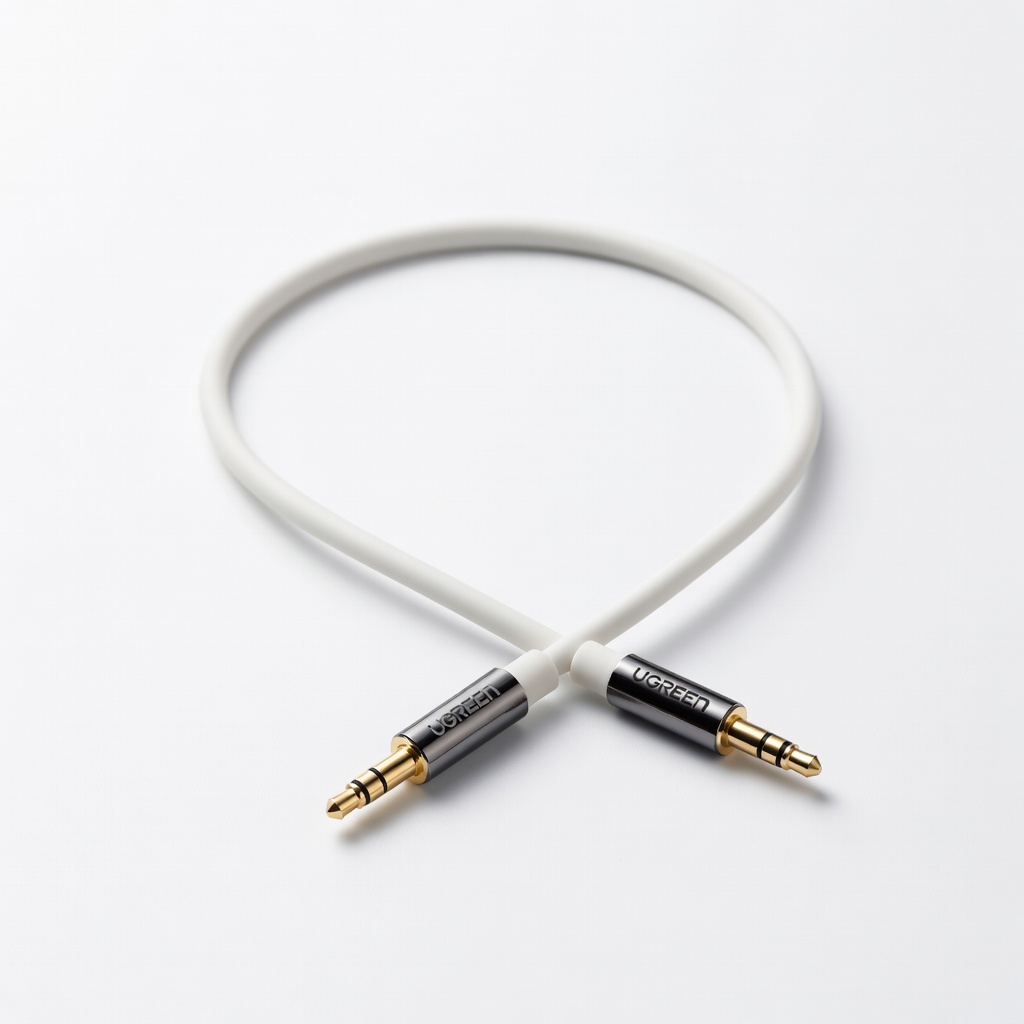
Bypasses device jack issues by extending to a cleaner port, testing if it's a port problem.
Best for: Temporary workaround while diagnosing or if device jack is faulty.
Price Range: $8-12
When opening earcups to check wires—ideal for beginners tackling hardware fixes.
iFixit Pro Tech Toolkit Essential for safe disassembly with precision screwdrivers that fit headphone screws, preventing stripping.
Cleaning stubborn corrosion in audio ports for long-lasting fixes.
DeoxIT D5 Contact Cleaner Better than isopropyl for removing oxidation from jacks and plugs without residue, ensuring reliable connections.
Advanced troubleshooting for internal wires without guesswork.
Klein Tools ET40 Multimeter Affordable tool to test wire continuity, confirming if a break is the issue before repairs.
Quick swap if cable is the culprit, no soldering needed.
Yocowa Replacement Headphone Cable Universal 3.5mm cables that match most models, easy plug-and-play fix for damaged wires.
Temporary workaround while diagnosing or if device jack is faulty.
UGREEN 3.5mm Audio Extension Cable Bypasses device jack issues by extending to a cleaner port, testing if it's a port problem.