Affresh Dishwasher Cleaner (12 tablets)
Deep clean before/after repairs.
$10-12
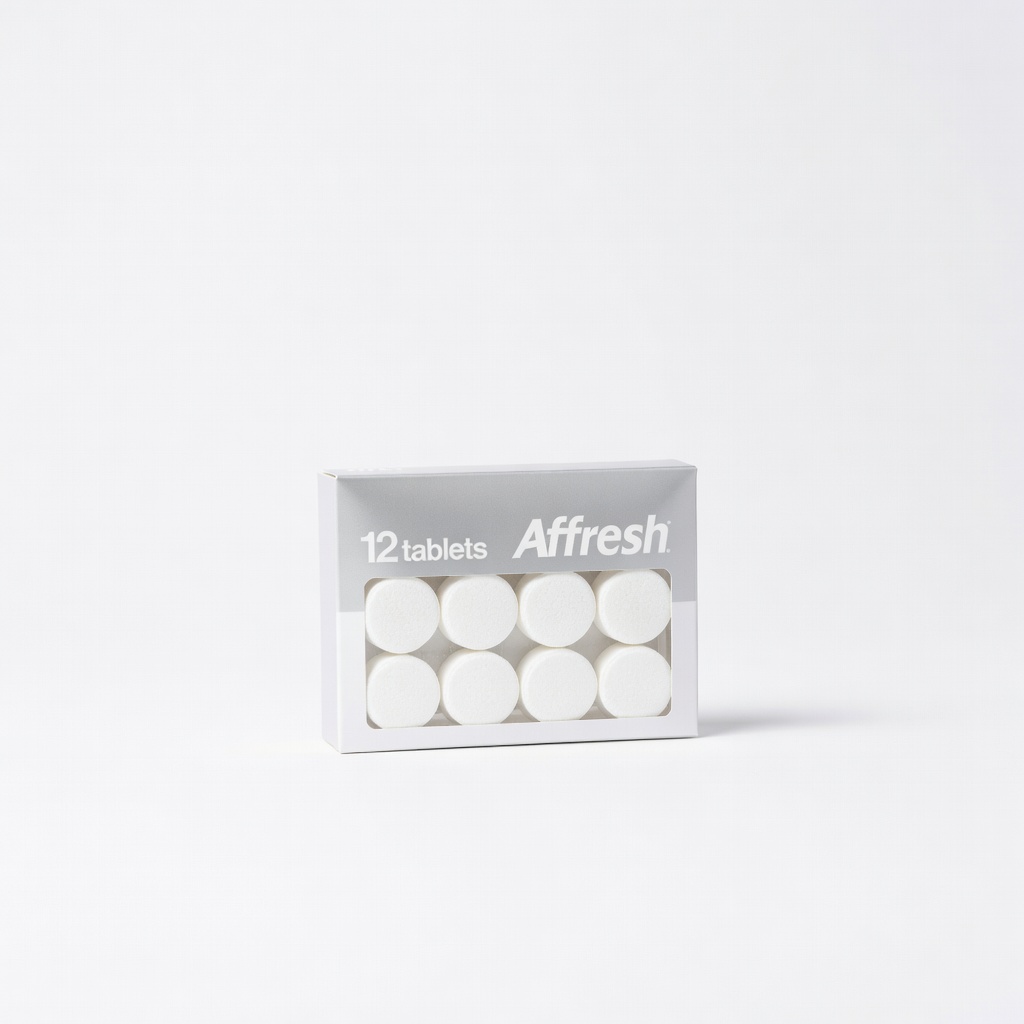
Affresh Dishwasher Cleaner (12 tablets) Effectively removes gasket buildup and limescale without harsh chemicals.
Get the App
Better experience on mobile
Stop water leaks from your dishwasher door with this step-by-step guide, saving on repairs and preventing floor damage in under an hour.
A leaking dishwasher door is a common frustration that leads to slippery floors, wasted water, and potential damage to your kitchen cabinets or subfloor. If you've noticed puddles after a cycle, don't panic—most leaks stem from a dirty, worn, or misaligned door seal (gasket), loose hinges, or improper latching. Fixing it yourself can save hundreds in service calls.
In this intermediate-level guide, you'll learn to diagnose the leak source, clean or replace the gasket, realign the door, and test for success. No advanced plumbing skills required—just basic tools and patience. Expect 30-60 minutes total, depending on whether replacement parts are needed.
By the end, your dishwasher will run watertight, quieter, and more efficiently. Always prioritize safety by unplugging the unit first.
Estimated Time: 30-60 minutes Difficulty: intermediate
Start by unplugging the dishwasher from the wall outlet or turning off the circuit breaker to eliminate electrical hazards. Shut off the water supply valve under the sink if accessible. This prevents shocks or floods during inspection.
Lay down towels around the base to catch any residual water. Remove the lower kick panel (toe kick) by unscrewing it—usually 2-4 screws at the bottom. Success looks like a dry, accessible work area with the door fully open.
Why it matters: Safety first; many injuries occur from live wires or slips.
💡 Tips:
⚠️ Warnings:
Run a short cycle (rinse only) if safe, or simulate by filling the door area with water using a cup. Inspect the door seal (rubber gasket around the door edge) for tears, cracks, mold, or debris. Shine a flashlight along the entire perimeter.
Check door alignment: close it and see if it latches firmly without gaps. Note if leaks occur at corners, bottom, or sides. Wipe everything dry.
Success: You've pinpointed the issue—dirty gasket (most common), damage, or misalignment.
💡 Tips:
⚠️ Warnings:
Mix warm water with dish soap. Use a soft cloth or old toothbrush to gently scrub the gasket, folds, and latch area. Remove food debris, soap scum, or mildew—these cause 60% of door leaks.
Rinse with a damp cloth and dry completely with towels. For tough buildup, use a dishwasher cleaner tablet dissolved in water.
What to expect: Gasket looks fresh, pliable, no white residue. Test door closure.
💡 Tips:
Pull gently on the gasket edges to check flexibility—if brittle or torn, it must be replaced. Note your model number (inside door) for exact part match.
To remove: Pry out the old gasket from its channel using a flathead screwdriver wrapped in tape to avoid scratches. Work from one end, pulling steadily.
Success: Old gasket fully out, channel clean and dry.
⚠️ Warnings:
Dry the channel completely. Start at one end, pressing the new gasket firmly into the groove, working around the door. Trim excess if any (rare).
Ensure even seating—no bulges or gaps. Lubricate with a dab of silicone sealant if recommended by manufacturer.
Why it matters: Proper fit prevents future leaks.
💡 Tips:
Check door level: Loosen hinge screws slightly, adjust so door closes flush without rocking. Tighten securely with screwdrivers.
Inspect latch—clean and ensure it clicks. Replace if broken (cheap part).
Success: Door seals evenly, no light visible when closed.
⚠️ Warnings:
Replace kick panel, restore power/water. Run a full hot cycle empty. Check for leaks every 10 minutes.
Monitor floor for 24 hours post-fix.
Final success: Dry floor, no drips, efficient wash.
💡 Tips:
Problem: Leak persists after gasket replace
Solution: Check spray arm holes clogged or tub cracks—clean arms or call pro.
Problem: Door won't stay closed
Solution: Adjust strike plate or replace latch assembly.
Problem: Water from bottom, not door
Solution: Inspect pump/hoses; may need pro for internal leak.
Problem: Gasket won't stay in channel
Solution: Clean channel deeply; use adhesive if specified.
Effectively removes gasket buildup and limescale without harsh chemicals.
Best for: Deep clean before/after repairs.
Price Range: $10-12
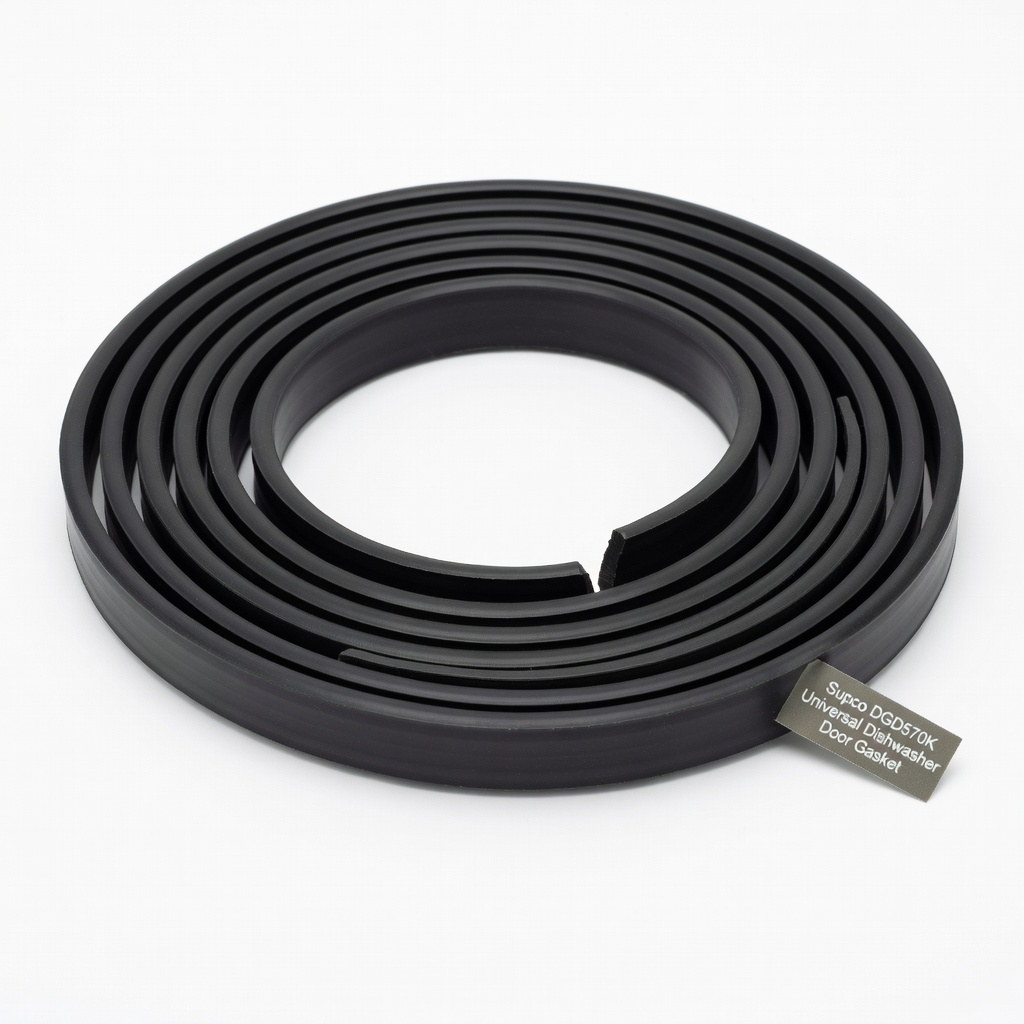
Fits many brands like Whirlpool/KitchenAid; durable silicone.
Best for: Replacement for worn seals.
Price Range: $15-20
Includes Torx/Phillips for appliance screws; affordable and complete.
Best for: Hinge adjustments and disassembly.
Price Range: $15-18
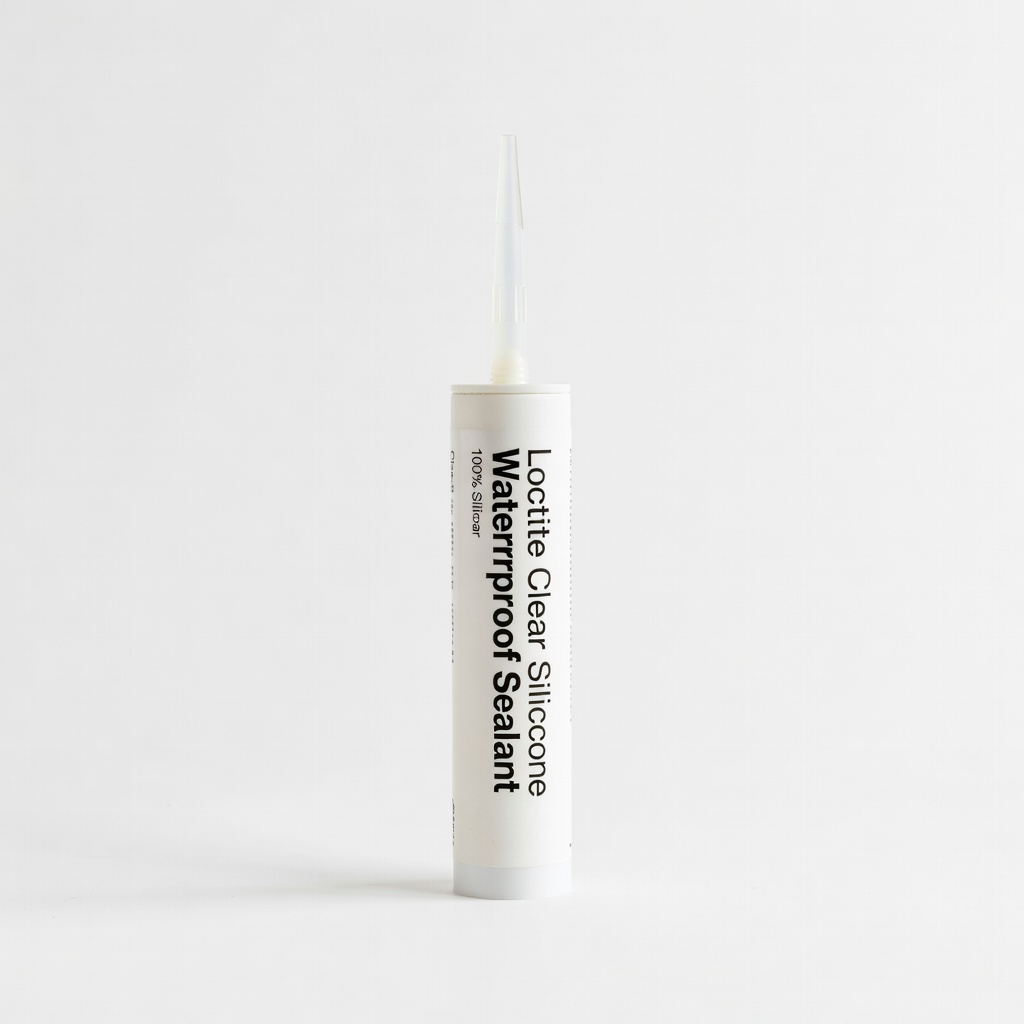
Secures minor gaps or aids gasket install; dishwasher-safe.
Best for: Extra sealing on tricky spots.
Price Range: $7-9
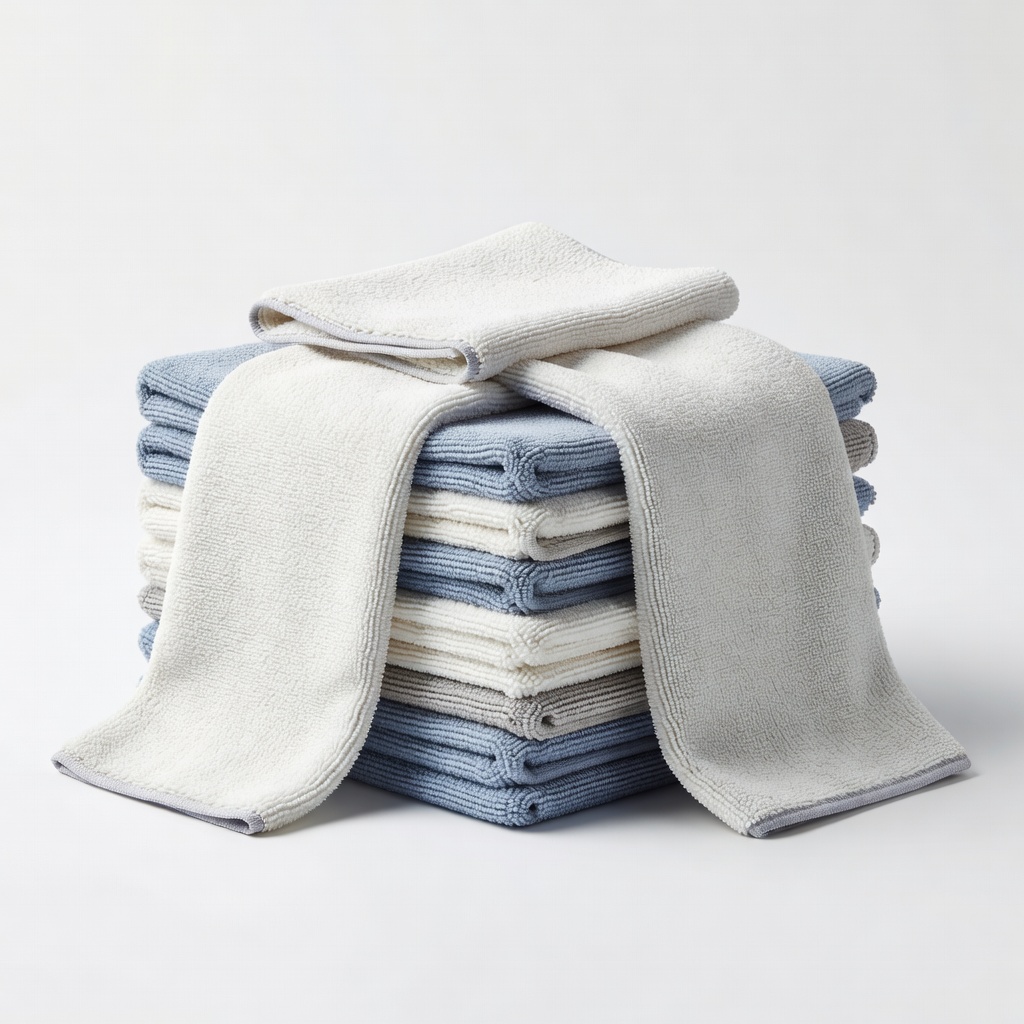
Lint-free drying prevents streaks or residue on seals.
Best for: Wiping and absorbing water.
Price Range: $12-15
Deep clean before/after repairs.
Affresh Dishwasher Cleaner (12 tablets) Effectively removes gasket buildup and limescale without harsh chemicals.
Replacement for worn seals.
Supco DGD570K Universal Dishwasher Door Gasket Fits many brands like Whirlpool/KitchenAid; durable silicone.

Hinge adjustments and disassembly.
Amazon Basics 100-Piece Screwdriver Bits Set Includes Torx/Phillips for appliance screws; affordable and complete.
Extra sealing on tricky spots.
Loctite Clear Silicone Waterproof Sealant Secures minor gaps or aids gasket install; dishwasher-safe.
Wiping and absorbing water.
Amazon Basics Microfiber Cleaning Cloths (24-pack) Lint-free drying prevents streaks or residue on seals.