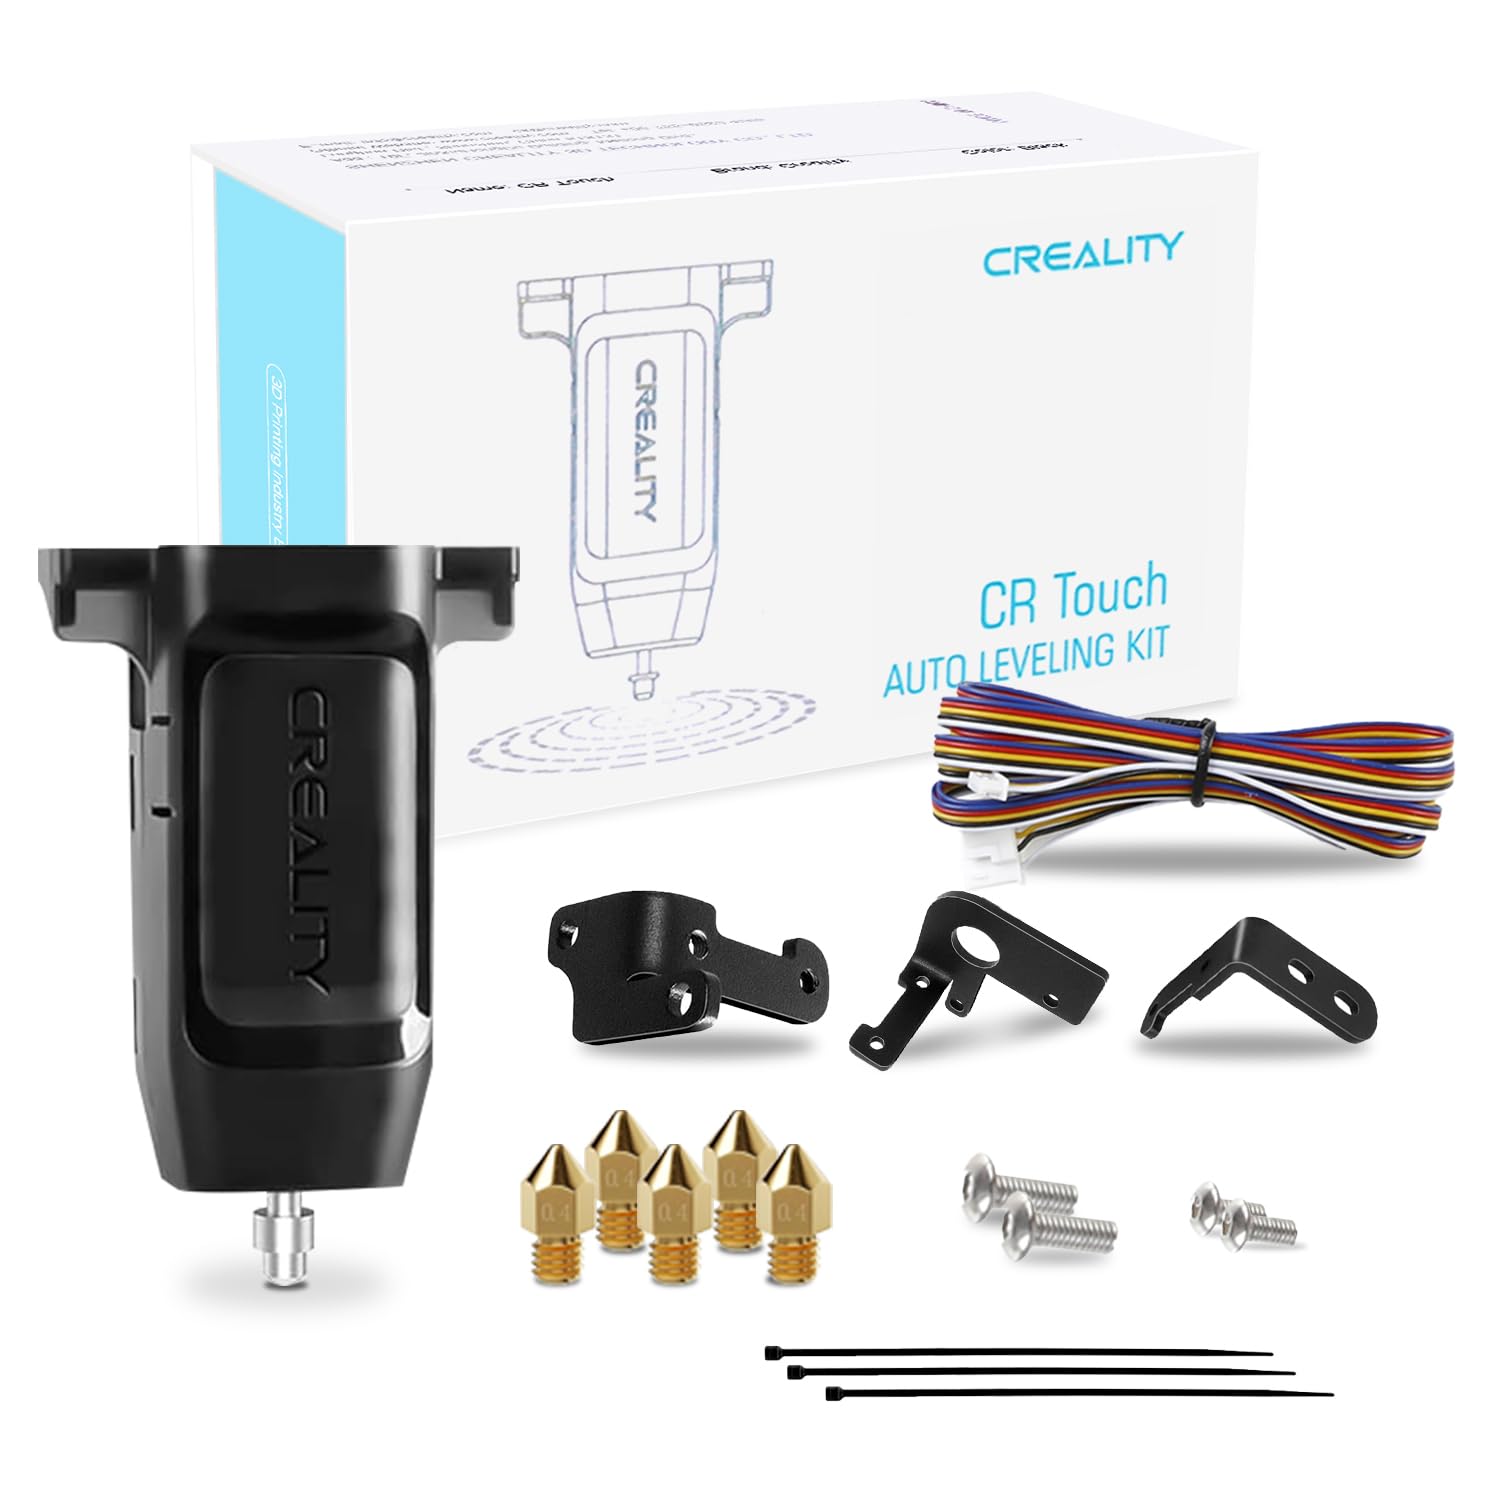
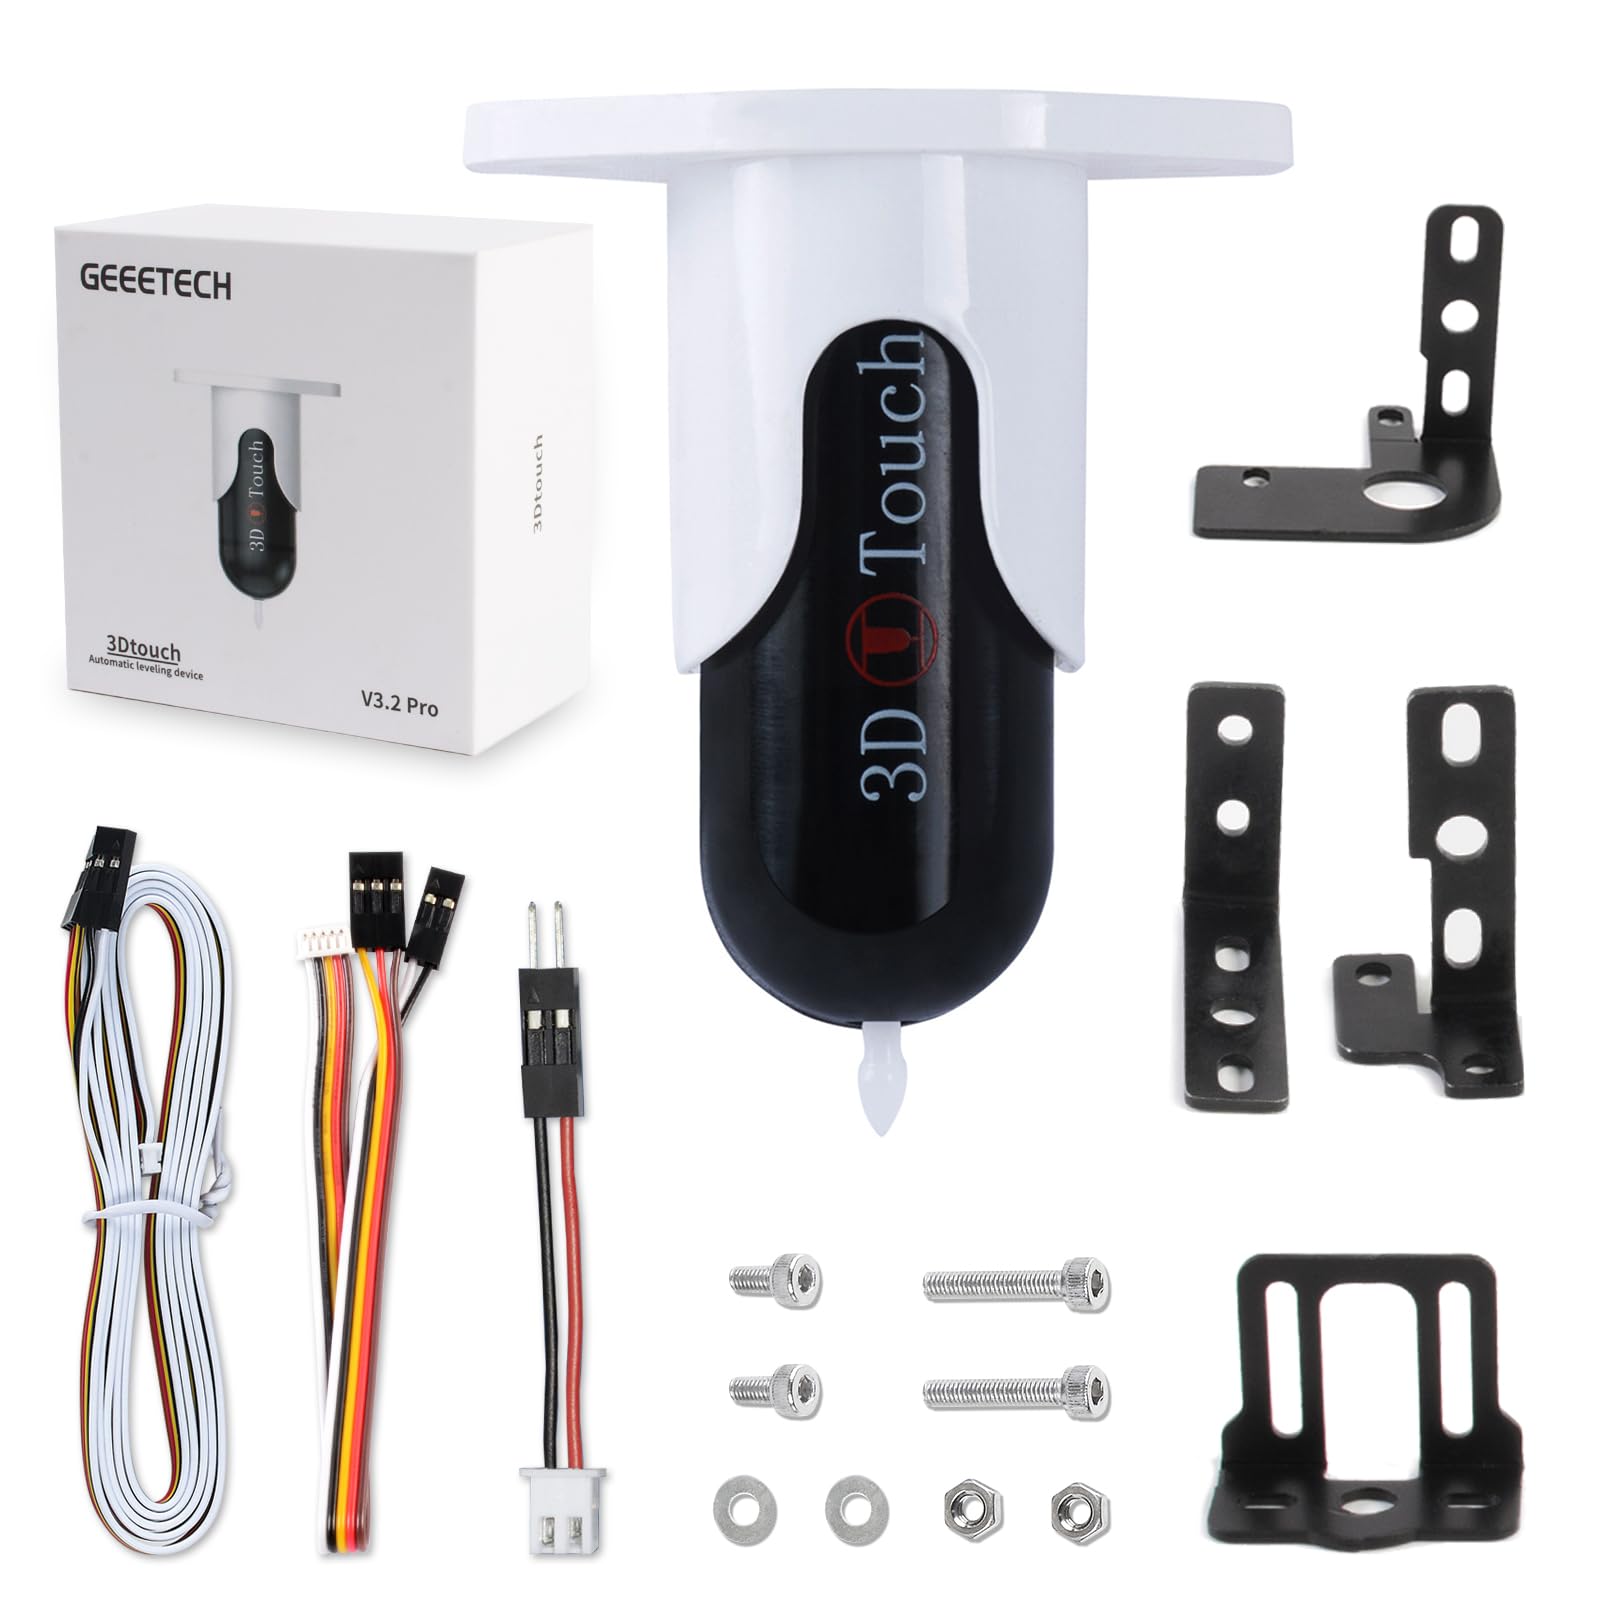
Creality CR-Touch Auto Bed Leveling Sensor Kit
Ender 3/5 users wanting hands-off fixes.
$39.99
Creality CR-Touch Auto Bed Leveling Sensor Kit Automates bed leveling for precise Z-offset, eliminating manual errors causing elephant foot.
Get the App
Better experience on mobile
Eliminate bulging first layers on your 3D prints with these simple beginner steps for perfectly flat bases every time.
Elephant foot is one of the most frustrating issues for 3D printing beginners—a bulging or elephant-like expansion at the base of your print that ruins dimensions and aesthetics. It happens when the first layer is over-extruded or expands due to heat, leading to warped or inaccurate parts. Don't worry; it's a common problem with easy fixes.
In this guide, you'll learn to diagnose elephant foot, level your bed, adjust key slicer settings, and test prints for flawless results. No advanced tools needed—just your printer, slicer software, and 20-30 minutes of tweaking plus a test print time. By the end, your prints will have sharp, precise edges from layer one.
Expect a straightforward process: identify the issue, make hardware adjustments, tweak software, and verify with prints. Perfect for Ender 3, Prusa, or any FDM printer.
Estimated Time: 45-60 minutes (15 mins setup + 30 mins test print) Difficulty: beginner
Examine the base of a recent failed print. Elephant foot appears as a 0.2-1mm bulge around the bottom edges, wider than the rest of the model. Measure with a caliper if possible—success looks like uneven first layers vs. straight sides above.
Why it matters: Confirming the issue prevents fixing the wrong problem (e.g., stringing). Take a photo for before/after comparison.
Image description: Close-up photo of a 3D printed cube showing bulging base edges labeled 'Elephant Foot'.
💡 Tips:
⚠️ Warnings:
Heat bed to printing temp (e.g., 60°C for PLA). Home the printer, then manually level by moving nozzle to corners and center. Slide paper under nozzle—should have slight drag. Adjust bed screws clockwise to raise bed, counterclockwise to lower.
Repeat 2-3 times as bed expands when hot. Success: Paper drags evenly everywhere, no tight spots.
Why: Uneven bed causes over-squish in low areas, creating expansion.
💡 Tips:
⚠️ Warnings:
In your printer menu (e.g., Ender 3: Prepare > Auto Home, then Move Z > 0.1mm increments). Lower nozzle until paper barely drags, then set Z-offset to that value (e.g., -0.1mm in Marlin firmware).
Slice and print a single-layer test. Success: Filament lines touch but don't squash flat.
Why: Too-low Z squishes filament outward.
💡 Tips:
⚠️ Warnings:
Open Cura/PrusaSlicer. Set Initial Layer Print Speed to 20-30mm/s (from 40-50). Reduce Initial Layer Temperature by 5-10°C (e.g., PLA 200°C to 190°C). Set Initial Layer Flow to 95-100%.
Enable Initial Layer Line Width to 120% for better squish control. Slice and preview—first layer should look uniform.
Why: Slower speed and cooler temp prevent expansion.
💡 Tips:
⚠️ Warnings:
Clean bed with isopropyl alcohol. Apply thin glue stick layer (wipe excess). For glass/PEI, use hairspray alternative.
Success: Print sticks without warping, peels easily post-print.
Why: Poor adhesion forces over-squish compensation.
💡 Tips:
Load 20mm cube G-code. Watch first layer—should be flat, no bulge. Measure base after cooling.
Success: Base width matches model (20mm), no expansion >0.1mm.
💡 Tips:
⚠️ Warnings:
If bulge remains, reduce Z-offset by 0.05mm or first layer flow by 2%. Reprint test. Add brim (5-10mm) as workaround.
Success: Consistent flat bases across prints.
Why: Iteration nails perfection.
💡 Tips:
Save tuned profile. Design models with slight chamfer (0.5mm) on base edges in CAD. Ensure good part cooling (fan 100% after layer 2).
Success: All future prints elephant-foot free.
💡 Tips:
Problem: Elephant foot persists after leveling
Solution: Check Z-offset too low; raise by 0.05mm. Verify no bed warp with straight edge.
Problem: Poor adhesion after adjustments
Solution: Increase flow/temp slightly or add glue/brim. Clean bed thoroughly.
Problem: Bulge only on one side
Solution: Re-level corners individually. Check frame squareness.
Problem: Worse with certain filaments
Solution: Reduce bed temp 5°C for PLA/PETG. Dry filament.
Automates bed leveling for precise Z-offset, eliminating manual errors causing elephant foot.
Best for: Ender 3/5 users wanting hands-off fixes.
Price Range: $39.99
Measures base bulge accurately (0.01mm precision) for diagnosing and verifying fixes.
Best for: Precise checks during calibration tests.
Price Range: $25.00
Provides perfect bed adhesion without over-squish, reducing elephant foot risk.
Best for: Glass or PEI beds for PLA printing.
Price Range: $6.99
Magnetic, flexible surface for even adhesion and easy removal, preventing expansion issues.
Best for: Upgrade stock beds on Ender 3.
Price Range: $19.99
Budget auto-leveler alternative for consistent first layers without manual tweaks.
Best for: Beginners on tight budgets.
Price Range: $29.99
Ender 3/5 users wanting hands-off fixes.
Creality CR-Touch Auto Bed Leveling Sensor Kit Automates bed leveling for precise Z-offset, eliminating manual errors causing elephant foot.
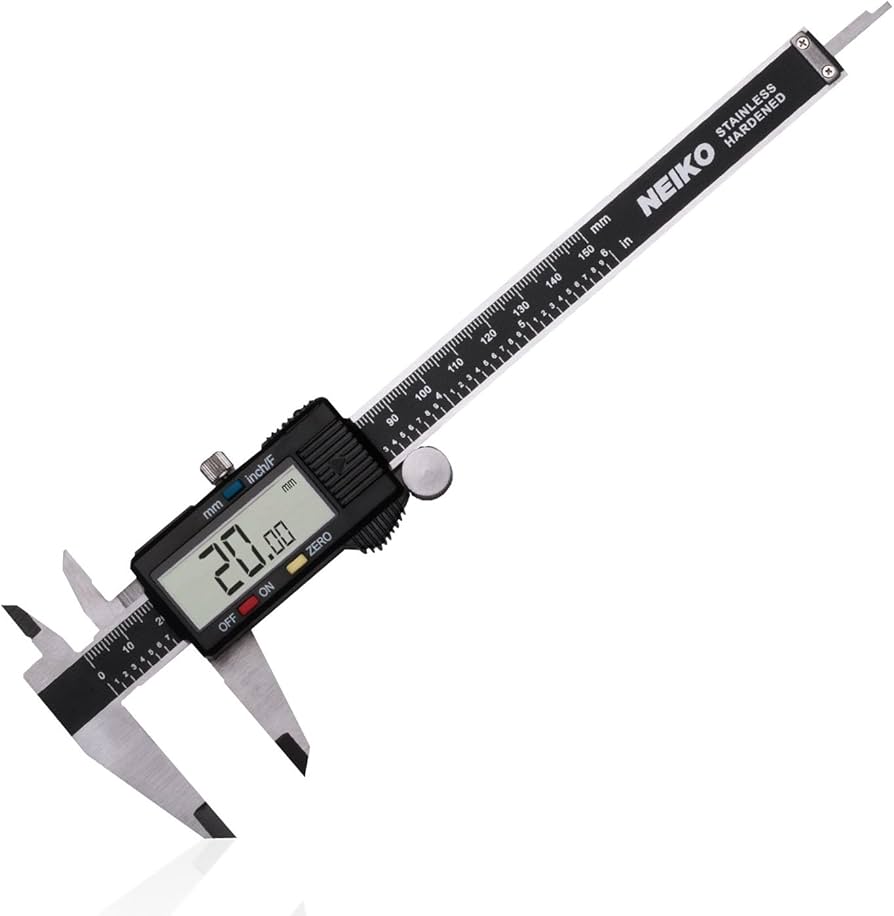
Precise checks during calibration tests.
Neiko 01407A Electronic Digital Caliper Measures base bulge accurately (0.01mm precision) for diagnosing and verifying fixes.
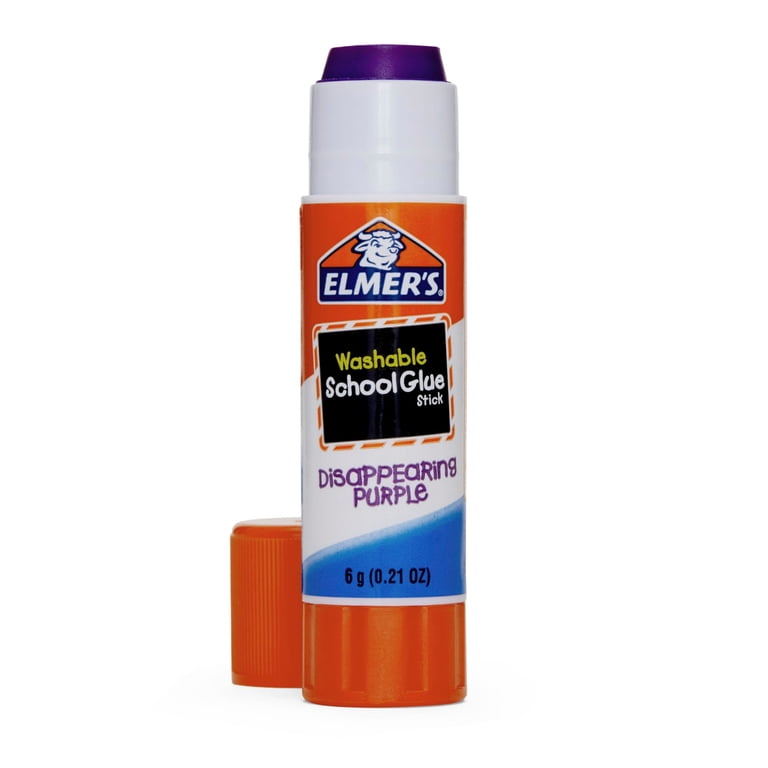
Glass or PEI beds for PLA printing.
Elmer's Disappearing Purple School Glue Sticks (4-pack) Provides perfect bed adhesion without over-squish, reducing elephant foot risk.
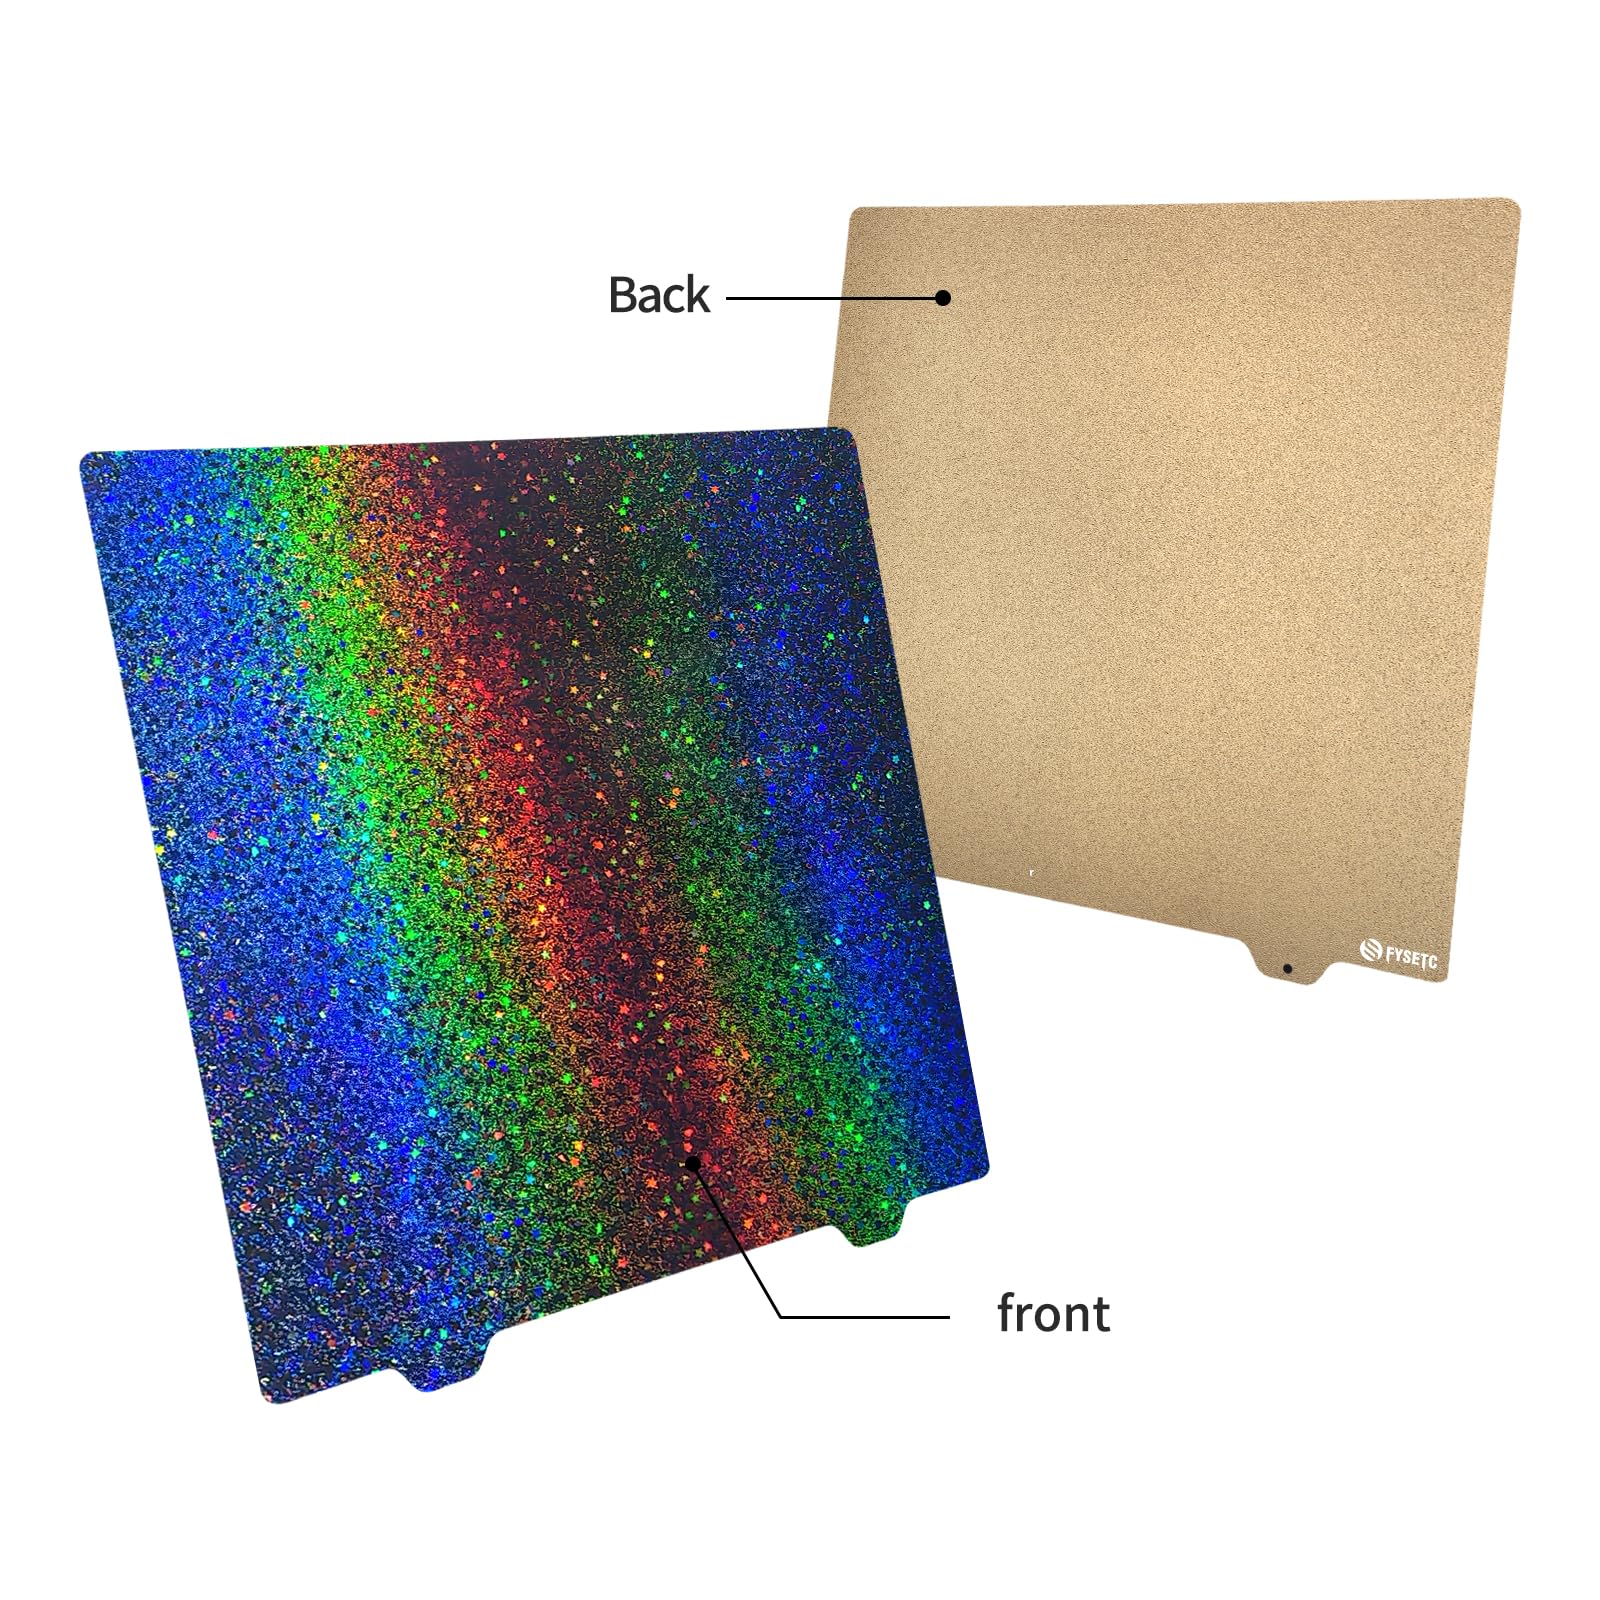
Upgrade stock beds on Ender 3.
FYSETC 235x235mm PEI Spring Steel Sheet Magnetic, flexible surface for even adhesion and easy removal, preventing expansion issues.
Beginners on tight budgets.
DIGITNOW! BLTouch Clone Kit Budget auto-leveler alternative for consistent first layers without manual tweaks.