Nothing ruins a gaming session faster than controller drift—when your character's joystick seems to have a mind of its own, causing unwanted movement. This frustrating issue affects millions of gamers, especially on popular consoles like PlayStation, Xbox, and Nintendo Switch. Whether it's Joy-Con drift on the Switch or thumbstick problems on DualSense controllers, it can make precise aiming or navigation impossible.
In this guide, you'll learn how to diagnose and fix controller drift yourself, potentially saving hundreds on replacements. We'll cover simple cleaning methods first, then move to more involved repairs like disassembly. The process is straightforward for beginners, focusing on safe, non-destructive techniques.
Expect to spend 30-60 minutes, depending on your controller and comfort level. By the end, your controller should respond accurately, letting you get back to gaming without interruptions. If issues persist, we'll guide you on when to seek pro help.
▸What You'll Need
- •Isopropyl alcohol (90% or higher concentration, required for cleaning)
- •Cotton swabs or microfiber cloth (required for applying cleaner)
- •Compressed air canister (required for dusting internals)
- •Precision screwdriver set (Phillips #00 size, required for disassembly on most controllers)
- •Plastic opening tools or guitar pick (optional, to avoid scratching during prying)
- •Controller calibration software or console settings menu (no tools needed, required for testing)
Estimated Time: 30-60 minutes
Difficulty: beginner
▸Step-by-Step Instructions
Step 1: Diagnose the Drift Issue
Before fixing, confirm it's drift. Power on your console and navigate to a game or menu where movement is visible, like the home screen. Gently release the analog stick and observe if the cursor or character drifts on its own. Test all directions and both sticks.
This step matters because drift can mimic other issues like software glitches. Expect to see slow, unintended movement—if it's erratic, it might be a connection problem instead. Spend 2-3 minutes testing to pinpoint the affected stick.
If no drift occurs in menus but happens in games, it could be sensitivity settings; adjust those first in your console's accessibility options.
💡 Tips:
- •Test in multiple games to rule out software bugs.
- •Record a short video of the drift for reference if needed.
⚠️ Warnings:
- •Don't force the stick during testing to avoid worsening damage.
Step 2: Power Off and Disconnect the Controller
Turn off your console completely and unplug the controller if wired. For wireless models like DualSense or Xbox controllers, remove batteries or ensure it's not paired.
Safety first: Working on powered devices risks shorts or data loss. This prep takes under a minute and prevents accidental inputs during cleaning. Your controller is now ready for external maintenance without interference.
💡 Tips:
- •Label batteries if removing them to avoid mix-ups later.
⚠️ Warnings:
- •Never clean while the controller is connected to power.
Step 3: Clean the Exterior of the Analog Sticks
Dip a cotton swab in isopropyl alcohol (just enough to dampen, not soak) and gently wipe around the base of the analog sticks, focusing on crevices where dust accumulates. Rotate the stick while cleaning to reach all sides. Let it air dry for 1-2 minutes.
Dust and grime cause most minor drift by interfering with sensors. This non-invasive step often fixes light issues without disassembly. Expect the stick to feel smoother immediately after drying.
For stubborn dirt, use compressed air to blow out particles first, then wipe.
💡 Tips:
- •Use short, circular motions for even cleaning.
- •Avoid getting alcohol on buttons to prevent stickiness.
⚠️ Warnings:
- •Don't use water or household cleaners—they can damage electronics.
Step 4: Disassemble the Controller Shell
Place the controller face-down on a soft surface. Remove the back screws (usually 6-8) with a precision screwdriver. Gently pry open the shell using a plastic tool, starting from the grips.
Disassembly exposes internals for deeper cleaning but requires care to avoid breaking clips. Refer to model-specific guides (e.g., iFixit for PS5). Expect to see the circuit board and modules—take photos for reassembly reference. This step takes 5-10 minutes.
For Nintendo Switch Joy-Cons, the process is similar but smaller; use anti-static wristbands if available to prevent static damage.
💡 Tips:
- •Work in a well-lit area and organize screws by section.
- •Search 'disassemble [your controller model]' for video tutorials.
⚠️ Warnings:
- •If unsure, stop here—professional repair might be safer for warranty-covered units.
Step 5: Clean the Internal Analog Module
Locate the analog stick module (potentiometer assembly). Use compressed air to blow out dust, then apply isopropyl alcohol sparingly to contacts with a swab. Gently wiggle the stick to work cleaner into gears.
Internals get gunked from wear, causing signal misreads. This fixes 70% of drift cases. Let dry fully (5-10 minutes) before proceeding—rushing leads to residue issues. The module should look cleaner and move freely.
Avoid excessive force; if the module is worn, cleaning may not suffice.
💡 Tips:
- •Focus on the carbon film or hall sensor areas without scrubbing hard.
- •For hall-effect sticks (newer models), cleaning is less needed but still helpful.
⚠️ Warnings:
- •Too much alcohol can seep into non-sealed areas—use sparingly.
Step 6: Reassemble the Controller
Align the shell halves, reconnect any ribbons, and secure with screws in reverse order. Ensure buttons and sticks align properly before tightening.
Proper reassembly restores functionality without loose parts. Test fit before full closure. It should snap back together smoothly, feeling solid like new. This takes 5 minutes if photos were taken.
Double-check battery compartment and ports for damage during handling.
💡 Tips:
- •Start with loose screws and tighten gradually to avoid stripping.
- •Reattach grips first for stability.
⚠️ Warnings:
- •Misaligned ribbons can cause dead zones—verify connections.
Step 7: Test and Calibrate the Controller
Reconnect to your console, power on, and test in a menu or game. If drift persists slightly, access calibration settings (e.g., PS5 Accessories menu or Xbox Devices & Connections).
Testing confirms success: Sticks should center perfectly with no drift. Calibration fine-tunes sensitivity. Full success means immersive gameplay resumes. If needed, update firmware via console settings.
Run tests for 5 minutes across directions.
💡 Tips:
- •Use analog stick deadzone adjusters in game settings for fine-tuning.
- •Third-party apps like DS4Windows can calibrate PC-connected controllers.
⚠️ Warnings:
- •If drift worsens, disassemble again to check for missed debris.
▸Pro Tips
- •Prevent future drift by cleaning controllers every 3-6 months, especially if you game in dusty areas.
- •Store controllers upright to minimize wear on sticks from gravity.
- •For heavy use, consider thumbstick extenders to reduce direct pressure.
- •Use anti-static mats during disassembly to protect sensitive electronics.
- •If you're right-handed, focus extra on the right stick as it sees more action.
- •Combine cleaning with firmware updates for optimal performance.
- •Practice on an old controller first if you're new to repairs.
▸Common Mistakes to Avoid
- •Using too much liquid cleaner, which can damage circuit boards—stick to damp swabs.
- •Forcing disassembly without a guide, leading to broken clips—always reference model-specific tutorials.
- •Skipping the drying step, causing short circuits or sticky residue.
- •Ignoring calibration after repair, resulting in lingering minor drift.
- •Over-tightening screws, which strips threads and makes future repairs harder.
▸Troubleshooting
Problem: Drift persists after cleaning
Solution: The potentiometer may be worn—consider replacing the analog module (kits available). Test on another console to rule out software.
Problem: Controller won't turn on post-reassembly
Solution: Check ribbon cable connections; reseat them gently. Ensure no screws are loose inside.
Problem: Buttons feel unresponsive
Solution: Clean button contacts with alcohol. If bent, realign during reassembly.
Problem: Warranty voided concerns
Solution: If under warranty, contact manufacturer first. For out-of-warranty, DIY is fine but document steps.
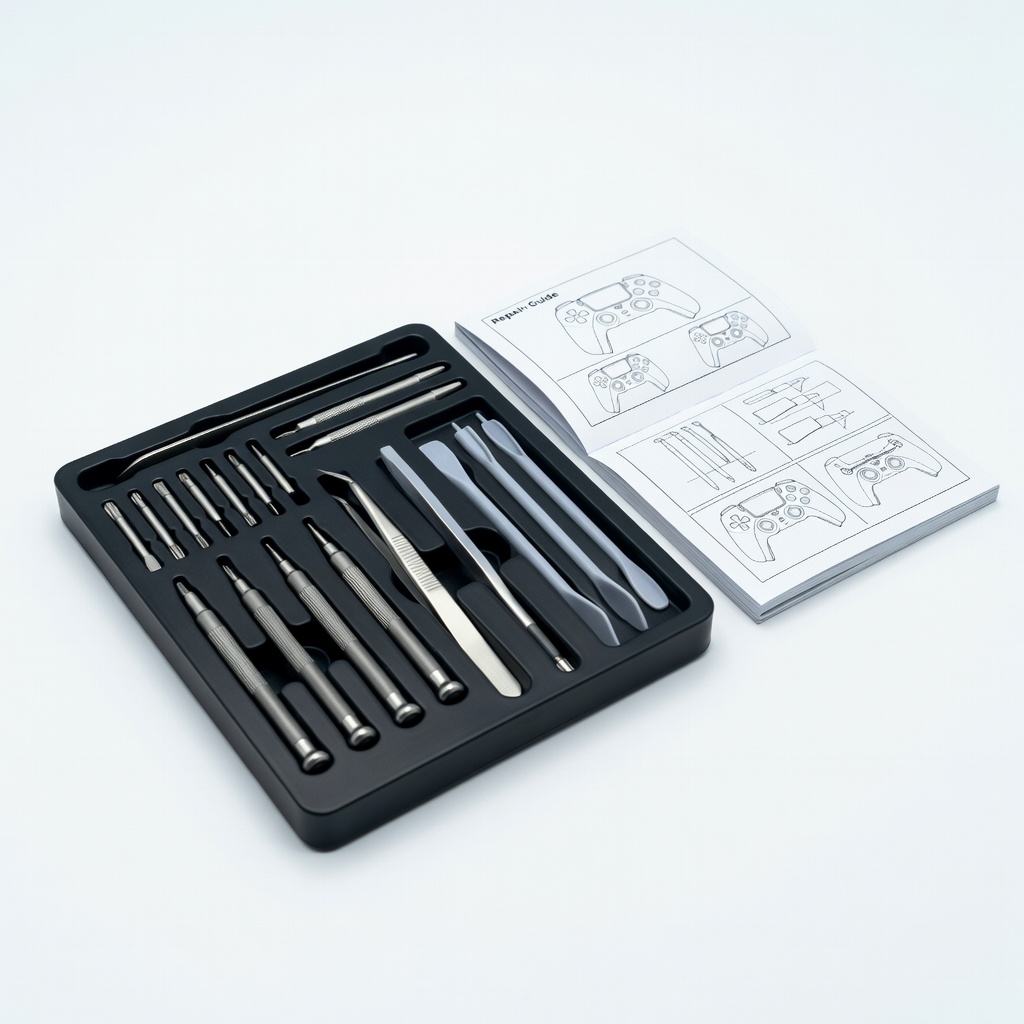
iFixit PlayStation 5 Controller Repair Kit
Includes specialized tools like precision drivers and opening picks tailored for DualSense disassembly, ensuring safe access to drift-prone modules.
Best for: Ideal for PS5 users attempting full internal cleaning or module replacement.
Price Range: $20-30
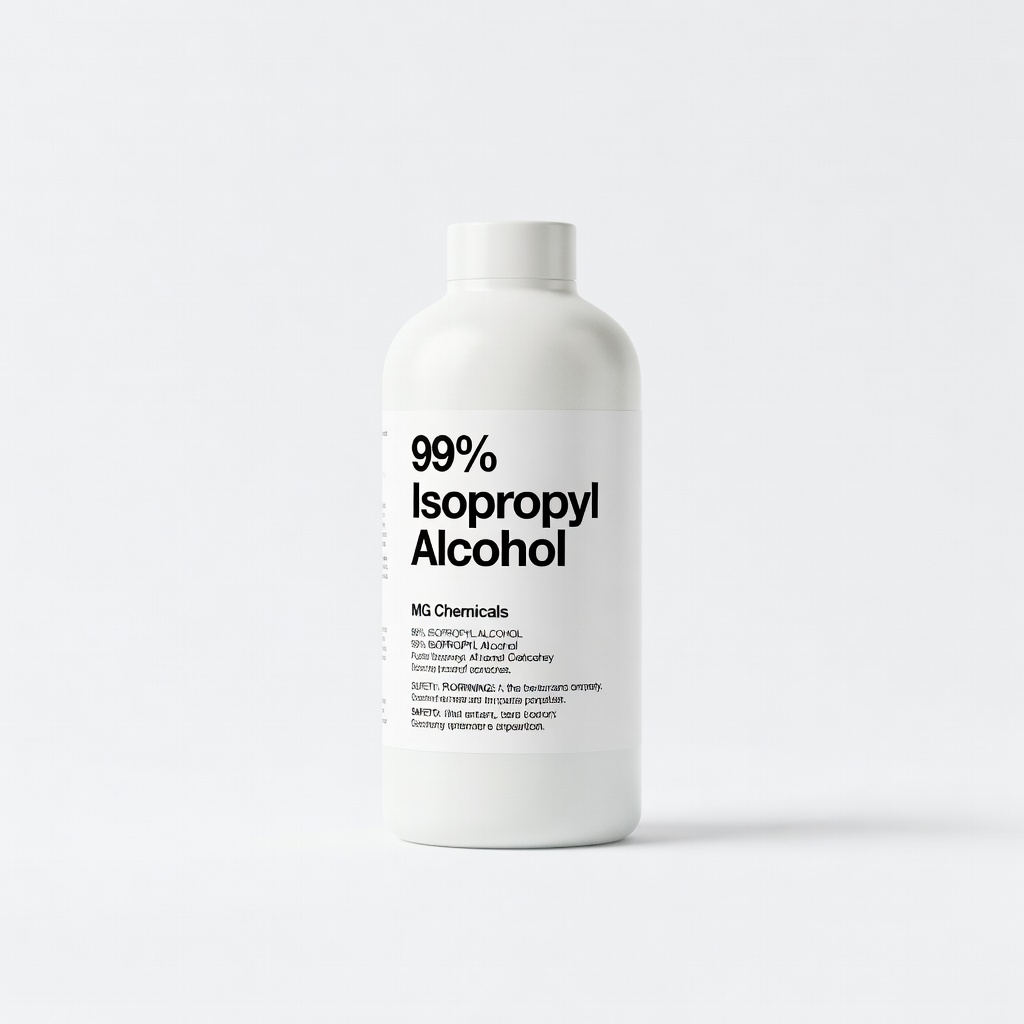
99% Isopropyl Alcohol by MG Chemicals
High purity evaporates quickly without residue, perfect for electronics cleaning without risking corrosion.
Best for: Essential for all controller types to safely dissolve grime on sticks and sensors.
Price Range: $5-10
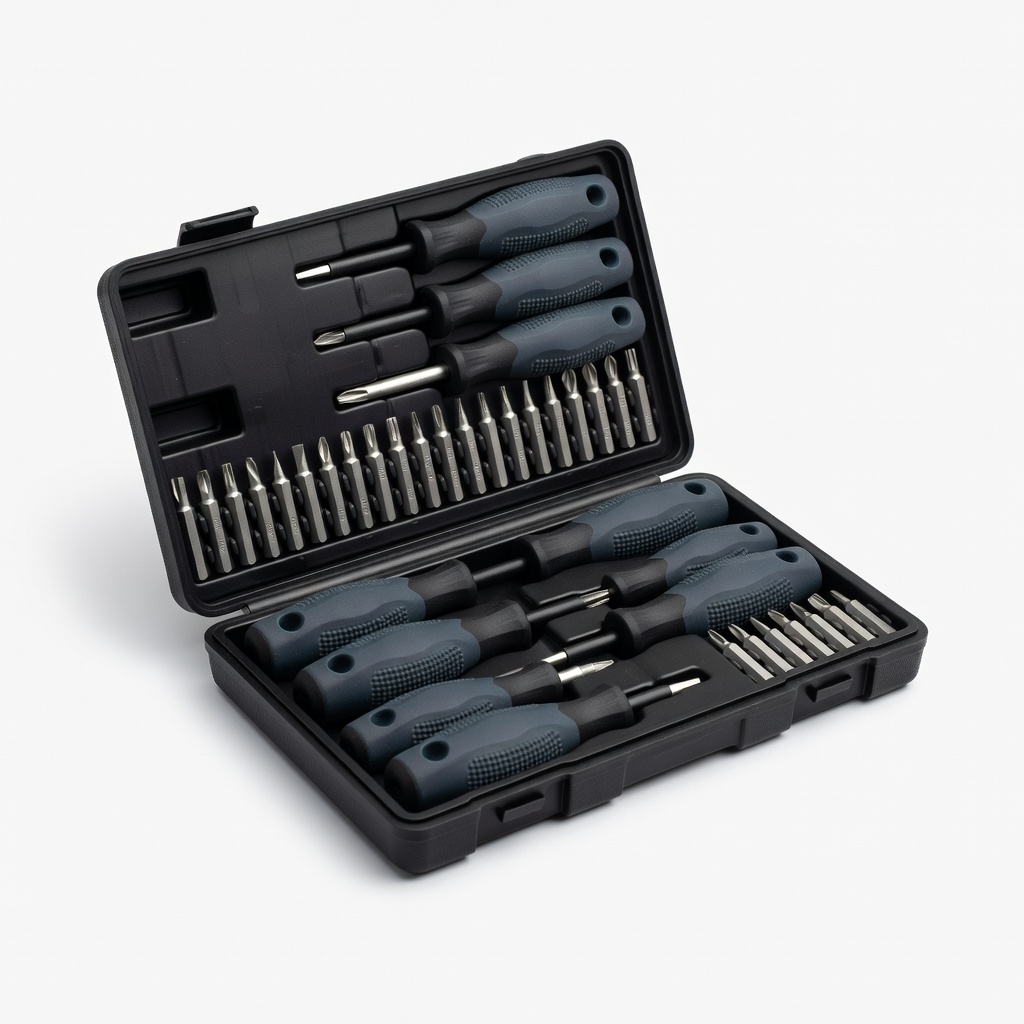
Gorilla Grip Precision Screwdriver Set
Magnetic tips and ergonomic handle prevent slipping on tiny controller screws, reducing frustration for beginners.
Best for: Universal for Xbox, Switch, or PS controllers during disassembly.
Price Range: $10-15
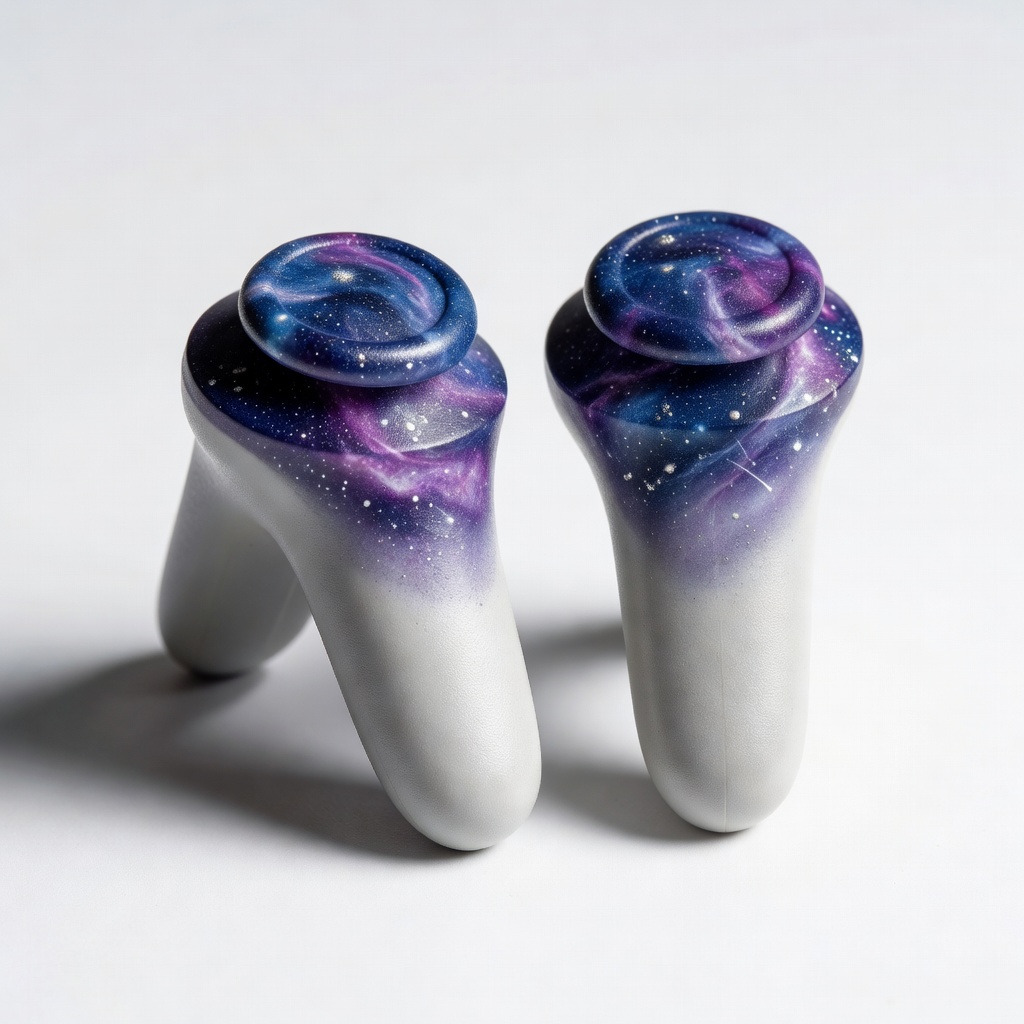
KontrolFreek FPS Freek Galaxy Thumbsticks
Adds height and grip to reduce wear on original sticks, preventing drift recurrence.
Best for: Post-repair upgrade for extended gameplay comfort on any console.
Price Range: $10-15
Endscope Compressed Air Duster
Powerful, ozone-safe blasts remove dust without contact, safer than cans for internals.
Best for: Quick exterior and interior dusting before deeper cleaning.
Price Range: $15-25