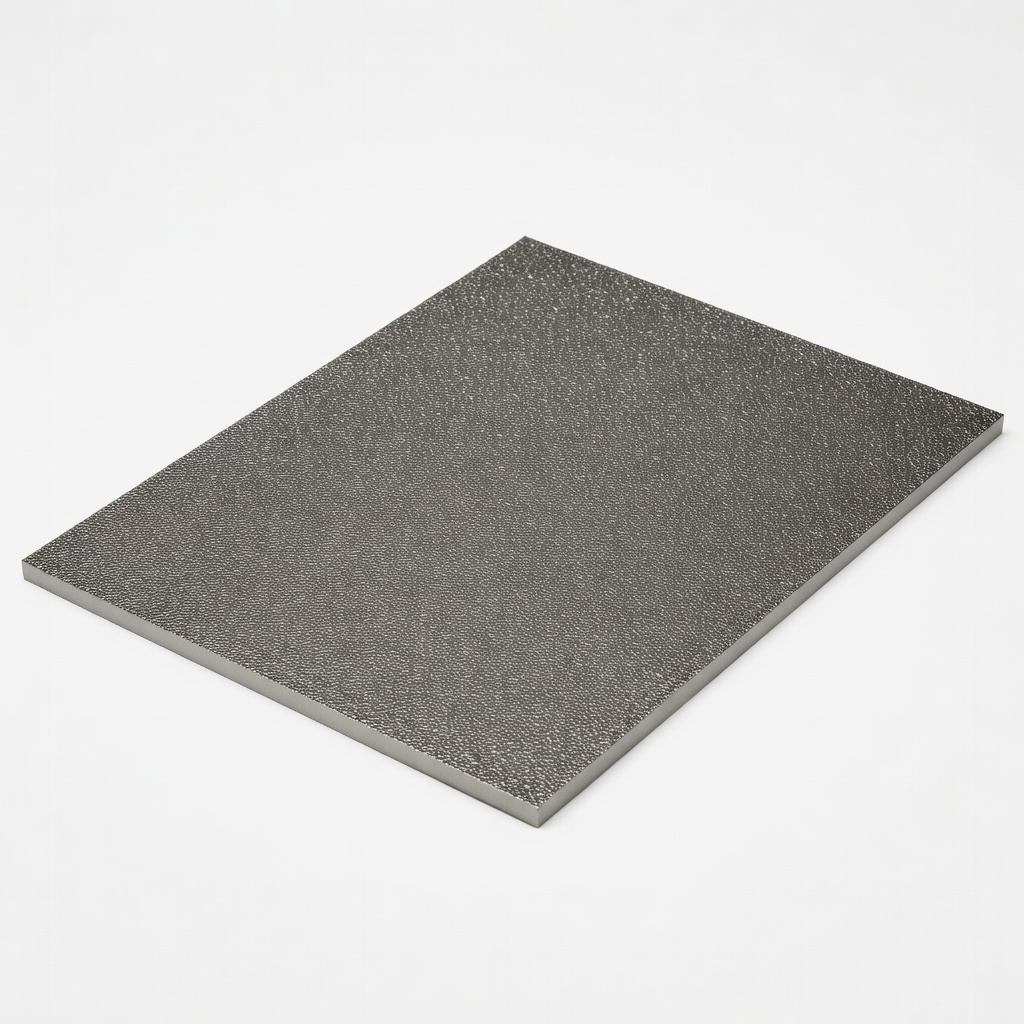
DMT DiaFlat 9" x 12" Diamond Lapping Plate
Essential for back lapping on high-wear tools like chisels.
$110-$130
DMT DiaFlat 9" x 12" Diamond Lapping Plate Extra-flat diamond surface excels at removing embedded abrasives without dish.
Get the App
Better experience on mobile
Restore sharpness and extend tool life with advanced lapping and honing techniques for tools damaged by abrasive finishing products.
Abrasive finishing products like sandpaper, grinding wheels, and polishing pads can embed gritty particles into your chisels, planes, and saws, causing rapid dulling and uneven wear. For advanced woodworkers and metalworkers, this wear isn't just frustrating—it's a productivity killer that shortens tool lifespan. This guide tackles it head-on.
You'll learn a proven, step-by-step process to assess damage, remove embedded abrasives, re-establish flatness and bevels, and protect against future wear. Expect razor-sharp edges ready for precision work. The process takes 45-90 minutes per tool and requires intermediate sharpening skills, but delivers professional results.
No more babysitting dull tools—follow these steps to get back to flawless finishes.
Estimated Time: 45-90 minutes per tool Difficulty: advanced
Inspect the tool's back and bevel under bright light or magnification. Look for embedded abrasive particles (dark specks or pitting), uneven bevels, or micro-chipping from grit. Test sharpness by scraping end grain—if it doesn't bite cleanly, wear is confirmed.
Mark the entire back and bevel with a permanent marker to reveal high/low spots during lapping. This step ensures you target the right areas, preventing overworking undamaged steel.
💡 Tips:
⚠️ Warnings:
Degrease the tool with mineral spirits or soapy water, then scrub with a brass brush to loosen surface grit. Rinse and dry thoroughly. This removes loose contaminants before lapping.
Why it matters: Oils and debris mask true wear and contaminate sharpening stones.
💡 Tips:
⚠️ Warnings:
Secure the diamond lapping plate on a flat surface. Add water or oil, place the tool back down, and lap in figure-8 patterns with light pressure for 5-10 minutes until marker is gone and steel feels uniformly smooth.
Success: A mirror-flat back free of pits. Diamond cuts embedded abrasives faster than traditional stones.
Continue to finer grits (600 micron) if needed.
💡 Tips:
⚠️ Warnings:
Flatten your waterstones using the diamond plate or silicon carbide slurry in figure-8s until no wobbles or dish. Soak stones as per instructions (10-15 mins for most).
This ensures consistent abrasion rates.
💡 Tips:
On the 1000-grit stone, set bevel angle (25° typical for chisels) using a guide or freehand. Lap until marker on bevel disappears, forming a burr along the edge.
Push-cut only to avoid rounding. Success: Uniform bevel with wire edge.
💡 Tips:
⚠️ Warnings:
Progress to 4000 then 8000 grit, honing 10-20 strokes per side, alternating to remove previous burr. Edge should refine to translucent polish.
Why: Builds micro-bevel for durability.
💡 Tips:
Charge leather strop with green compound. Pull tool edge-first 10-20 times per side at matching angle. Edge gleams; test by shaving arm hair cleanly.
Final polish aligns edge for peak sharpness.
💡 Tips:
⚠️ Warnings:
Slice paper or end grain—clean edge means success. Wipe clean, apply thin camellia oil coat to prevent rust.
Store upright to avoid dulling.
💡 Tips:
Problem: Edge dulls immediately after use
Solution: Re-lap back; residual abrasives from prior work.
Problem: Chipping along edge
Solution: Increase bevel angle to 28-30° for tougher woods.
Problem: Stones glazing or loading
Solution: Flatten more aggressively; use nagura stone for slurry.
Problem: Uneven bevel
Solution: Remap with marker; use guide or roller.
Problem: Rust after oiling
Solution: Wipe excess; reapply after each use. Seek pro if pitting deep.
Extra-flat diamond surface excels at removing embedded abrasives without dish.
Best for: Essential for back lapping on high-wear tools like chisels.
Price Range: $110-$130
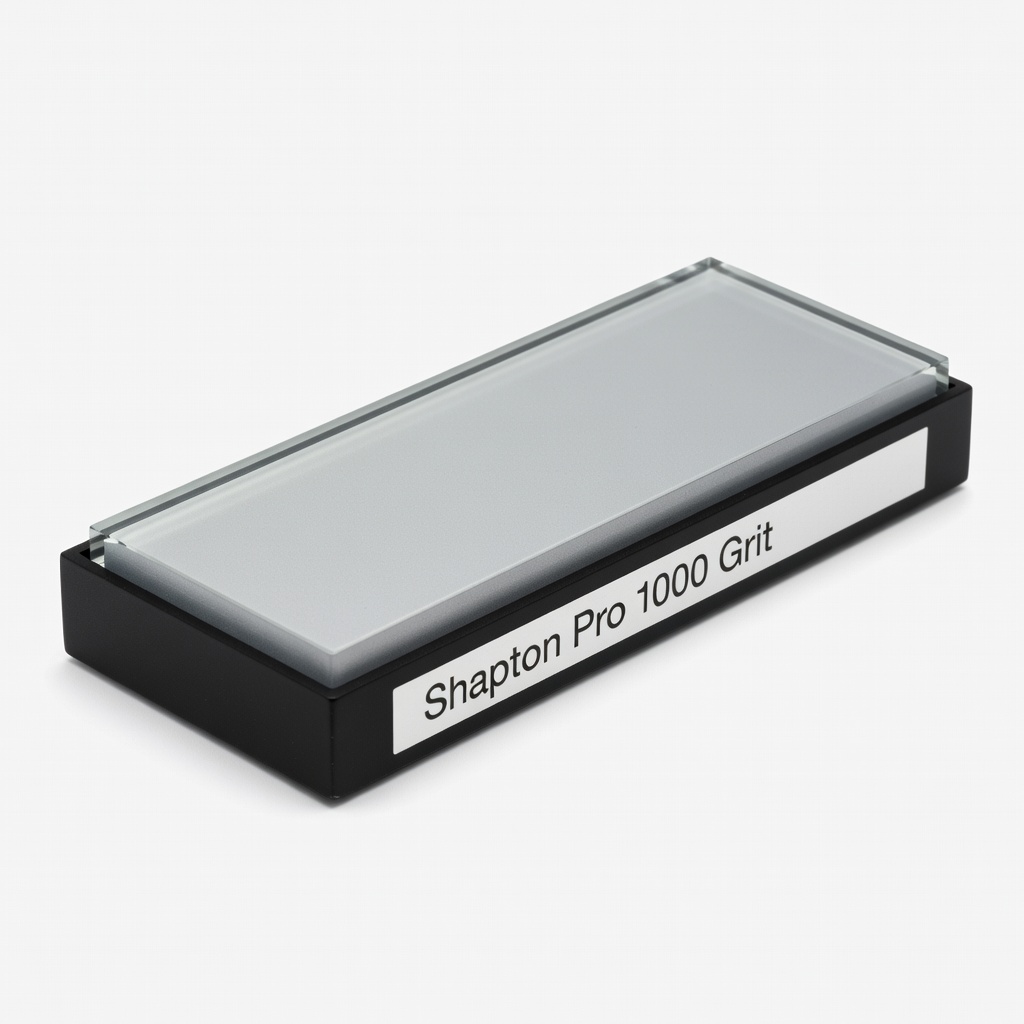
Fast-cutting, durable for primary bevels; stays flat longer.
Best for: Daily sharpening of plane irons and chisels post-abrasive exposure.
Price Range: $35-$45
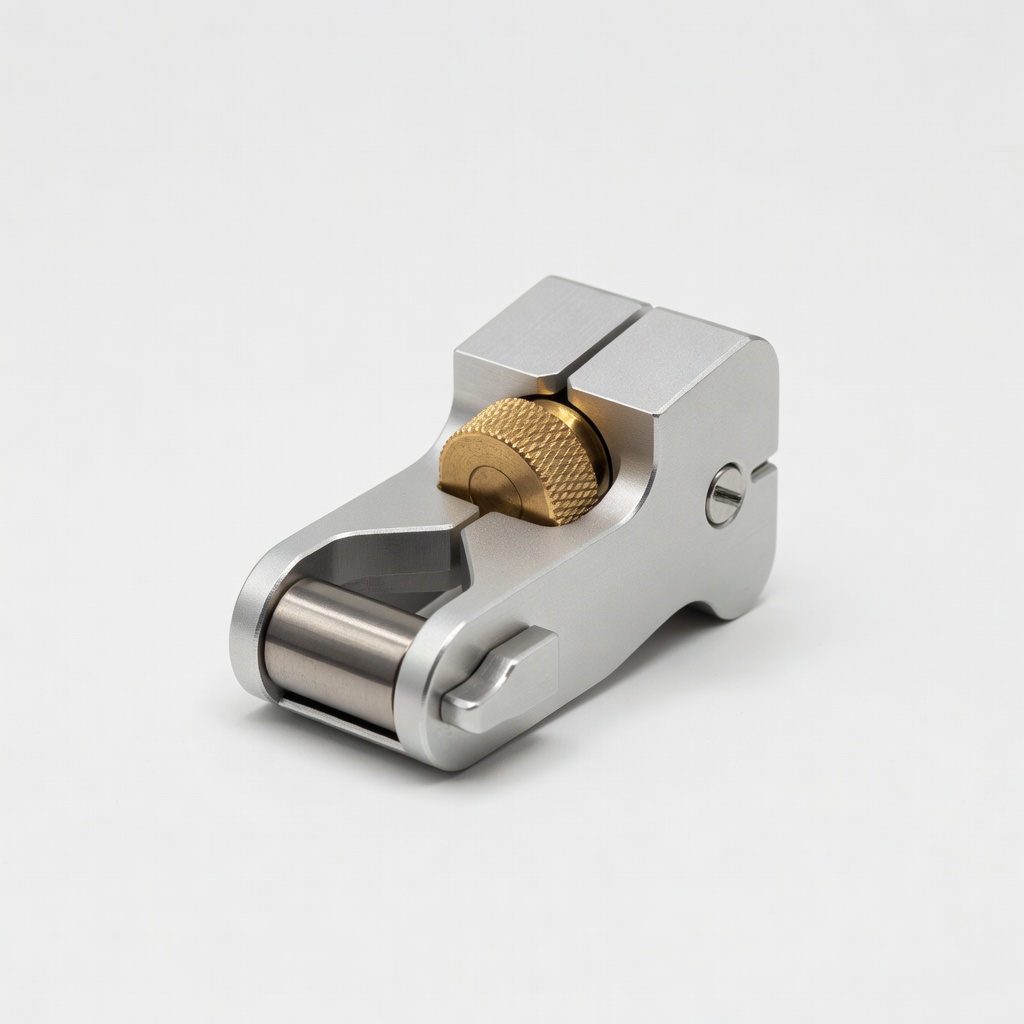
Precision angle control for advanced users; camber roller for backs.
Best for: Consistent bevels on hollow-ground tools.
Price Range: $55-$65
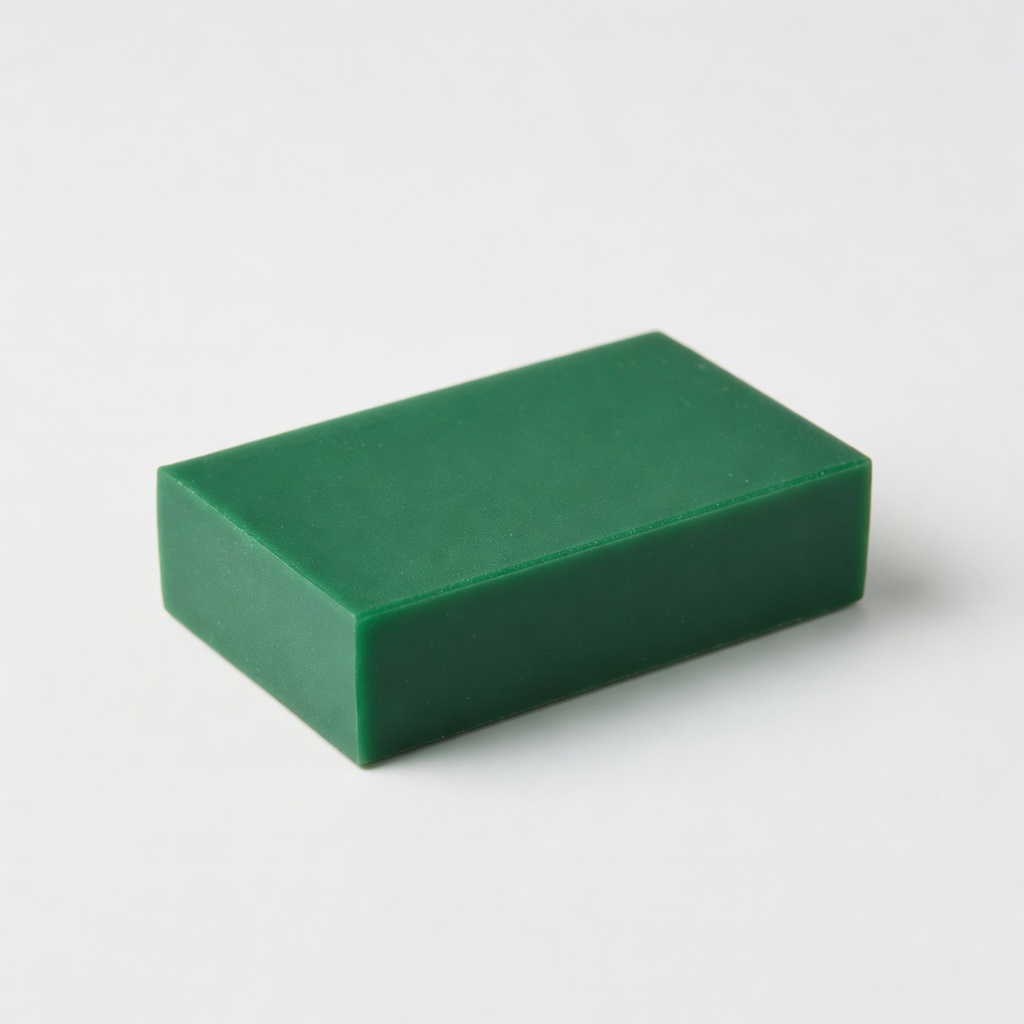
Fine chromium oxide for mirror stropping without loading.
Best for: Final polish on strops for hair-shaving edges.
Price Range: $8-$12
Food-grade, rust-preventive oil that doesn't gum up.
Best for: Post-sharpening protection on carbon steel tools.
Price Range: $10-$15
Essential for back lapping on high-wear tools like chisels.
DMT DiaFlat 9" x 12" Diamond Lapping Plate Extra-flat diamond surface excels at removing embedded abrasives without dish.
Daily sharpening of plane irons and chisels post-abrasive exposure.
Shapton Pro 1000 Grit Kuromaku Glass Stone Fast-cutting, durable for primary bevels; stays flat longer.
Consistent bevels on hollow-ground tools.
Veritas Mk.II Honing Guide Precision angle control for advanced users; camber roller for backs.
Final polish on strops for hair-shaving edges.
Henckels Green Polishing Compound Fine chromium oxide for mirror stropping without loading.
Post-sharpening protection on carbon steel tools.
Pure Camellia Oil Food-grade, rust-preventive oil that doesn't gum up.