
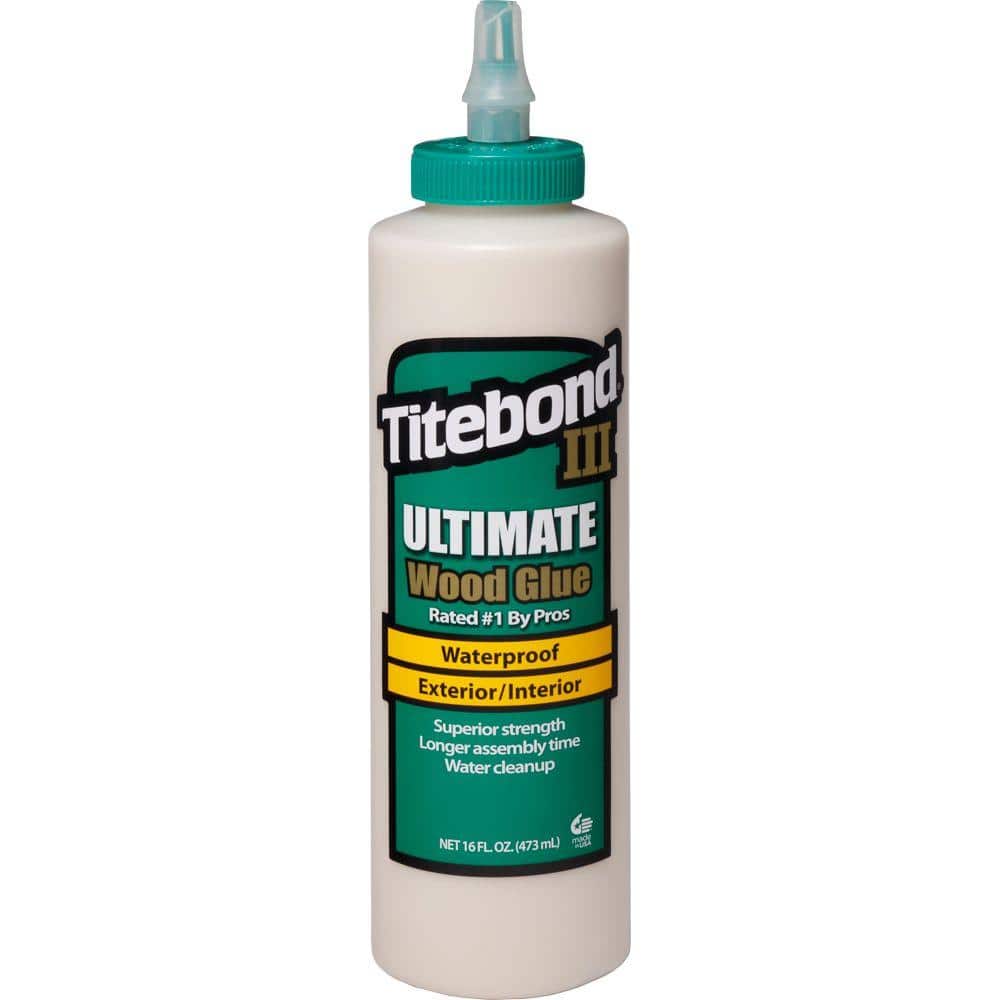
Titebond Ultimate Wood Glue
Any woodworking glue-up, especially for stripped holes.
$8–$12
Titebond Ultimate Wood Glue Excellent bond strength and water resistance; ideal for structural repairs.
Get the App
Better experience on mobile
Learn simple, effective methods to restore screw grip in wood without any filler compound.
Stripped screw holes are a common nuisance in woodworking and furniture repair—when the screw no longer bites, your piece becomes loose or wobbly. Fortunately, you don't need wood filler or epoxy to fix it. Using everyday items like toothpicks or matchsticks combined with wood glue, you can rebuild the hole’s grip quickly and cheaply. This intermediate-level guide will walk you through the process step by step, covering the toothpick method, the matchstick method, and how to ensure a lasting repair. Expect to spend about 15–30 minutes per hole, and you’ll likely have all the tools already on hand.
Estimated Time: 15–30 minutes per hole (plus drying time of 1–2 hours) Difficulty: intermediate
Remove any debris, dust, or old glue from the hole using a wire brush or compressed air. This ensures the new wood pieces bond directly to clean wood. If the hole is still intact but stripped, you can proceed. If it’s enlarged or damaged, you might need to drill it out slightly to create a uniform shape.
💡 Tips:
⚠️ Warnings:
Squeeze a small amount of wood glue into the hole, coating the interior walls. Then dip the ends of several toothpicks (or matchsticks) into glue. The number needed depends on hole size—typically 3–5 toothpicks. Use enough to fill the hole snugly; you want a tight fit.
💡 Tips:
⚠️ Warnings:
Push the glue-coated toothpicks into the hole as far as they will go. Use the butt end of a screwdriver or a small hammer to tap them flush if needed. The goal is to fill the hole completely with glued wood. Allow the excess to protrude slightly. Clamp the area or place a heavy object on top to hold everything in place while the glue dries.
💡 Tips:
⚠️ Warnings:
Allow the glue to dry completely, typically 1–2 hours (check glue instructions). Once dry, use a utility knife or chisel to cut off the protruding toothpicks flush with the wood surface. Sand the area smooth with fine-grit sandpaper or an abrasive disc.
💡 Tips:
⚠️ Warnings:
If desired, drill a small pilot hole into the repaired area. Use a drill bit slightly smaller than the screw’s root diameter. This ensures the screw enters straight and reduces the chance of splitting the new wood.
💡 Tips:
⚠️ Warnings:
Drive the screw into the repaired hole using a screwdriver or drill at low speed. The screw should bite firmly and not spin. If it feels loose, you may need to add more toothpicks or use a slightly larger screw. Check the hold by gently tugging the joint.
💡 Tips:
⚠️ Warnings:
Problem: After repair, the screw still spins without tightening.
Solution: Remove the screw and add more toothpicks with glue. Alternatively, use a slightly larger screw or a threaded metal insert.
Problem: The wood splits when driving the screw.
Solution: Drill a pilot hole of the correct size. If splitting persists, the repair may be too tight; reduce the number of toothpicks.
Problem: The glue fails and the toothpicks come loose.
Solution: Ensure the hole and toothpicks are clean and free of dust. Use a fresh batch of glue and clamp securely.
Problem: The repaired hole is off-center.
Solution: Use a wooden dowel centered in the hole, then drill a new pilot hole in the correct location before inserting the screw.
Excellent bond strength and water resistance; ideal for structural repairs.
Best for: Any woodworking glue-up, especially for stripped holes.
Price Range: $8–$12
Includes a tap and collet to carve new threads; good for multiple repairs.
Best for: When toothpicks aren’t enough; creates durable threads.
Price Range: $15–$25
Small, strong clamp perfect for tight spots during glue drying.
Best for: Holding toothpicks in place while glue cures.
Price Range: $10–$15
High-quality abrasive discs for smoothing repairs without scratching.
Best for: Sanding the flush repair area.
Price Range: $15–$20 for pack
Thicker than toothpicks, perfect for larger stripped holes.
Best for: Alternative to toothpicks when hole is large.
Price Range: $5–$10 for pack
Any woodworking glue-up, especially for stripped holes.
Titebond Ultimate Wood Glue Excellent bond strength and water resistance; ideal for structural repairs.
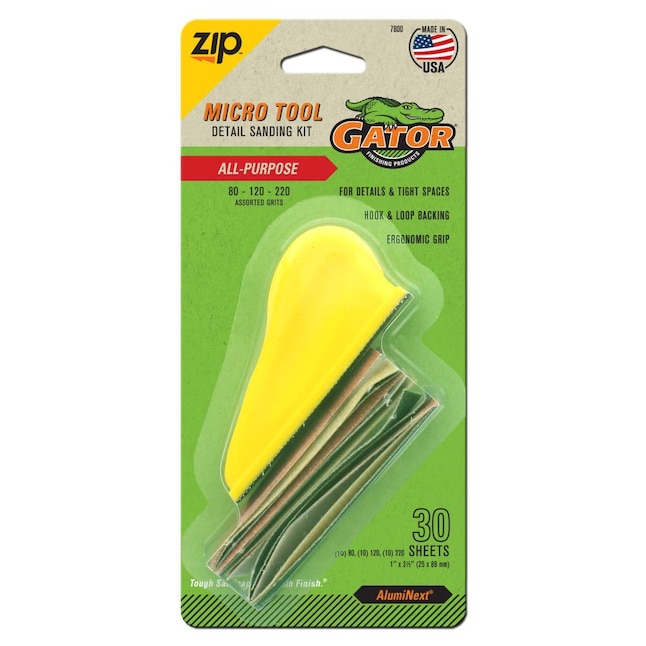
When toothpicks aren’t enough; creates durable threads.
Gator Tools Screw Hole Repair Kit Includes a tap and collet to carve new threads; good for multiple repairs.
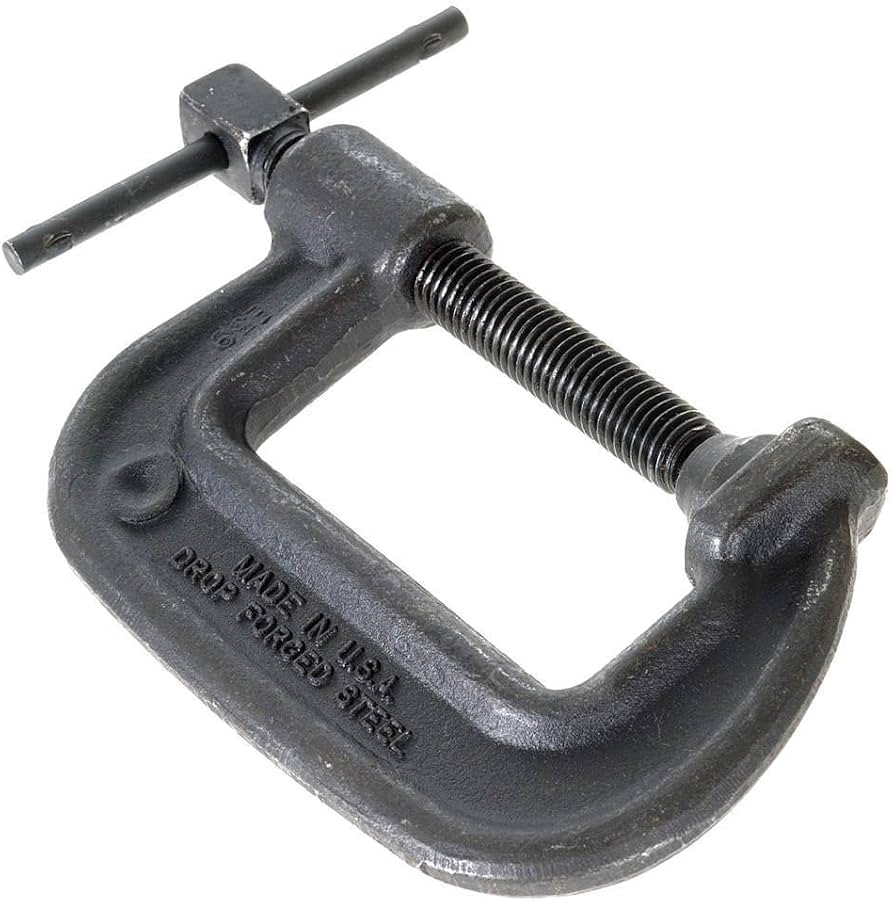
Holding toothpicks in place while glue cures.
Bessey Clamp-On Clamp (3-inch) Small, strong clamp perfect for tight spots during glue drying.
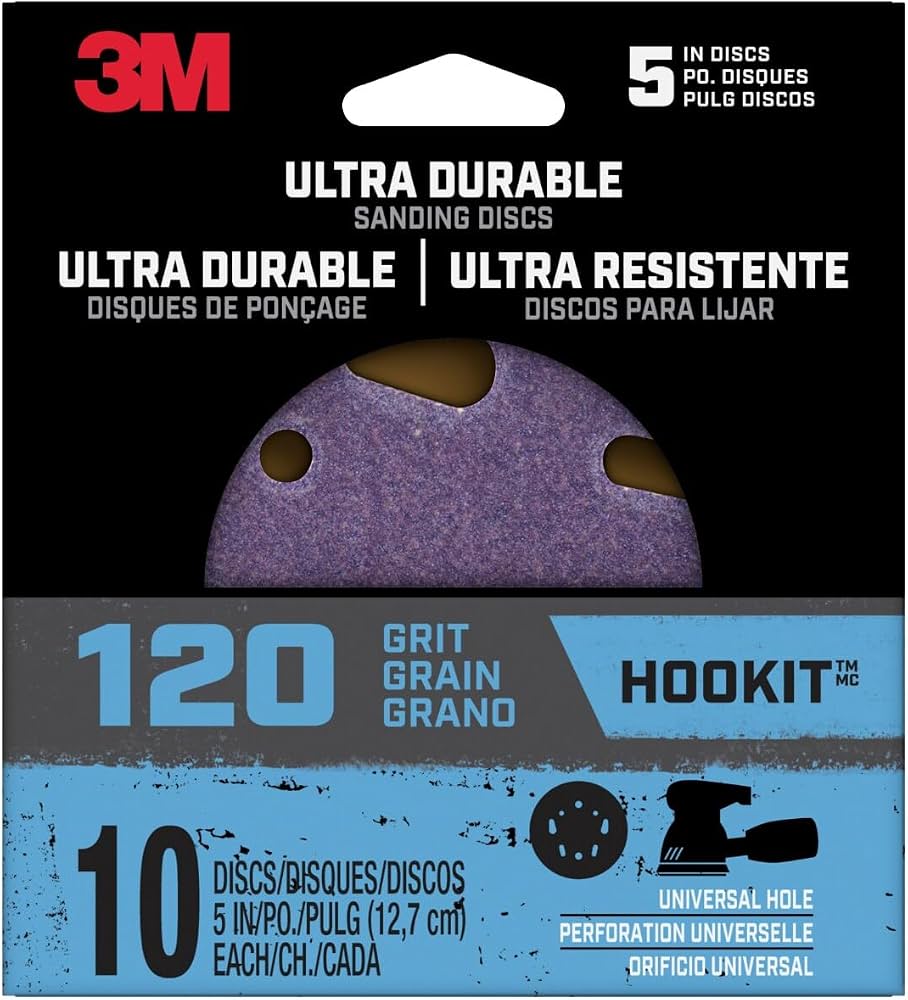
Sanding the flush repair area.
3M Hookit Sanding Discs 120 Grit High-quality abrasive discs for smoothing repairs without scratching.
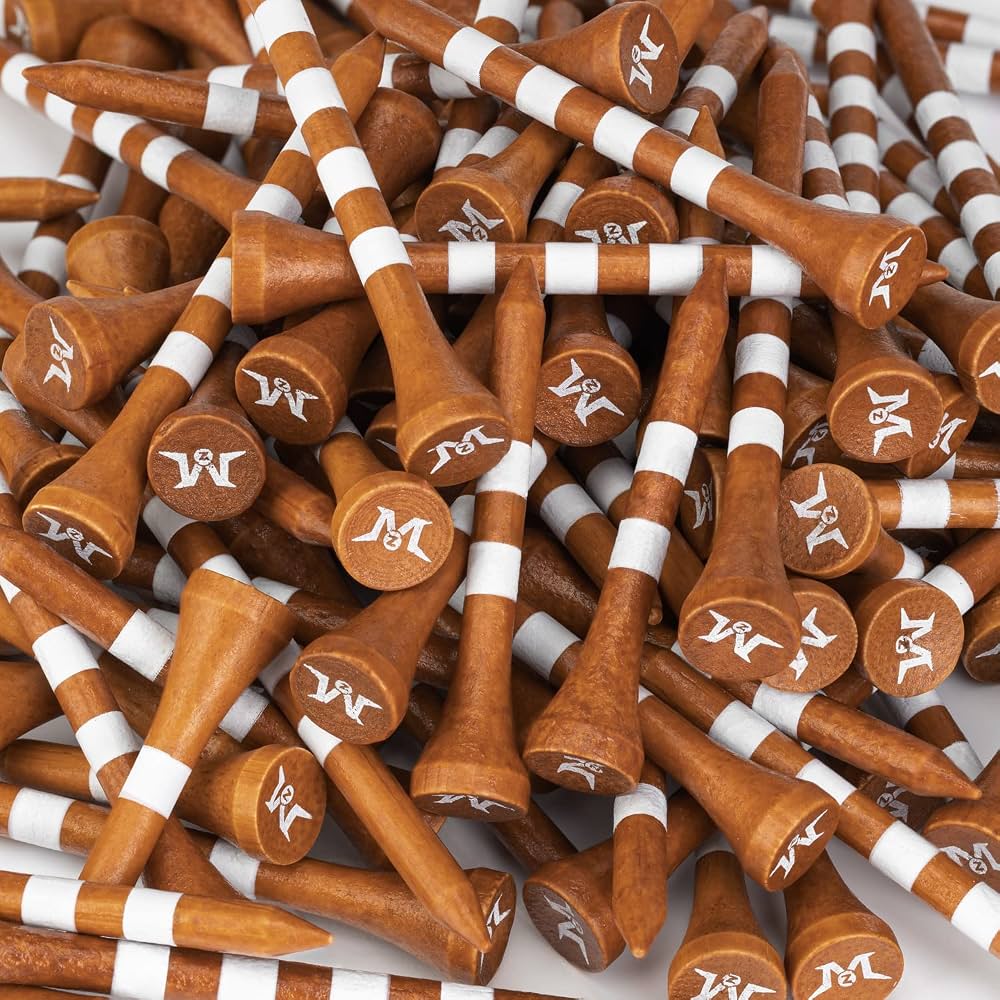
Alternative to toothpicks when hole is large.
Golf Tees (wooden, 2-3/4 inch) Thicker than toothpicks, perfect for larger stripped holes.