A running toilet is one of the most common and annoying household plumbing problems. That constant hiss or periodic water trickle can waste thousands of gallons of water a year and drive up your water bill. The good news? Most running toilets are easy to fix with basic tools and a little know-how—no plumber required.
In this guide, you’ll learn how to pinpoint the exact cause of your running toilet and fix it step by step. We’ll cover every common culprit: a worn flapper, a faulty fill valve, a misadjusted float, even a tangled handle chain. With just a few tools and inexpensive replacement parts, you can have your toilet running quietly in 15–45 minutes.
▸What You'll Need
- •Adjustable wrench or pliers
- •Flathead and Phillips screwdrivers
- •Sponge or old towel (for cleanup)
- •Bucket (to catch residual water)
- •Replacement flapper (universal or compatible with your model)
- •Replacement fill valve (if needed)
- •Plumber's tape (optional)
- •Toilet repair kit (optional, includes flapper and fill valve)
Estimated Time: 15-45 minutes (depending on the cause and whether parts need replacement)
Difficulty: beginner
▸Step-by-Step Instructions
Step 1: Shut Off the Water Supply and Empty the Tank
Locate the shut-off valve on the wall behind the toilet (usually a chrome or plastic knob). Turn it clockwise until it stops. Then flush the toilet to drain as much water as possible. Use a sponge or towel to soak up the remaining water at the bottom of the tank. This gives you a dry workspace to inspect and repair.
Why this matters: Working on a toilet with the water still on can cause water to spill out as you remove parts. Emptying the tank makes it safe and much easier to see what you’re doing.
Place the bucket under the tank to catch any drips as you work.
💡 Tips:
- •If you can’t turn the valve by hand, use pliers but avoid cracking the valve.
- •Put a towel around the base of the toilet to protect your floor from accidental drips.
⚠️ Warnings:
- •Never overtighten shut-off valves—they're fragile and can break.
Step 2: Identify What’s Causing the Toilet to Run
Before you replace anything, figure out what’s wrong. Remove the tank lid (set it somewhere safe) and flush the toilet again to observe the parts in action. Look for these signs:
- •Water continuously spilling into the overflow tube → likely a fill valve or float issue.
- •Water leaking from the flapper into the bowl → the flapper is worn, misaligned, or the chain is tangled.
- •The fill valve doesn’t shut off → likely a defective fill valve or a float set too high.
- •Intermittent running → often a flapper that seals sporadically.
If you see water on the tank floor, it might be a leak, but a running toilet usually involves the components inside the tank.
💡 Tips:
- •Use a food coloring test: add a few drops of food dye to the tank, wait 10-15 minutes without flushing. If color appears in the bowl, the flapper is leaking.
Step 3: Check the Flapper and Replace It if Worn
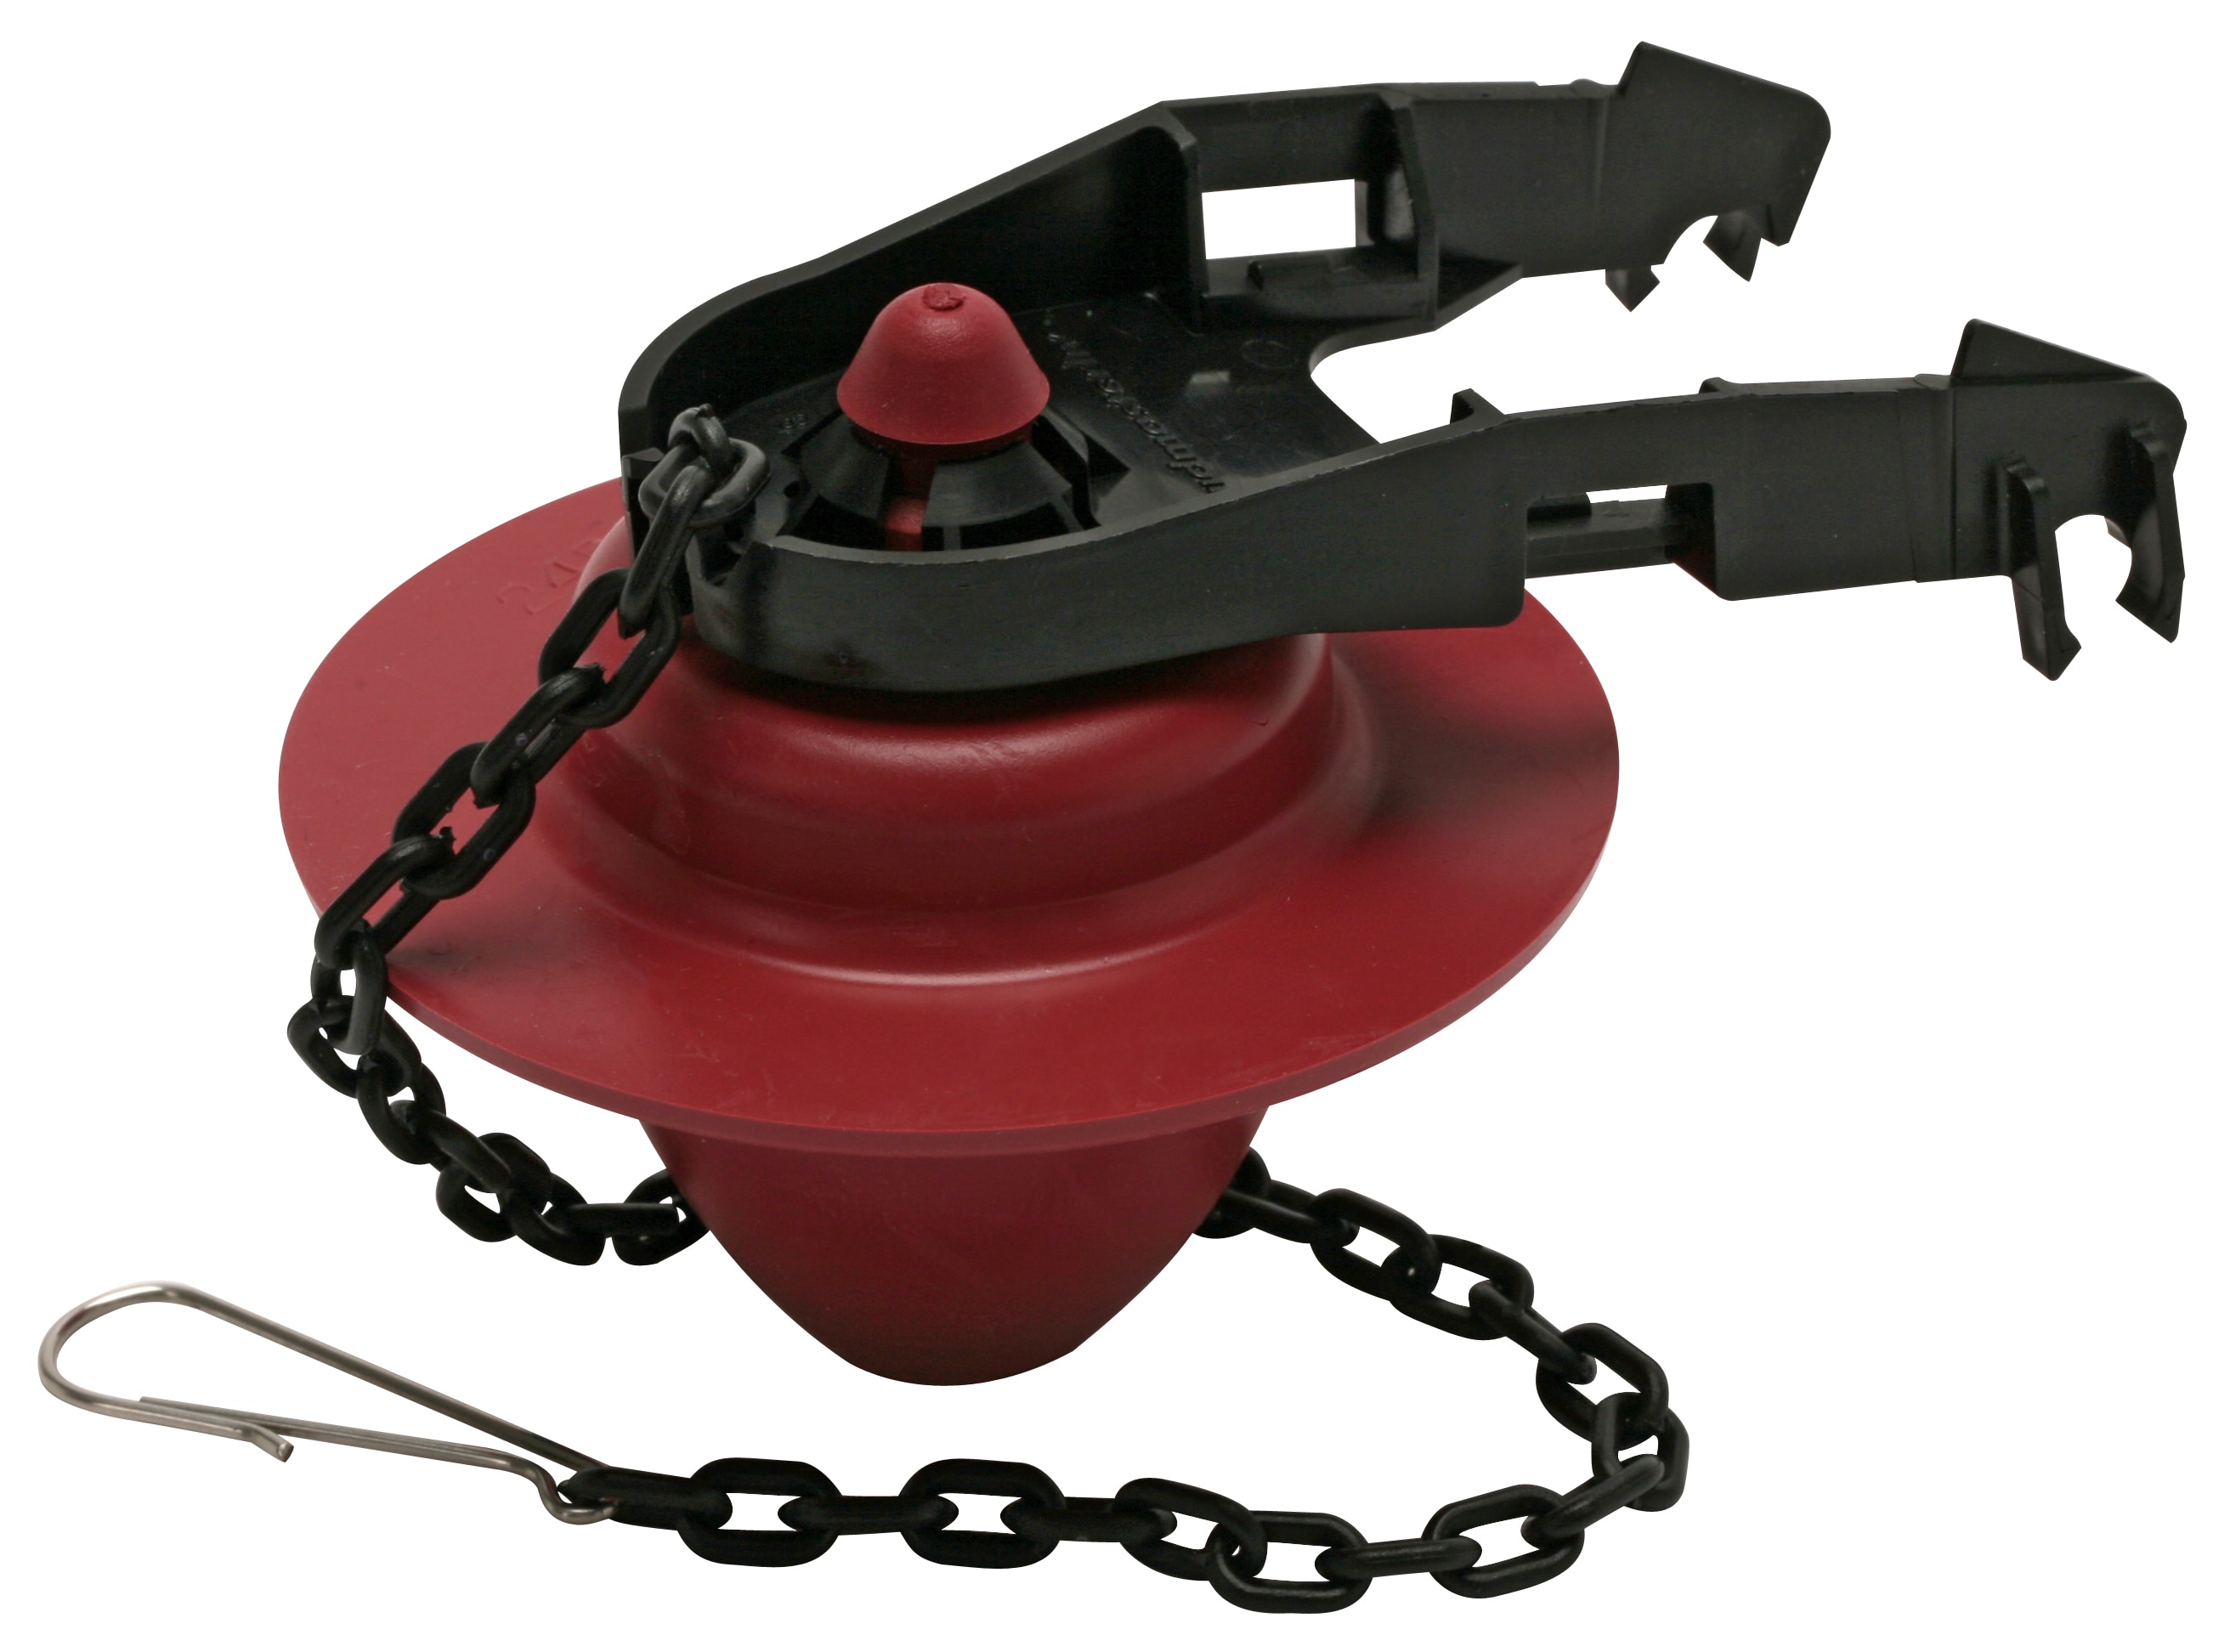
The flapper is the rubber stopper at the bottom of the tank that lifts when you flush and seals when the tank refills. Over time it can warp, crack, or get mineral deposits on the sealing surface. Press down gently on the flapper with your finger. If the running stops, the flapper is your problem.
To replace: unhook the flapper chain, then remove the old flapper from the ears on the overflow tube. Take it to a hardware store to find an exact replacement, or use a universal flapper. Install the new flapper by sliding its ears into the slots, then reattach the chain with about 1/2 inch of slack.
💡 Tips:
- •Choose a flapper that’s compatible with your toilet brand or get an adjustable universal model.
- •Clean the flapper seat (the opening it covers) with a cloth before installing the new one.
⚠️ Warnings:
- •Don’t overtighten the chain—if it’s too short, it can hold the flapper open and cause a constant leak.
Step 4: Adjust the Chain and Lift Wire
If the flapper looks fine but the chain is catching under the handle arm or is too tight, the flapper may not seal properly. The chain should have a small amount of slack (roughly 1/2 inch). Remove any excess links so it doesn’t hang down and interfere with the flapper seat.
If your toilet uses a lift wire, make sure it’s straight and properly connected to the lever and flapper. A bent or misaligned wire can also cause a running toilet.
💡 Tips:
- •Leave a little slack but not so much that the chain can loop under the flapper.
- •Trim the chain with wire cutters if it’s too long.
⚠️ Warnings:
- •If the chain is too tight, the flapper will stay open and water will continuously flow into the bowl.
Step 5: Adjust the Float to Set the Water Level
The float regulates how much water fills the tank. If it’s set too high, water will overflow into the overflow tube, causing a continuous run. If it’s set too low, the flush will be weak. Look for an adjustment screw or clip:
- •Arm-and-float style: Bend the metal arm down slightly to lower the water level.
- •Cup-style float (on the fill valve): Press the clip and slide the float down on the valve shaft.
Flush and observe the water level. The water should sit about 1 inch below the top of the overflow tube.
💡 Tips:
- •Make small adjustments (quarter-turn or 1/4 inch at a time) to avoid overshooting.
- •Check the tank water level after each adjustment.
⚠️ Warnings:
- •Don’t set the float too low—you may get poor flushes or leave too little water.
Step 6: Replace the Fill Valve if It Won’t Shut Off
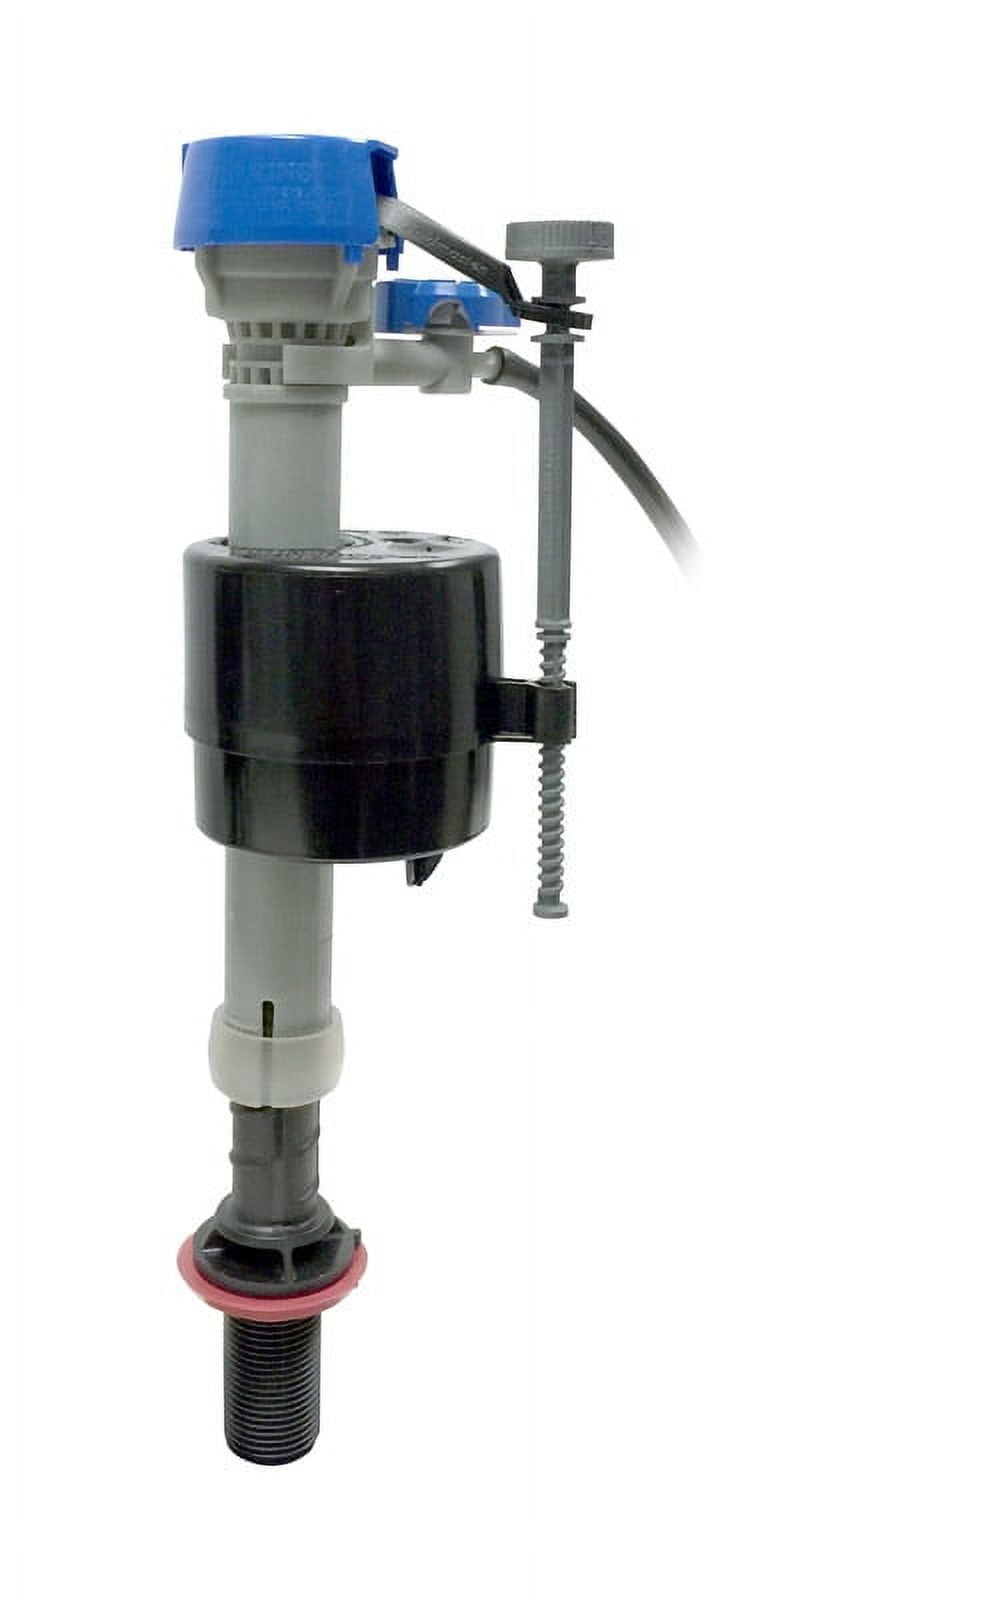
If the water level is correct but the fill valve keeps supplying water, it’s time to replace the fill valve. The fill valve is the tall vertical assembly connected to the water supply line. A faulty fill valve can leak, hiss, or keep the toilet constantly running.
To replace: disconnect the supply line from the bottom of the valve, unscrew the locking nut underneath the tank, and lift the old valve out. Install the new fill valve according to the manufacturer’s instructions, making sure the float is adjusted to the proper height. Reconnect the supply line and turn the water back on.
💡 Tips:
- •Purchase a fill valve that fits your toilet’s tank height; universal models adjust to most tanks.
- •Wrap plumber’s tape (Teflon tape) around the threads of the new valve before tightening the supply nut.
⚠️ Warnings:
- •Be careful not to crack the tank when tightening the locking nut—hand-tighten plus a quarter turn is enough.
Step 7: Clean or Replace the Fill Valve Seal
Sometimes the fill valve doesn’t need full replacement—just a clean of the seal or diaphragm. A small debris or mineral buildup can prevent the valve from closing. Turn off the water, remove the valve cap, and inspect the rubber seal. Rinse it with water or gently scrub with a toothbrush. If it’s damaged, replace the seal with a generic or OEM part.
This is a quick fix that can save you from buying a new fill valve.
💡 Tips:
- •Use vinegar to dissolve hard-water deposits if cleaning doesn't fully help.
- •Always replace the valve cap gasket if you disassemble the valve.
⚠️ Warnings:
- •Don’t force the valve apart—some parts are plastic and break easily.
Step 8: Test the Toilet and Reassemble
Turn the water supply back on slowly and allow the tank to refill. Check the water level and shut-off: the fill valve should stop completely when the tank reaches the right level. Flush several times to ensure the flapper opens fully and seals tightly. Watch for any leaks around the base of the fill valve and the flapper.
If everything looks dry and the toilet no longer runs, replace the tank lid, wash your hands, and enjoy the silence.
💡 Tips:
- •Add a drop of food coloring to the tank and wait 15 minutes to re-verify there’s no leak.
- •Listen carefully for a few minutes—sometimes leaks are intermittent.
⚠️ Warnings:
- •If water is leaking from the tank itself (not just running), you may be dealing with a cracked tank or bad gasket—consult a plumber.
▸Pro Tips
- •Start with the simplest fix: inspect the flapper and chain before buying new parts.
- •Use universal replacement parts that fit most toilets—they’re easy to find and save time.
- •Take a photo of your toilet tank interior before disassembling to remind you how it goes back together.
- •Check the overflow tube height if the toilet runs: water shouldn't be near the top.
- •Consider installing a toilet repair kit that includes both flapper and fill valve—a good value and covers two common failures.
- •Clean your toilet tank internals every six months to prevent mineral buildup.
- •Avoid using the tank as a storage shelf—items can fall in and damage components.
▸Common Mistakes to Avoid
- •Adjusting the float too high, causing water to continuously overflow.
- •Over-tightening the flapper chain, which keeps the flapper from sealing.
- •Replacing the flapper without cleaning the seat first—debris can still cause leaks.
- •Forgetting to turn off the water before removing components, leading to water spills.
- •Buying incompatible replacement parts because you didn’t check the toilet model.
▸Troubleshooting
Problem: After replacing the flapper, the toilet still runs.
Solution: Check whether the flapper is properly seated. Press on it to see if the noise stops. If so, adjust the chain or clean the seat. Also verify the flapper matches the overflow tube size.
Problem: The fill valve keeps hissing even after replacement.
Solution: Ensure the shut-off valve is fully open and the supply line isn't kinked. Also check for a water pressure issue in your home; if it's too high, a pressure regulator may be needed.
Problem: The toilet runs intermittently, every few minutes.
Solution: A slow flapper leak is the most common cause. Perform the food dye test to confirm, then replace the flapper.
Problem: Water level in the tank is too low or too high.
Solution: Readjust the float. Mark the water line at the correct level (1 inch below overflow tube) and flush to fine-tune.
Problem: Cannot identify the cause—everything looks new.
Solution: Check the tank-to-bowl gasket and the fill valve seal. If the toilet tank is sweating or weeping, the tank may be cracked—call a plumber.
Fluidmaster 400H Universal Toilet Fill Valve
A reliable, widely compatible fill valve that fixes most fill valve issues. It's easy to install without removing the tank.
Best for: When your fill valve keeps running or won't shut off.
Price Range: $20-$30
Fluidmaster 501 Universal Toilet Flapper
An affordable, durable flapper that fits most toilets and comes with an adjustable chain. It's the most common fix for a running toilet.
Best for: When the flapper is cracked, warped, or leaking silently.
Price Range: $5-$10
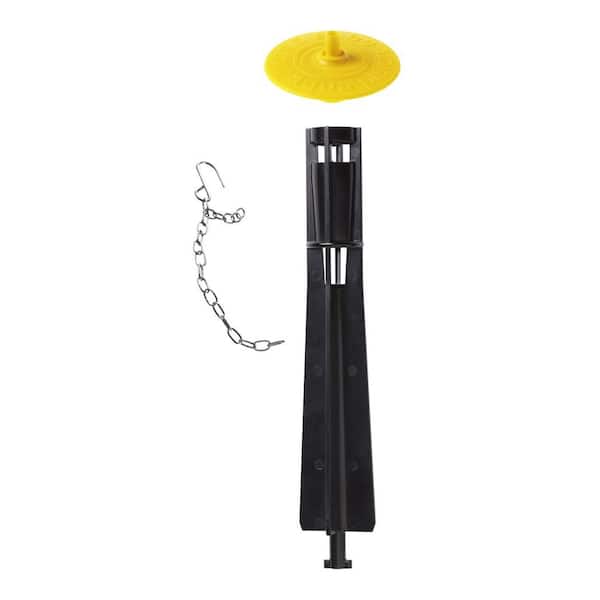
KOHLER Genuine Parts Toilet Repair Kit
Includes both a flapper and fill valve seal designed to match many Kohler models, offering a complete fix in one kit.
Best for: When you have a Kohler toilet and want OEM-quality parts for both the flapper and fill valve.
Price Range: $25-$40
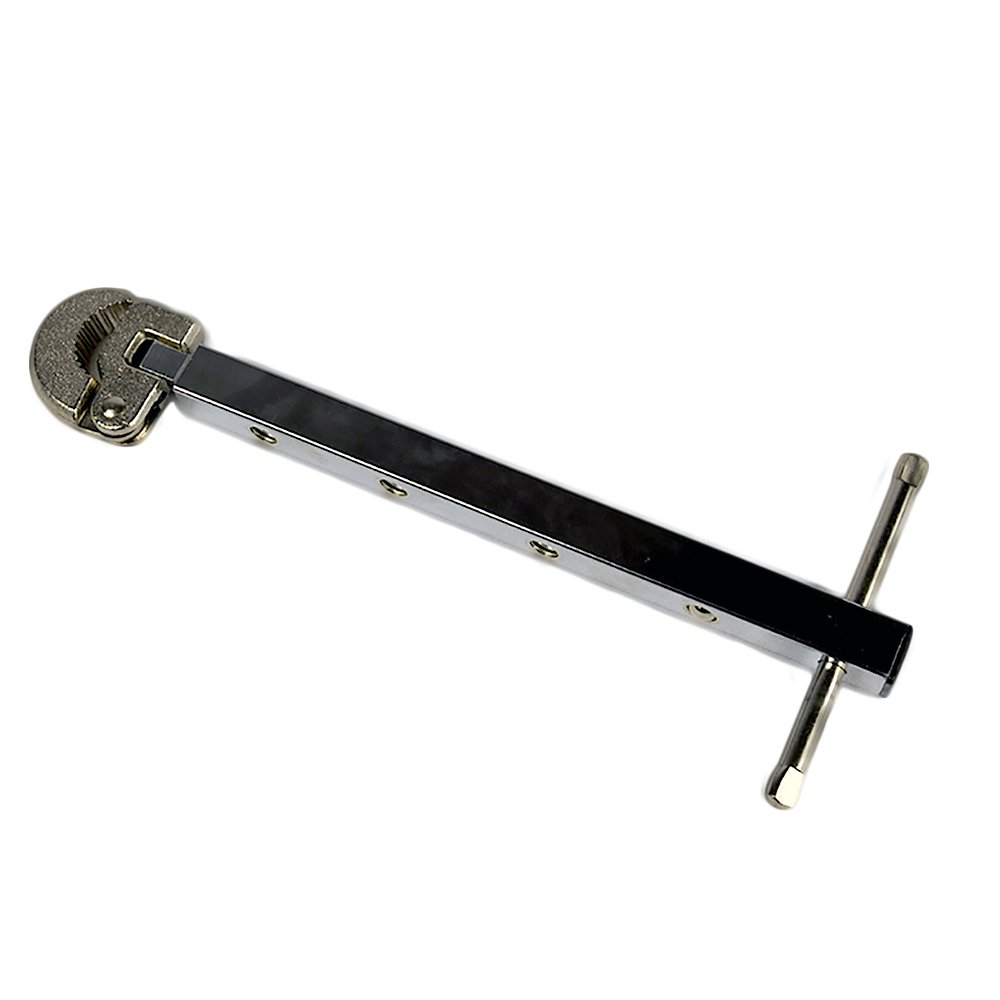
DANCO Adjustable Wrench
A compact, slip-joint wrench is essential for removing the supply line and fill valve nut—small enough to fit tight spaces.
Best for: Any toilet repair that requires loosening nuts and bolts under the tank.
Price Range: $10-$20