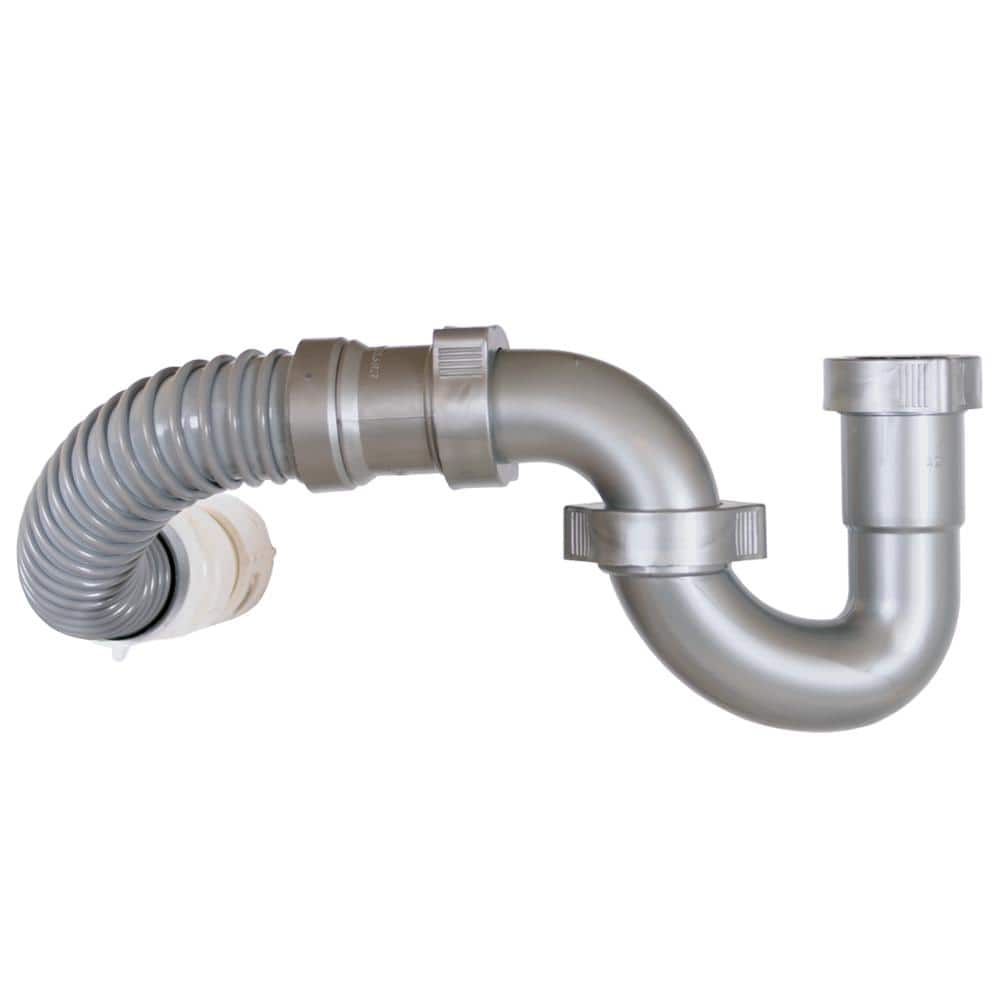
A leaky kitchen sink pipe is one of the most common—and most annoying—home plumbing problems. Whether it's a slow drip under the sink that's ruining your cabinet or a steady stream that's turned into an emergency, ignoring it can lead to water damage, mold, and hefty repair bills. The good news is that most minor leaks are surprisingly easy to fix yourself, even if you're not a professional plumber. This guide will walk you through the entire process of fixing a leaky kitchen sink pipe, from identifying the source of the leak to making the repair and testing your work. By the end, you'll have the know-how to handle this repair confidently and prevent future leaks.
▸What You'll Need
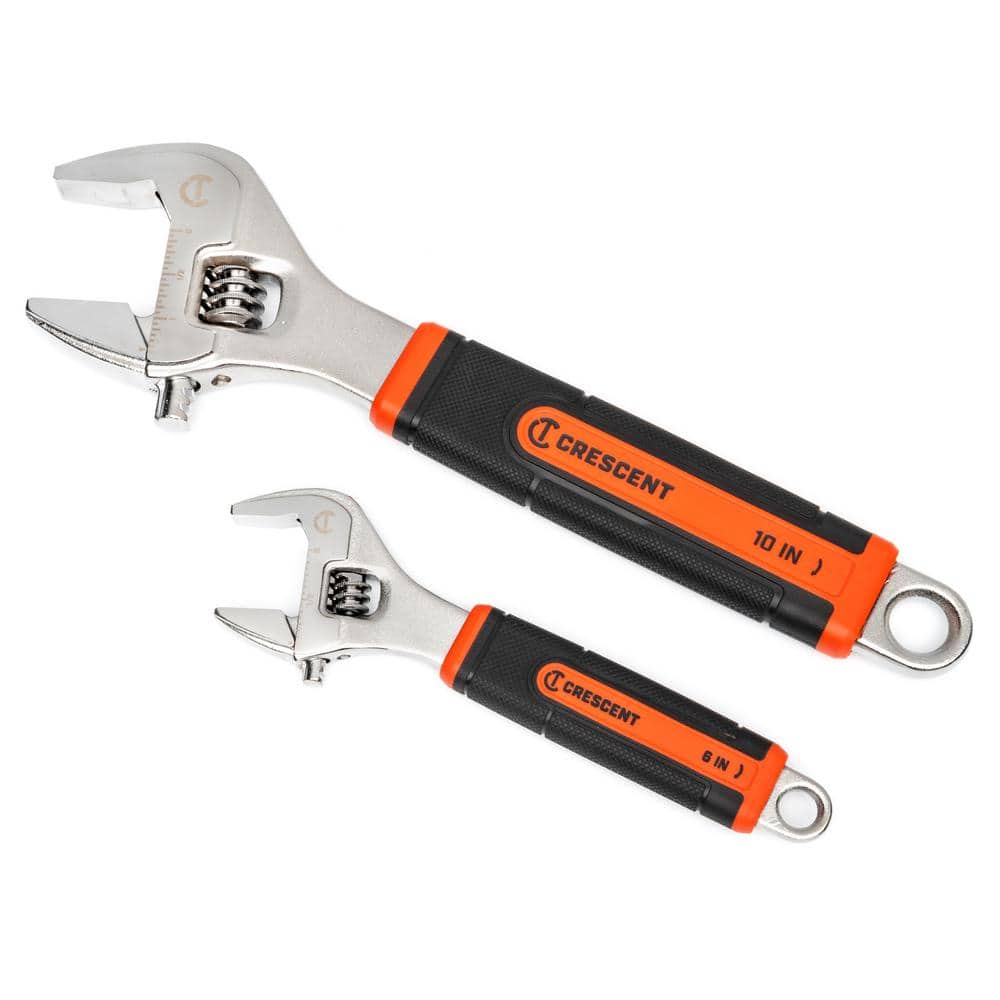
- •Adjustable wrench or slip-joint pliers
- •Bucket or shallow pan
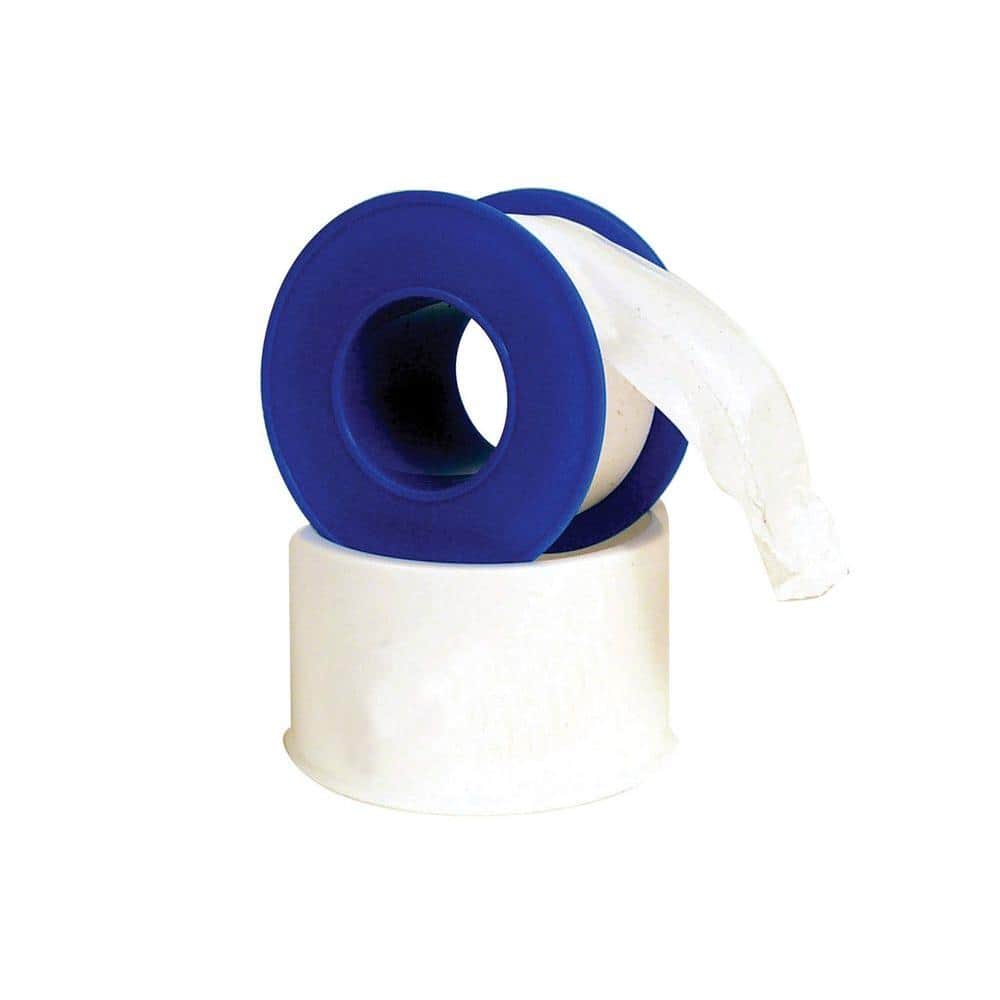
- •Plumber's tape (PTFE tape)
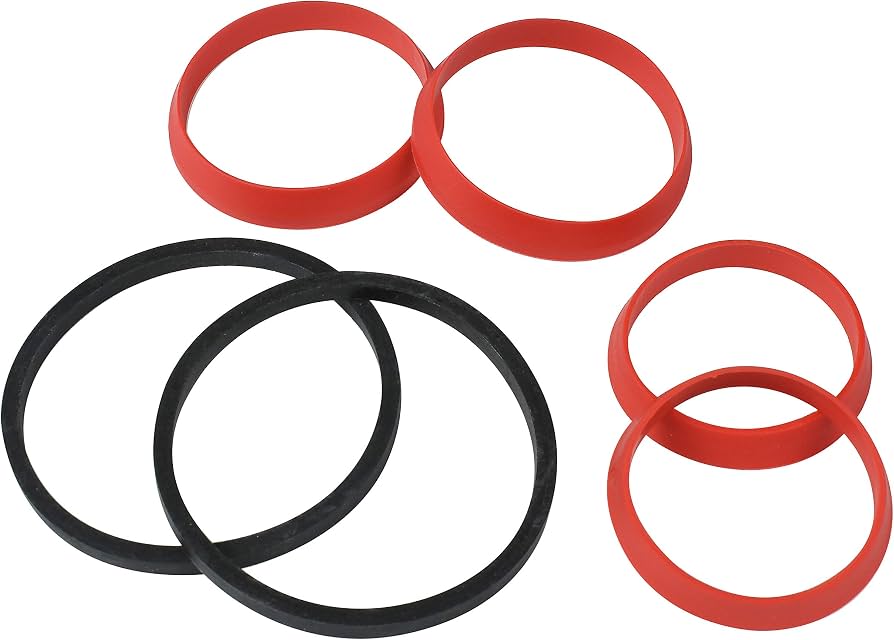
- •Slip joint washers (assorted sizes)
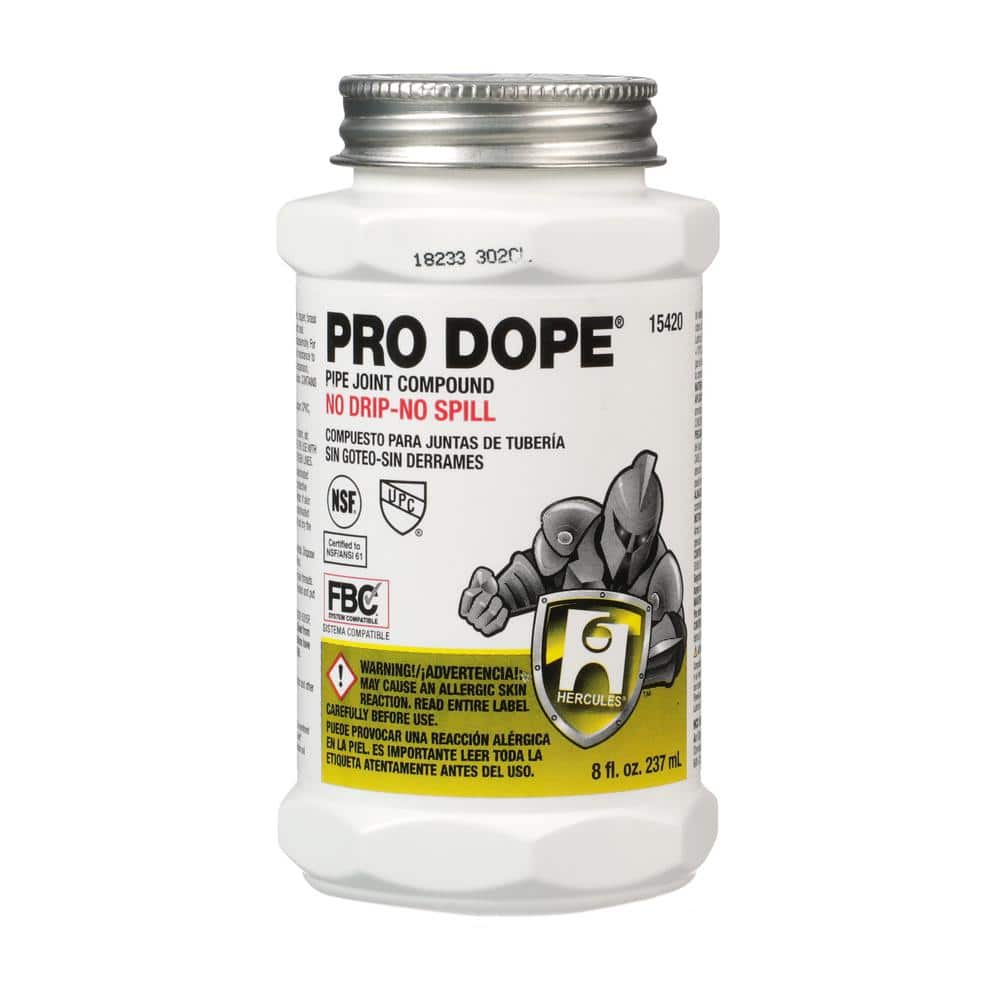
- •Pipe joint compound (optional)
- •Screwdriver (flathead and Phillips)
- •Flashlight or work light
- •Cleaning cloth or rag
- •Replacement P-trap pipe (if the existing one is corroded or cracked)
- •Safety gloves and safety glasses
Estimated Time: 30-45 minutes
Difficulty: intermediate
▸Step-by-Step Instructions
Step 1: Shut Off the Water Supply
Before you do anything, stop the flow of water to the sink. Look under the sink and locate the two shut-off valves—one for hot water, one for cold. Turn them clockwise until they stop. If your sink doesn't have shut-off valves, shut off the main water supply to your home. Once the water is off, turn on the faucet to release any remaining water in the lines. This prevents a messy surprise when you start disassembling pipes.
After shutting off the water, verify it's fully off by opening the tap. If only a trickle comes out, the valve is likely closed. If water continues, the valve may be faulty, and you'll need to shut off the main supply before proceeding.
💡 Tips:
- •Use a label maker or marker to label the shut-off valves so you know which one controls which supply.
- •If you're working in a rental, check if the shut-off valves are accessible and functioning before you need them.
⚠️ Warnings:
- •Never attempt to tighten or loosen pipes while the water supply is on—you risk severe water spraying.
Step 2: Clear the Under-Sink Area and Position a Bucket
Remove everything from under the sink: cleaning supplies, bags, and any stored items. This gives you room to work and prevents damage to your belongings. Place a bucket or shallow pan directly beneath the P-trap (the U-shaped pipe) to catch any water that will spill out when you disassemble the pipe. It's a good idea to lay down an old towel or shop rag for any drips that miss the bucket.
Taking a moment to clean the area also helps you spot where the leak is coming from. Dry off the pipes with a rag so you can watch for fresh drips later.
💡 Tips:
- •Set up your worklight under the sink so you can see clearly—many pipe fasteners are dark plastic or metallic and easy to miss.
- •If the P-trap is full of cloudy water or debris, this is the perfect time to clean it.
⚠️ Warnings:
- •Be careful of sharp edges on the metal strainer or pipe ends.
Step 3: Identify the Source of the Leak
Now that everything is dry, turn the water back on briefly (just a few seconds) to see where the leak starts. Look for drips at the slip nut connections, around the base of the faucet, or along the length of the pipe. The leak might be coming from a loose nut, a damaged washer, a cracked pipe, or a clogged drain causing water to back up.
Trace the path of water: it may run down the outside of a pipe and drip somewhere else, so check the top of the P-trap, the joints near the wall, and the tailpiece (the vertical piece that goes into the P-trap). If the leak is only present when the sink drains, it's likely a drain pipe issue. If it leaks when water runs from the faucet, it could be a supply line problem.
💡 Tips:
- •Use a dry piece of toilet paper or a paper towel to dab around each joint—it will act as a moisture indicator.
- •Take a photo of the current setup with your phone; it will help you remember how to reassemble it.
⚠️ Warnings:
- •If the leak is coming from a crack in the pipe itself, you'll need to replace that section, not just tighten it.
Step 4: Disassemble the Affected Pipe Joints
Place the bucket directly under the joints you're about to disconnect. Using your adjustable wrench or slip-joint pliers, grip the slip nut (the fitting that connects the pipes) and turn it counterclockwise. Be careful not to use excessive force—plastic nuts can crack. If the nut is stuck, spray it with a penetrating oil and wait a few minutes. Once the nut is loose, carefully pull the pipes apart.
You'll likely see a rubber or plastic washer (called a slip joint washer) inside the fitting. Set the parts aside in the order you removed them. Take time to inspect the old washer; if it's flattened, cracked, or gummy, that's your leak culprit. The pipe ends themselves may be scale-covered or corroded—cleaned them with a rag or a small wire brush.
💡 Tips:
- •Wrap painter's tape around your wrench to prevent scratching chrome or plastic pipe surfaces.
- •If you have two wrenches, use one to hold the pipe in place and the other to turn the nut—this prevents torquing and cracking.
⚠️ Warnings:
- •Avoid stripping the threads on plastic slip nuts—they are easy to overtighten.
Step 5: Inspect and Replace Damaged Washers & Seals
Every slip joint assembly uses a washer to create a watertight seal. Over time, these washers can become brittle, compressed, or misaligned. If the washer looks flattened or has a permanent dent, it will not seal properly and will leak. Replacing it with a new slip joint washer is the most common fix.
Take the old washer to a hardware store if you're unsure of the size, but most kitchen sink drains use a 1-1/2 inch or 1-1/4 inch size. If your P-trap is metal, you may also find beveled or tapered washers—match the design. Before installing, coat the new washer with a thin layer of pipe joint compound (optional but helps the seal). Slide it into the slip nut, then reassemble the pipes, making sure the washer sits straight and fully seated.
💡 Tips:
- •Always replace the washer when you take a joint apart—they’re cheap and will prevent future leaks.
- •For extra security, apply a small amount of silicone grease if you don't have pipe compound.
⚠️ Warnings:
- •Don't reuse a cracked or deformed washer, even if it looks like it'll hold.
Step 6: Apply Plumber's Tape or Pipe Joint Compound
For threaded connections (like the end of the tailpiece that screws into the P-trap), wrap plumber's tape around the male threads before reassembly. Wrap it clockwise (the direction of tightening) for 3-4 loops. This tape fills microscopic gaps and helps prevent leaks. For slip joint connections, you usually don't need tape, but you can apply a thread sealant or pipe joint compound to the pipe's slip surfaces to create a better seal.
Plumber's tape is specifically for threaded fittings; it won't help with slip joint connections. If you have a brass or galvanized pipe, use a small amount of pipe joint compound on the threads as well. Don't over-apply—excess tape or compound can break off and clog the drain.
💡 Tips:
- •Use high-density plumber's tape for metal fittings; it resists wear better.
- •Apply the tape tightly so it doesn't bunch up when you screw the fitting on.
⚠️ Warnings:
- •Don't wrap tape on slip joint washers—they need to fit snugly, and tape will cause them to not seat properly.
Step 7: Reassemble and Tighten Fittings Carefully
Reconnect the pipes in the exact order you removed them. Hand-tighten the slip nuts first to make sure everything aligns properly, then use your wrench to snug them up. Turn the nut just until you feel resistance and then a quarter-turn more. Overtightening is a common cause of leaks (cracked nuts) and can damage the washer.
Check that the P-trap is aligned correctly—it should not be under tension. If you had to cut a pipe length, make sure it slides all the way into the fitting. For a P-trap connection, the longer side goes up into the tailpiece, and the shorter side connects to the drain stub from the wall.
💡 Tips:
- •A small mirror can help you see behind the pipe to confirm the washer is seated.
- •Hold the pipe stationary with one hand while tightening the nut with the other to avoid twisting the whole assembly.
⚠️ Warnings:
- •Metal slip nuts need about the same tightening force as plastic ones—do not crank down as hard as possible.
Step 8: Turn Water Back On and Test for Leaks
Slowly turn the shut-off valves counterclockwise to restore water. Check the underside of the sink for any drips. Let the water run for at least a minute, then fill the sink with several inches of water and drain it. This tests the P-trap under normal use. Watch the joints carefully—if you see any moisture, tighten the slip nut slightly or try a different washer. If the leak persists, you may need to disassemble and start over, or the issue might be more serious.
After a successful test, wipe the pipes dry and leave the cabinet open for an hour to air out. Check again after 10-20 minutes to make sure no slow drip has appeared. If everything is bone-dry, you're done! Clean up your tools and congratulate yourself on a job well done.
💡 Tips:
- •Press a dry paper towel against each joint to catch tiny drips that are hard to see.
- •If you altered the pipes to fix a leak, run a full sink drain test after you close the cabinet to be safe.
⚠️ Warnings:
- •Never leave the repair unattended with the water running during the test—watch for sudden leaks.
▸Pro Tips
- •Before disassembling anything, take a photo of the pipe configuration with your phone. You'll thank yourself when it's time to reassemble.
- •Use shallow metal pans or baking sheets as drip trays under the P-trap—they're easier to empty than a deep bucket.
- •If slip nuts are stuck, try a rubber strap wrench instead of a metal wrench. The rubber grips well and won't damage plastic or brass.
- •Always replace the slip joint washer when you've taken a joint apart, even if the old one looks okay. A $0.50 washer is cheaper than another leak.
- •Apply a tiny amount of dish soap to the pipe end before assembling—it helps the washer slide into place and seat evenly.
- •When testing, turn the water on slowly to avoid a sudden pressure surge that could blow out the washer.
- •Tighten slip nuts like you're closing a jar of pickles—firm but gentle. Hand tight plus a quarter turn is usually perfect.
▸Common Mistakes to Avoid
- •Overtightening slip nuts. Many people think a tight nut equals a tight seal, but with plastic and rubber washers, overtightening can crack the nut or deform the seal, causing leaks.
- •Reusing old washers. The number one cause of recurring leaks is a worn, hardened washer that can't compress as it should. Always replace them.
- •Forgetting to clean the pipe ends. Scale, old tape bits, or grime prevent the washer from seating evenly, creating small gaps that leak.
- •Applying plumber's tape on slip joints instead of threads. Tape is for threaded connections; slip joints need a washer, not tape-on-threads.
- •Not allowing for pipe alignment. Forcing a pipe into a joint that isn't aligned can strip threads or crack fittings, leading to bigger repairs.
▸Troubleshooting
Problem: Leak still persists after replacing the washer and tightening.
Solution: Disassemble again and check for cracks in the pipe or nut. Check that the pipe ends are clean and the washer is the correct size. If all looks good, a cracked pipe might be the issue—replace the affected section or the P-trap assembly.
Problem: Water is coming from the top of the pipe, near the faucet base.
Solution: That's a faucet leak, not a drain pipe leak. The gasket under the faucet base may have deteriorated, or the O-ring around the faucet spout needs replacement. This requires disassembling the faucet, not the drain pipes.
Problem: The P-trap is filled with standing water that doesn't drain.
Solution: There's a clog downstream. The leak you saw may have been from water pooling in the trap and leaking out through a loose joint. Clean the trap and use a plumbing snake or plunger to clear the drain.
Problem: The pipe is corroded with greenish-blue crust (pinhole leak).
Solution: That's corrosion from a pinhole leak. The pipe section needs to be replaced. For PVC, cut out the damaged part and splice in a new piece with couplings. For metal, consider replacing the whole P-trap with PVC or brass.
Problem: I can't get the slip nut to move.
Solution: Spray penetrating oil on the threads and wait 10-15 minutes. Try a bigger wrench or one with a longer handle for more torque. If it's a plastic nut, gently tap the wrench handle with a hammer to break corrosion—just be careful not to shear the nut.
Plumber's Tape (PTFE or Teflon)
Exact recommended: full-density tape that seals threaded fittings effectively, preventing leaks at metal-to-plastic joints.
Best for: Wrap on the male threads of the tailpiece or any threaded pipe connection during reassembly.
Price Range: $5 - $10
Adjustable Wrench
A good adjustable wrench protects slip nuts from stripping and gives you the right grip without marring the surface.
Best for: Necessary for loosening and tightening slip nuts on P-traps and supply lines.
Price Range: $15 - $40
Slip Joint Washer Assortment
A pack of assorted washers ensures you have the correct replacement size on hand instead of making a second trip to the store.
Best for: Replace the worn washers inside the slip nut during step 5.
Price Range: $8 - $15
Pipe Joint Compound
A non-drying lubricant and sealant that helps rubber seals seat perfectly and keeps them pliable, reducing the chance of future leaks.
Best for: Coat the slip joint washers or threaded connections before assembling to enhance the watertight seal.
Price Range: $6 - $12
Kitchen Sink P-Trap Kit
If the old trap is cracked, corroded, or leaking beyond repair, a complete replacement kit saves time and money compared to a plumber visit.
Best for: Replace your entire P-trap assembly when there are multiple leaks, cracks, or missing parts.
Price Range: $15 - $35