A leaking compression fitting is a common but fixable plumbing issue. Whether it's under a sink or behind a toilet, the drip can lead to water damage if ignored. This guide walks you through the exact steps to stop the leak—from diagnosing the cause to reassembling the joint correctly. For an advanced DIYer, you'll need patience and precision, but no soldering skills. Expect the repair to take 30–45 minutes with the right tools.
▸What You'll Need
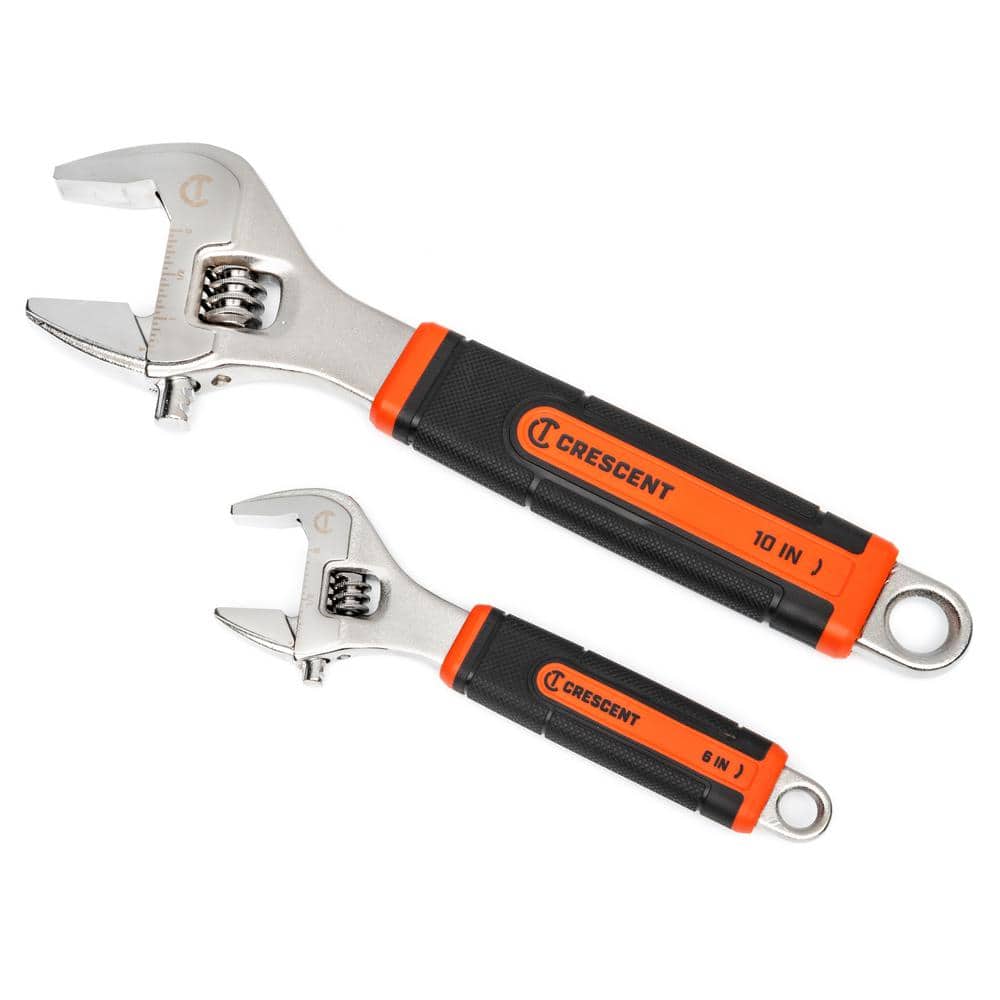
- •Adjustable wrench (two, if possible)
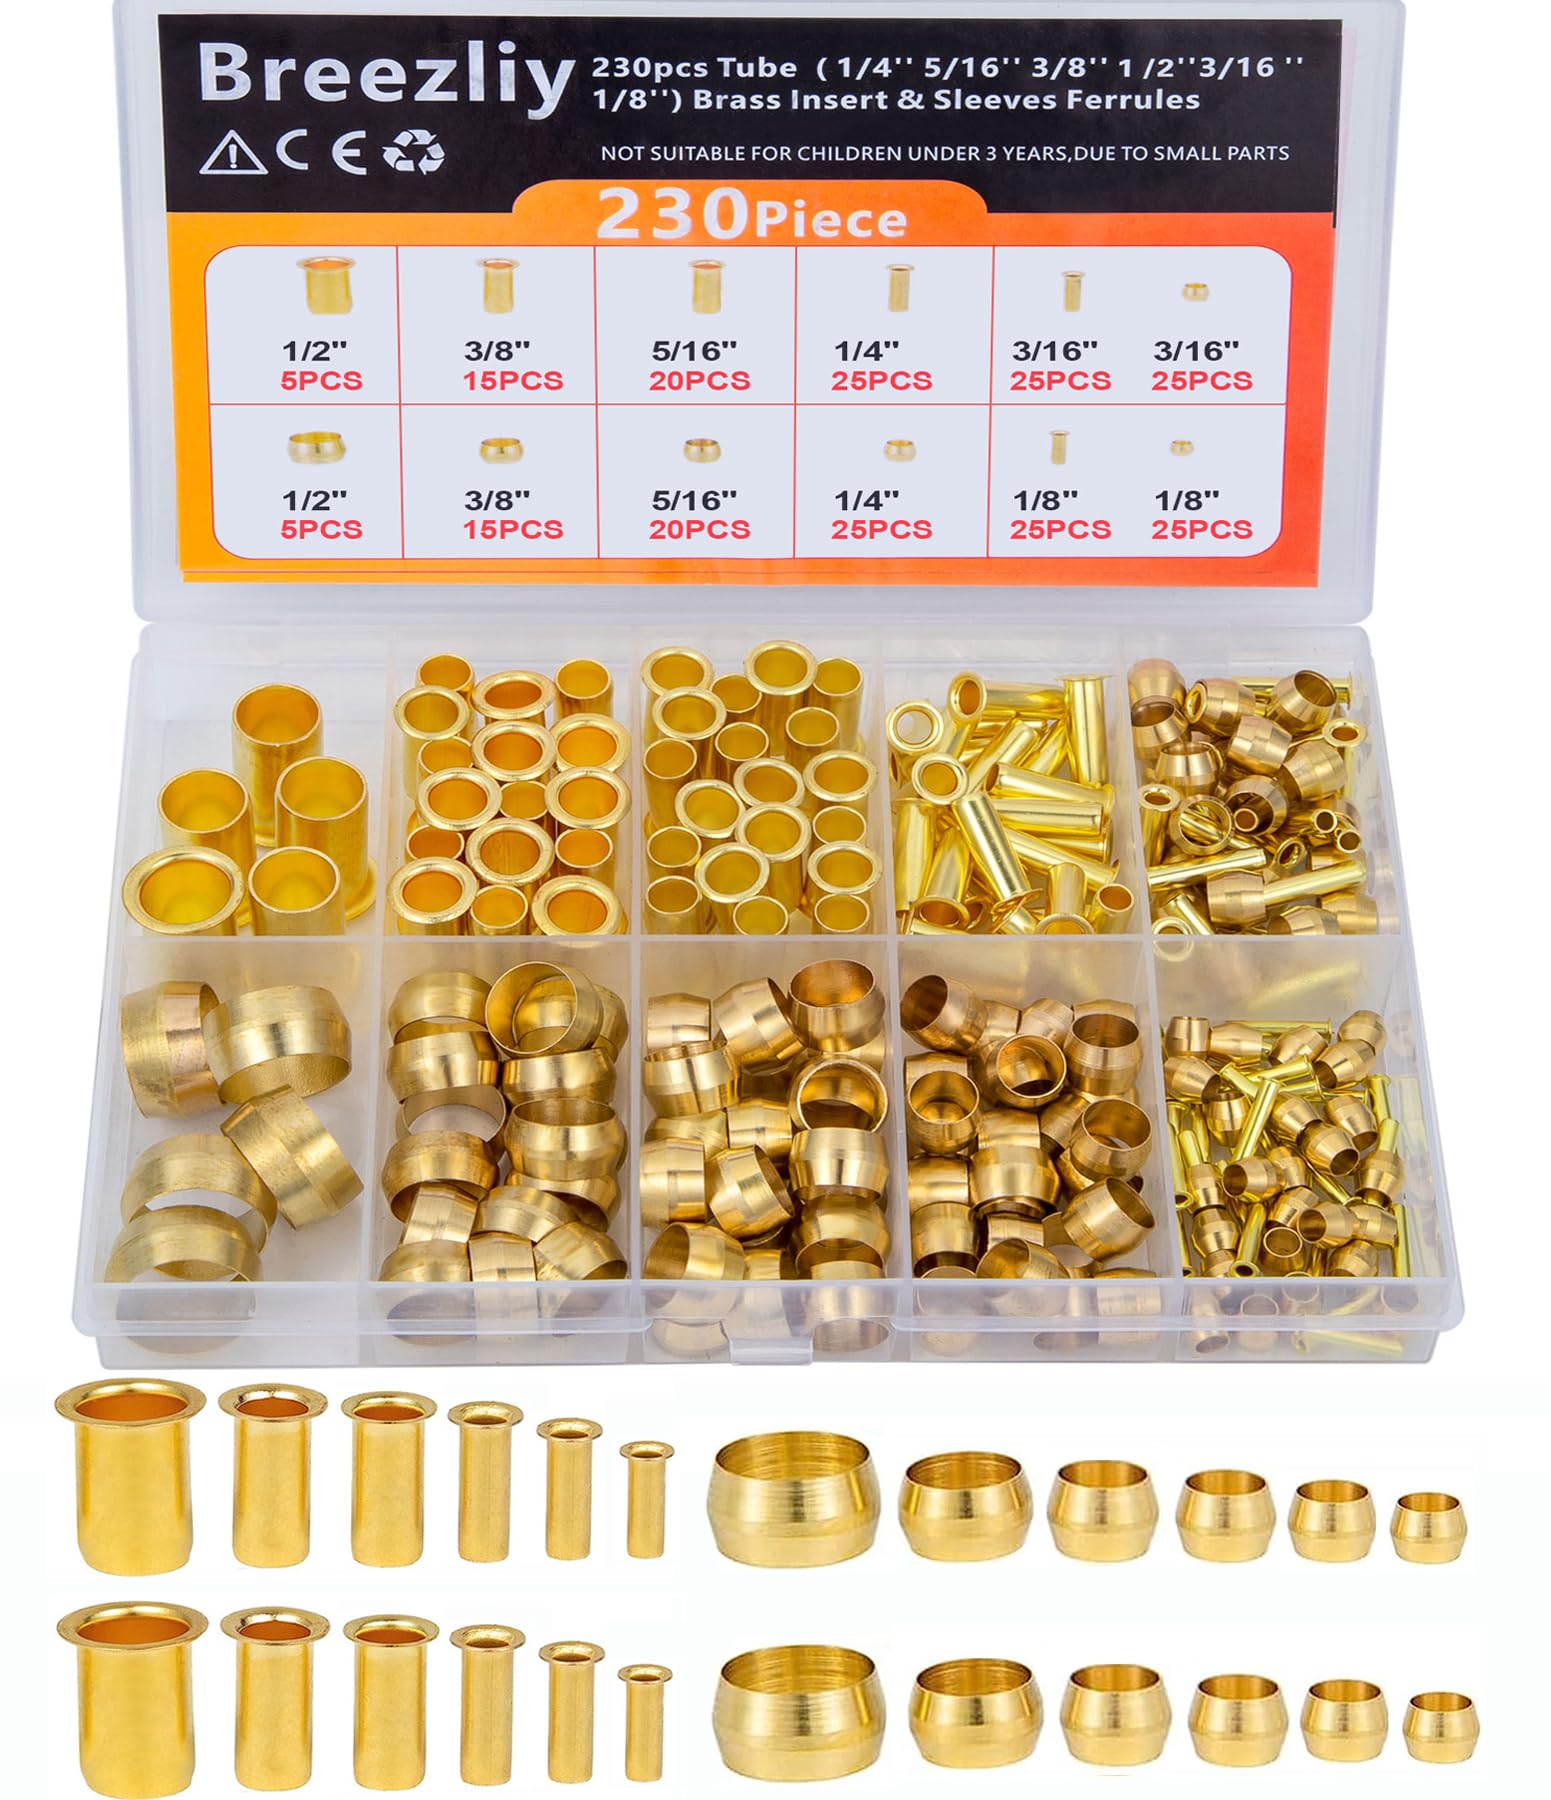
- •Compression fitting repair kit (includes new ferrule and nut) OR replacement fitting
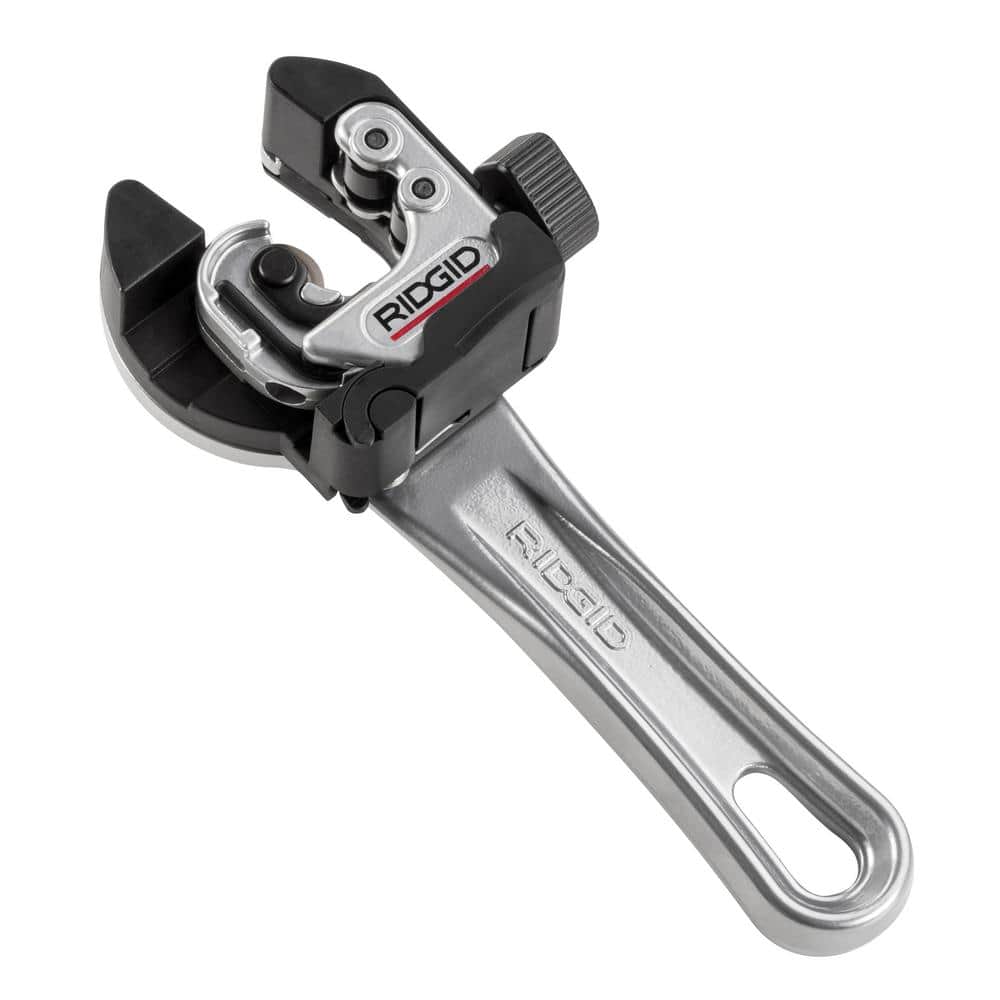
- •Tubing cutter (if pipe needs trimming)
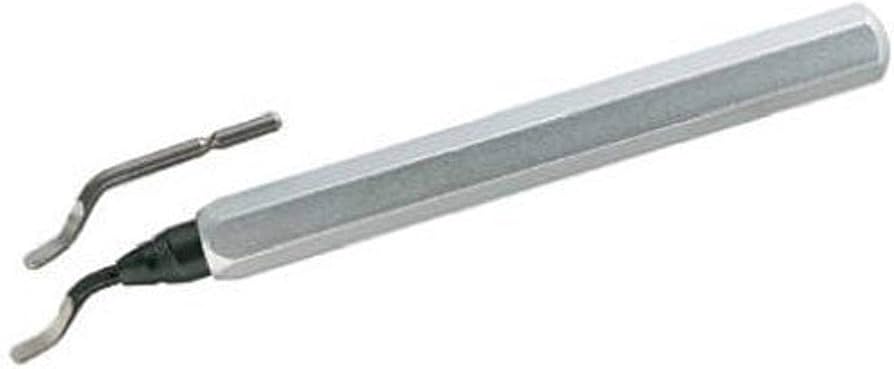
- •Deburring tool or fine sandpaper
- •Pipe wrench (optional, for stubborn nuts)
- •Plumber's grease (optional, for lubricating threads)
- •Bucket or towel for water drips
- •Safety glasses
Estimated Time: 30–45 minutes
Difficulty: advanced
▸Step-by-Step Instructions
Step 1: Shut Off Water and Drain the Line
Turn off the water supply to the pipe. If it's a local fixture, use the shut-off valve. Otherwise, shut off the main water supply. Open a faucet downstream to relieve pressure and drain the line. Place a bucket or towel under the fitting to catch residual water.
⚠️ Warnings:
- •Make sure water is completely off before proceeding; even a small drip can make disassembly messy.
Step 2: Disassemble the Compression Fitting
Use two adjustable wrenches: one to hold the fitting body (or valve) steady, the other to loosen the compression nut. Turn the nut counterclockwise. Once loose, slide the nut back along the pipe, then remove the old ferrule (the small brass ring) by sliding it off. If the ferrule is stuck, carefully cut it off with a tubing cutter or use a ferrule puller.
💡 Tips:
- •If the nut is stubborn, apply penetrating oil and wait 5 minutes.
⚠️ Warnings:
- •Do not damage the copper pipe surface—any scratches can cause new leaks.
Step 3: Inspect the Pipe and Fitting Components
Examine the copper pipe end for nicks, scratches, or ovality. The end must be perfectly round and smooth. Check the compression nut threads for cross-threading damage. Inspect the old ferrule: if it's deeply scored or deformed, it must be replaced. Also look at the fitting body (the cone-shaped seat) for cracks or debris.
💡 Tips:
- •Run your fingernail over the pipe surface—if it catches, the pipe is scratched.
⚠️ Warnings:
- •Never reuse an old ferrule; always install a new one for a reliable seal.
Step 4: Cut and Deburr the Pipe (If Necessary)
If the pipe end is damaged or the old ferrule left a deep groove, cut off 1/2 inch of pipe using a tubing cutter. After cutting, deburr the inside and outside edges with a deburring tool or fine sandpaper. A smooth edge prevents the new ferrule from catching or being damaged during installation.
💡 Tips:
- •Hold the tubing cutter perpendicular to the pipe for a square cut.
⚠️ Warnings:
- •Do not use a hacksaw unless you can get a perfectly square cut—filing a crooked end is difficult.
Step 5: Install the New Compression Nut and Ferrule
Slide the new compression nut (threads facing the fitting) onto the pipe, followed by the new brass ferrule. The ferrule's tapered end should face the fitting (away from the nut). Push the ferrule about 1/8 inch from the pipe end—it doesn't need to be exact, but ensure it's oriented correctly.
💡 Tips:
- •Applying a thin layer of plumber's grease to the pipe end helps the ferrule slide into place smoothly.
⚠️ Warnings:
- •Do not confuse the ferrule direction—most have a bevel; the bevel goes toward the fitting.
Step 6: Reassemble and Hand-Tighten the Nut
Push the pipe into the fitting body until the ferrule contacts the cone-shaped seat. Slide the nut forward and thread it onto the fitting by hand. Turn it clockwise until it's snug. Do not use a wrench yet—hand-tightening ensures the nut starts straight and avoids cross-threading.
💡 Tips:
- •Hold the fitting body steady with a wrench while hand-tightening to prevent it from rotating.
⚠️ Warnings:
- •If you feel resistance before the nut is fully hand-tight, stop and check for cross-threading.
Step 7: Tighten the Nut with Wrenches
Use two wrenches: one to hold the fitting body, the other to tighten the compression nut. Tighten 1/4 to 1/2 turn beyond hand-tight. For 3/8-inch fittings, that's about 1/4 turn; for 1/2-inch, 1/2 turn. Overtightening can split the ferrule or damage the fitting. Stop when you feel solid resistance.
💡 Tips:
- •Mark the nut and fitting with a pencil line before tightening so you can see exactly how much you've turned.
⚠️ Warnings:
- •Never use pipe wrenches on brass compression fittings—they can crush or crack them. Use smooth-jaw adjustable wrenches.
Step 8: Test for Leaks
Slowly turn the water supply back on. Open the faucet to purge air. Inspect the compression fitting for drips. If it's dry, wipe it with a paper towel and wait 5 minutes. Check again. A tiny weep may appear after a few minutes. If leaking, tighten the nut another 1/8 turn and retest. Repeat until the leak stops, but never exceed 1 full turn beyond hand-tight total.
💡 Tips:
- •A slow drip that stops after tightening slightly is normal—don't overtighten.
⚠️ Warnings:
- •If the fitting still leaks after 1 full turn of tightening, you likely have a damaged component—disassemble and start over with new parts.
▸Pro Tips
- •Use two wrenches to prevent twisting the pipe or damaging the fitting body.
- •Always install a new ferrule—it's the primary seal and gets deformed during initial installation.
- •Lubricate the pipe end and ferrule with plumber's grease for easier assembly and better sealing.
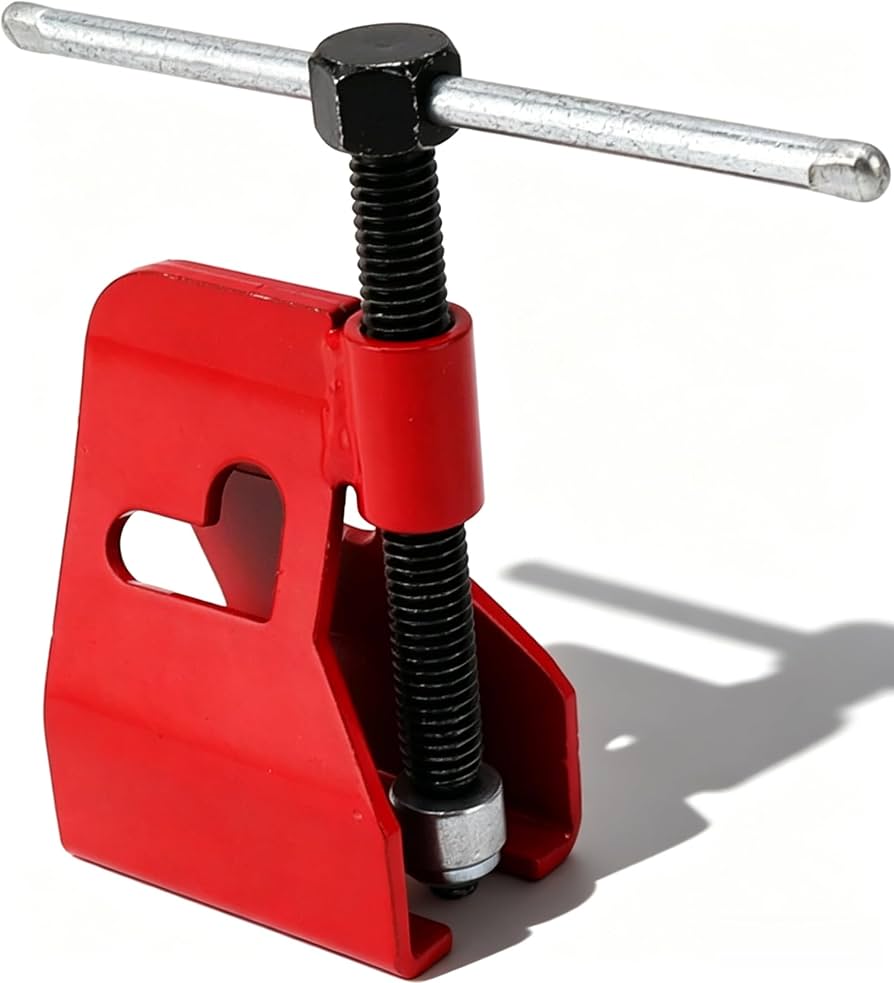
- •If the old ferrule is stuck, use a ferrule puller tool instead of cutting it off to avoid pipe damage.
- •For tight spaces, use a crowfoot wrench or a small adjustable wrench to access the nut.
- •Mark the nut position before loosening so you can retighten to the same point if needed.
▸Common Mistakes to Avoid
- •Overtightening the compression nut—this collapses the ferrule too much, deforms the seat, and creates a leak that can't be fixed by further tightening.
- •Reusing the old ferrule—the ferrule is designed for one-time use; a reused one will likely leak.
- •Failing to deburr the pipe—sharp edges can cut the ferrule or prevent proper seating.
- •Cross-threading the nut—starting the nut crooked damages threads and ruins the fitting.
▸Troubleshooting
Problem: Fitting still leaks after tightening 1 full turn beyond hand-tight
Solution: Shut off water, disassemble, and inspect the ferrule and seat. The ferrule may be split or the seat damaged. Replace the entire compression fitting (body and nut) if the seat is scored. Alternatively, use a ferrule of a slightly different size (e.g., 1/4-inch ferrule on 3/8-inch pipe with an adapter).
Problem: Compression nut won't loosen
Solution: Apply penetrating oil and let it sit for 10–15 minutes. Use a longer wrench or a pipe wrench carefully (protect the pipe with a cloth). If still stuck, cut the pipe just behind the nut and install a new fitting.
Problem: Water leaks from the nut threads, not the pipe-ferrule interface
Solution: This usually means the nut is cracked or the threads are damaged. Replace the compression nut with a new one of the same size. Do not use thread tape or sealant on compression threads—the seal is made by the ferrule, not the threads.
Brass Compression Fitting Repair Kit (Assorted Sizes)
Includes new nuts, ferrules, and sometimes fittings for common pipe sizes (3/8, 1/2 inch). Saves a trip to the hardware store.
Best for: When you need multiple sizes or want a complete set for future repairs.
Price Range: $10–$20
Ridgid 118 Tubing Cutter
Pro-grade cutter that leaves a clean, square cut every time. Essential for cutting damaged pipe ends.
Best for: When you need to remove a damaged section of copper pipe before installing a new fitting.
Price Range: $25–$40
General Tools Deburring Tool
Quickly removes burrs inside and outside the pipe without scratching. A small investment that prevents many leaks.
Best for: Every time you cut copper pipe; ensures a smooth surface for the ferrule to seal.
Price Range: $8–$15
Adjustable Wrench Set (Two-Piece)
Two wrenches allow you to counter-hold the fitting. Look for smooth jaws to avoid damaging brass.
Best for: Essential for any compression fitting repair; allows precise tightening without marring.
Price Range: $20–$40
Slip-Joint Plier (Ferrule Puller) Tool
Specialized tool to remove stuck ferrules without cutting. Saves pipe length and prevents damage.
Best for: When the old ferrule is seized onto the pipe and cannot be slid off easily.
Price Range: $15–$25