
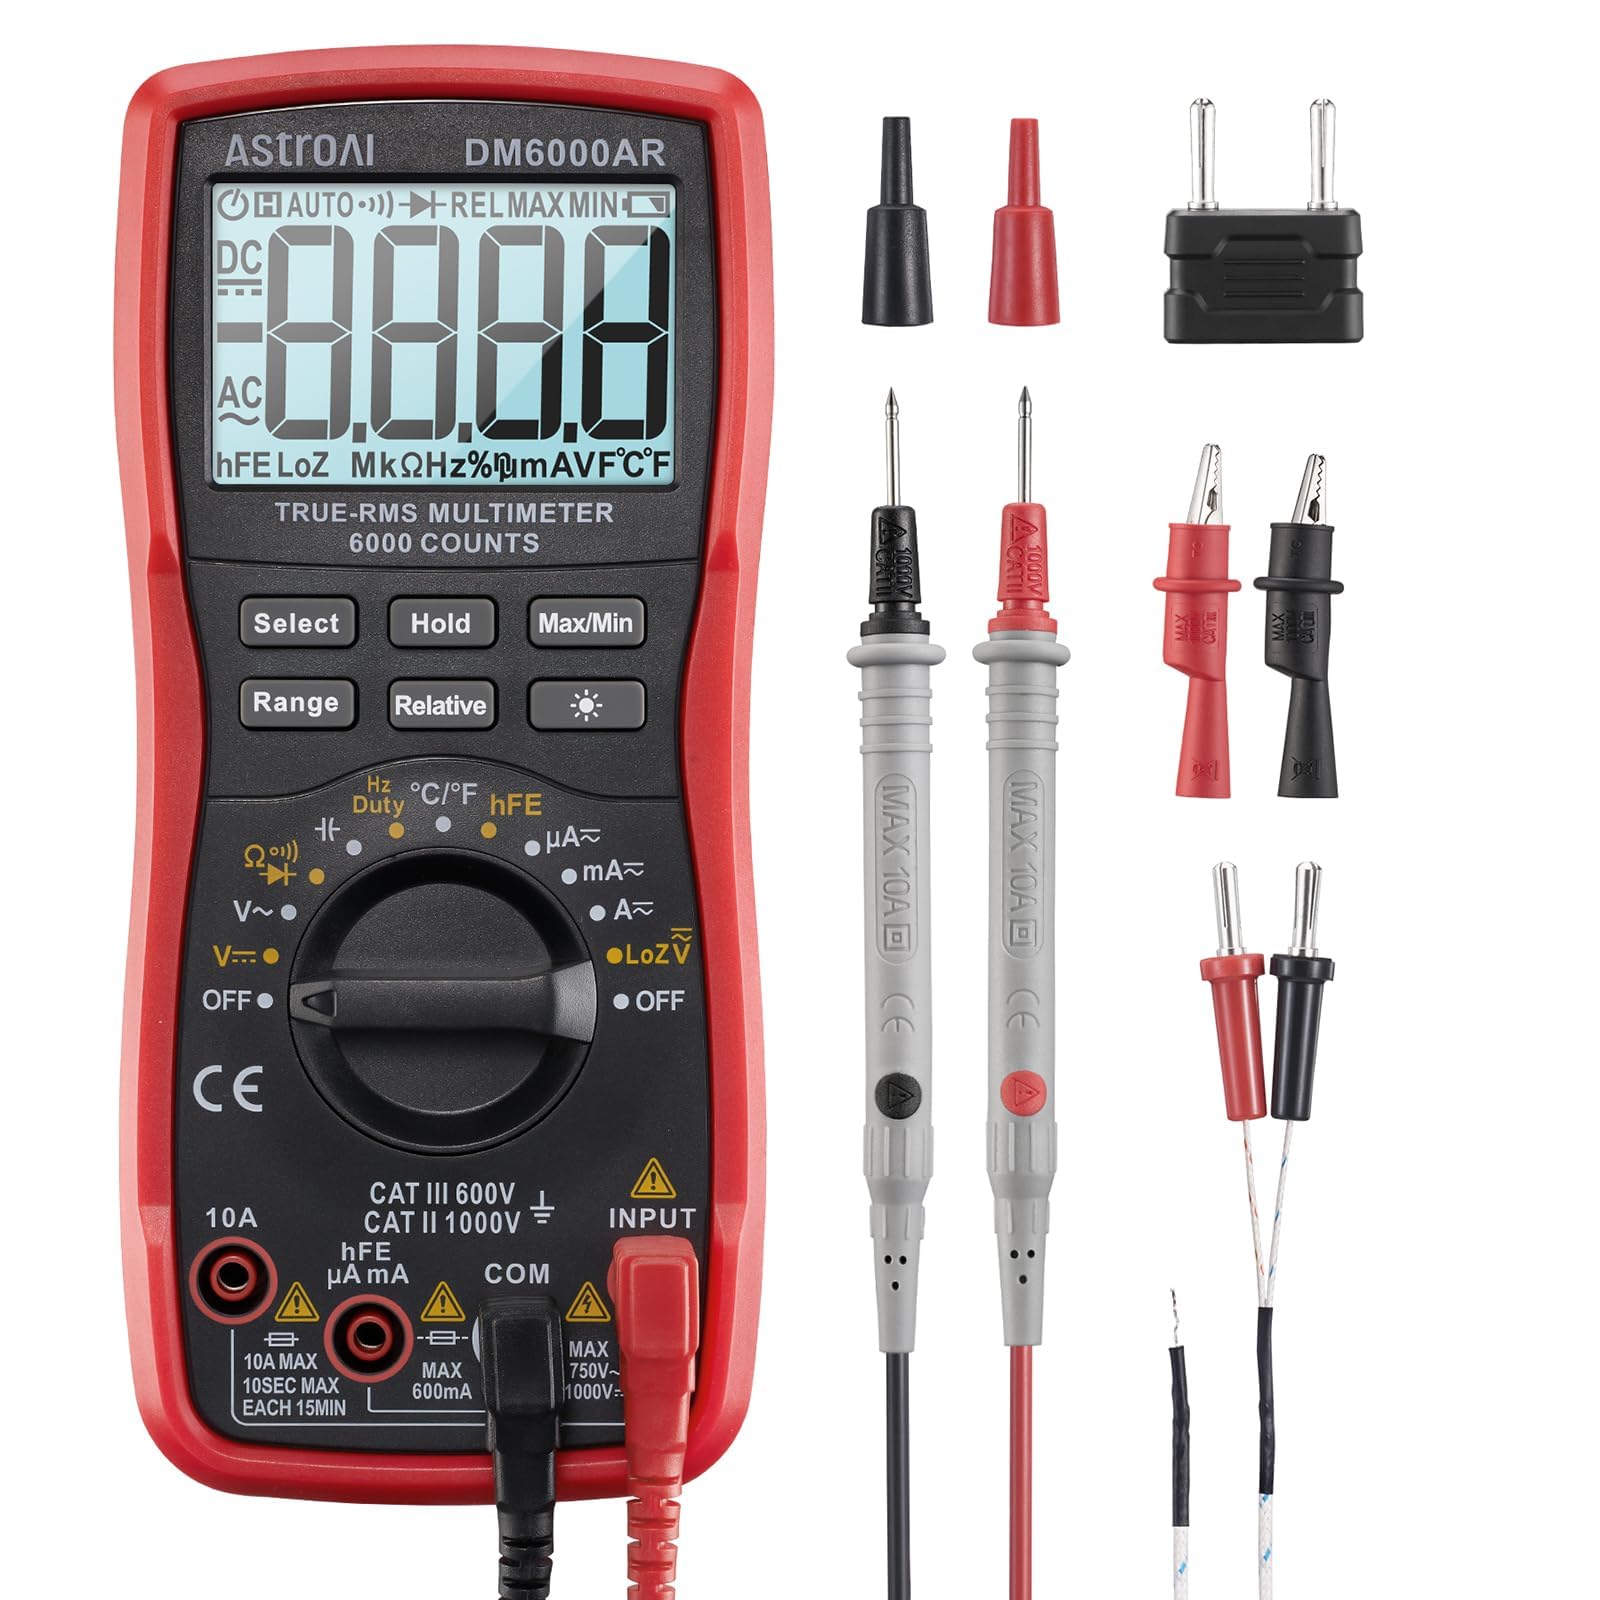
AstroAI Digital Multimeter TRMS 6000
All voltage and continuity checks in steps 3-5.
$25-$30
AstroAI Digital Multimeter TRMS 6000 Accurate voltage/continuity testing essential for diagnosis.
Get the App
Better experience on mobile
Diagnose and repair common AC adapter issues step-by-step to revive your devices without buying a new one.
Nothing's more frustrating than a dead laptop, router, or gadget because the AC adapter stopped working. These power bricks fail from wear, frayed cables, or internal faults, but many issues are fixable at home with basic tools. Fixing your own saves money and reduces e-waste.
In this guide, you'll learn to safely diagnose voltage problems, inspect connections, and repair or replace faulty parts. We'll cover visual checks to advanced soldering for intermediate DIYers. Expect 30-60 minutes, depending on the issue—no prior electronics experience needed beyond basic tools.
By the end, your adapter will output steady power again, or you'll know when to replace it confidently.
Estimated Time: 30-60 minutes Difficulty: intermediate
Before touching anything, unplug the AC adapter from the wall and device. Wear safety glasses and gloves to protect against shocks or debris. Let it cool if warm—adapters can hold charge.
Why? AC adapters carry 120V AC input and high DC output; mishandling risks electrocution. Discharge capacitors by holding the DC plug to a grounded metal for 5 minutes.
Success: Adapter is isolated, cool, and you're protected.
💡 Tips:
⚠️ Warnings:
Examine the entire adapter: look for frayed cables, bent pins, burn marks, bulging capacitors (if visible), or corrosion on the DC plug.
Clean the DC connector with isopropyl alcohol on a swab—dirt causes poor contact. Flex the cable gently to check for internal breaks (LED on device flickers?).
Success: Identify obvious damage like cuts or melting; note issues for next steps.
💡 Tips:
⚠️ Warnings:
Set multimeter to DC voltage (20V range). Plug adapter into wall, touch red probe to DC center (+), black to barrel (-). Expect rated voltage (e.g., 19V for laptops).
No reading or wrong voltage? Faulty regulator inside. Flickering? Cable break.
Success: Steady correct voltage confirms basic function; deviations pinpoint issues.
💡 Tips:
⚠️ Warnings:
Unplug, set multimeter to continuity (beep mode). Strip cable jacket 1/2 inch if frayed, test wires end-to-end.
No beep? Broken wire—splice with solder and heat shrink. Test DC jack pins separately.
Success: Beeps confirm continuity; repair cable if failed.
💡 Tips:
Remove screws or pry open casing carefully (some glued). Look for blown fuses (blackened), swollen capacitors, or loose solder joints.
Test fuse continuity; desolder/replace if bad (match rating, e.g., 3A slow-blow).
Success: Spot faulty parts; clean board with alcohol.
⚠️ Warnings:
Solder new fuse or capacitor (match specs from label). Reflow cold joints with iron. For DC jack, desolder old, solder new.
Use heat shrink over repairs for insulation.
Success: Components secure, no shorts.
💡 Tips:
Snap or screw case shut. Plug in, retest voltage/load (attach device). Monitor 10-15 mins for heat/overheating.
Success: Stable voltage, device powers fully, no sparks/smoke.
⚠️ Warnings:
Problem: No voltage at all
Solution: Check wall outlet with lamp first; test fuse/input cord. Replace if internal transformer fried.
Problem: Voltage drops under load
Solution: Bad capacitors or regulator—replace or get new adapter.
Problem: Sparks or burning smell
Solution: Stop immediately; short circuit—inspect for crossed wires. Seek pro if unsure.
Problem: Adapter gets very hot
Solution: Overloaded or failing components—reduce load, replace if persists.
Accurate voltage/continuity testing essential for diagnosis.
Best for: All voltage and continuity checks in steps 3-5.
Price Range: $25-$30
Precision drivers perfect for opening adapters without damage.
Best for: Disassembly in steps 2 and 5.
Price Range: $70-$80
Portable, precise for intermediate repairs without full station.
Best for: Cable and component soldering in steps 4 and 6.
Price Range: $25-$35
Reliable replacement if repair fails; multi-tip compatibility.
Best for: Fallback when internals too damaged.
Price Range: $20-$25
Common replacement for blown internal fuses.
Best for: Step 5 fuse replacement.
Price Range: $10-$15
All voltage and continuity checks in steps 3-5.
AstroAI Digital Multimeter TRMS 6000 Accurate voltage/continuity testing essential for diagnosis.

Disassembly in steps 2 and 5.
iFixit Pro Tech Toolkit Precision drivers perfect for opening adapters without damage.
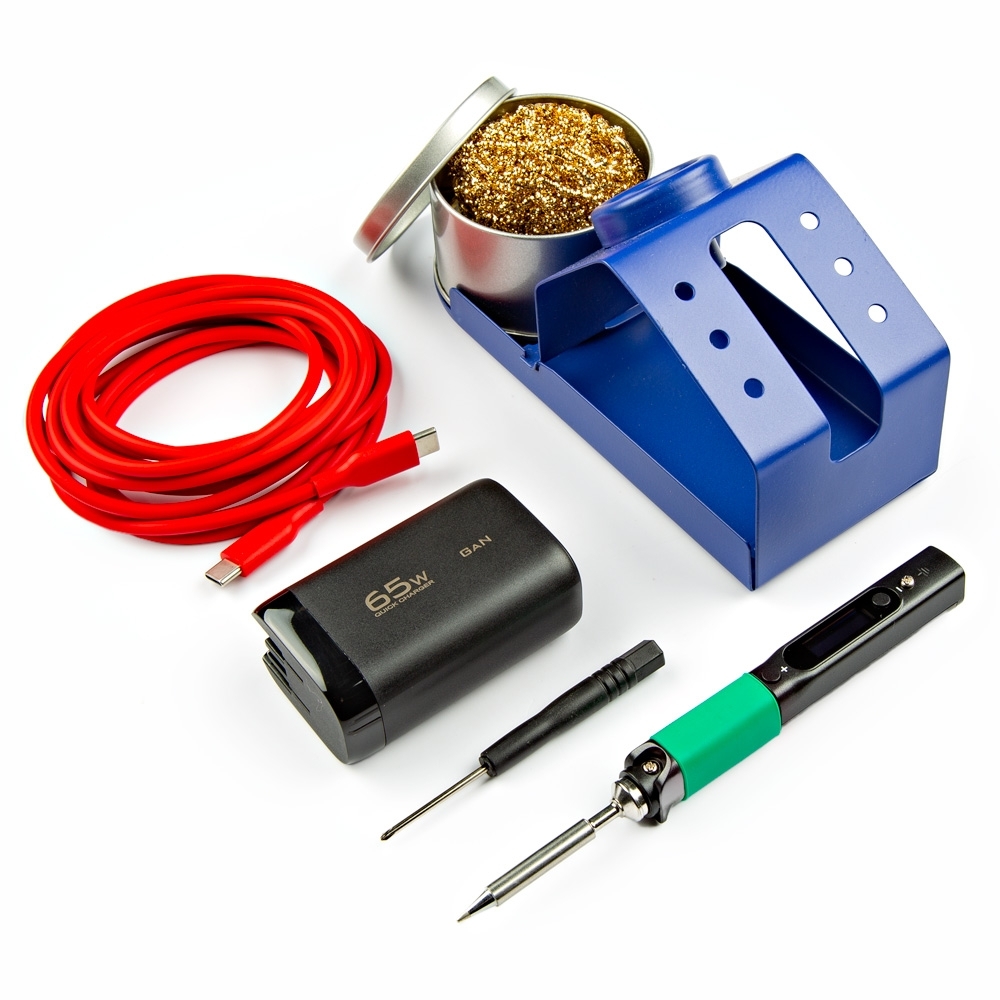
Cable and component soldering in steps 4 and 6.
Pinecil Smart Soldering Iron Kit Portable, precise for intermediate repairs without full station.
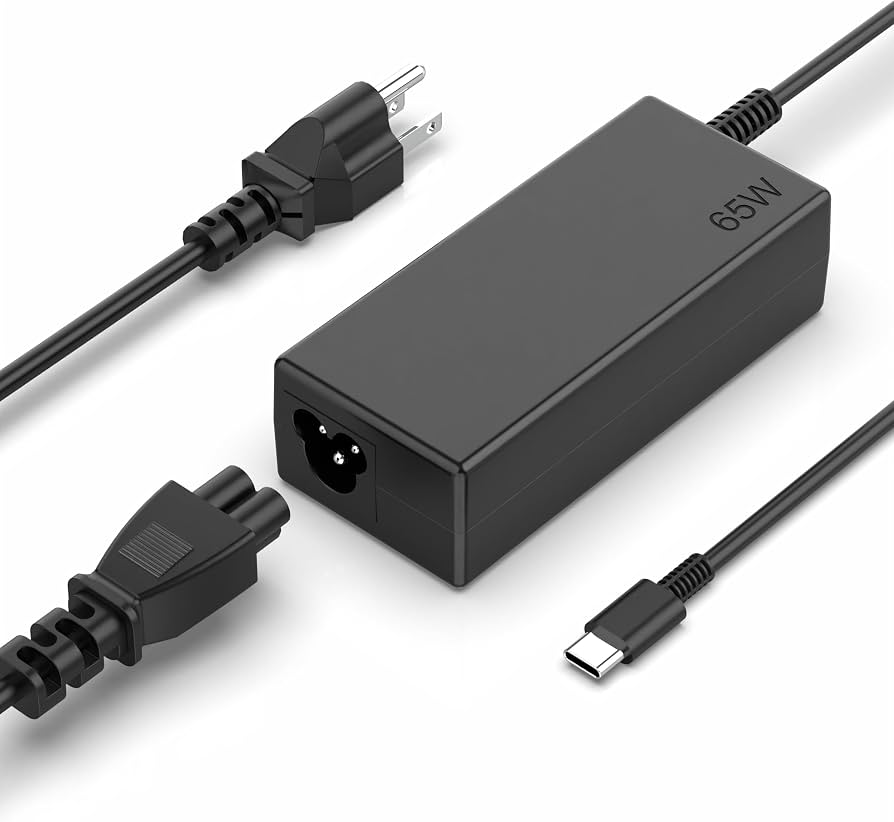
Fallback when internals too damaged.
Rapoo Universal Laptop Charger 65W Reliable replacement if repair fails; multi-tip compatibility.

Step 5 fuse replacement.
MG Chemicals 3A Slow-Blow Fuses (assorted) Common replacement for blown internal fuses.