
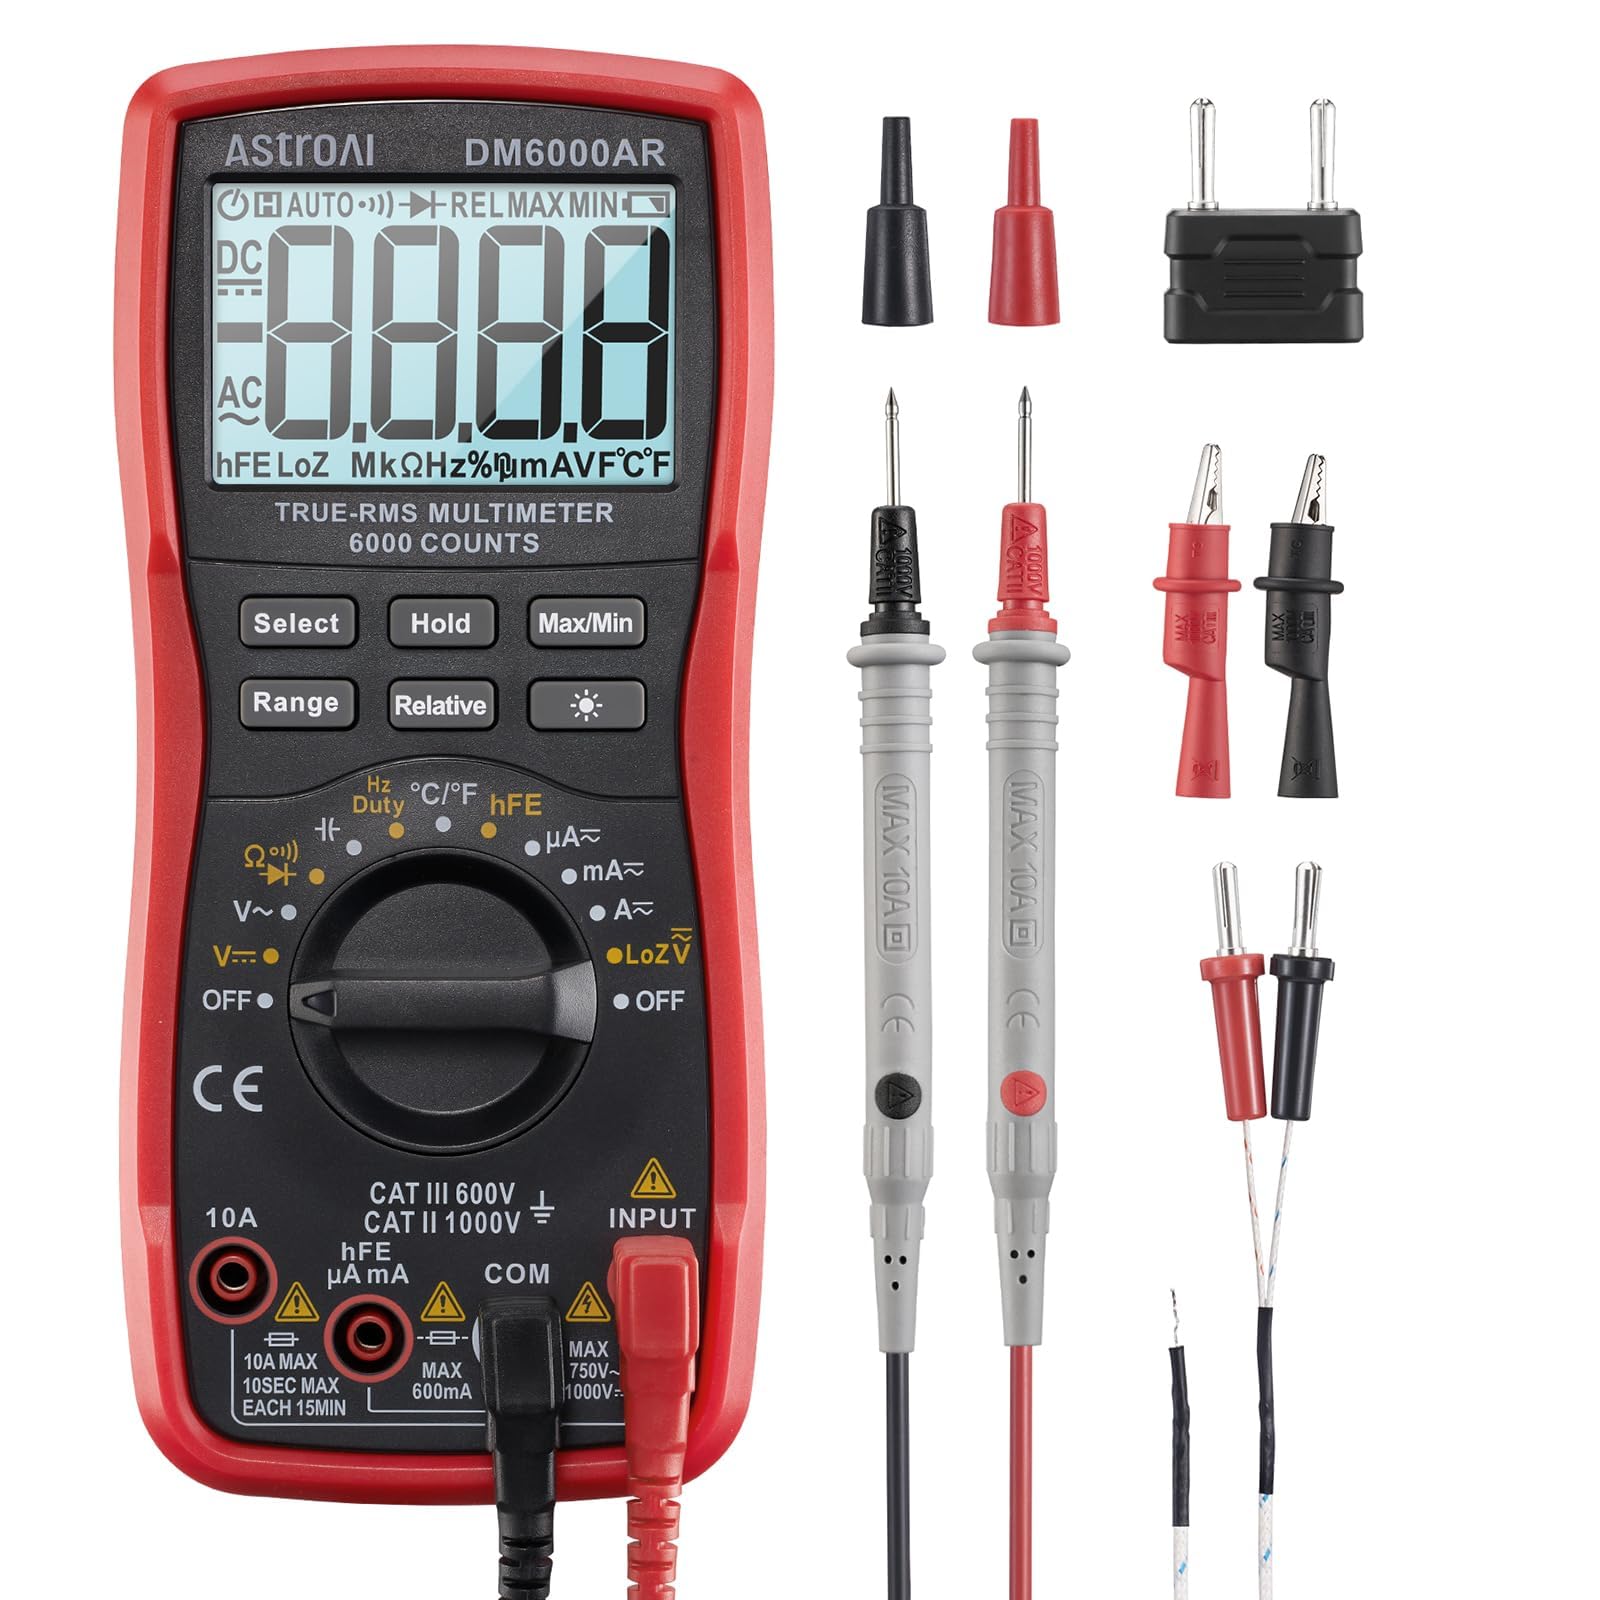
AstroAI Digital Multimeter TRMS 6000 Counts
Testing fuses, cords, and output during steps 3-5.
$25-$30
AstroAI Digital Multimeter TRMS 6000 Counts Essential for accurate voltage/continuity tests; auto-ranging for beginners.
Get the App
Better experience on mobile
Diagnose and repair common issues with your 12V car battery charger in under an hour, saving hundreds on replacements.
Nothing's more frustrating than a dead car battery when you're in a rush, only to find your 12V charger won't power up. Whether it's a blown fuse, loose connection, or dirty clips, most faults are simple fixes for beginners with basic tools. This guide walks you through safe, step-by-step troubleshooting and repairs.
You'll learn to identify the problem, perform easy fixes like replacing a fuse or cleaning contacts, and test everything safely. No advanced electronics knowledge needed—just follow along. The process takes 30-60 minutes and uses household tools, but always prioritize safety to avoid shocks or fires.
By the end, your charger will work like new or you'll know when to replace it, getting your car back on the road fast.
Estimated Time: 30-60 minutes Difficulty: beginner
Before touching anything, unplug the charger from the wall outlet and disconnect it from any battery. Wear safety gloves and goggles to protect against sparks or debris. Work in a well-lit, dry area away from flammable materials.
This step prevents electrical shocks, short circuits, or fires—common risks with chargers handling 12V DC and 110-120V AC. Expect a safe, powered-down unit ready for inspection.
💡 Tips:
⚠️ Warnings:
Examine the charger externally: look for cracked casing, burnt smells, melted plugs, frayed cords, or corroded clips. Check the fan (if present) for blockages and ensure vents are dust-free.
Most faults show here—80% of issues are visible. If you see severe damage like burnt components, stop and replace the unit. Success: No major cracks or burns means proceed.
💡 Tips:
⚠️ Warnings:
Set multimeter to continuity or AC voltage (200V range). Plug into outlet (stand clear), test outlet with another device first. Probe cord for breaks by checking continuity end-to-end.
Loose or damaged cords fail first from wear. Expect beeps/voltage if good; no reading means replace cord section.
💡 Tips:
Remove screws to open casing (usually 4-6 on bottom). Locate the glass fuse near the power input—often 5A-10A. Pull it out with pliers; test with multimeter for continuity.
Blown fuses from overloads are the #1 fixable issue. A good fuse shows continuity; replace with exact match if blown. Reinsert carefully.
💡 Tips:
⚠️ Warnings:
Reassemble loosely. Plug in (stand back), set multimeter to AC 200V—probe input terminals inside for ~120V. Unplug, set to DC 20V—probe output leads for any voltage (should be 0V off).
Confirms transformer/rectifier function. Expect 110-120V AC in; if no output later, issue deeper.
Unplug again. Brush corroded clips and terminals with wire brush/sandpaper. Inspect cables for frays; tape or splice if minor.
Oxidation blocks current. Clean parts shine; improves connection 90% of time.
💡 Tips:
Secure all screws, plug in, connect to a known-good 12V battery (or resistor load). Monitor for 10-15 min: LEDs on? Voltage at clips 13.5-14.5V? No overheating?
Full success: Steady charge, no sparks/smoke. Drive it!
⚠️ Warnings:
Problem: Charger hums but no output
Solution: Check rectifier diodes with multimeter diode mode; replace if failed or get new charger.
Problem: Overheats immediately
Solution: Clean vents/fan; if persists, faulty transformer—replace unit.
Problem: Sparks on connection
Solution: Clean/replace clips; ensure battery is disconnected during fixes.
Problem: LED blinks error code
Solution: Consult manual; often reverse polarity or bad battery—smart chargers self-protect.
Essential for accurate voltage/continuity tests; auto-ranging for beginners.
Best for: Testing fuses, cords, and output during steps 3-5.
Price Range: $25-$30
Matches common 12V charger fuses; multiple sizes for versatility.
Best for: Quick replacement in step 4 without shopping trips.
Price Range: $8-$12
Durable replacements if clips are faulty; insulated for safety.
Best for: Repairing output cables in step 6.
Price Range: $10-$15
If unfixable, this reliable replacement has repair-proof features like thermal protection.
Best for: Full upgrade post-troubleshooting.
Price Range: $50-$65
Precision bits open most chargers without stripping screws.
Best for: Disassembly in step 4.
Price Range: $60-$75
Testing fuses, cords, and output during steps 3-5.
AstroAI Digital Multimeter TRMS 6000 Counts Essential for accurate voltage/continuity tests; auto-ranging for beginners.

Quick replacement in step 4 without shopping trips.
ELEGRP 5A x 20pcs Glass Fuses Assortment Kit Matches common 12V charger fuses; multiple sizes for versatility.
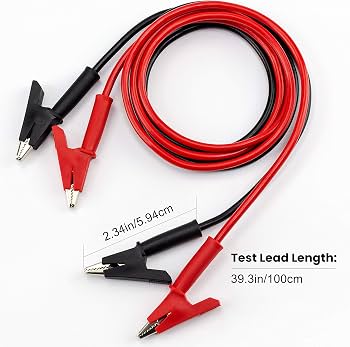
Repairing output cables in step 6.
OWIKI Alligator Clip Test Leads Set Durable replacements if clips are faulty; insulated for safety.

Full upgrade post-troubleshooting.
NOCO GENIUS5 12V Smart Battery Charger If unfixable, this reliable replacement has repair-proof features like thermal protection.

Disassembly in step 4.
iFixit Pro Tech Toolkit Precision bits open most chargers without stripping screws.