A crack in your guitar's body can be alarming, but it's often repairable with the right tools and patience. Whether it's a hairline finish crack or a structural split, understanding the repair process can save your instrument from expensive luthier fees. This guide walks you through assessing the damage, applying glue, clamping, installing cleats for strength, and touching up the finish. Expect to spend 2-4 hours per crack (plus drying time) and work at an advanced skill level. Proper technique is critical—rushing can worsen the damage.
▸What You'll Need
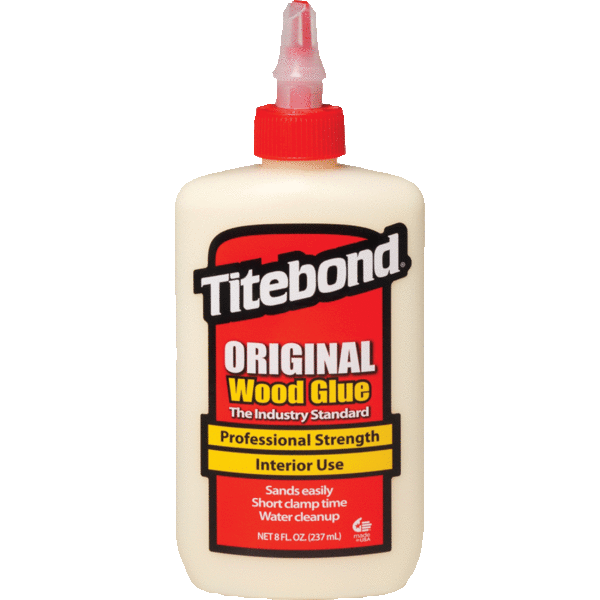
- •Thin CA glue or Titebond Original wood glue (or hide glue)
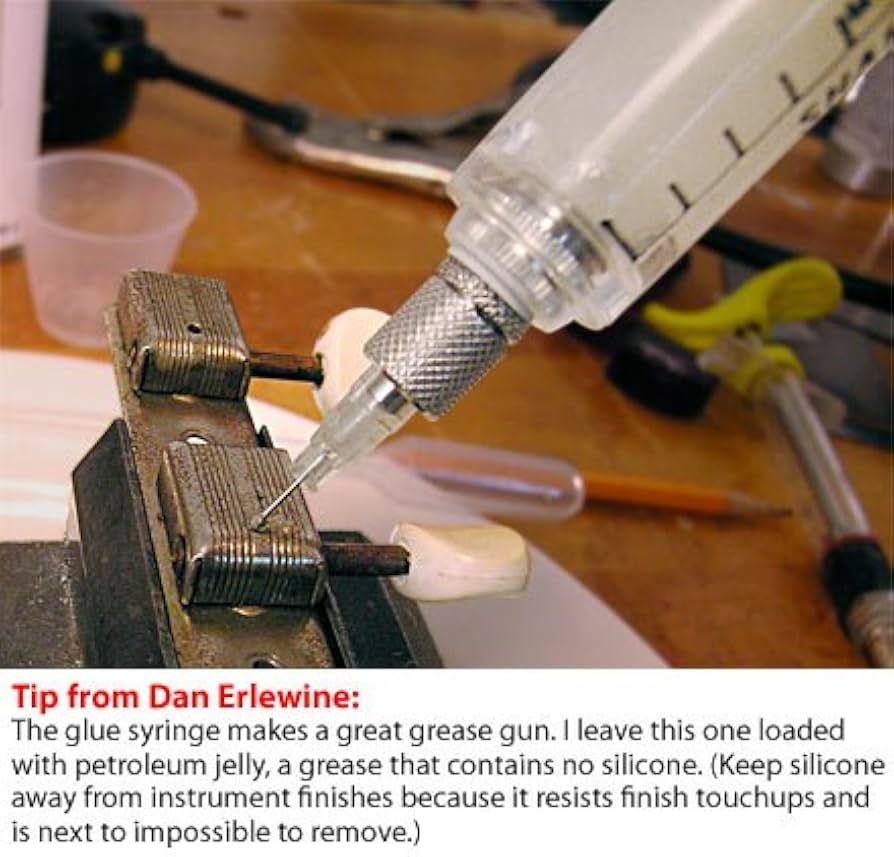
- •Syringes or precision glue applicators
- •Guitar body clamps or deep-throat C-clamps (with padded jaws)
- •Cork or leather padding for clamps
- •Mahogany or spruce cleat material (approx. 1/8" thick)
- •Sharp chisel or pocket knife
- •Sandpaper (220, 320, 400 grit)
- •StewMac Guitar Repair Finishing Kit or similar
- •Tack cloth or clean lint-free rags
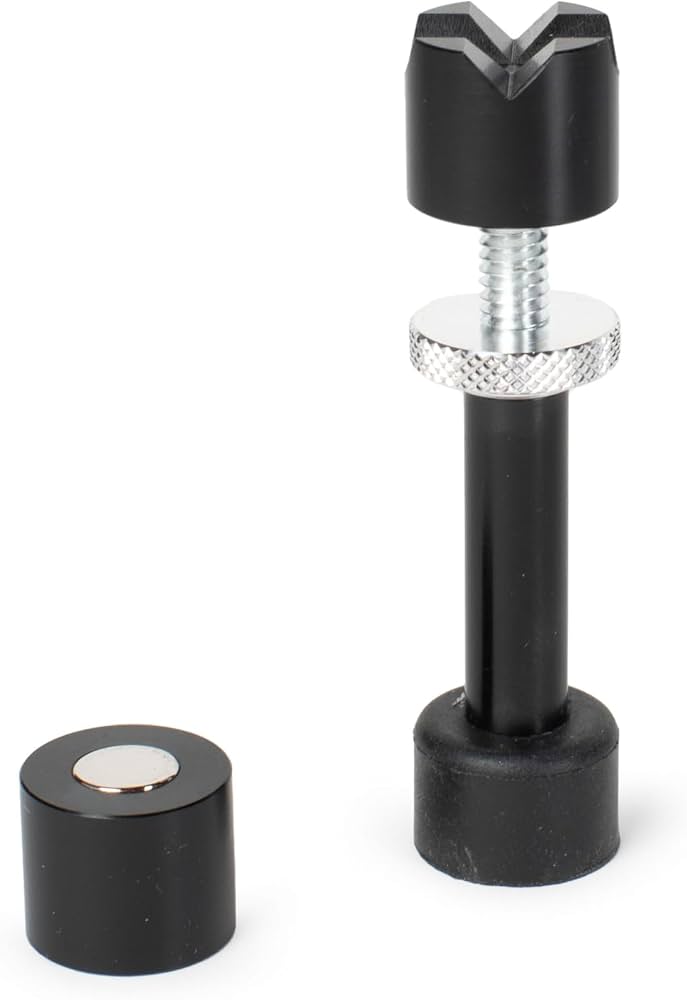
- •Optional: StewMac Go-Bar Deck or spool clamps for complex cracks
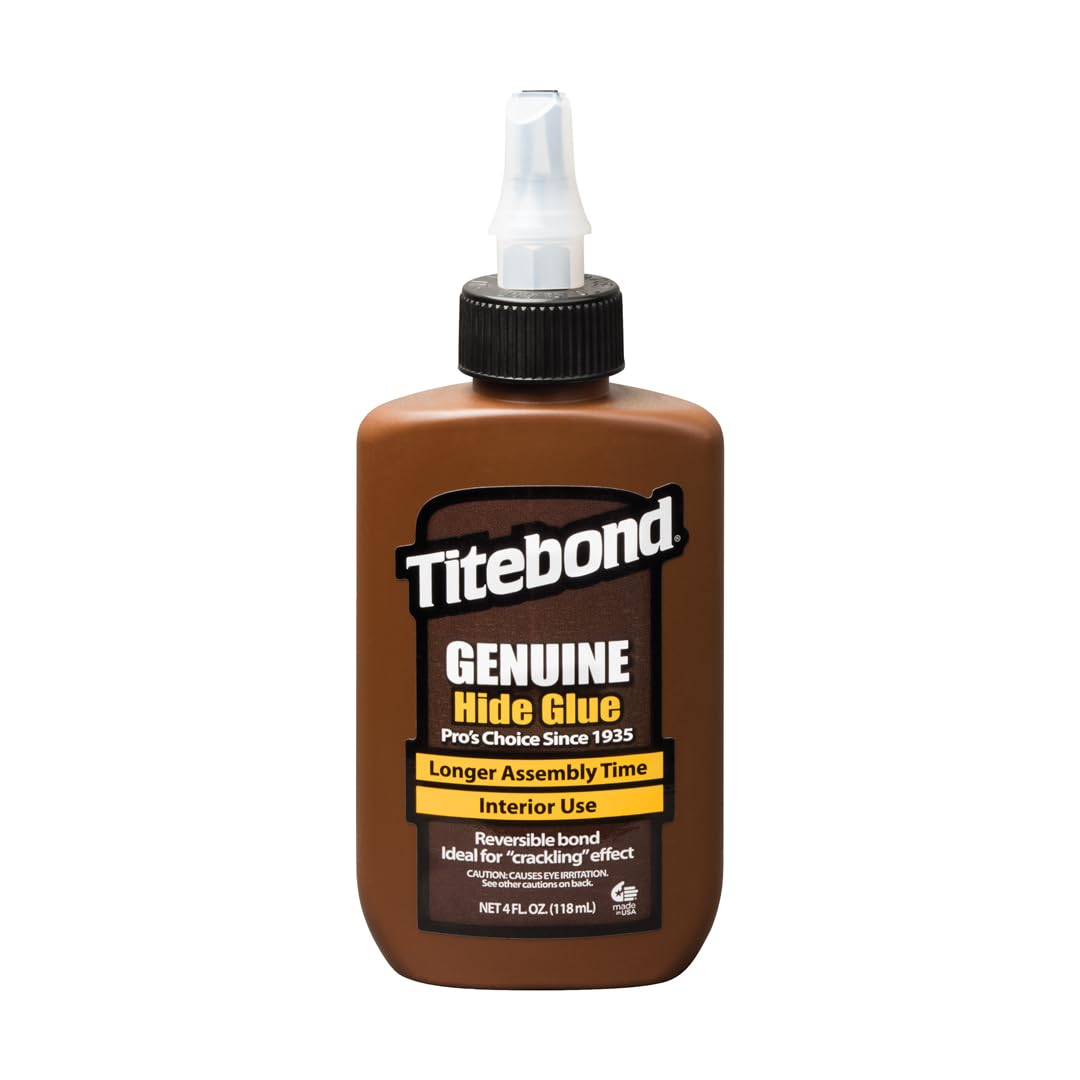
- •Optional: Hide glue for traditional repairs (reversible)
Estimated Time: 2-4 hours per crack, plus 24-48 hours drying time
Difficulty: advanced
▸Step-by-Step Instructions
Step 1: Assess the Crack
Inspect the crack under good lighting. Determine if it's a finish crack (cosmetic) or a structural crack that goes through the wood. Use a thin feeler gauge or your fingernail to see if the crack is open. If the crack moves when you gently flex the body, it's structural. Also check for loose braces or separation. Mark the crack ends with tape to monitor movement.
💡 Tips:
- •Moisten the crack with a damp cloth to see if it disappears temporarily—that indicates a finish-only crack.
- •Use a bright LED light from inside the body to spot hairline cracks.
⚠️ Warnings:
- •Do not attempt to fix a structural crack if you lack experience—it can worsen the damage.
- •Ignore loose braces—they must be reglued first.
Step 2: Stabilize and Clean the Crack
Use a sharp chisel or knife to widen the crack slightly (V-shape) to allow glue to penetrate. Clean out any dirt, old glue, or debris with a vacuum or compressed air. Wipe the inside and outside of the crack with a damp cloth to remove dust, then let it dry completely. For stubborn residue, use a bit of naphtha on a lint-free cloth.
💡 Tips:
- •Avoid widening the crack too much—just enough to let glue in.
- •For finish cracks, clean only the surface; do not open the wood.
⚠️ Warnings:
- •Do not use water on cracks near the bridge or soundhole where moisture can warp the top.
Step 3: Apply Glue and Clamp
Choose your glue: Titebond Original for a strong, non-reversible bond; hide glue for a reversible, traditional repair. Use a syringe to inject glue deep into the crack. Work the glue in by gently flexing the body if possible. Wipe away excess glue with a damp rag (for Titebond) or warm water (for hide glue). Apply clamps across the crack, using cork or leather pads to protect the finish. Tighten just enough to close the crack—do not over-clamp, which can cause distortion. Leave clamped for at least 24 hours.
💡 Tips:
- •For long cracks, clamp from the center outward to prevent bubbles.
- •Place a caul (small block) under the clamp to distribute pressure evenly.
⚠️ Warnings:
- •Over-clamping can squeeze out too much glue, creating a weak joint.
- •Make sure the crack aligns perfectly before tightening.
Step 4: Install Cleats (If Needed)
If the crack is structural (moves when flexed) or longer than 4 inches, you need to reinforce it from inside with cleats. Cut small diamonds or rectangles from mahogany or spruce (1/8" thick, grain perpendicular to the crack). Apply glue to one face of the cleat and place it over the crack inside the body. Use a Go-Bar or spool clamp to press the cleat firmly until the glue sets. Space cleats 2-3 inches apart along the crack.
💡 Tips:
- •Pre-drill holes in cleats for optional pins, but clamping is usually sufficient.
- •Use a mirror and flashlight to inspect cleat placement from the soundhole.
⚠️ Warnings:
- •Cleats should be thin enough not to impede sound—1/8" max.
- •Do not place cleats under braces or where they interfere with the bridge plate.
Step 5: Sand and Level the Surface
After the glue dries, remove clamps. Use 220-grit sandpaper to level any raised glue or wood fibers. Sand in the direction of the grain, feathering out from the crack about 1-2 inches on each side. Progress to 320 and 400 grit for a smooth surface. Wipe away dust with a tack cloth.
💡 Tips:
- •Use a sanding block to keep surfaces flat.
- •Stop sanding if you see the crack reappearing—you're sanding too deep.
⚠️ Warnings:
- •Avoid sanding through the finish into bare wood on finished guitars; only sand minimally.
- •Wear a dust mask to avoid inhaling wood and finish particles.
Step 6: Touch Up the Finish
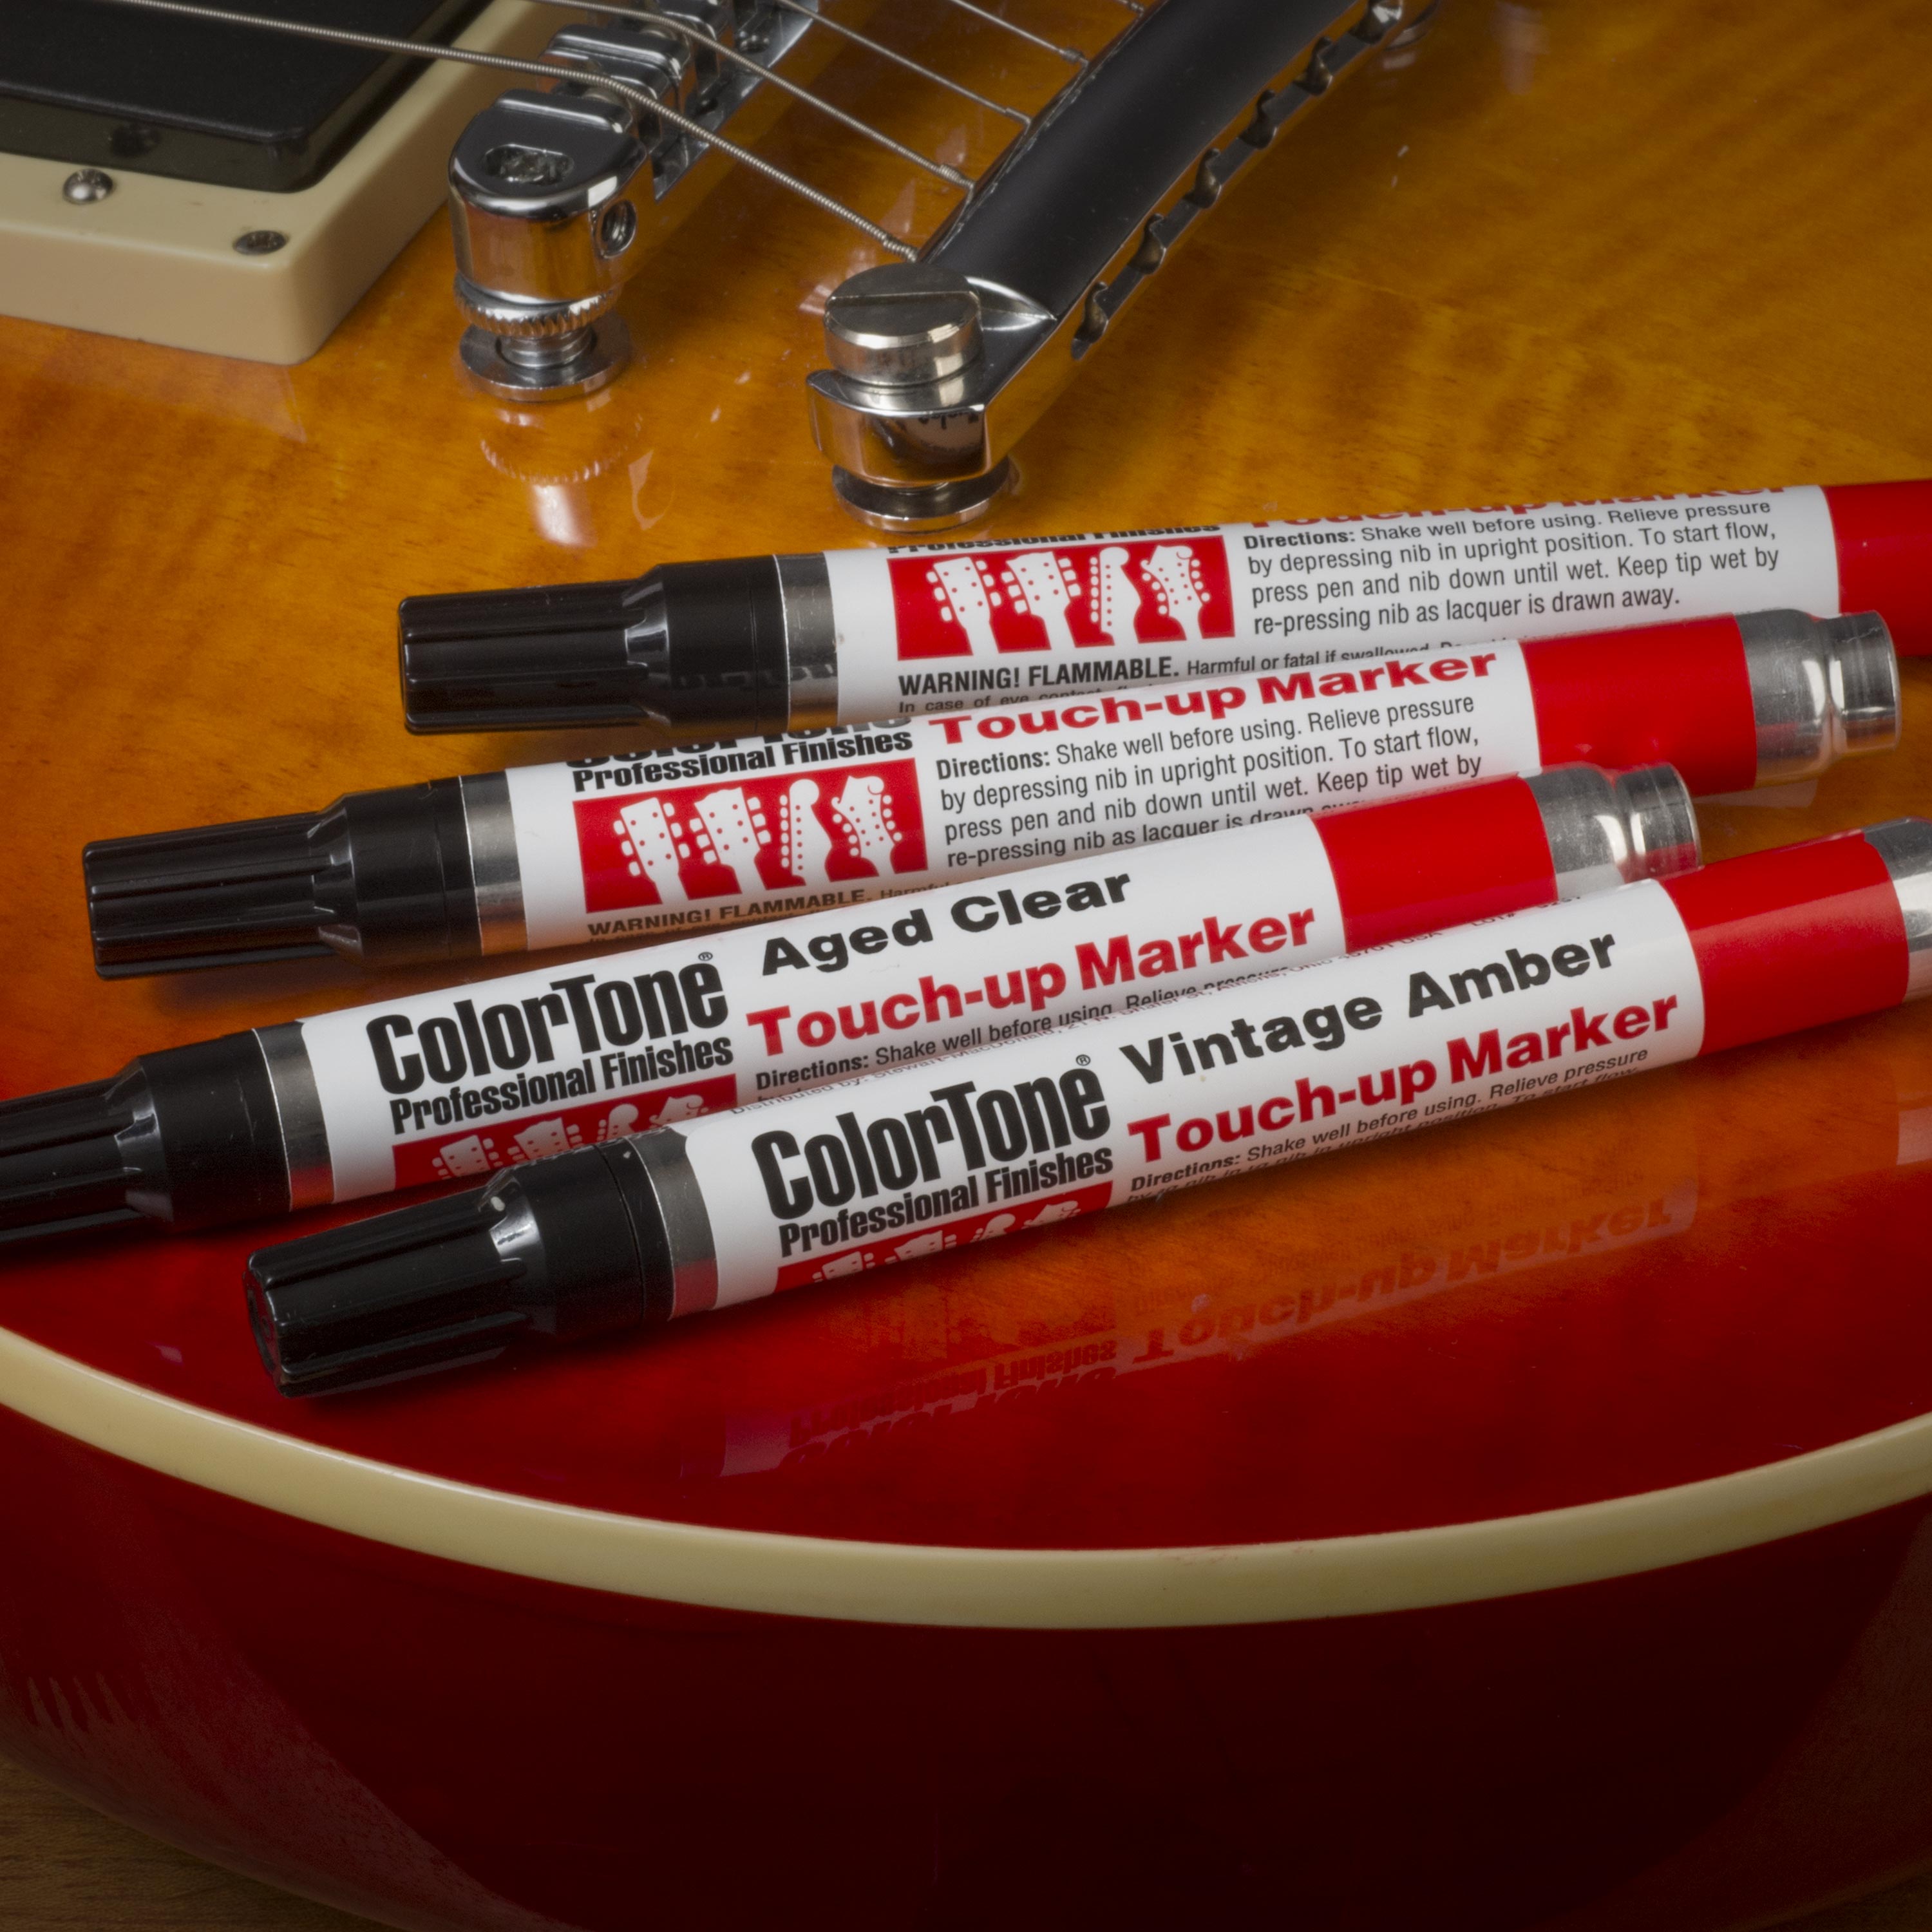
For bare wood areas (if you sanded through), apply a thin coat of shellac or nitrocellulose lacquer using a small brush. For finish-only cracks, use a drop of thin CA glue (super glue) that wicks into the crack, then scrape and buff. Alternatively, use a finish touch-up pen. Let the repair cure for several days before polishing. Blend the repair by buffing with a soft cloth and polishing compound.
💡 Tips:
- •Test the touch-up product on an inconspicuous area first.
- •Use a razor blade to scrape excess CA glue level with the surface.
⚠️ Warnings:
- •CA glue can cause a cloudy bloom if applied too thickly; use thin viscosity.
- •Nitrocellulose lacquer is flammable and requires good ventilation.
▸Pro Tips
- •Work in a stable humidity environment (40-50% RH) to prevent the crack from opening or closing as you work.
- •Use a warm lamp or heat gun (low setting) to warm the wood before applying hide glue—it improves penetration.
- •For stubborn cracks, consider using a vacuum glue injector to force glue deep into the wood fibers.
- •Always pre-fit cleats before gluing—cut them slightly smaller than the space for easy placement.
- •If you're not confident, practice on scrap wood first to get a feel for clamping pressure and glue application.
- •Keep a small mirror inside the guitar to watch for glue squeeze-out on the inside that could affect braces.
- •For vintage guitars, consider using hot hide glue to preserve historical integrity and reversibility.
▸Common Mistakes to Avoid
- •Over-gluing: Applying too much glue that seeps into the wood grain, making the repair visible and messy.
- •Insufficient clamping pressure: Leaving gaps that won't bond properly, causing the crack to reopen.
- •Ignoring cleats on a structural crack: The glue alone may not withstand string tension, leading to failure.
- •Sanding too soon: Glue needs full cure time—rushing can weaken the joint.
- •Using the wrong glue: Epoxy or construction adhesives are too rigid and can damage the wood with expansion.
▸Troubleshooting
Problem: Crack reopens after clamping
Solution: The crack may be under tension. Release clamps, clean out old glue, and re-clamp with more force (but not excessive). Consider adding cleats for reinforcement.
Problem: Glue doesn't adhere
Solution: Ensure surfaces are clean and dry. Old glue or oil residue can prevent adhesion. Wipe with naphtha and let dry fully before regluing.
Problem: Finish mismatch or cloudiness
Solution: Sand the touch-up area again with fine grit and reapply a thin coat. Use a polishing compound to blend sheen levels. If CA glue blushed, apply a thin layer of accelerator or wait for it to clear naturally.
Problem: Crack is still visible after repair
Solution: If the crack line shows, you may need to fill it with a mixture of wood dust and glue (paste) and sand smooth. For finished guitars, a light touch-up with toner may help hide the line.
StewMac Guitar Repair Clamp Set
Designed specifically for guitar repair, these deep-throat C-clamps have padded jaws to protect the finish and provide even pressure.
Best for: Clamping cracks on acoustic guitar bodies, especially in tight corners.
Price Range: $40-$70
Titebond Original Wood Glue
A trusted, strong wood glue that dries clear and offers a long open time—ideal for aligning cracks.
Best for: General guitar body crack repair where reversibility is not required.
Price Range: $5-$10
StewMac Precision Syringe Set
Allows precise application of glue into narrow cracks without excess, reducing mess and waste.
Best for: Injecting glue into hairline cracks or under cleats.
Price Range: $15-$25
Mogami Wood Glue (Hot Hide Glue)
A high-quality hide glue that is reversible and traditional, perfect for vintage instruments.
Best for: Restoring vintage guitars where heat and moisture can reverse the repair.
Price Range: $10-$20
StewMac Finishing Touch-Up Kit
Contains lacquer, polishing compounds, and applicators to blend finish repairs seamlessly.
Best for: Final finishing step to make the repair invisible.
Price Range: $30-$50