There are few mornings more frustrating than pouring water into your coffee maker, pressing the start button, and hearing nothing but silence. A coffee maker that won't brew can seem like a major emergency, but in most cases, the problem is surprisingly simple—and very fixable without any technical skills or expensive replacement parts.
In this guide, you'll learn how to diagnose why your coffee maker has stopped brewing and walk through each fix step by step. From a misaligned carafe to mineral scale that silently chokes your machine's plumbing, we'll cover the ten most common culprits and show you exactly how to solve them.
Expect to spend 30 to 45 minutes on the full process, including a mandatory descaling soak. No matter whether you own a $20 budget brewer or a $200 programmable model, the repair techniques here apply to nearly every drip coffee maker on the market.
▸What You'll Need
- •Your drip coffee maker (with carafe and brew basket)
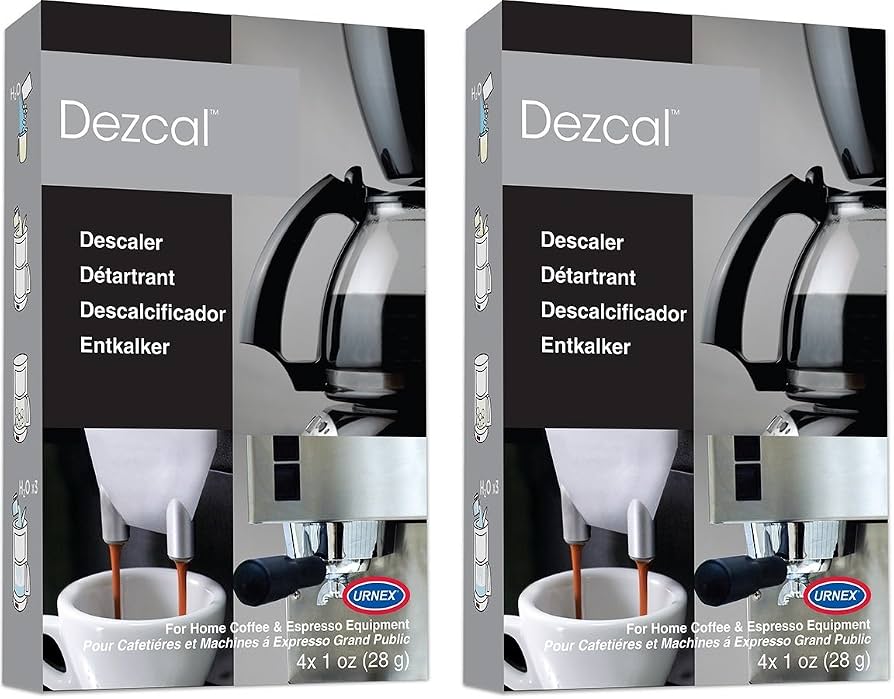
- •White vinegar or a commercial coffee maker descaler (e.g., Urnex Dezcal)
- •Fresh water
- •A large mug or container to catch brewed water
- •Soft cloth, sponge, and paper towels
- •Toothpicks or paper clips (for clearing small holes and valves)
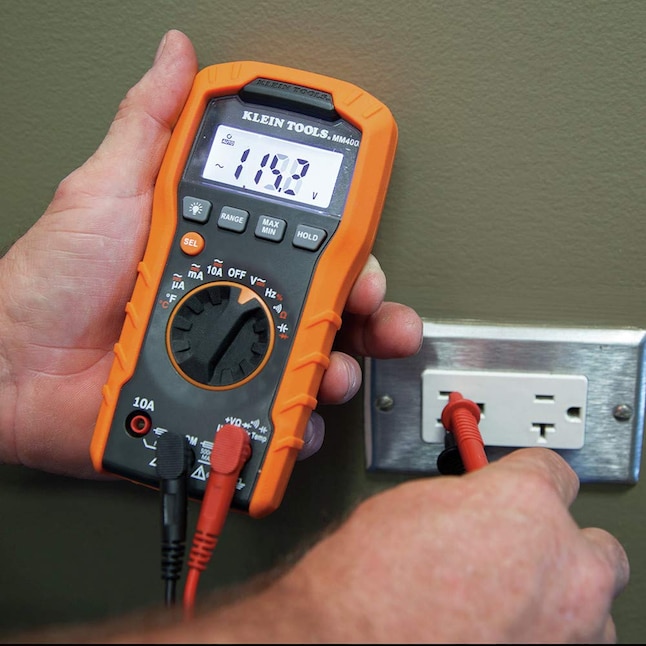
- •Optional: Digital multimeter (for electrical testing)
- •Optional: Screwdriver (to open the base for internal inspections)
- •Optional: Turkey baster (for clearing airlocks)
Estimated Time: 30–45 minutes (including descaling soak time)
Difficulty: intermediate
▸Step-by-Step Instructions
Step 1: Check the Power Source
Before opening anything, confirm your coffee maker is actually getting power. Plug the machine into a known-working outlet and test the outlet with a phone charger or lamp first. Inspect the entire power cord for cuts, frayed spots, or a loose connection—especially at the plug and where the cord enters the machine.
Switch the machine on and look for a power indicator light. If the light comes on, the problem is downstream in the water or brewing system. If there's no light, your machine may have a blown internal thermal fuse, which you can test in Step 7.
💡 Tips:
- •Try a different outlet, ideally one on a different circuit.
- •Some machines have a small reset button under the base—press it with a paperclip.
⚠️ Warnings:
- •Always unplug the coffee maker before inspecting the cord or internal components.
Step 2: Confirm the Carafe and Brew Basket Are Seated Correctly
Many drip coffee makers are designed with a safety interlock that won't start brewing unless the carafe is placed correctly and the brew basket is locked in. If either part is slightly off, the machine appears completely dead even though it has power.
Place the empty carafe on the warming plate, pushing it back until it clicks into place. If your machine has a 'pause and pour' system, push the small drip-stop lever to free it. Remove and reinsert the brew basket, pressing until you hear a click.
Then, fill the reservoir with water and hit the brew switch. If brewing starts, your machine is fine—the problem was simply positioning. This fix takes less than a minute.
💡 Tips:
- •Verify the carafe lid is open or flipped back; the interlock often detects the carafe lid.
- •Inspect the plastic interlock tab for cracks or missing pieces.
⚠️ Warnings:
- •Never force the carafe or basket—you can crack the plastic housing.
Step 3: Clear an Airlock in the Water Tube
An airlock happens when a pocket of air gets trapped in the tube connecting the reservoir to the heating element. This prevents water from flowing, so the machine runs and heats but pushes out little or no liquid. The telltale sign is a loud gurgling noise.
To break the airlock, unplug the machine and fill the reservoir with fresh water. Then, pour about a half-cup of water directly into the brew basket, allowing it to flow down into the system. This gravity-fed water helps re-prime the heating tube.
Turn the machine back on and run a brew cycle with an empty carafe in place. Water should start flowing within a minute. For stubborn airlocks, use a turkey baster to gently push water into the tube from the reservoir opening.
💡 Tips:
- •Adding hot water (not boiling) to the reservoir before priming can help dissolve any mineral glue holding the air bubble.
- •Repeat the priming process twice if the first attempt doesn't produce water.
⚠️ Warnings:
- •Don't pour water into the brew basket while the machine is running—you may get a flood of hot water.
Step 4: Descale the Machine to Clear Clogged Lines
Mineral scale is the leading cause of coffee makers that stop brewing or flow slowly. Over time, dissolved minerals from hard water form a crusty coating on the inside of the heating element and water tubes. This restricts flow and can eventually block it completely.
Descaling takes about 30 minutes. Mix equal parts white vinegar and water (about 3 cups each for a 12-cup machine) and pour the solution into the reservoir. Start a brew cycle. Once half of the solution has passed through, turn the machine off and let it sit for 30 minutes to dissolve the scale.
Then, finish the cycle and discard the solution. Run two full cycles with clean water to wash out all the vinegar. If your machine has been heavily scaled, repeat the descale cycle once more. The difference in flow and temperature should be immediate and dramatic.
💡 Tips:
- •Use a commercial descaler like Urnex Dezcal for stronger, faster results without vinegar odor.
- •Mark your calendar to descale every 1–3 months to prevent a recurrence.
⚠️ Warnings:
- •Use only white vinegar (not apple cider vinegar or cleaning vinegar with additives).
- •Never run a machine dry during descaling—the heating element can overheat.
Step 5: Clean the One-Way Valve
The one-way (check) valve sits at the bottom of the water reservoir or in the inlet tube. It's designed to let water flow downward into the heating system but prevent hot water from bubbling back up into the reservoir. Because the opening is small, a single coffee ground or grain of scale can jam it closed, completely stopping all brewing.
Locate the valve—it's often a small rubber nipple or flap inside the reservoir base or behind a removable cap. Gently lift it with a toothpick, paper clip, or a soft bristle brush. You'll often see a speck of debris pop out. Rinse the valve thoroughly with warm water and reseat it.
Now fill the reservoir and run a test brew. If water flows normally, you've solved the problem. This is an extremely common fix for coffee makers that stop brewing after months of heavy use.
💡 Tips:
- •Use a cotton swab dipped in white vinegar to dissolve scale around the valve.
- •Clean the valve every time you descale.
⚠️ Warnings:
- •Don't yank the valve out of its housing; you can damage the seal. If it comes out, note its orientation before reinserting.
Step 6: Clear Clogged Sprayhead and Brew Basket
Even after descaling, a machine can under-brew if the sprayhead (the disc under the lid that showers water onto the coffee grounds) is clogged with scale and coffee oils. Buildup here causes water to squirt sideways, drip slowly, or disappear unevenly.
Remove the brew basket and wipe the sprayhead with a damp cloth. For stubbornly clogged holes, use a toothpick or a sewing pin to gently ream each opening. Avoid using a metal drill bit, which can enlarge the holes and ruin the spray pattern.
Then, inspect the brew basket—if the holes in the bottom are blocked by coffee fines or oil, rinse it with hot water or soak it in warm soapy water. After reassembling, run a clean-water cycle to confirm the flow pattern is even.
💡 Tips:
- •Some sprayheads twist off for easy cleaning—check your manual.
- •If the sprayhead is rusty or badly worn, it may be replaceable on parts sites.
⚠️ Warnings:
- •Never pierce the sprayhead with a sharp metal skewer near the heating element port—keep the tool gentle.
Step 7: Test the Thermal Fuse and Heating Element
If the machine has power but never heats water or runs only briefly before shutting off, the thermal fuse or heating element may have failed. The thermal fuse is a safety component that physically breaks the circuit when the machine overheats. To test it, you need a basic multimeter.
Unplug the machine, remove the bottom base plate (usually a small Phillips-head screwdriver), and locate the thermal fuse and heating element. Set your multimeter to resistance (ohms). The fuse should show near-zero ohms (continuity); the heating element typically ranges from 10–30 ohms depending on the model. Infinite resistance (OL) means an open circuit and the part is dead.
Replacement parts cost $10–$25 and are often available for popular models. Watch a model-specific repair video before swapping parts. If this feels too technical, or the machine is old, skip straight to the replacement advice in Step 10.
💡 Tips:
- •Take photos before disconnecting any wires—reassembly is easier with a visual map.
- •Some machines also have a separate thermostat—test it the same way.
⚠️ Warnings:
- •Only open the machine after it has cooled down completely and is unplugged.
- •If you're not comfortable with electricity, stop here and call a certified technician or replace the unit.
Step 8: Reset the Machine's Electronics
Modern coffee makers often contain a control board that manages timers, brew cycles, and auto-shutoff. A minor software glitch—caused by power surges or simply age—can prevent the machine from starting a brew cycle. A hard reset clears these errors.
Unplug the coffee maker and wait 10–15 minutes. While it's unplugged, inspect the base and back for a small 'reset' pinhole; if you find one, press it with a straightened paperclip for 5 seconds. Then plug the machine back in.
Run a short test cycle with water. If the machine responds, you've just saved yourself a service call. If not, the problem is likely hardware-related—move to the troubleshooting table at the end of this guide.
💡 Tips:
- •After rebooting, re-program the clock if your machine has one.
- •Avoid plugging your coffee maker into the same outlet as high-draw kitchen appliances to reduce surge-related glitches.
⚠️ Warnings:
- •Don't reset while a brew cycle is active—wait until the machine is off.
Step 9: Run a Full Test Brew and Confirm the Fix
With all cleaning and checks complete, do a final validation: fill the reservoir with fresh water to the max line, put an empty carafe in place, and run the machine like you normally would. Watch for a steady, even stream of hot water from the sprayhead into the brew basket.
When the cycle finishes, peek into the carafe. You should have hot water all the way to your starting amount. If you opened the machine, verify all screws are back in place and the base is secure. Then, run one brew with real coffee grounds—if the extraction looks normal and tastes great, you're done!
💡 Tips:
- •Use the test cycle to check for leaks around the reservoir and brew basket.
- •If the first pot tastes slightly vinegary, run one more clean-water cycle.
⚠️ Warnings:
- •Don't leave the machine running unattended during the test brew.
Step 10: When to Replace Instead of Repair
Not every coffee maker is worth saving. As a rule of thumb, if the cost of replacement parts is more than half the price of a comparable new machine—or the unit is older than 5–7 years—it's time to say goodbye. Persistent leaks, burning smells, excessive noise, and failure to heat are all signs of a machine that has reached the end of its life.
Before replacing, make sure you've performed all the troubleshooting above. When you're ready, consider the features that will make future maintenance easier: a removable reservoir, a cleaning indicator, or a thermal carafe. Many modern machines also have a clearly accessible one-way valve and sprayhead that simplify cleaning.
Recycle your old machine according to local e-waste rules. Then, check out our related guides for help choosing your next coffee maker.
💡 Tips:
- •Measure your kitchen counter space before ordering a new machine.
- •Read reviews on replacements to confirm the current model is reliable.
⚠️ Warnings:
- •Don't try to repair a leaking machine; even minor electrical leaks can be a shock hazard.
▸Pro Tips
- •Use filtered or bottled water—hard water causes the majority of brewing clogs.
- •Keep a toothpick or paper clip near your coffee maker; you'll need it for the sprayhead and valve.
- •Descale on a schedule (1–3 months) to avoid emergency clogs.
- •Reset any 'clean' indicator light after descaling by holding the brew button for 5 seconds (check your manual).
- •Avoid using too much vinegar—a 1:1 ratio is all you need.
- •Change your charcoal water filter every 60 brews to reduce mineral buildup.
- •Inspect your power cord regularly; a frayed cord can cause intermittent power loss.
- •If your machine has a thermal carafe, clean it by hand to protect the vacuum seal.
▸Common Mistakes to Avoid
- •Buying a new coffee maker before trying a simple descale—most brewing failures are caused by scale buildup that a 30-minute vinegar cycle can fix.
- •Running a descale cycle but skipping the fresh-water rinse cycles, leaving your next pot tasting like vinegar.
- •Using undiluted vinegar or a highly acidic cleaner, which can corrode seals and plastic parts.
- •Testing electrical components while the machine is plugged in—this is a shock hazard; always unplug first.
- •Forgetting to clean the one-way valve after descaling; debris freed by the acid can still block the small opening.
▸Troubleshooting
Problem: Coffee maker has power but no water flows through the basket
Solution: Check the one-way valve, clear an airlock, and descale. Clogged sprayheads can also reduce flow to zero—clean them with a pin.
Problem: Machine makes chugging/gurgling noises and pushes out only steam
Solution: This is an airlock or serious scale. Prime the tube by adding water to the brew basket, then descale thoroughly.
Problem: Water flows but the coffee is very weak or watery
Solution: Clean the sprayhead, confirm the brew basket isn't clogged, and use a finer grind or more coffee. Also, make sure you're filling to the right water level.
Problem: The machine leaks water under the base
Solution: Inspect the reservoir for cracks and the gasket around the heating element. If the leak persists, the machine is unsafe—replace it.
Problem: The machine turns off mid-cycle or won't start at all
Solution: Try a hard reset (unplug 15 minutes). If it still fails, test the thermal fuse and heating element with a multimeter.
Problem: After descaling, the machine still smells like vinegar
Solution: Run two or three additional warm-water cycles to flush remaining vinegar from the system.
Urnex Dezcal Coffee Maker Descaler
Highly effective descaling powder that dissolves mineral scale without vinegar's strong odor; safe for all drip coffee makers.
Best for: When your machine is slow or won't brew due to hard water scale.
Price Range: $10–$15
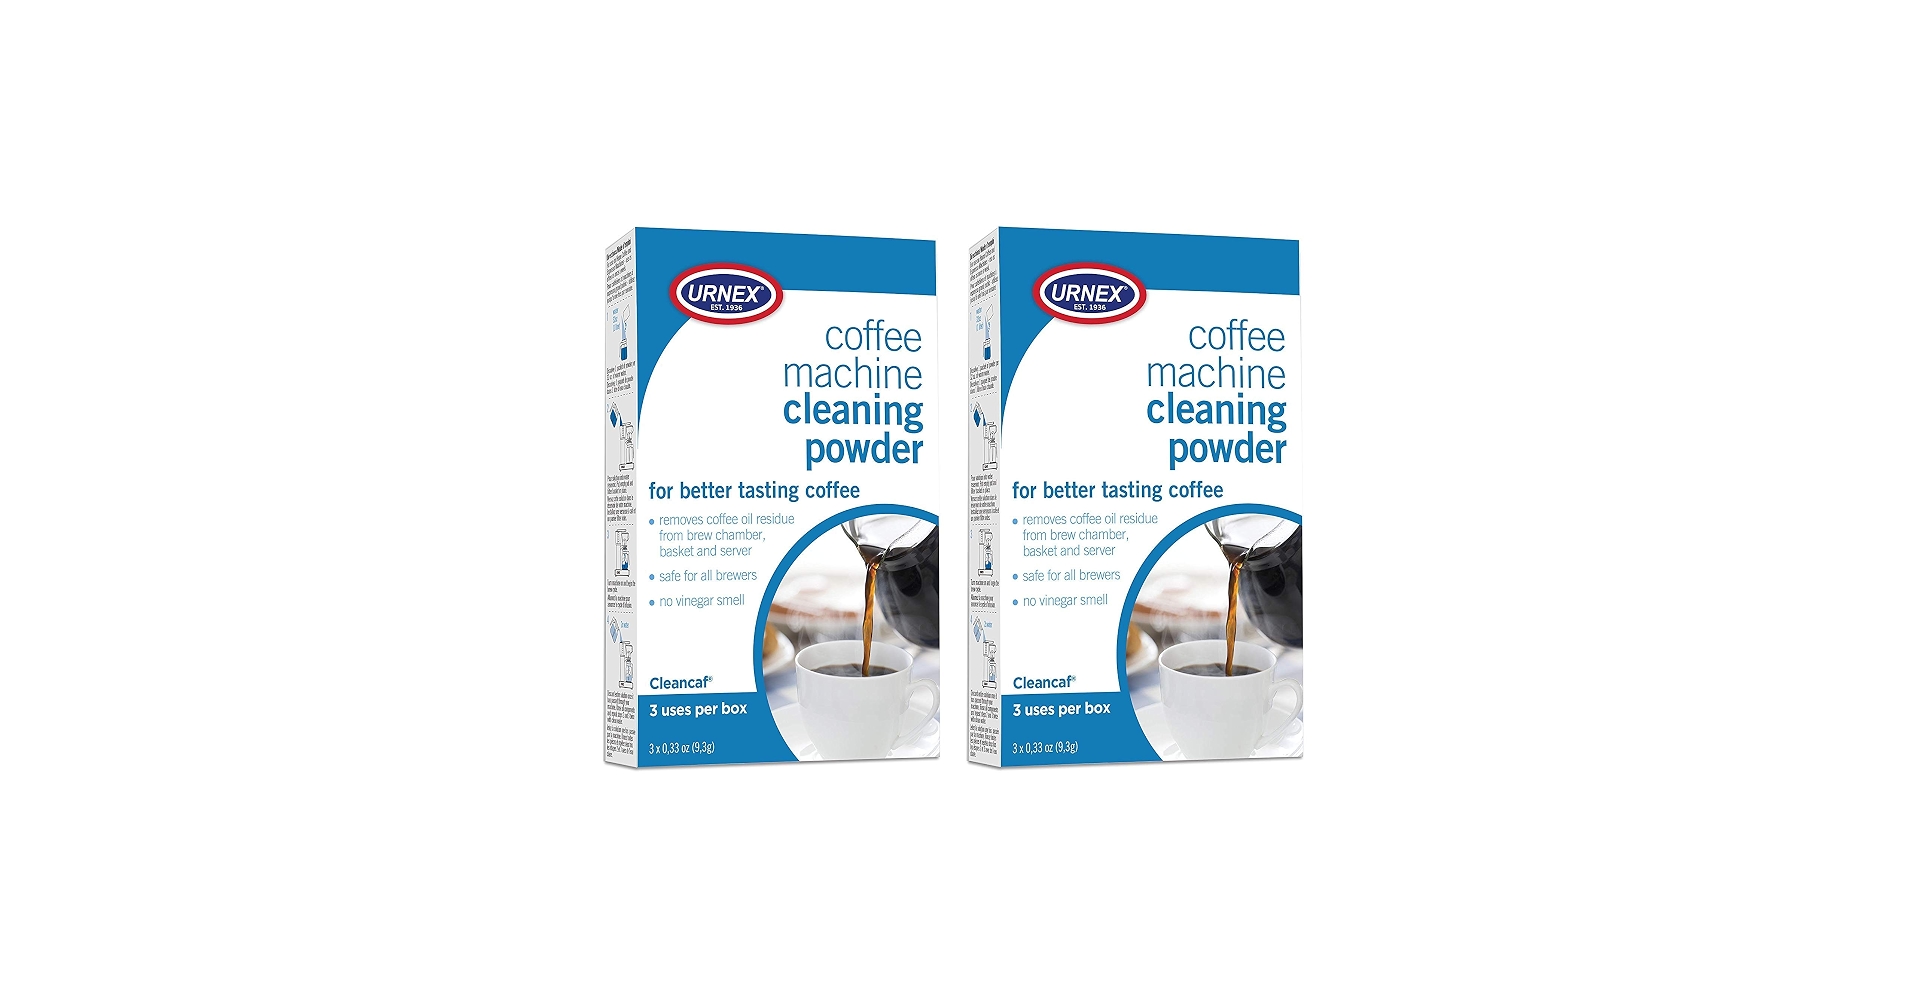
Urnex Cleancaf Coffee Maker Cleaner
Removes coffee oils and residue that vinegar doesn't; keeps your coffee tasting fresh and prevents oily build up in the lines.
Best for: Monthly maintenance cleaning of the brew basket and internal lines.
Price Range: $10–$15
Klein Tools MM400 Digital Multimeter
Essential for Step 7—testing thermal fuse continuity and heating element resistance reliably.
Best for: When you suspect an electrical component failure and want to verify before buying parts.
Price Range: $20–$30
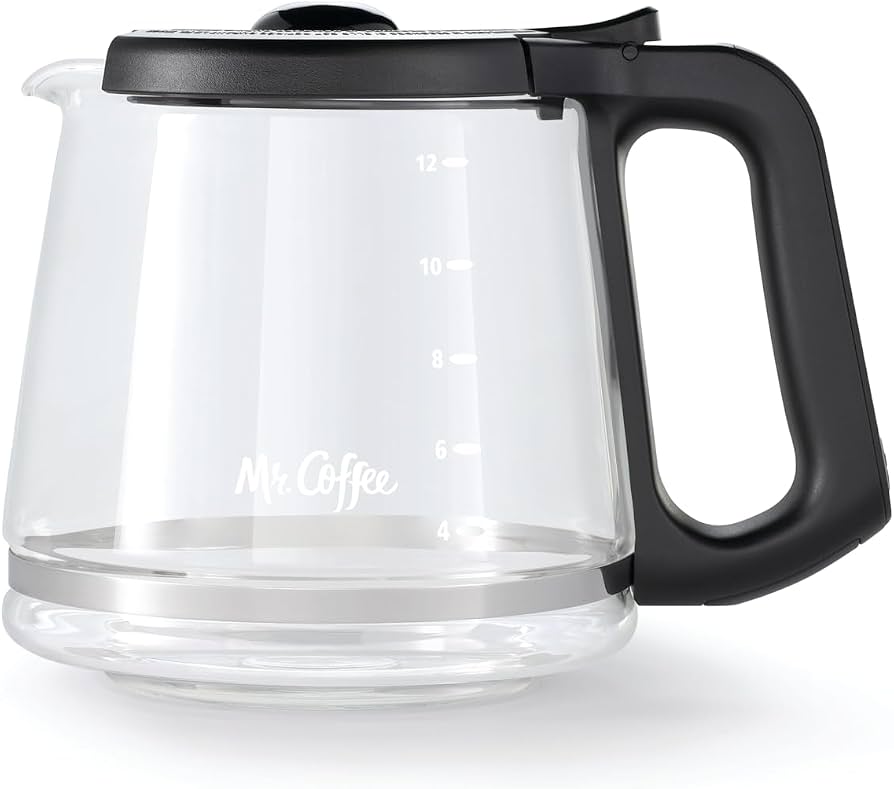
Mr. Coffee Replacement Carafe
If the carafe has a hairline crack, the machine may not trigger the interlock switch—while also leaking hot coffee onto your counter.
Best for: When the carafe is cracked or the handle/lid is damaged, preventing proper interaction with the brew switch.
Price Range: $15–$25
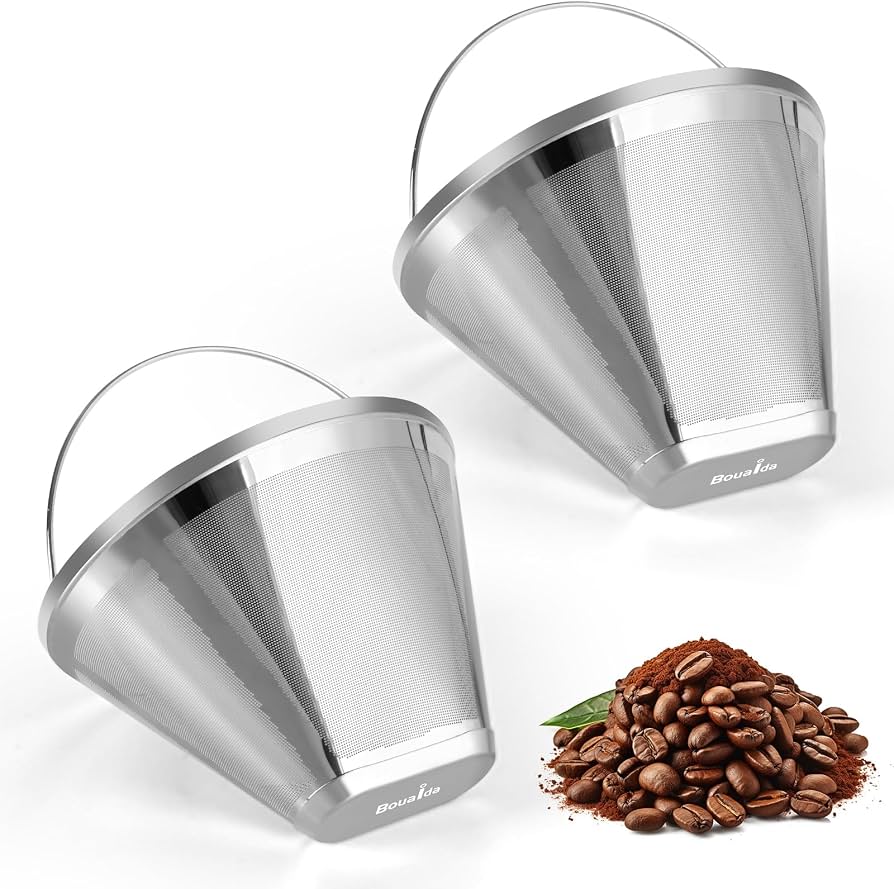
Reusable Stainless Steel #4 Cone Coffee Filter
Prevents torn paper filters from letting coffee grounds into your reservoir and water lines, a common cause of clogs.
Best for: If you use paper filters that tear or are looking to reduce waste and clogging.
Price Range: $8–$15