
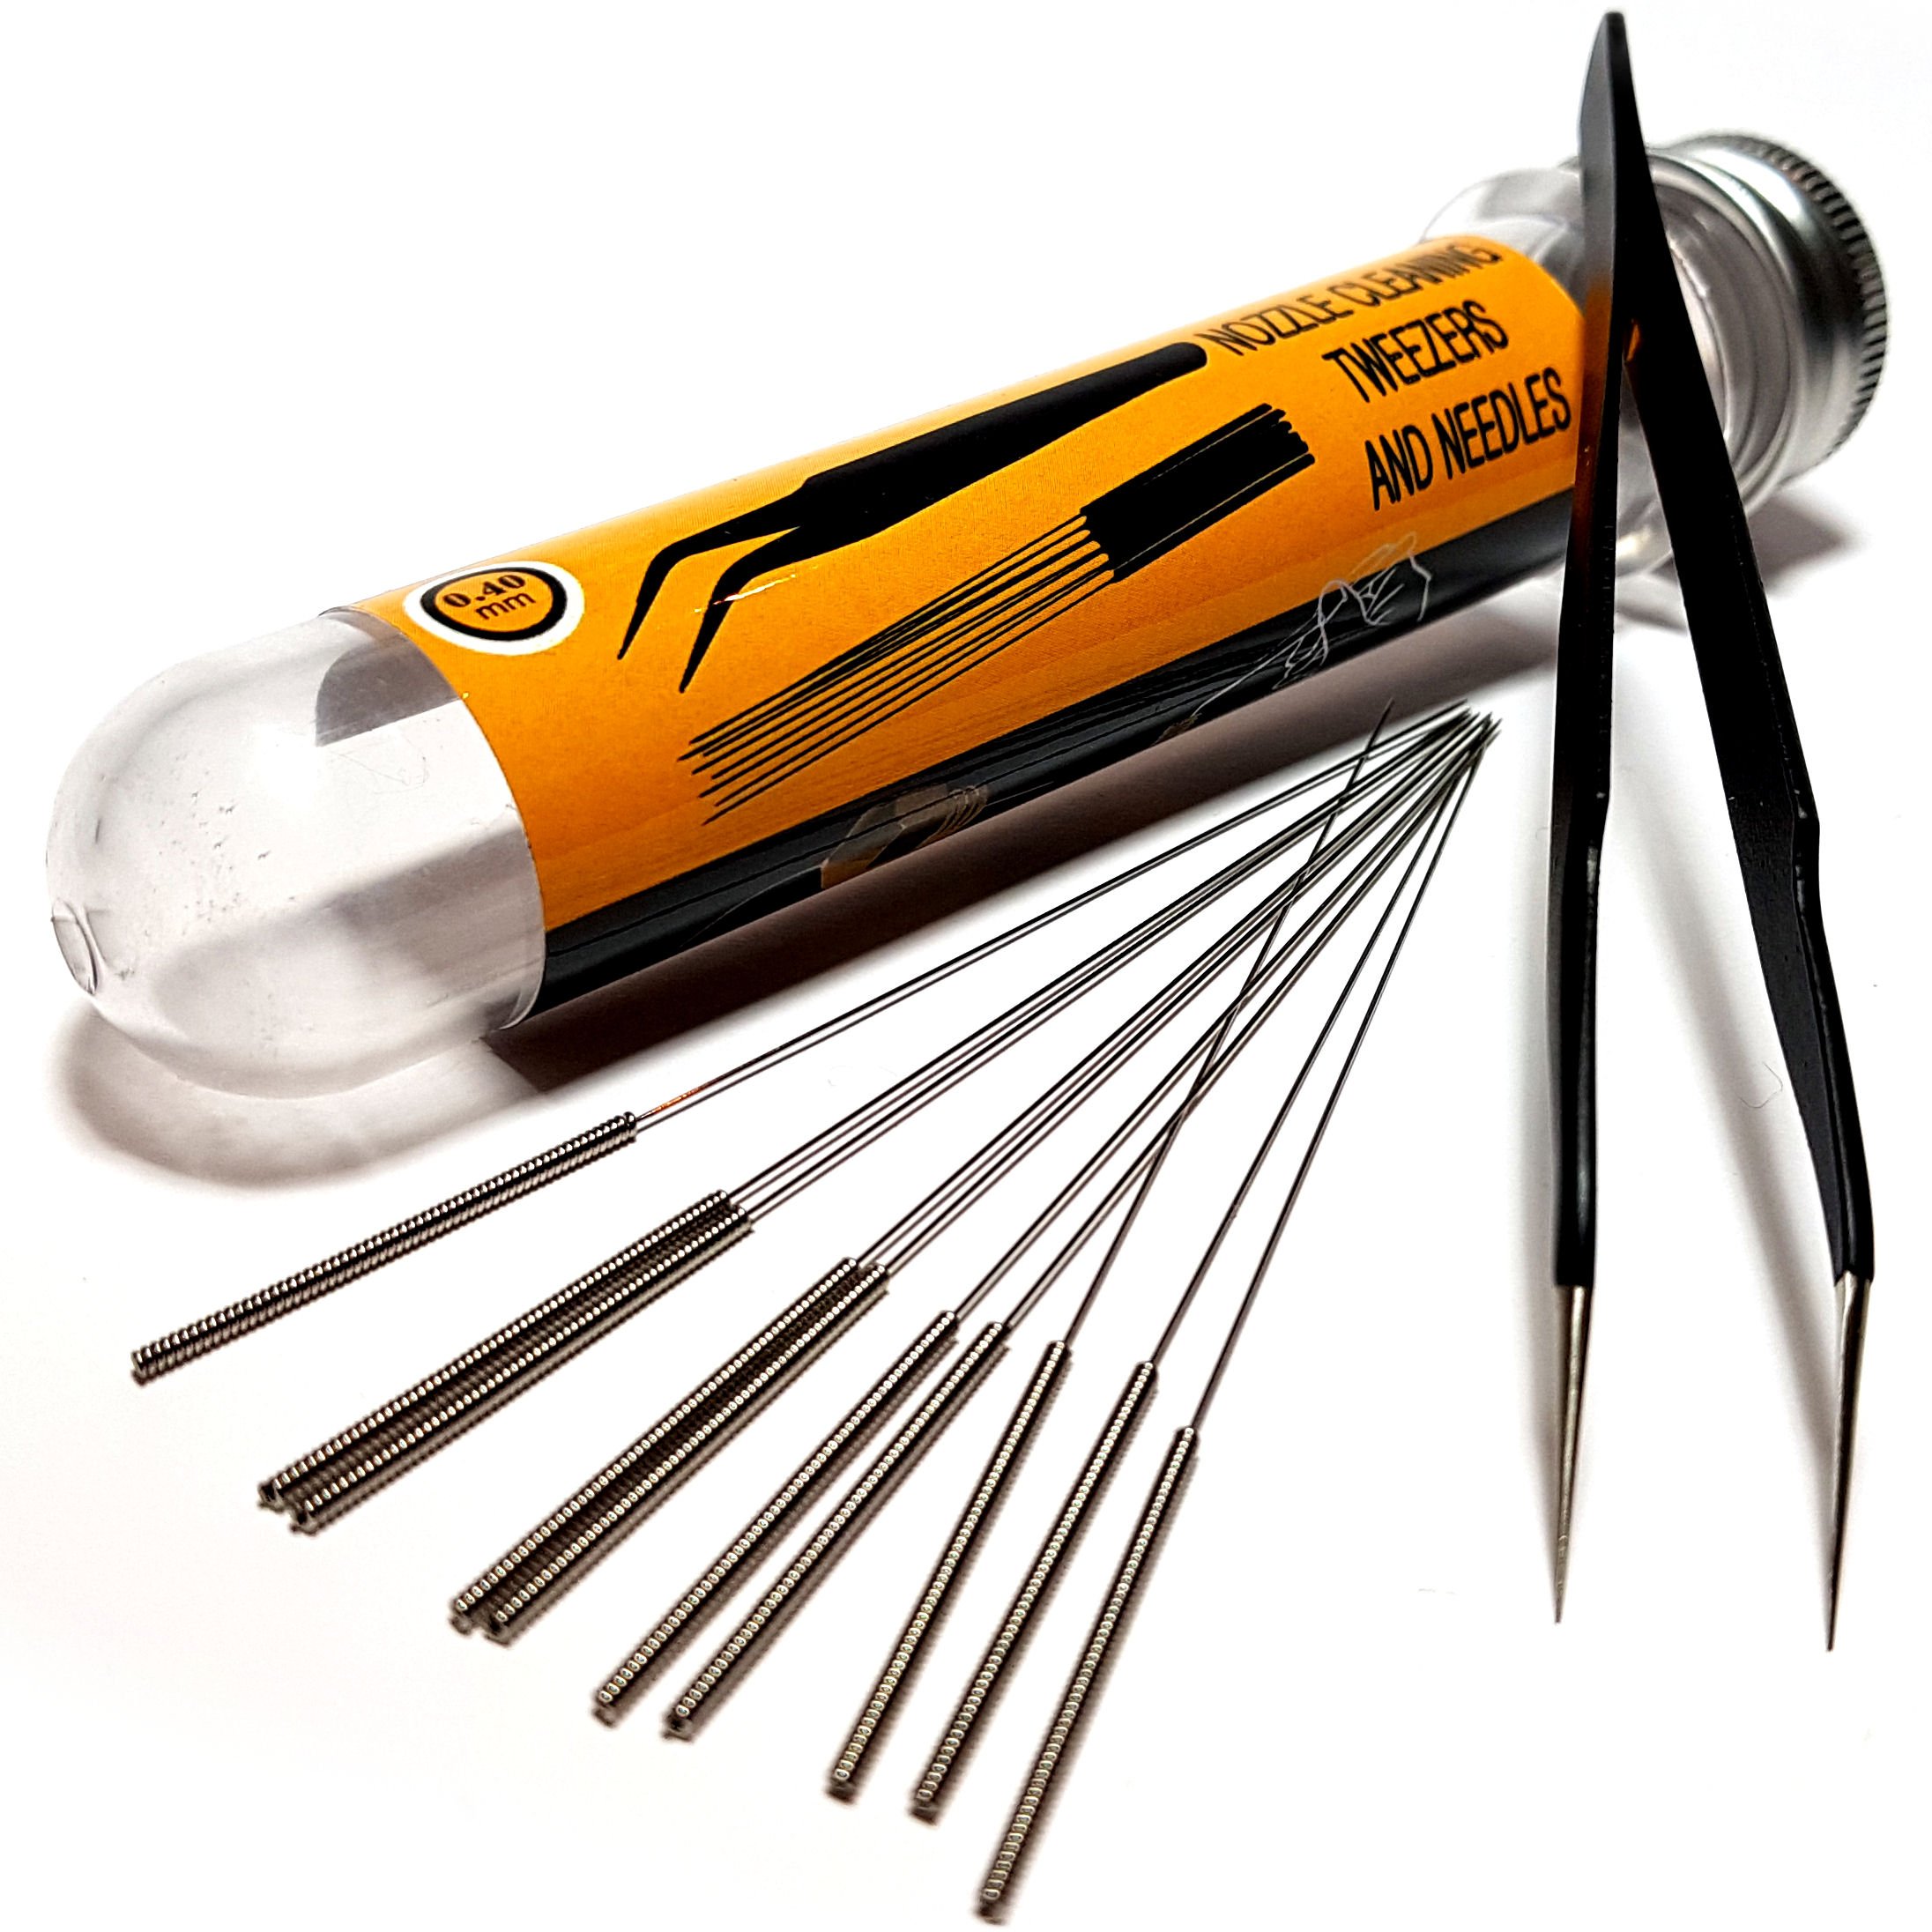
Nozzle Cleaning Kit
When you need to clean the nozzle without removing it; the 0.4mm needle fits most standard nozzles.
$8 - $15
Nozzle Cleaning Kit Essential for clearing clogs quickly and safely without disassembly.
Get the App
Better experience on mobile
Learn step-by-step troubleshooting to diagnose and fix extrusion issues in your FDM 3D printer.
Few things are more frustrating than a 3D printer that refuses to extrude filament. You’ve leveled the bed, loaded the filament, and hit print—only to watch the nozzle move over an empty build plate. Extrusion failures can stem from simple problems like a tangled spool or more complex issues like a heat creep or clogged hotend. This guide will walk you through the most common causes and solutions, helping you get back to successful printing in 30-45 minutes. We’ll cover everything from basic filament checks to advanced cold pulls and extruder adjustments.
Estimated Time: 30-45 minutes Difficulty: intermediate
Start with the simplest cause: filament issues. Ensure the spool isn’t tangled, kinked, or empty. Look for knotted loops—these can create tension that prevents the extruder from pulling filament. Also check if the filament diameter is consistent (1.75mm is standard). If you’re using a new spool, unspool few meters and re-spool tightly. Overlapping strands can cause snags. If the filament is brittle or moist, it may snap in the Bowden tube or under the extruder gear. Dry wet filament in a filament dryer or oven at low temp (45-50°C for PLA) for 4-6 hours.
💡 Tips:
⚠️ Warnings:
Extrusion requires proper melting temperature. Pre-heat your hotend to the filament manufacturer’s recommended setting (usually 190-220°C for PLA). Use your printer’s lcd menu to set the target temperature and wait until it stabilizes. Confirm the actual temperature reading matches setpoint—a faulty thermistor can cause underheating. If the nozzle is too cool, filament won’t flow. Too hot, and it may degrade or cause oozing. Also check the heatbreak fan: if it fails, heat creeps up, softening filament prematurely and causing jams.
💡 Tips:
⚠️ Warnings:
A clogged nozzle is the most common cause of no extrusion. With the hotend hot, retract filament manually. Then remove the nozzle (use appropriate wrench while hotend is at temperature to avoid seizing). Examine the tip: if it’s blocked with burnt plastic or particles, you’ll need to clean or replace it. Look through the nozzle hole—it should be clear. If you see dark or debris, it’s clogged. You can try clearing it with a nozzle cleaning needle (0.4mm) while hot. For stubborn clogs, use a small drill bit or replace the nozzle entirely.
💡 Tips:
⚠️ Warnings:
A cold pull effectively removes internal debris. Heat the hotend to ~220°C (for PLA), then push filament manually until it oozes. Allow hotend to cool to ~90°C (just above glass transition). Then pull the filament out with steady force. The filament should have a small cone at the tip, pulling out any clogs from the nozzle throat. Repeat until the tip comes out clean. This works for partial clogs. Use cleaning filament if available—it has better tackiness.
💡 Tips:
⚠️ Warnings:
A degraded or mis-seated PTFE tube can cause extrusion issues. Remove the Bowden tube from the hotend and inspect its end—it should be square and free of burns or deformities. If it’s melted or charred, cut off the damaged part with a tube cutter (or sharp blade) ensuring a 90° cut. Reinsert fully into the hotend until it bottoms out against the nozzle. Use a PTFE tube alignment tool or a new tube if necessary. For direct drive printers, skip this step or check the filament path from the extruder to hotend.
💡 Tips:
⚠️ Warnings:
If the filament isn’t being pushed, the extruder may be slipping. Remove the filament and inspect the extruder gear. Clean any debris or plastic shavings with a toothbrush. Check the tension arm: on many printers, the spring tension may be too loose. Tighten the screw incrementally while testing. For Bowden setups, ensure the idler bearing turns freely. For direct drive, check that the gear isn’t loose on the motor shaft. If the gear is worn (teeth missing or flattened), replace it.
💡 Tips:
⚠️ Warnings:
Sometimes the problem is in the software. Check your slicer’s extrusion multiplier (flow rate). If it’s too low, under-extrusion occurs. Standard is 1.0 (100%). Also verify nozzle diameter matches your actual nozzle size. Temperature settings should align with the filament profile. If you’re printing too fast, the hotend might not keep up—reduce speed to 40-60 mm/s for troubleshooting. Retraction settings can cause jams if set too high (e.g., >6mm for Bowden)—reduce retraction distance or speed.
💡 Tips:
⚠️ Warnings:
After completing the previous steps, reinstall everything and run a small test print (e.g., a 20mm calibration cube). Watch the first layer carefully: filament should start extruding within seconds of the nozzle reaching the bed. If extrusion is still absent, you may have a deeper issue like a broken hotend heater, thermistor, or extruder motor driver. Consider printing a ‘purge line’ g-code to see if filament flows. If nothing works, consult your printer’s community forums or replace the hotend assembly.
💡 Tips:
⚠️ Warnings:
Problem: Extruder motor clicks or skips steps
Solution: Reduce print speed, increase hotend temperature by 5-10°C, check for nozzle partial clog, or increase extruder current (vref) if safe.
Problem: Filament grinds and creates dust
Solution: Clean extruder gear, loosen idler tension, ensure filament path is clear, and check for hotend clog causing backpressure.
Problem: First layer prints then stops extruding
Solution: Nozzle too close to bed (tighten bed level), heat creep (check fan), or extruder slipping due to heat softening filament near gears.
Problem: Filament oozes out constantly even before print
Solution: Lower nozzle temperature, enable retraction, or perform a PID tune. Also check for stuck filament in heat break.
Essential for clearing clogs quickly and safely without disassembly.
Best for: When you need to clean the nozzle without removing it; the 0.4mm needle fits most standard nozzles.
Price Range: $8 - $15
Higher temperature resistance and lower friction than standard PTFE, reducing jams and improving extrusion consistency.
Best for: Upgrade your Bowden tube to prevent heat creep and friction issues.
Price Range: $12 - $20
Spare nozzles are cheap and save hours of troubleshooting—just swap if clogged.
Best for: Replace old or damaged nozzles; having different sizes lets you experiment with layer heights.
Price Range: $10 - $20
Precise measurement of filament diameter and e-step calibration ensures accurate extrusion.
Best for: Measure filament diameter before printing and calibrate extruder steps per mm.
Price Range: $15 - $40
Designed for cold pulls—more effective than regular filament at removing carbonized residue.
Best for: Perform periodic maintenance cleanings to keep hotend pristine.
Price Range: $12 - $20
When you need to clean the nozzle without removing it; the 0.4mm needle fits most standard nozzles.
Nozzle Cleaning Kit Essential for clearing clogs quickly and safely without disassembly.
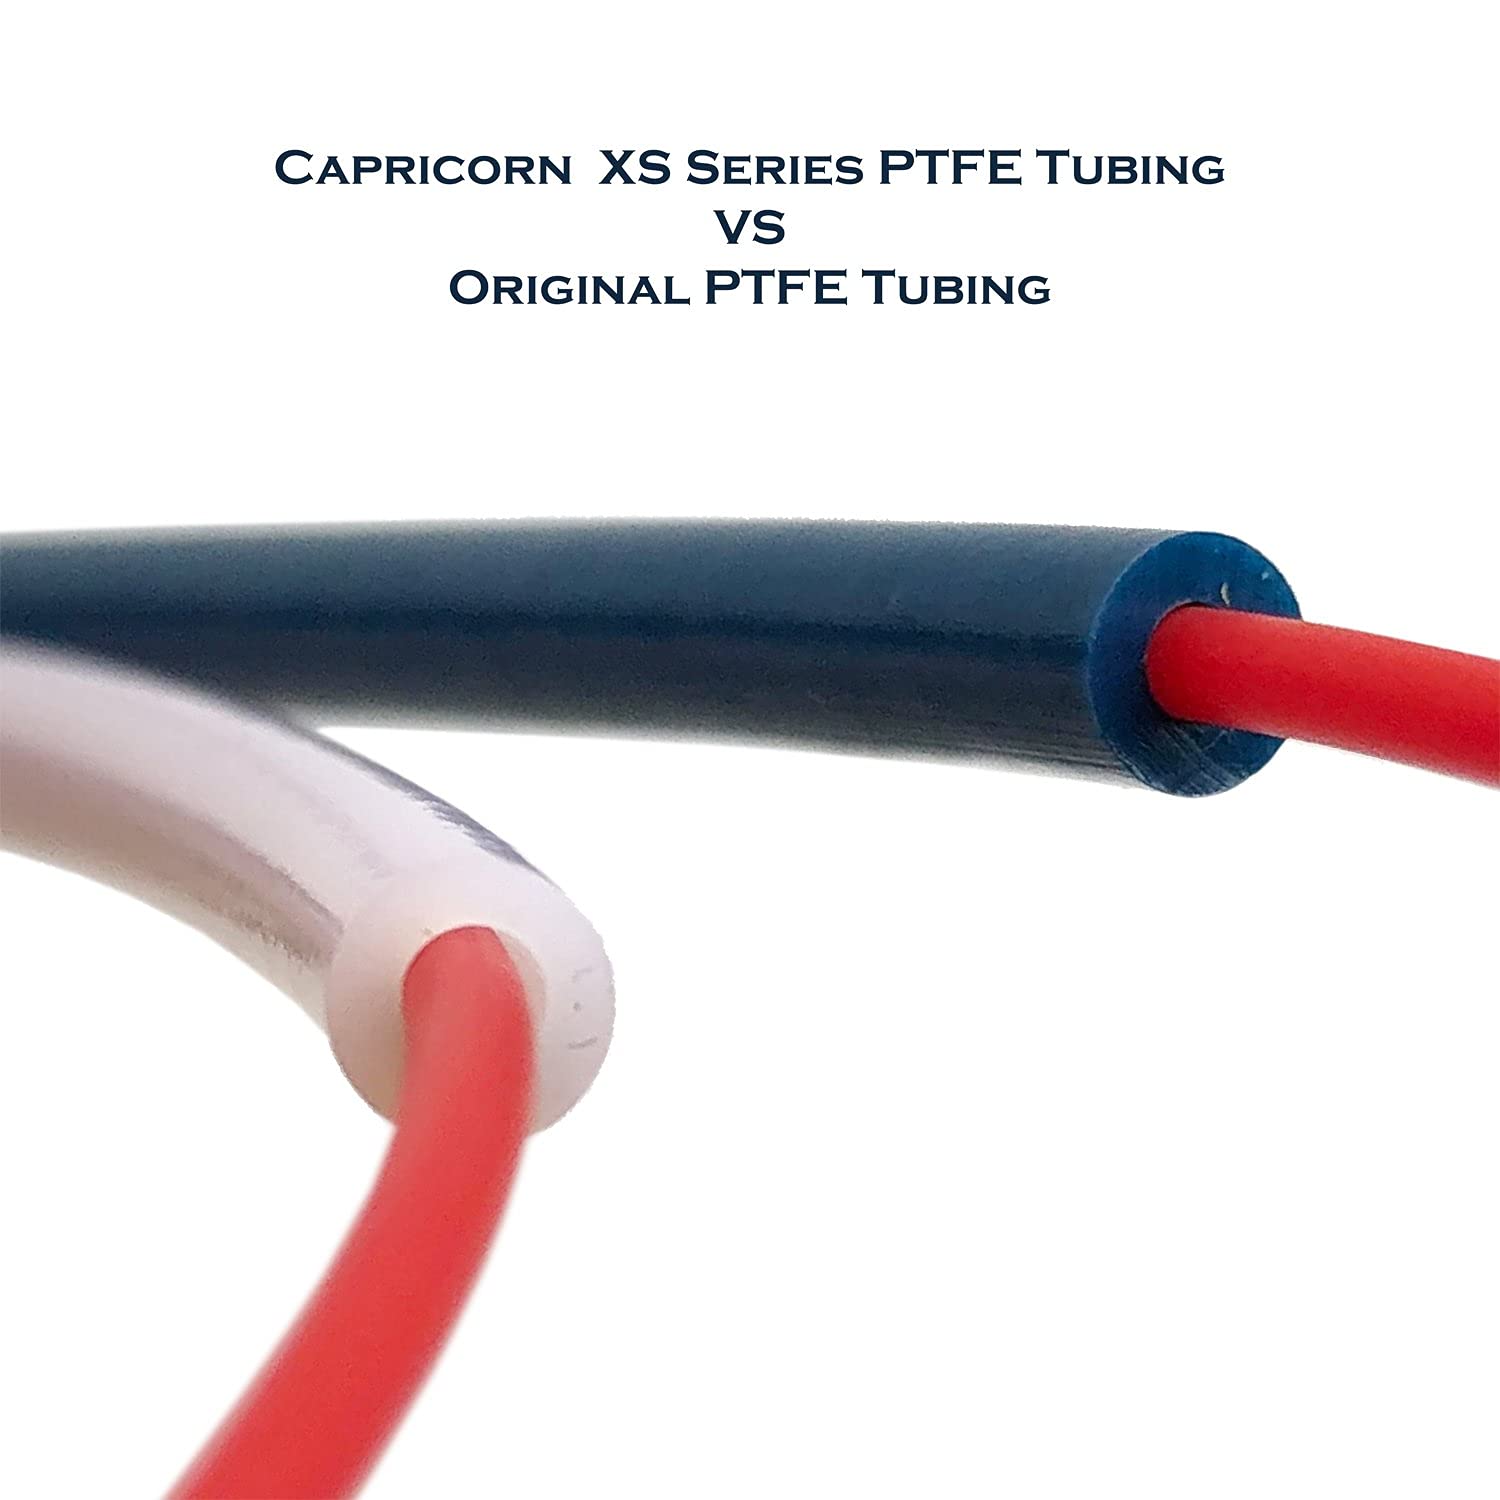
Upgrade your Bowden tube to prevent heat creep and friction issues.
Capricorn PTFE Tubing (XS Series) Higher temperature resistance and lower friction than standard PTFE, reducing jams and improving extrusion consistency.
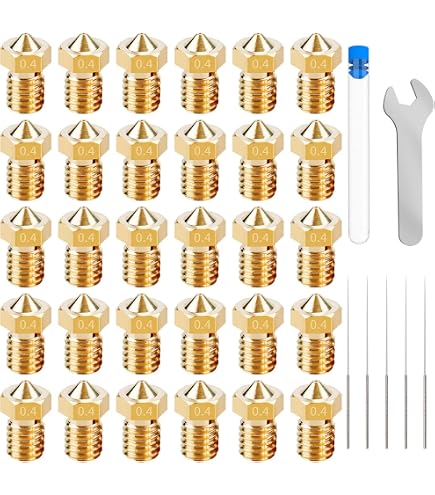
Replace old or damaged nozzles; having different sizes lets you experiment with layer heights.
Assorted Brass Nozzles (0.4mm, 0.6mm, etc.) Spare nozzles are cheap and save hours of troubleshooting—just swap if clogged.

Measure filament diameter before printing and calibrate extruder steps per mm.
Digital Caliper Precise measurement of filament diameter and e-step calibration ensures accurate extrusion.
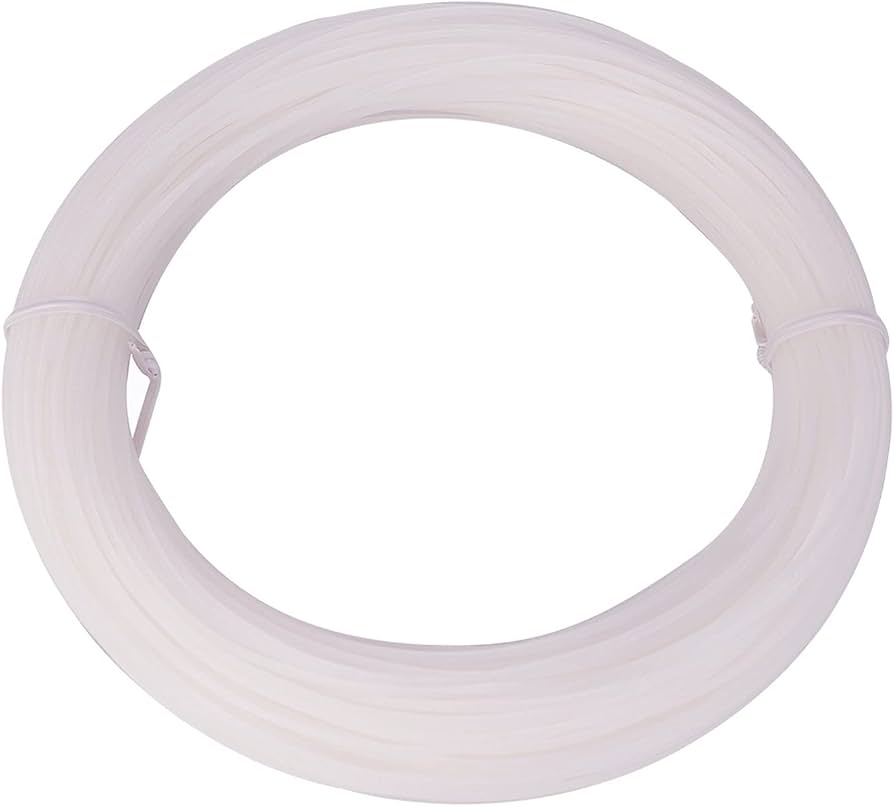
Perform periodic maintenance cleanings to keep hotend pristine.
Cleaning Filament (eSun or similar) Designed for cold pulls—more effective than regular filament at removing carbonized residue.