
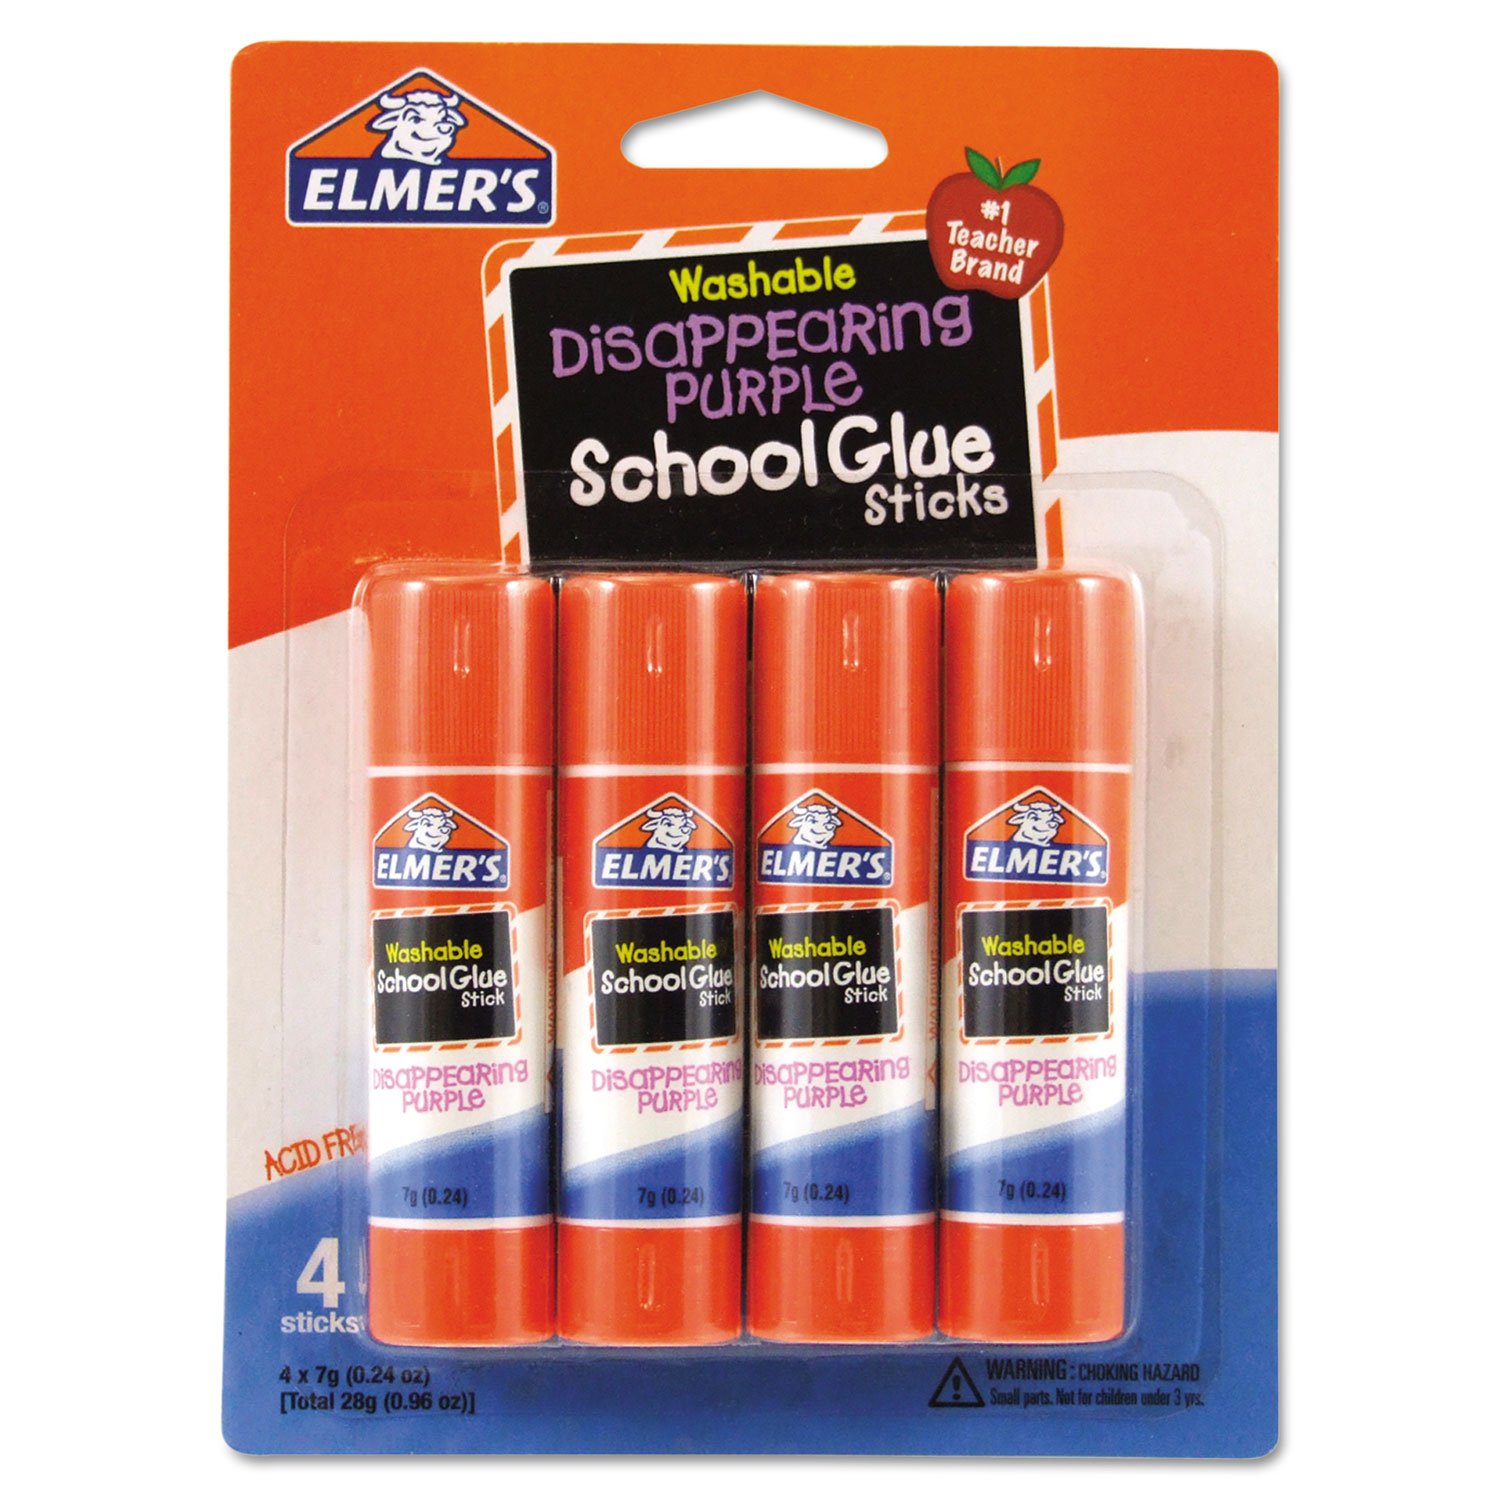
Elmer's Disappearing Purple Glue Sticks
Use on glass or smooth PEI beds as a reliable adhesion aid.
$5–$10
Elmer's Disappearing Purple Glue Sticks Provides excellent adhesion for PLA and PETG, dries clear, and is easy to apply and wash off.
Get the App
Better experience on mobile
Learn practical steps to improve bed adhesion and achieve successful first layers on your FDM 3D printer.
Few things are more frustrating than starting a 3D print only to have it peel off the bed halfway through. Poor bed adhesion is one of the most common issues beginners face, but it's usually easy to fix. This guide walks you through the most effective methods to get your prints to stick reliably—from cleaning and leveling to choosing the right bed surface. By the end, you'll know exactly how to troubleshoot and prevent adhesion problems. Expect to spend about 30–60 minutes on the initial setup, and you'll save hours of failed prints.
Estimated Time: 30–60 minutes for initial troubleshooting; 10 minutes for routine checks Difficulty: beginner
Even a tiny bit of oil from your fingers can ruin adhesion. Start by washing the bed with warm water and dish soap, then wipe it down with isopropyl alcohol. Let it dry completely. For glass beds, use a razor blade to remove any residue. A clean surface gives your filament something to grab onto.
💡 Tips:
⚠️ Warnings:
An unlevel bed is the #1 cause of adhesion problems. Home all axes, then manually level the bed by moving the nozzle to each corner and adjusting the bed screws until there is a slight drag on a piece of paper between nozzle and bed. Repeat until all corners feel consistent. Many printers now have auto‑leveling—run that routine as specified in your manual.
💡 Tips:
⚠️ Warnings:
Even with a level bed, the nozzle must be at the right height. For the first layer, you want the nozzle to squish the filament slightly into the bed. If it’s too high, the filament won’t stick; too low and it will drag. Use a calibration first layer print to dial in your Z‑offset. The ideal first layer looks smooth and slightly translucent, without gaps or ridges.
💡 Tips:
⚠️ Warnings:
Different materials require different bed temperatures. PLA typically sticks best at 50–60°C, PETG at 70–80°C, ABS at 90–110°C. Check the filament manufacturer’s recommendations. If the bed is too cold, the print will lift; if too hot, it may warp or cause elephant’s foot. Let the bed heat up for a few minutes before starting the print.
💡 Tips:
⚠️ Warnings:
If cleaning and leveling aren’t enough, add an adhesion helper. A glue stick (like Elmer’s purple) applied in a thin layer provides excellent grip for PLA and PETG. Blue painter’s tape works well for PLA and ABS. Hairspray is another option, but it can be messy. For glass beds, a thin layer of PVA glue or specialized 3D printing adhesive is ideal.
💡 Tips:
⚠️ Warnings:
Wet or old filament can cause inconsistent extrusion and poor adhesion. Filament that snaps easily or makes popping sounds when printing is likely moisture‑logged. Store filament in a dry box or use a filament dryer before printing. PETG and nylon are especially hygroscopic.
💡 Tips:
⚠️ Warnings:
The slicer controls how the first layer behaves. Increase the initial layer height (e.g., 0.28mm for a 0.4mm nozzle) to give more squish. Set the initial layer width to 100–120% of nozzle diameter for better adhesion. Slow down the first layer speed to 20–30 mm/s. Disable cooling fan for the first few layers of PLA to prevent warping.
💡 Tips:
⚠️ Warnings:
If you’ve tried everything and still struggle, the stock build surface might be the culprit. PEI sheets (on spring steel) offer excellent adhesion for PLA and PETG, and prints pop off when cool. Glass with a thin layer of glue stick is also reliable. Flexible magnetic plates make removal easy. Many aftermarket beds are inexpensive and can transform your printing experience.
💡 Tips:
⚠️ Warnings:
Problem: Print lifts at corners (warping)
Solution: Increase bed temperature by 5–10°C, add a brim, reduce cooling fan speed, or use an enclosure to block drafts.
Problem: First layer has gaps or is transparent
Solution: Increase initial layer flow (105–110%) or lower the Z‑offset slightly to get more squish.
Problem: Nozzle drags across the bed or scratches it
Solution: Check Z‑offset is not too low; re‑level the bed and ensure all corners are even.
Problem: Print sticks too well and damages bed upon removal
Solution: Let bed cool completely, use a flexible spatula, or apply a release agent like glue stick before printing.
Provides excellent adhesion for PLA and PETG, dries clear, and is easy to apply and wash off.
Best for: Use on glass or smooth PEI beds as a reliable adhesion aid.
Price Range: $5–$10
PEI offers strong adhesion when hot and releases prints when cool; spring steel makes removal effortless.
Best for: Ideal upgrade for any printer with a magnetic bed, especially for PLA and PETG.
Price Range: $25–$40
Takes the guesswork out of manual leveling and ensures consistent first layers every time.
Best for: Great for beginners or anyone tired of manual bed leveling.
Price Range: $35–$50
Dries damp filament to restore optimal extrusion and adhesion, especially for hygroscopic materials like PETG and nylon.
Best for: Store and dry filament spools to prevent moisture‑related adhesion problems.
Price Range: $35–$50
Widely available and works well for PLA and ABS; provides a textured surface that grips filament.
Best for: Temporary or permanent bed covering for smooth beds; easy to replace.
Price Range: $5–$10 per roll
Use on glass or smooth PEI beds as a reliable adhesion aid.
Elmer's Disappearing Purple Glue Sticks Provides excellent adhesion for PLA and PETG, dries clear, and is easy to apply and wash off.
Ideal upgrade for any printer with a magnetic bed, especially for PLA and PETG.
TH3D Studio PEI Sheet with Spring Steel PEI offers strong adhesion when hot and releases prints when cool; spring steel makes removal effortless.
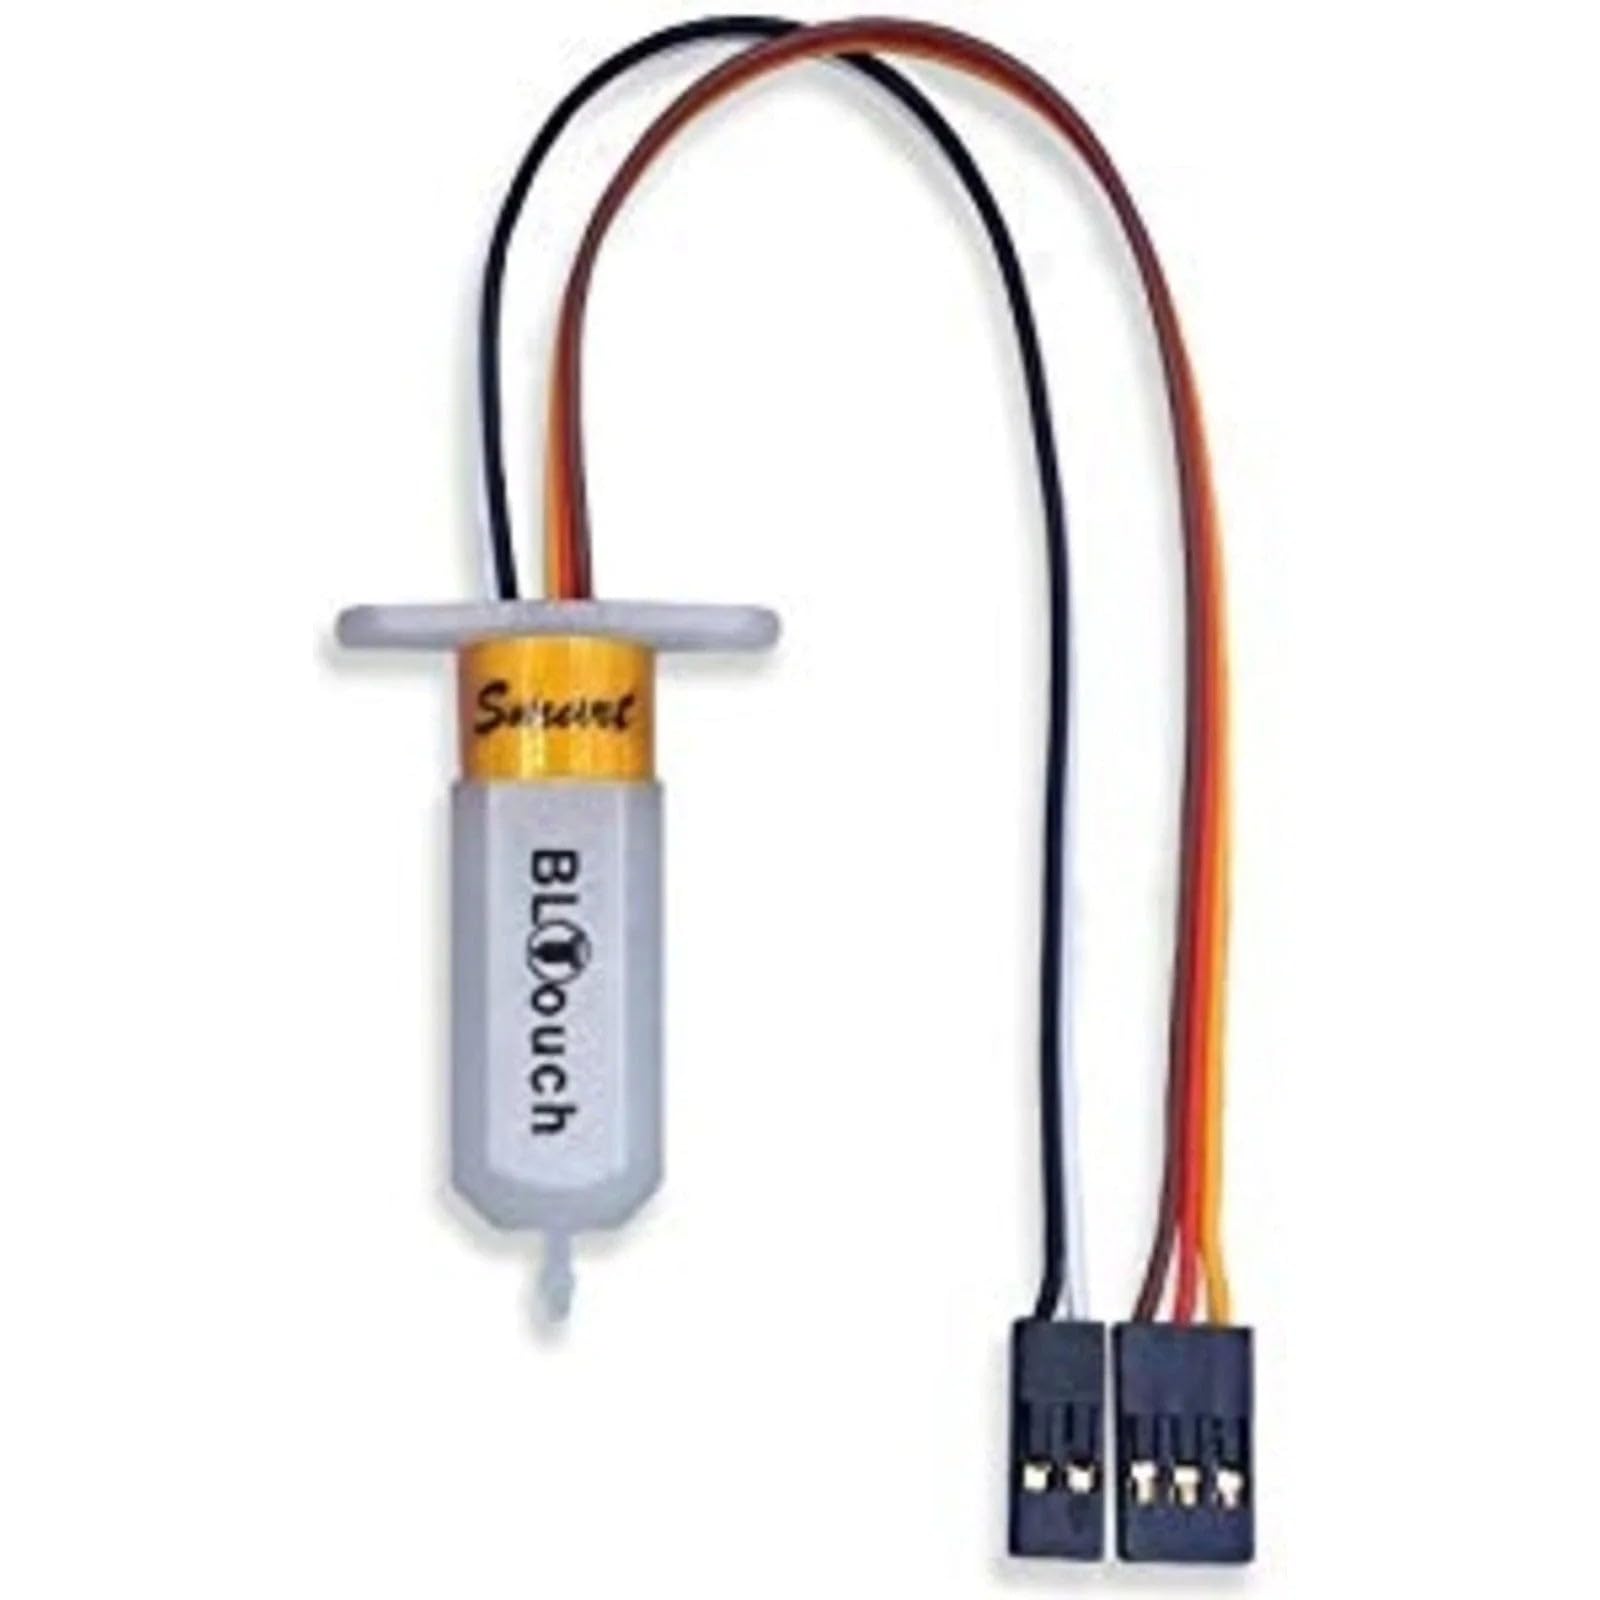
Great for beginners or anyone tired of manual bed leveling.
BLTouch Auto Bed Leveling Sensor Takes the guesswork out of manual leveling and ensures consistent first layers every time.
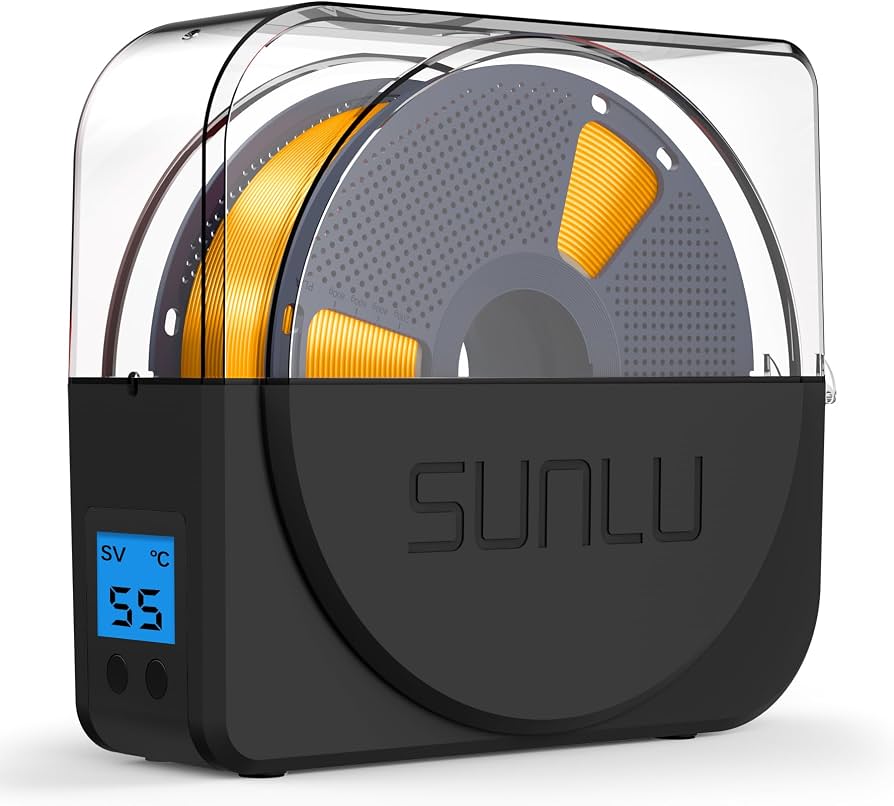
Store and dry filament spools to prevent moisture‑related adhesion problems.
SUNLU Filament Dryer Box Dries damp filament to restore optimal extrusion and adhesion, especially for hygroscopic materials like PETG and nylon.
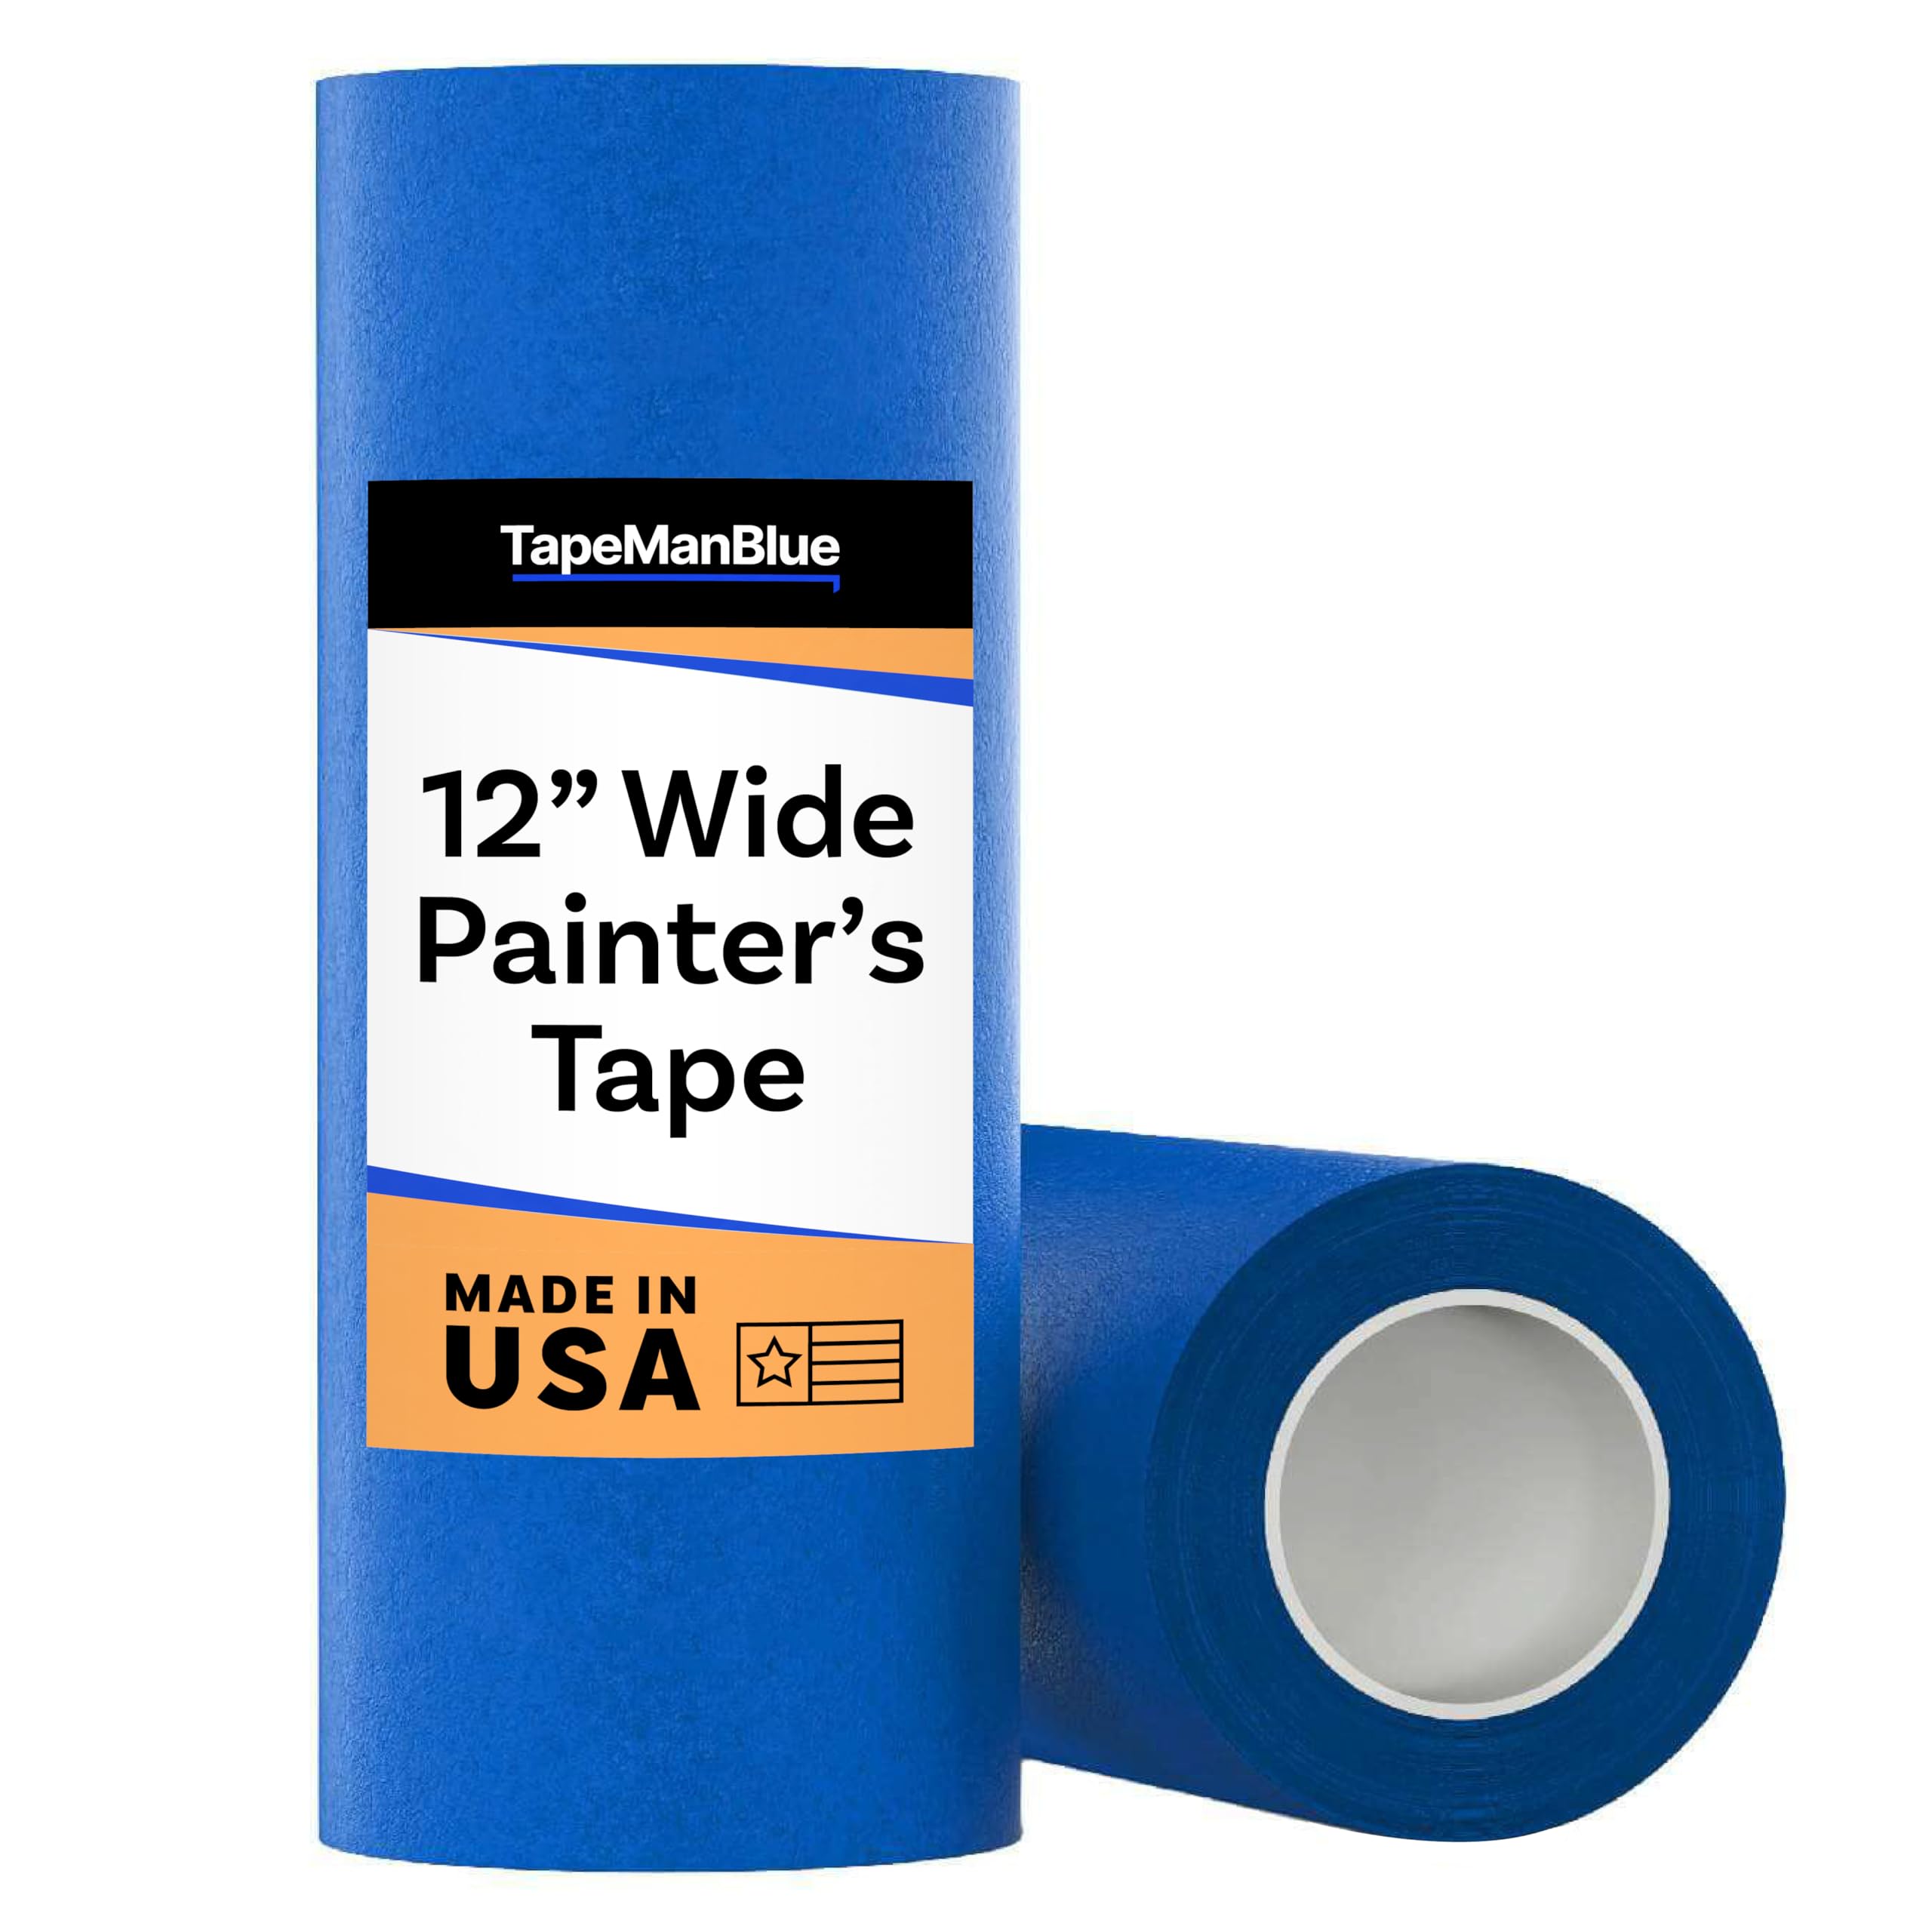
Temporary or permanent bed covering for smooth beds; easy to replace.
3D Printer Build Surface Painters Tape (Blue Tape) Widely available and works well for PLA and ABS; provides a textured surface that grips filament.