A 2-in-1 laptop that refuses to power on can be frustrating, but often the issue is something simple you can fix at home without a repair shop. Whether it's a drained battery, a stuck power button, or a software glitch, this guide walks you through safe, beginner-friendly troubleshooting steps. We'll cover everything from checking the charger to performing a hard reset, with tips to avoid common mistakes. By the end, you'll know how to revive your device or determine if professional help is needed. The process typically takes 15–30 minutes and requires no special tools.
▸What You'll Need
- •Your 2-in-1 laptop and its original power adapter
- •A working power outlet (test with another device)
- •A small screwdriver (for models with removable batteries, optional)
- •A flashlight for inspecting ports
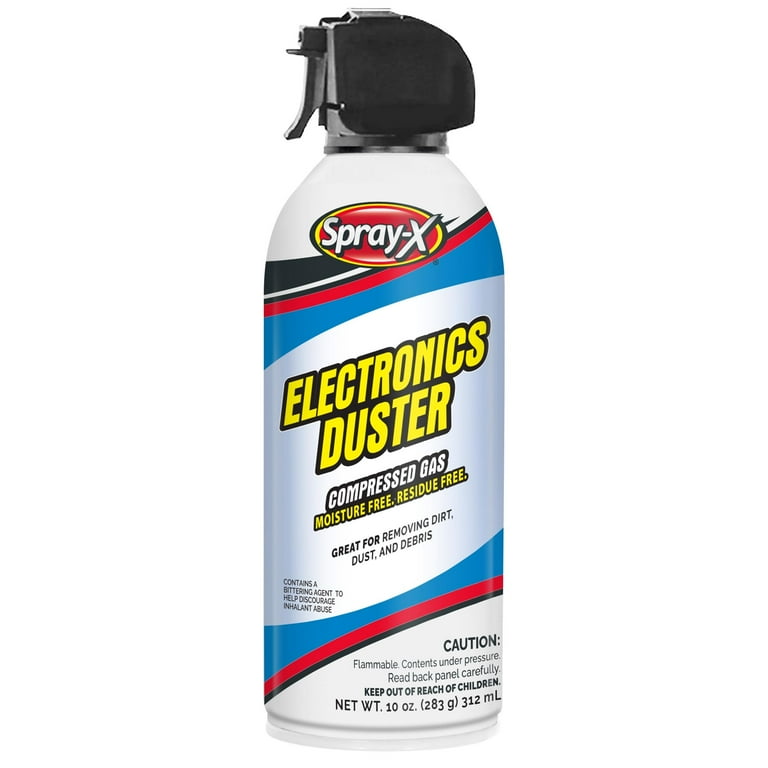
- •Compressed air can (optional, for cleaning vents and ports)
- •A paperclip or SIM eject tool (for emergency reset pinhole)
Estimated Time: 15–30 minutes
Difficulty: beginner
▸Step-by-Step Instructions
Step 1: Check the Power Source and Adapter
Start with the simplest cause: no power reaching the laptop. Plug the charger firmly into both the wall outlet and the laptop. Ensure the outlet is working by testing with another device like a phone charger. Look at the LED light on the adapter brick or near the charging port – if it's off, the adapter may be faulty. Try a different outlet and, if possible, test with a compatible charger. If the laptop has a removable battery, try charging with the battery removed to isolate the issue.
💡 Tips:
- •Avoid using extension cords or surge protectors – plug directly into the wall.
- •Inspect both ends of the charging cable for bent pins or damage.
⚠️ Warnings:
- •Never use a third-party charger with incorrect voltage – it can damage the motherboard.
Step 2: Perform a Hard Reset (Battery Drain)
A hard reset clears residual power from the laptop's components and can wake a frozen system. For models with a removable battery: shut down, unplug the charger, remove the battery, press and hold the power button for 30 seconds, then reinstall the battery and plug in. For sealed batteries: unplug, then press and hold the power button for 30–60 seconds. Some 2-in-1s also have a tiny pinhole reset button on the bottom or side – use a paperclip to press it for 10 seconds.
💡 Tips:
- •Hold the power button longer than you think – up to 60 seconds for stubborn units.
- •After the reset, try powering on without the charger first, then with it.
⚠️ Warnings:
- •On some models, holding the power button for over 10 seconds during normal operation triggers a forced shutdown, not a reset. Only do this when the laptop is completely off.
Step 3: Check the Charging Port and Battery Health
Inspect the charging port for debris, bent pins, or loose connections – use a flashlight and compressed air to clean it gently. For USB-C charging ports, check if the cable is fully inserted. If the laptop has been unused for months, the battery may have entered deep discharge mode. In that case, leave it plugged in for at least 30 minutes (some models require up to 2 hours) before trying to power on. A completely dead battery won't show any signs of life immediately.
💡 Tips:
- •Use a multimeter (if available) to test charger output voltage.
- •For USB-C laptops, try a different USB-C cable and a higher-wattage charger (e.g., 65W instead of 30W).
⚠️ Warnings:
- •Do not insert metal objects into the charging port – use only compressed air or plastic tools.
Step 4: Listen and Look for Signs of Life
Even if the screen stays black, the laptop might be partially on. Listen for fan noise, hard drive spin (clicking), or beeps. Look for keyboard backlight, status LEDs (caps lock, power), or screen backlight bleed (a faint glow). If you hear beeps, count the pattern – it's a POST error code that indicates a hardware fault (e.g., RAM or motherboard). Search for your laptop brand + 'beep codes' to interpret. No signs at all suggest a power delivery or motherboard issue.
💡 Tips:
- •Press the Caps Lock key – if the light toggles, the system is alive but the display may be dead.
- •Connect an external monitor via HDMI or USB-C to test if the built-in screen is the problem.
⚠️ Warnings:
- •If you hear repeated clicking, stop immediately – it may indicate a dying hard drive that needs data recovery.
Step 5: Try an External Display
If the laptop appears to power on (fans, lights) but the screen remains black, the issue may be a faulty display or loose internal cable. Connect an external monitor via HDMI, DisplayPort, or USB-C. On most 2-in-1s, you need to press a function key (like F4 or the monitor icon) to switch output after connecting. If the external monitor shows your desktop, the laptop's screen or its connector is likely the culprit. If no image appears on external display either, the problem could be with the GPU or motherboard.
💡 Tips:
- •Try different external display inputs (HDMI, VGA) if available.
- •Boot into BIOS (by pressing F2, F10, or Del repeatedly during startup) – if BIOS appears on external monitor, software issues are likely.
⚠️ Warnings:
- •Some tablet-mode 2-in-1s have the display connector located near the hinge – avoid forcing the screen angle.
Step 6: Boot into Recovery or Safe Mode
If the laptop turns on but Windows crashes or loops, you may need to access recovery. Power on and immediately press the power button again to force shutdown – repeat 3 times. On the 4th start, Windows should enter Automatic Repair. From there, choose Advanced Options > Troubleshoot > Startup Settings > Restart > then select Safe Mode (press 4 or F4). In Safe Mode, you can uninstall recent updates, run virus scans, or use System Restore. If you can't get into Windows, use a Windows installation USB to access recovery tools.
💡 Tips:
- •Create a Windows recovery USB on another computer before you need it – it's a lifesaver.
- •If the laptop was working before a recent update, use System Restore to roll back.
⚠️ Warnings:
- •System Restore requires a restore point to exist – it's not available if you never created one.
Step 7: Reseat Internal Components (If Comfortable)
If you’re comfortable opening the laptop, reseating RAM and the SSD can fix connectivity issues. For 2-in-1s with a detachable keyboard, the internals are often in the tablet portion. Power off, unplug, remove the bottom cover (watch a YouTube teardown for your model), disconnect the battery cable, then remove and reinstall RAM sticks and the SSD. Be careful with ribbon cables. After reassembly, try powering on. This step is intermediate; if not confident, skip to professional service.
💡 Tips:
- •Use a non-magnetic screwdriver and an anti-static wrist strap to avoid damaging components.
- •Take a photo of cable routing before disconnecting anything.
⚠️ Warnings:
- •Opening your laptop may void the warranty – check before proceeding.
- •Some 2-in-1s have soldered RAM – you cannot reseat it.
Step 8: Test the Power Button (Intermittent Failure)
A faulty power button can cause a no-power symptom. If your laptop has a power button that feels sticky or requires excessive force, it might be broken. Some 2-in-1s have a pinhole cold reset button that bypasses the main power button. Use a paperclip to press it. Alternatively, if your laptop supports Wake-on-USB, plugging in a USB mouse and pressing a button might wake it. For detachable keyboards, try connecting the keyboard and using the keyboard's power button if available.
💡 Tips:
- •If the power button is on the side, check if it's stuck due to case flex.
- •For Surface Pro-style devices, press the volume-up and power buttons simultaneously to force a boot.
⚠️ Warnings:
- •Don't use excessive force on the power button – you can damage the switch.
▸Pro Tips
- •Keep your 2-in-1 charged above 20% to avoid deep battery discharge.
- •Use a surge protector to prevent power spikes from damaging the charger or motherboard.
- •Clean the charging port monthly with compressed air to prevent debris buildup.
- •If you suspect a dead battery, try booting with the charger plugged in and the battery disconnected (if removable).
- •Bookmark your laptop's service manual – it contains troubleshooting flowcharts and disassembly guides.
- •For persistent issues, check the Windows Event Viewer (if you can boot) for critical errors around shutdown time.
- •Many 2-in-1s have a 'tablet mode' hardware switch that can interfere with startup – toggle it a few times.
▸Common Mistakes to Avoid
- •Assuming the laptop is completely dead when it's just in deep sleep – try a 30-second power button hold.
- •Using an underpowered charger (e.g., phone charger for a laptop) – it may provide some power but not enough to boot.
- •Ignoring the external monitor test – many think the entire system is dead when only the screen fails.
- •Overtightening screws when reassembling – can strip threads or crack the chassis.
- •Forgetting to reconnect the internal battery cable after reseating components – the laptop will appear dead.
▸Troubleshooting
Problem: Laptop powers on but screen stays black, and external display works.
Solution: The built-in display or its cable is likely faulty. Check for a loose connection by gently pressing on the bezel near the hinge. If that doesn't help, professional repair is needed (LCD replacement).
Problem: Laptop beeps three times repeatedly.
Solution: Three beeps usually indicate a RAM error. Try reseating the RAM sticks (one at a time) or testing with one stick if you have two. If the beeps change pattern, the RAM may need replacement.
Problem: Laptop turns off immediately after powering on.
Solution: This could be a thermal shutdown (overheating) or a failing power supply. Wait 30 minutes, then try again. If it continues, clean vents with compressed air and ensure the fan spins. If fan is silent, it might be dead.
Problem: Charger LED goes out when plugged into laptop.
Solution: There may be a short circuit inside the laptop, often on the motherboard. Unplug immediately and seek professional repair – attempting to power on could cause further damage.
Problem: Laptop only turns on when plugged in, but battery doesn't charge.
Solution: The battery may have failed or the charging circuit on the motherboard is damaged. Try a battery calibration: charge to 100%, drain completely, then recharge. If still no charging, replace the battery (if removable) or visit a repair shop.
Compressed Air Duster (Electronic Cleaner)
Essential for cleaning dust and debris from charging ports, vents, and fans.
Best for: Use during troubleshooting to clear charging port blockages or reduce overheating.
Price Range: $5–$12
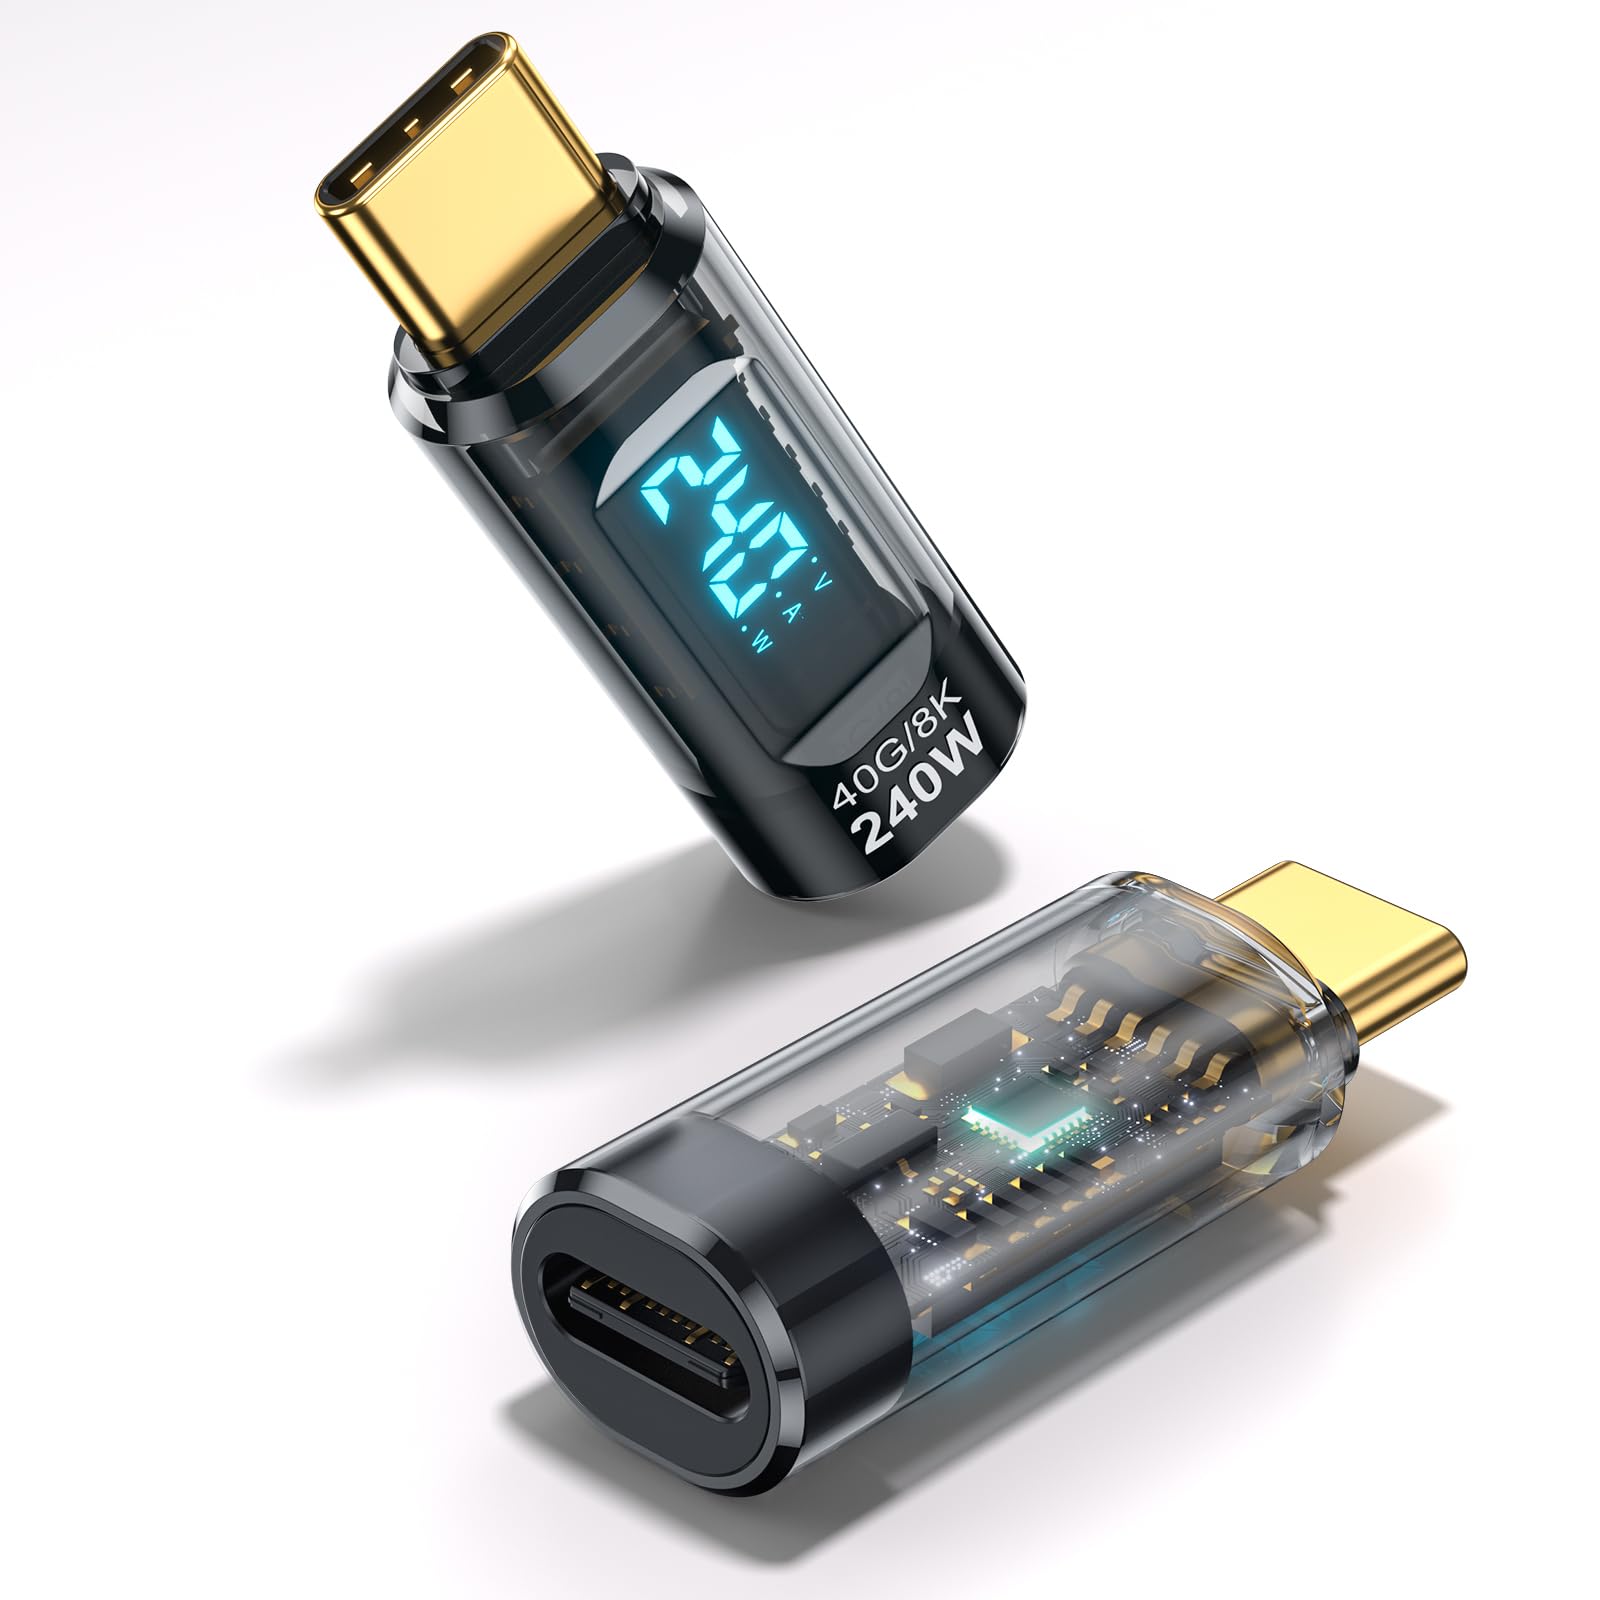
USB-C Multimeter (Power Meter)
Helps verify if your USB-C charger is delivering proper voltage and current.
Best for: Ideal for diagnosing USB-C charging issues on newer 2-in-1s.
Price Range: $20–$30
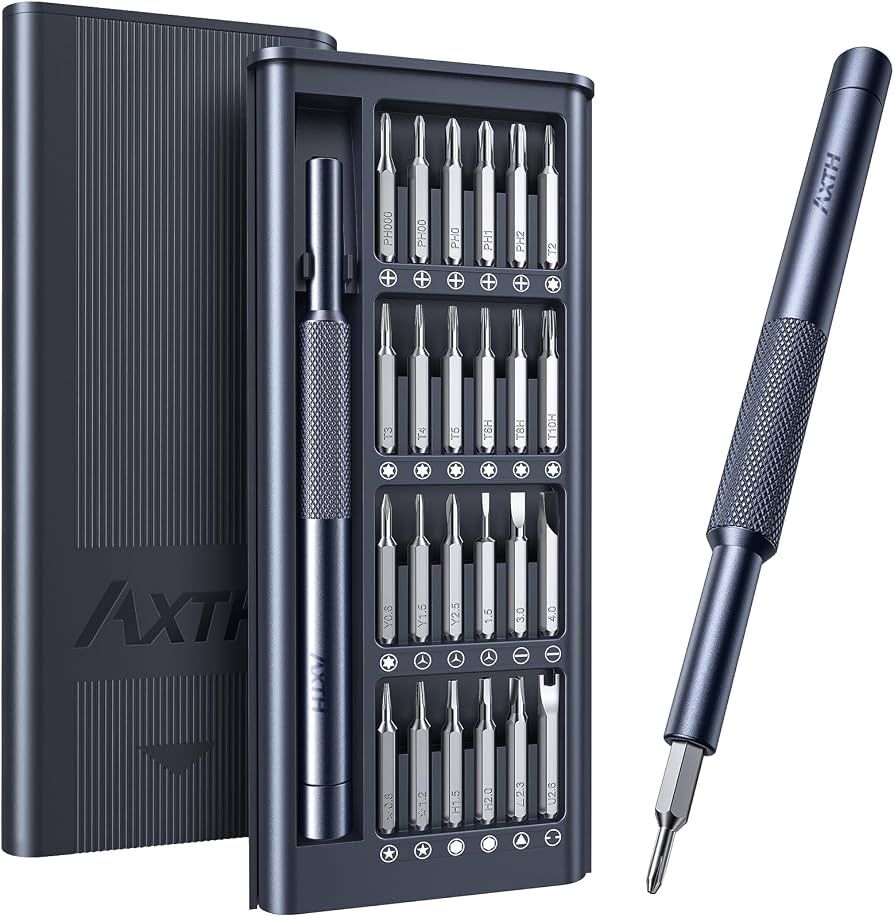
Precision Screwdriver Kit (for Laptops)
Needed for opening the case to reseat RAM or SSD.
Best for: Used when attempting internal component reseating.
Price Range: $10–$25
Anti-Static Wrist Strap
Protects internal components from electrostatic discharge during repair.
Best for: Wear while working inside the laptop to avoid motherboard damage.
Price Range: $5–$10
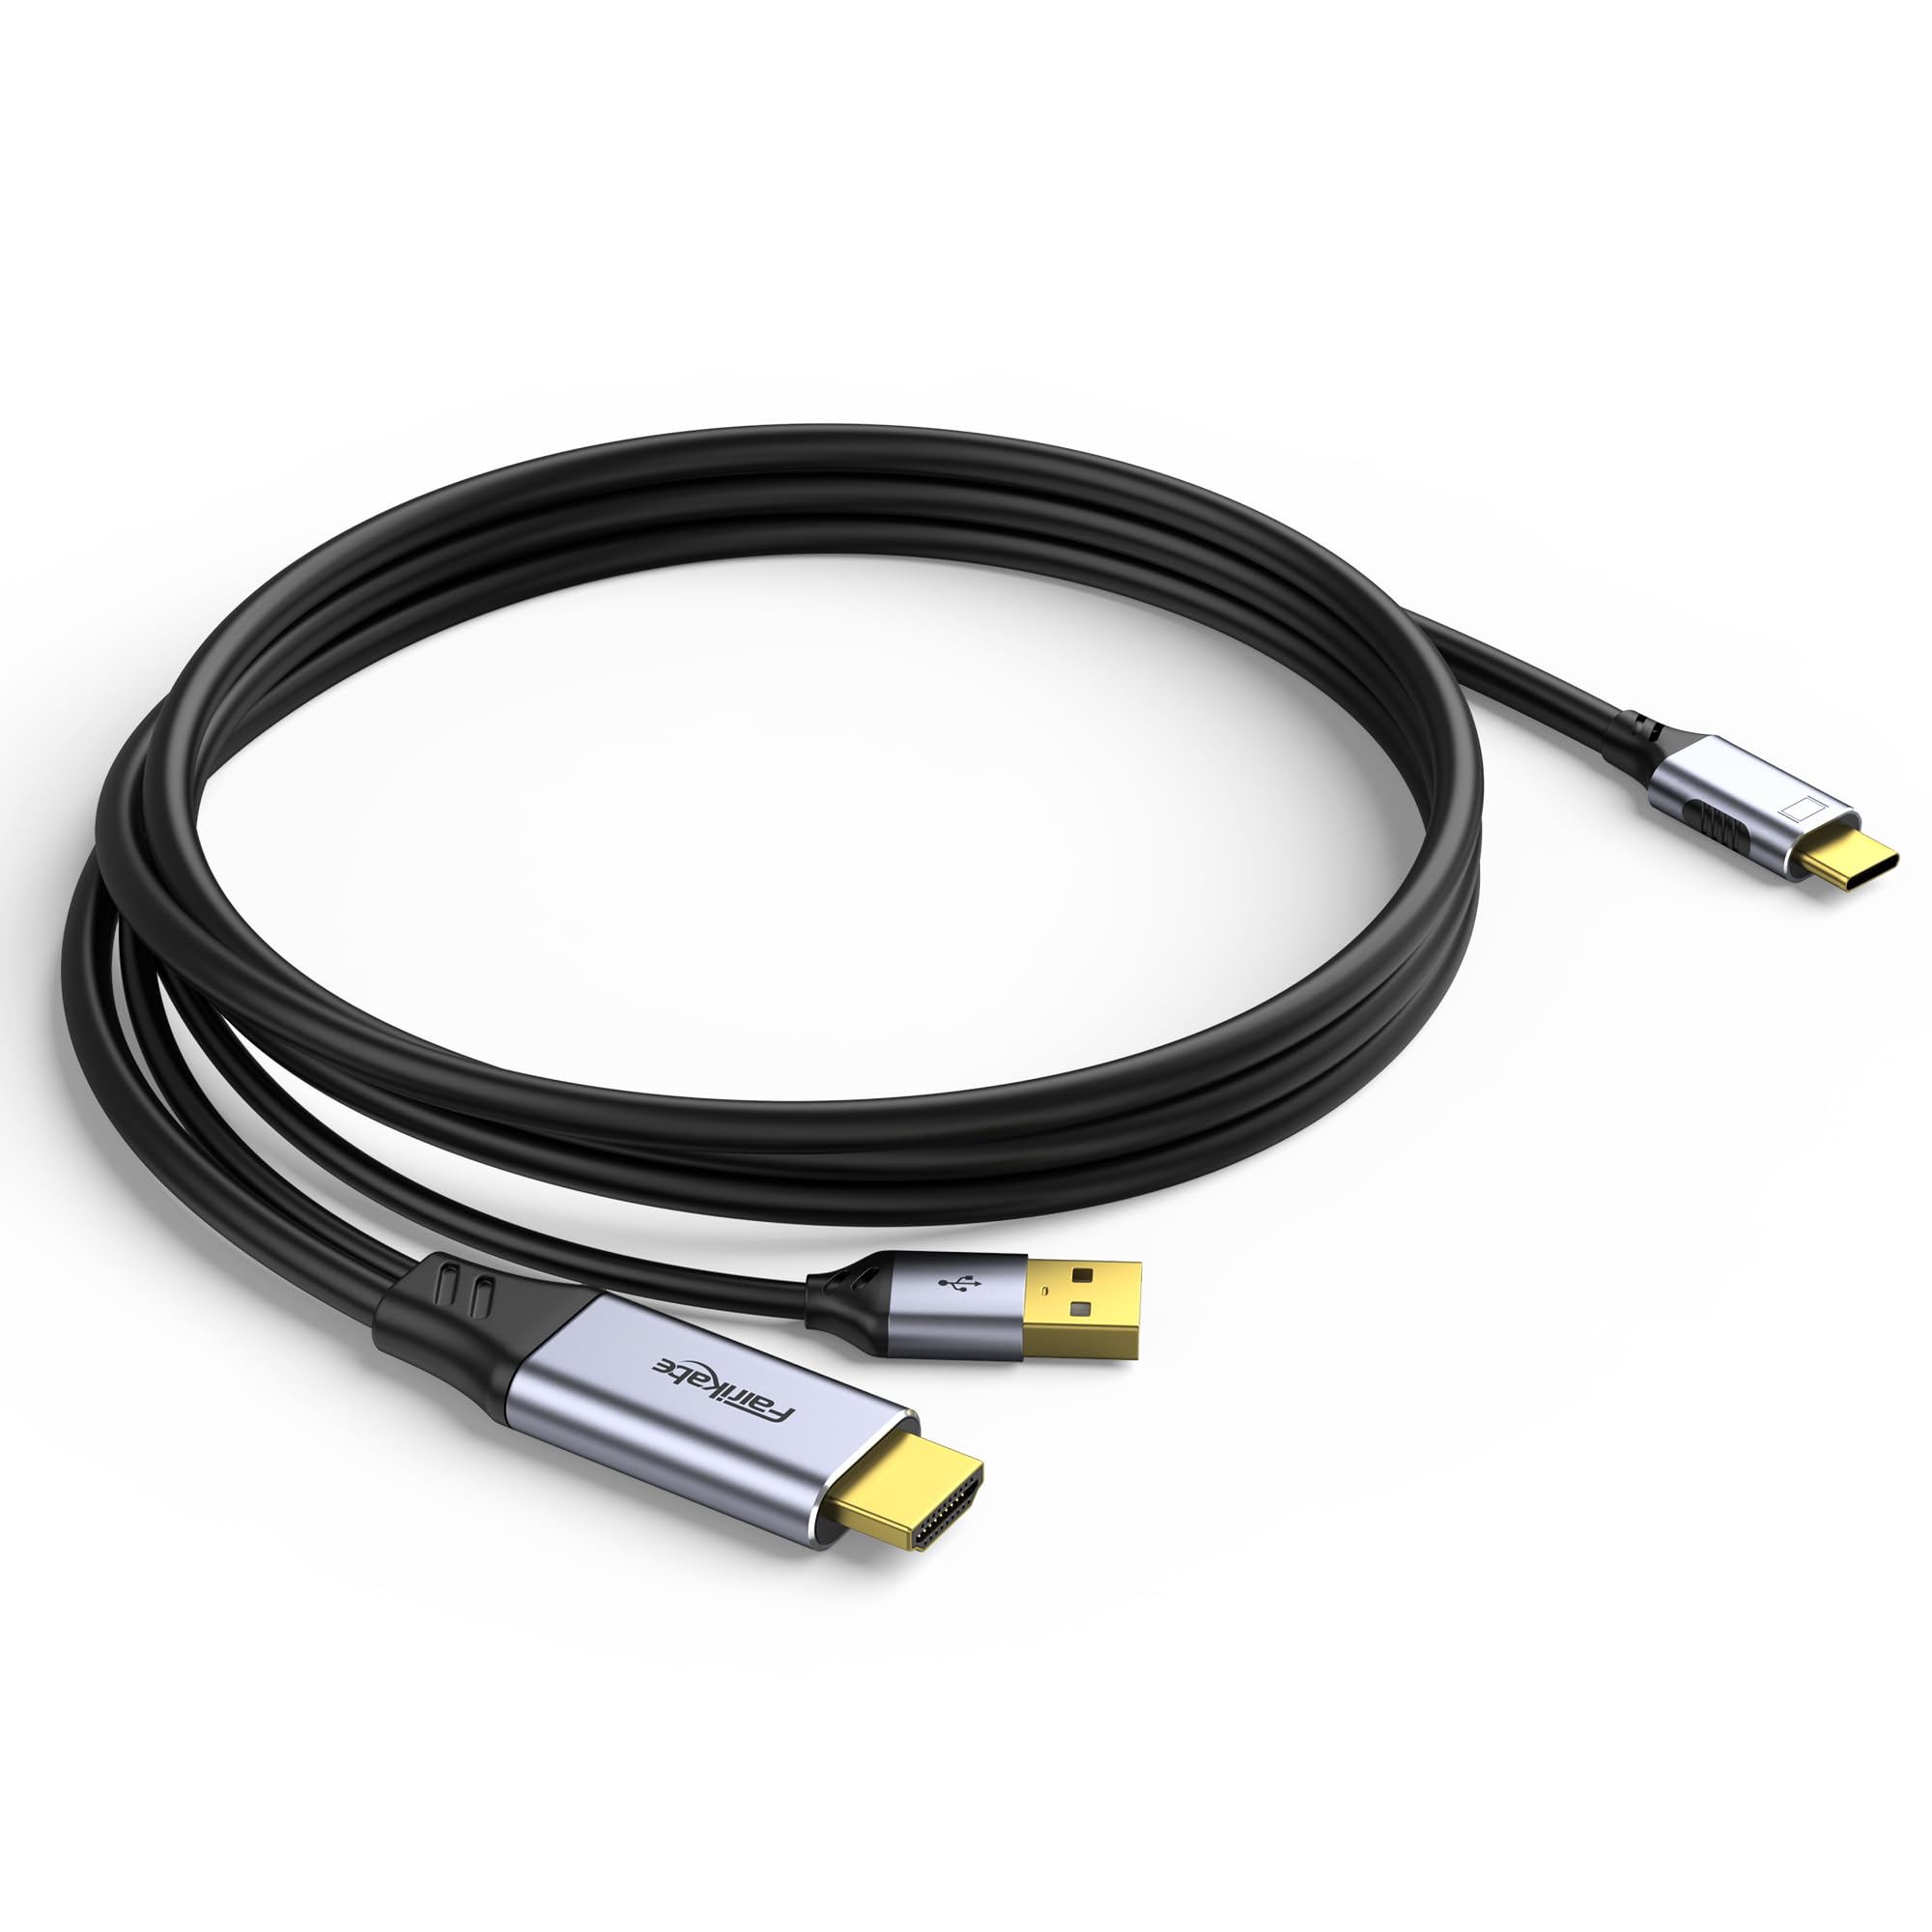
External Monitor Cable (HDMI or USB-C to HDMI)
Used to perform the external display test to isolate screen vs. system issues.
Best for: Connect to an external monitor for diagnostics.
Price Range: $5–$15