A loose hinge on a 2-in-1 laptop can make it frustrating to use in tablet or tent mode, and if left unaddressed, can lead to cracked plastic housings or damaged display cables. This guide provides advanced users with a systematic approach to diagnosing and repairing loose hinges, covering everything from simple screw tightening to full hinge replacement. Expect to spend 30–90 minutes depending on the severity, and note that this task requires careful disassembly and a steady hand.
▸What You'll Need
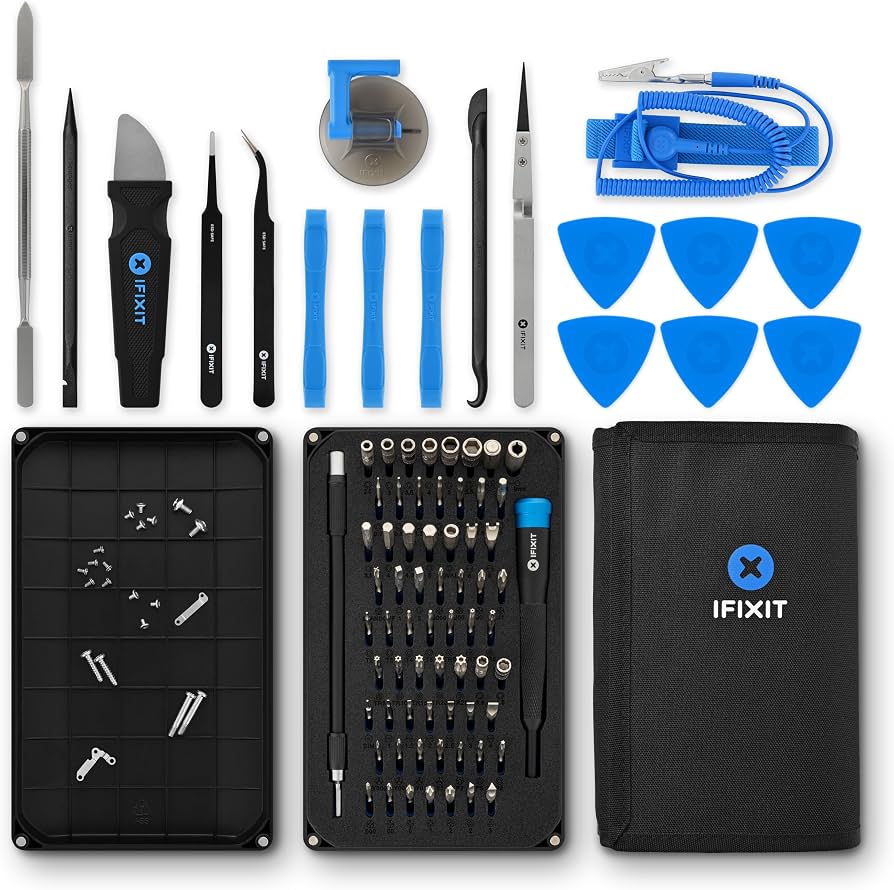
- •Precision screwdriver set (Phillips #00 and #0, Torx T5–T8)
- •Plastic spudger or opening tool
- •iFixit Jimmy or metal pry tool (optional)
- •Magnetic parts tray
- •Isopropyl alcohol (90%+) and cotton swabs
- •Thermal paste (if you reseat the cooler)
- •Replacement hinge assembly (if needed, OEM or compatible)
- •Tweezers for small screws
- •Double-sided adhesive tape or hinge adhesive (for securing cables)
Estimated Time: 45 minutes – 1.5 hours
Difficulty: advanced
▸Step-by-Step Instructions
Step 1: Prepare Your Workspace and Document the Disassembly
Work on a clean, static-free surface with good lighting. Power off the laptop, unplug the charger, and remove the battery if possible (some models have internal batteries that require disconnection). Take photos of screw locations and cable routing before you start—this will save you headaches during reassembly. Use a magnetic tray to keep screws organized by size.
💡 Tips:
- •Label screw locations on paper or use a compartmentalized tray.
- •Wear an anti-static wrist strap if available.
⚠️ Warnings:
- •Forcing the case can crack plastic. Use plastic tools to separate clips.
- •Disconnecting the battery is critical to avoid short circuits.
Step 2: Remove the Bottom Cover and Expose the Hinge Area
Locate and remove all visible screws on the bottom cover (usually Phillips head). Some 2-in-1s have hidden screws under rubber feet or stickers—check your model's disassembly guide. Once screws are out, use a plastic spudger to gently pry the cover from the rear edge, working around the perimeter until all clips release. Lift the cover off and set it aside.
💡 Tips:
- •If the cover doesn't budge, double-check for hidden screws near the hinge or under labels.
- •Apply even pressure with the spudger to avoid breaking clips.
⚠️ Warnings:
- •Do not use metal tools near the edge; they can scratch or dent the chassis.
- •Some models have a delicate fingerprint reader cable attached—unplug it before removing the cover fully.
Step 3: Inspect the Hinge and Identify the Issue
Examine the hinge assembly on both sides. A loose hinge may be caused by: (1) loose screws securing the hinge to the display bracket or base, (2) stripped screw holes in the plastic/metal frame, (3) a worn or broken hinge mechanism (excessive play even when screws are tight), or (4) cracked plastic surrounding the hinge mount. Gently move the display to feel where the play originates.
💡 Tips:
- •Compare left and right hinges; if only one is loose, the problem is likely local.
- •Check if the display cable is rubbing against the hinge—this can cause wear.
⚠️ Warnings:
- •Be extremely gentle when moving the hinge; brittle plastic can snap.
- •If the hinge is completely detached, support the display to prevent it from falling.
Step 4: Tighten Loose Hinge Screws (If Applicable)
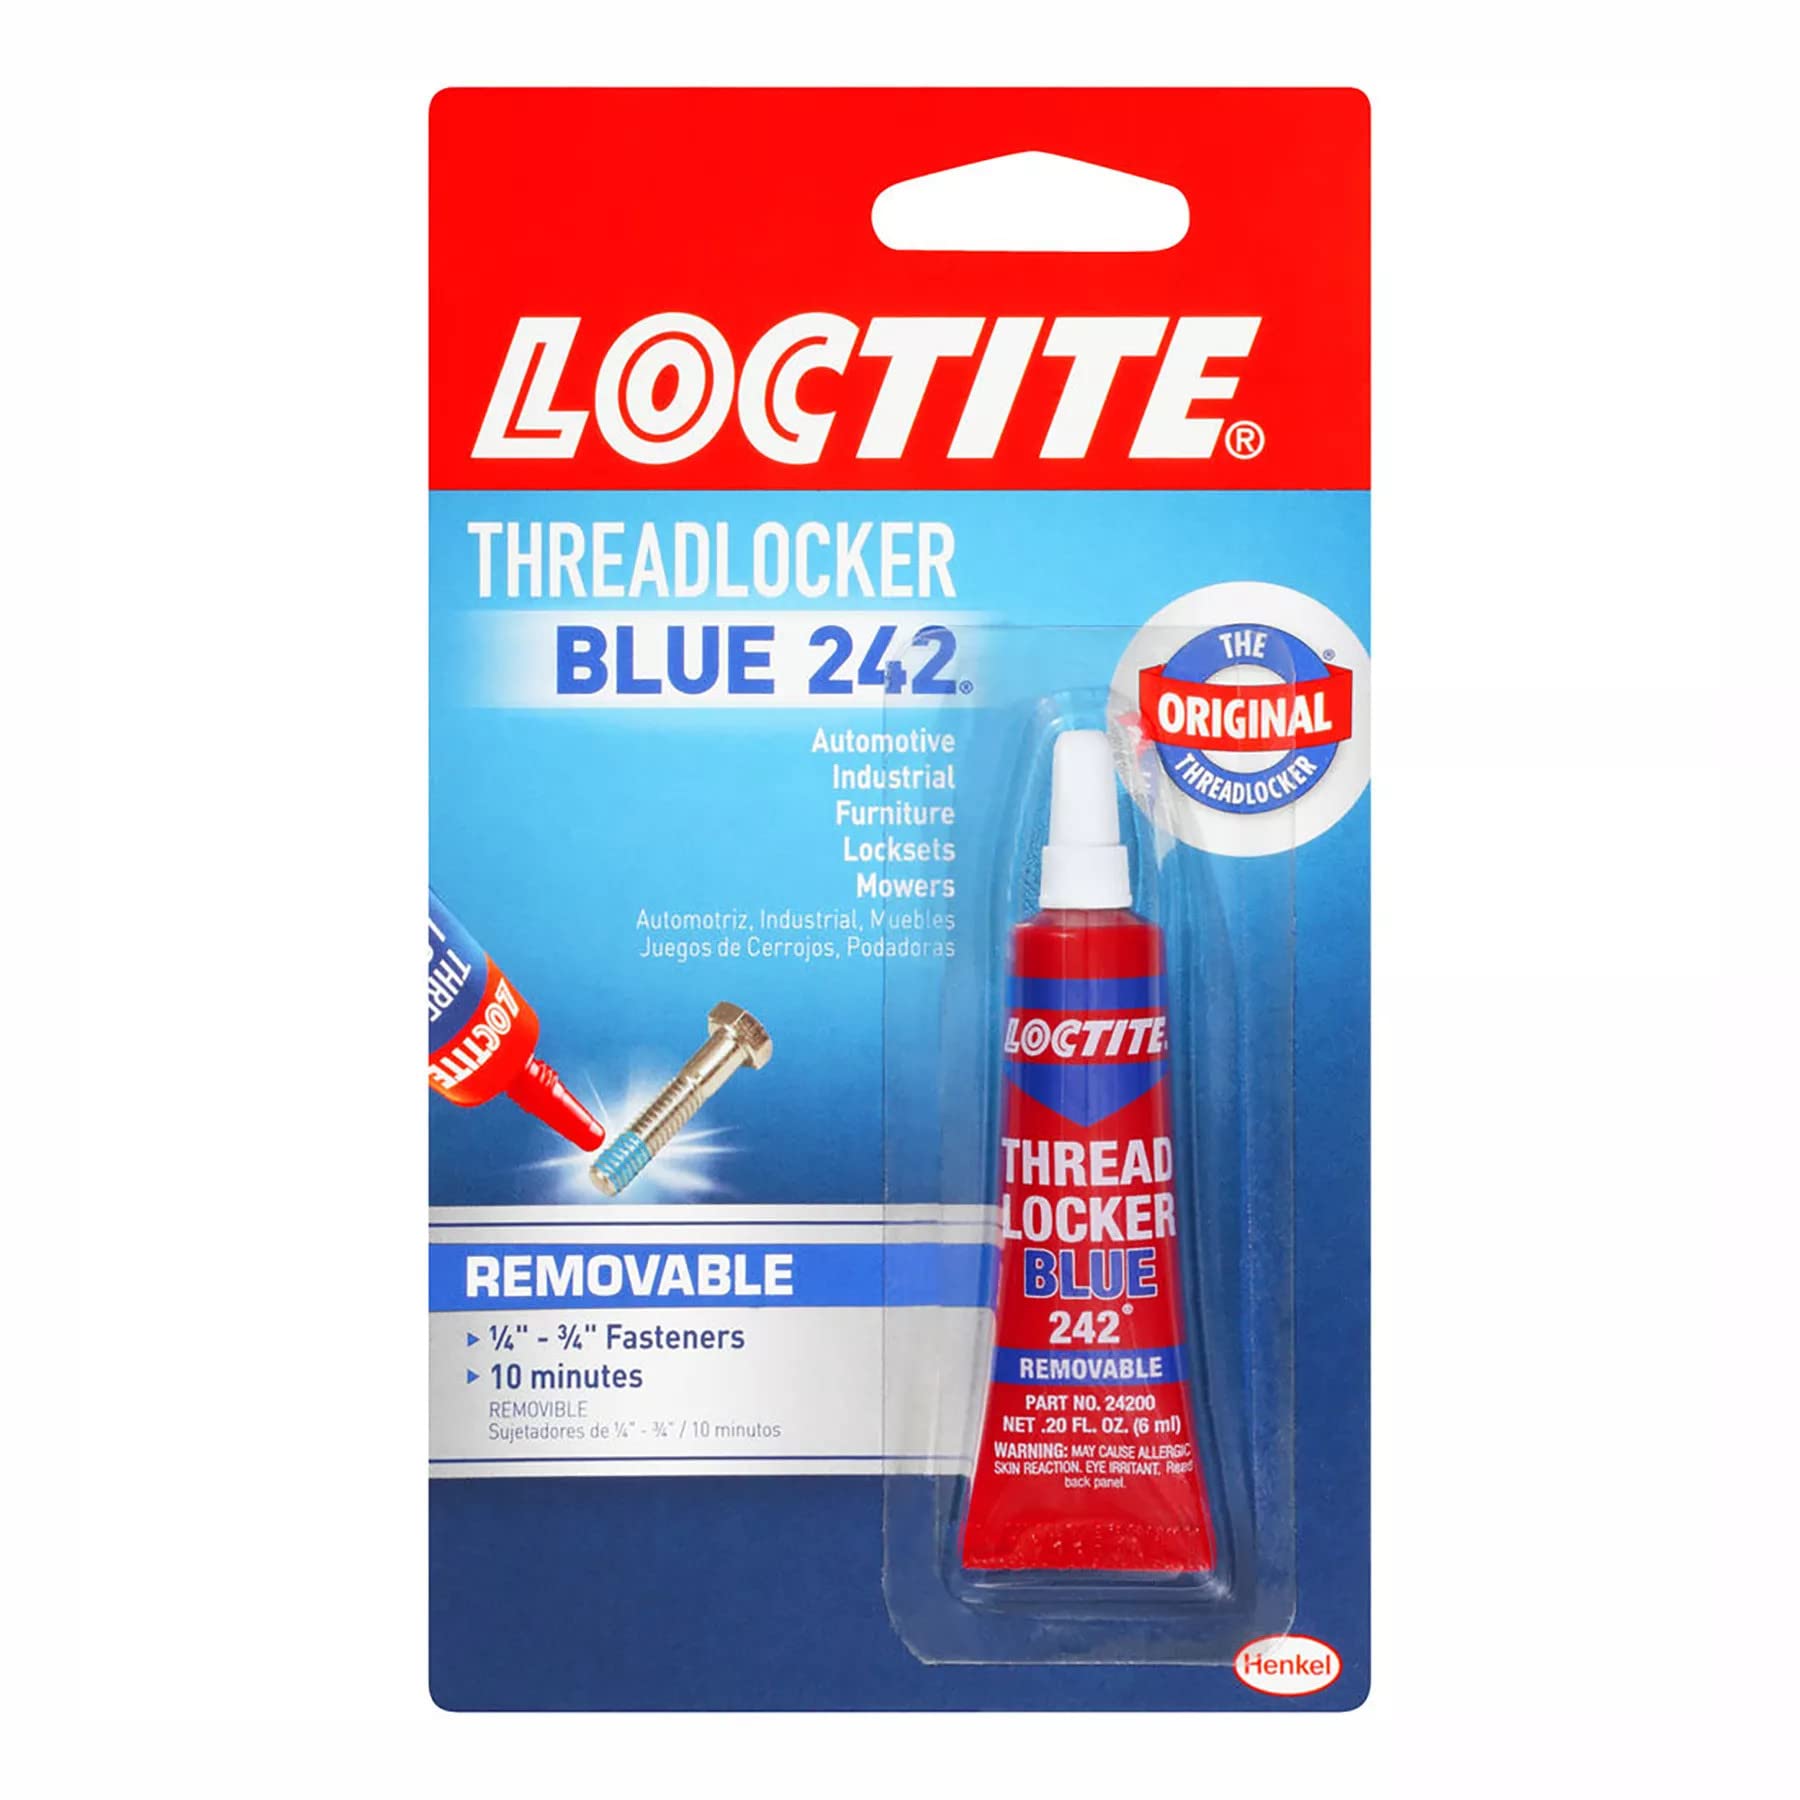
Using the appropriate screwdriver, attempt to tighten the hinge bracket screws (usually Torx or Phillips). Turn clockwise gently; do not overtighten, as this can strip the threads or crack plastic. If the screw turns without resistance, the threads are likely stripped. In that case, use a slightly larger screw or a thread-locking compound designed for plastics (e.g., Loctite Threadlocker Blue 242). Apply a tiny drop to the screw threads and reinsert.
💡 Tips:
- •Use a precision torque screwdriver (like the iFixit Pro Tech Toolkit) to apply consistent pressure.
- •If stripping is common on your model, consider adding a small drop of superglue to the hole before inserting the screw (use sparingly).
⚠️ Warnings:
- •Threadlocker on plastic can cause brittleness if overapplied; use only a tiny amount.
- •Do not use red threadlocker (permanent) on small laptop screws.
Step 5: Repair Cracked or Broken Plastic Mounts
If the plastic mounting point is cracked, you can reinforce it with epoxy putty (e.g., J-B Weld PlasticWeld) or superglue and baking soda (for small gaps). Clean the area with isopropyl alcohol, apply the adhesive, and let it cure fully. For larger breaks, consider fabricating a metal L-bracket (available from hobby stores) to secure the hinge to an adjacent solid point. This is a temporary fix; replacement of the entire palm rest or bottom case may be necessary for a permanent repair.
💡 Tips:
- •Use a clamp or hold the hinge in position while the epoxy cures.
- •Sand the plastic slightly to improve adhesion.
⚠️ Warnings:
- •Epoxy fumes are strong; work in a ventilated area.
- •Do not get adhesive on the hinge barrel—it can bind and prevent smooth rotation.
Step 6: Replace the Hinge Assembly (If Necessary)
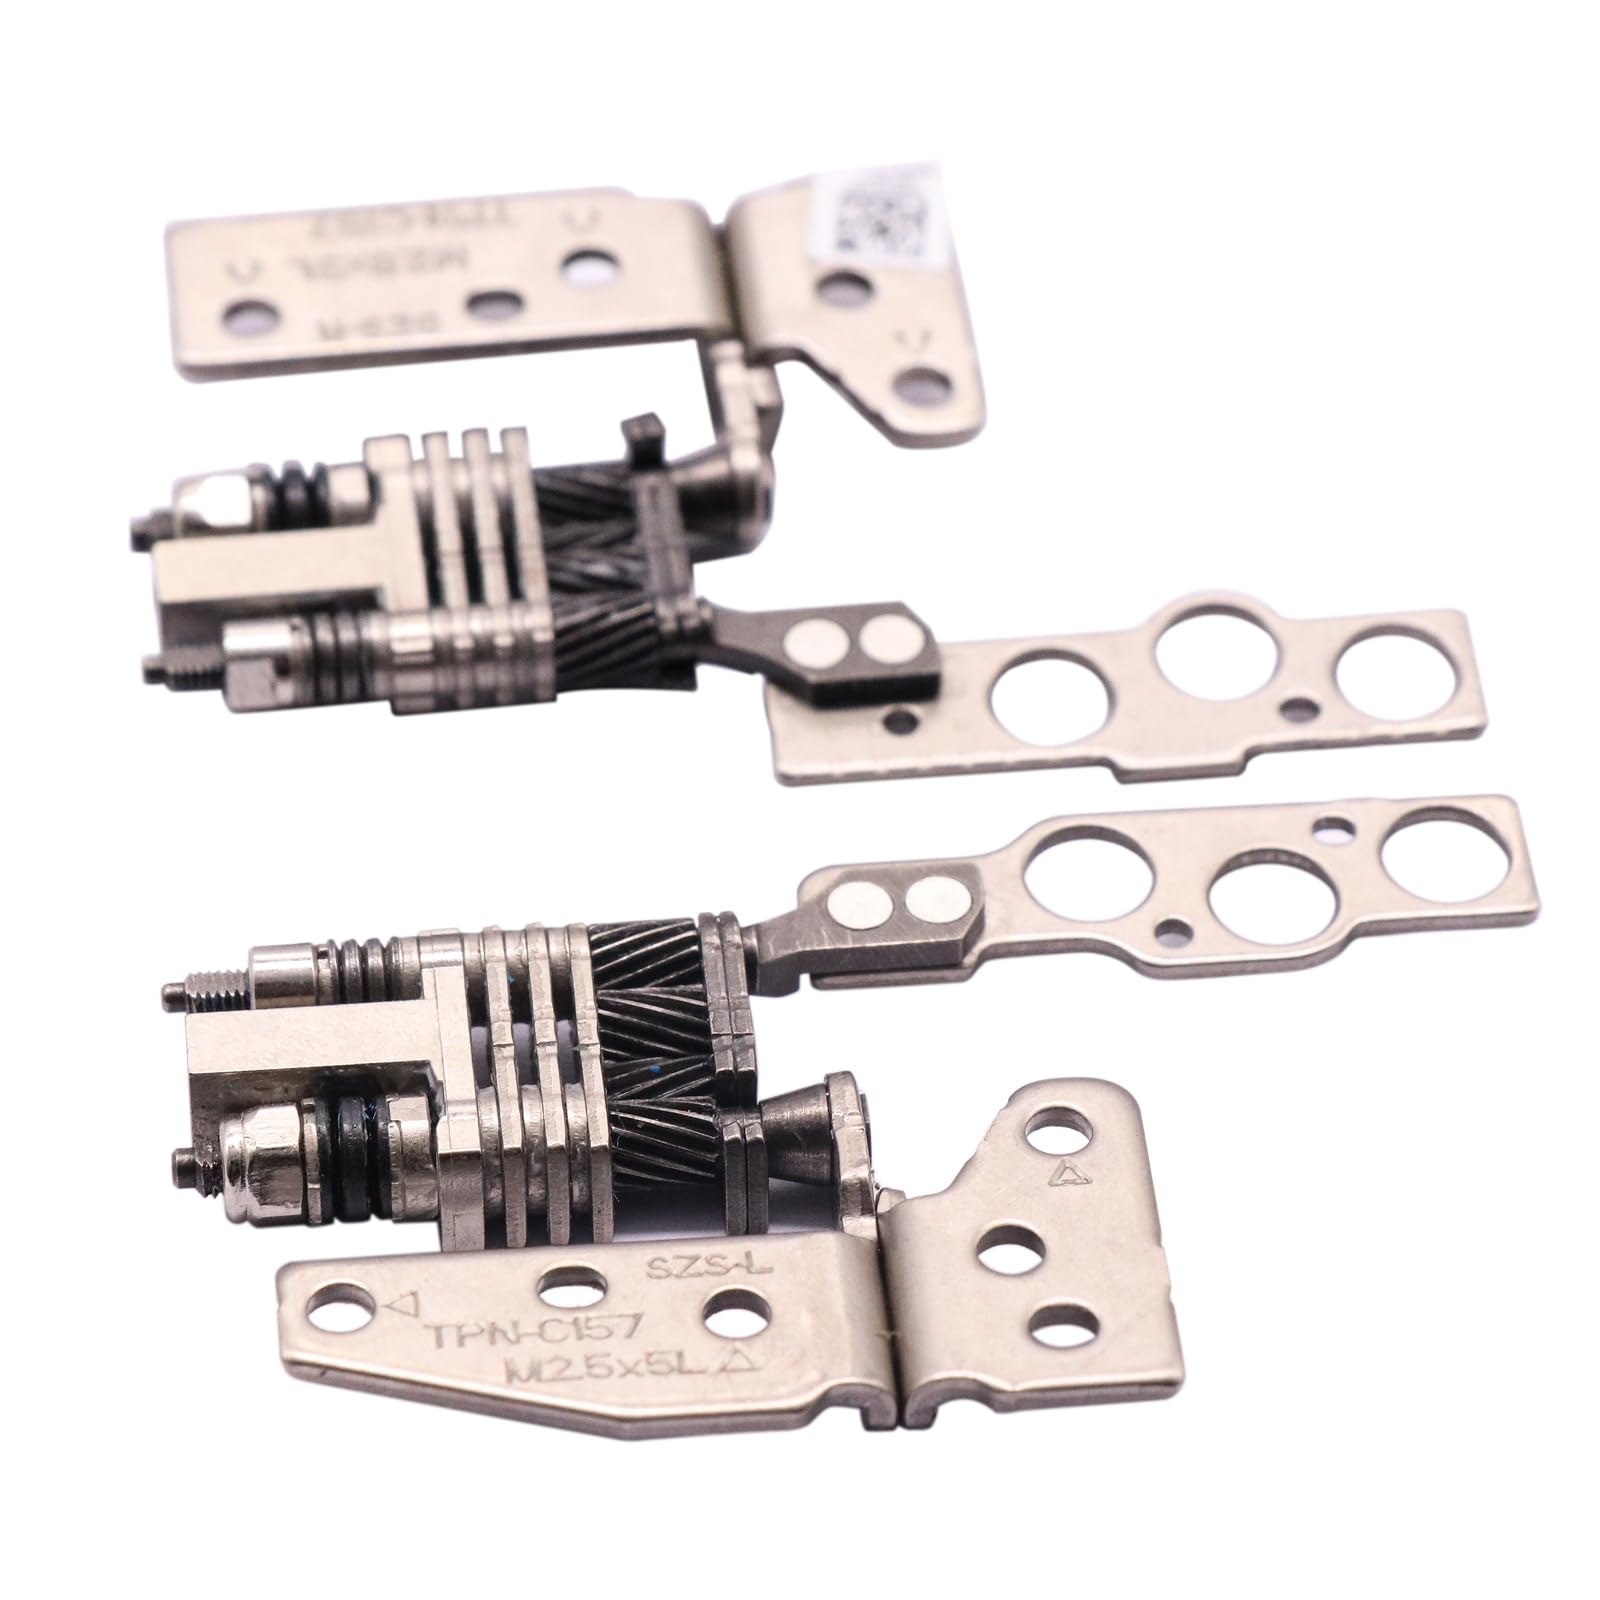
If the hinge itself is worn (excessive play even when screws are tight), you'll need to replace it. First, disconnect the display cable carefully (usually a flexible ribbon cable secured by a locking tab). Then remove the display panel—find the screw covers (often under rubber strips or plastic caps), unscrew the display bezel, and gently separate the panel from the back cover. The hinges are attached to the display back cover with multiple screws. Remove the old hinge, align the new one, and tighten screws to the manufacturer's torque specification (typically 0.35–0.45 Nm). Reassemble the display and reconnect the cable.
💡 Tips:
- •Order a replacement hinge from the laptop manufacturer or a reputable parts supplier (e.g., Parts-People).
- •Take a picture of the cable routing before disconnecting.
⚠️ Warnings:
- •Display panels are fragile—never pry against the LCD surface.
- •The display cable is delicate; pull only by the connector, not the wires.
- •Mixing up left and right hinges can cause misalignment.
Step 7: Reapply Thermal Paste (If the Cooler Was Removed)
Some disassembly steps may require lifting the heat sink/CPU cooler to access hinge screws near the motherboard. If you had to remove the cooler, clean the old thermal paste from both the CPU/GPU and cooler with isopropyl alcohol and a lint-free cloth. Apply a pea-sized dot of new thermal paste (e.g., Arctic MX-6) and reattach the cooler in a cross-tightening pattern. This ensures optimal heat transfer.
💡 Tips:
- •Use a non-conductive thermal paste to avoid shorts if any is accidentally spilled.
- •Tighten cooler screws gradually to avoid warping the CPU.
⚠️ Warnings:
- •Running the laptop without thermal paste can cause thermal shutdown or damage.
- •Do not overtighten cooler screws; they can crack the die.
Step 8: Reassemble the Laptop and Test the Hinge
Reconnect all cables (battery, display, fingerprint reader, etc.). Replace the bottom cover and tighten screws in a cross-pattern to ensure even pressure. Power on the laptop and test the hinge motion—it should feel firm and hold positions without drooping. Open and close the lid several times from different angles (laptop, tent, tablet modes). If the hinge feels too stiff or too loose, you may need to disassemble and slightly adjust or replace the hinge. Also check that the display turns on and that there are no loose cables inside.
💡 Tips:
- •Listen for any creaking or cracking sounds that indicate a stress point.
- •If the display wobbles, one hinge might still be loose—recheck screws.
⚠️ Warnings:
- •Do not force the hinge past its normal range; it can break the display connector.
- •If the display doesn't turn on, you may have damaged the cable—disassemble and check for secure connections.
▸Pro Tips
- •If you don't have a torque screwdriver, tighten screws until you feel resistance, then an additional quarter turn. Overtightening is the most common mistake.
- •Use a magnetic projection mat (like the iFixit Magnetic Mat) to keep screws in order—it prevents mix-ups.
- •When removing the display bezel, use low heat (hair dryer on low) to soften adhesive underneath.
- •For stripped plastic threads, insert a small piece of plastic toothpick coated with superglue into the hole before driving the screw—it creates new threads.
- •Always unplug the battery before working near the hinge area to avoid accidental shorts.
- •Take a video of the disassembly in addition to photos—it helps with cable routing and screw placement.
- •If your laptop has a metal chassis, apply a small amount of grease (white lithium) to hinge friction points to reduce squeaking.
▸Common Mistakes to Avoid
- •Forgetting to disconnect the battery, leading to a short circuit when prying near the hinge.
- •Overtightening hinge screws, which strips the threads or cracks the plastic mount.
- •Prying the display bezel with a metal tool, cracking the LCD or creating micro-cracks in the glass.
- •Using too much thermal paste, which can leak and cause electrical shorts.
- •Ignoring cable routing—display cables caught in the hinge can sever over time.
▸Troubleshooting
Problem: The hinge is still loose after tightening screws.
Solution: Either the screw holes are stripped (try a larger screw or threadlocker) or the hinge mechanism itself is worn out (requires replacement).
Problem: The display doesn't turn on after reassembly.
Solution: The display cable may be loose or damaged. Disassemble and reseat the cable at both ends. If the connector is damaged, you'll need to replace the cable.
Problem: The hinge makes a grinding noise when moving.
Solution: The hinge may be misaligned or have debris inside. Try applying a silicone-based lubricant to the hinge joint. If noise persists, replace the hinge.
Problem: The bottom cover/screws won't align after repair.
Solution: A cable or component may be protruding. Check for any pinched wires or misaligned brackets and reposition them.
iFixit Pro Tech Toolkit
Contains all the bits (Phillips, Torx, pentalobe) and tools needed for laptop repairs, including a magnetic mat and spudger.
Best for: Essential for any 2-in-1 hinge repair – precision screwdrivers and plastic tools to avoid damage.
Price Range: $60 - $70
Arctic MX-6 Thermal Paste
High-performance, non-conductive thermal paste ideal for reapplying after heatsink removal. Long-lasting and easy to apply.
Best for: Required if you lift the cooler to access hinge screws near the CPU.
Price Range: $8 - $12
J-B Weld PlasticWeld Epoxy Putty
Repairs cracked plastic hinge mounts quickly and strongly, curing to a durable finish that resembles plastic.
Best for: Perfect for reinforcing broken plastic around hinge screw holes.
Price Range: $6 - $10
Loctite Threadlocker Blue 242
Prevents screws from vibrating loose while still allowing future removal. Safe for use on laptop screws.
Best for: Apply to hinge bracket screws that keep loosening due to constant movement.
Price Range: $5 - $8
Replacement Hinge Assembly for Your Laptop Model
OEM or compatible hinges are often the only permanent fix for a worn mechanism. Search by model number for exact fit.
Best for: When the hinge itself has excessive play and tightening doesn't help.
Price Range: $15 - $40