
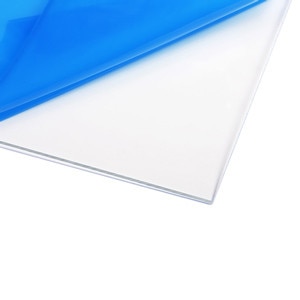
BOSD 2020 Aluminum Extrusion Profile 400mm (10-Pack)
Building the skeletal frame for any printer size.
$25-$35
BOSD 2020 Aluminum Extrusion Profile 400mm (10-Pack) Industry standard for rigid, modular frames—precise T-slots for easy assembly.
Get the App
Better experience on mobile
Boost print quality, reduce warping, and enhance safety with a custom DIY enclosure tailored to your advanced setup.
Struggling with drafty environments causing ABS filament to warp or inconsistent layer adhesion on your 3D prints? An enclosure solves these issues by maintaining stable temperatures, containing fumes, and minimizing noise—critical for advanced users printing engineering-grade materials like Nylon or PC.
In this guide, you'll learn to design and build a robust custom enclosure using aluminum extrusions and polycarbonate panels. We'll cover planning, assembly, ventilation, and monitoring for optimal results. Expect a sturdy, fire-resistant enclosure that fits printers like Ender 3, Prusa MK4, or Bambu Lab.
This advanced project takes 6-8 hours over 1-2 days, requiring basic fabrication skills like cutting and drilling. No prior enclosure experience needed, but familiarity with 3D modeling helps.
Estimated Time: 6-8 hours Difficulty: advanced
Start by measuring your printer's outer dimensions (width, depth, height) including spool holder. Add 50-100mm clearance on all sides for access and airflow. For a standard Ender 3 (440x460x485mm), aim for 600x600x700mm enclosure.
Sketch a box design: front door, rear/top vents, cable passthroughs. Use Fusion 360 to model or download from Printables.com (search 'modular 3D printer enclosure'). Export cut lists for frame and panels. Success: Detailed blueprint with exact lengths.
Why? Precise planning prevents rework and ensures printer fits snugly without vibration.
💡 Tips:
⚠️ Warnings:
Using your cut list, mark and hacksaw 2020 extrusions to length (e.g., 4x600mm base, 4x700mm verticals). File ends square. T-slot nuts slide in for joints.
Success: All pieces cut and labeled. Test-fit dry on floor—no glue yet.
Why? Aluminum 2020 provides rigid, modular structure expandable later.
💡 Tips:
⚠️ Warnings:
Build base first: Connect horizontals/verticals with corner brackets and M5 screws. Add top frame and side uprights. Ensure square using carpenter's square.
Success: Rigid box frame standing firm, no rattles.
Why? Strong frame supports panels without flexing during prints.
💡 Tips:
Measure frame openings, cut poly sheets with jigsaw (score first for straight edges). Sand edges smooth. Drill holes for screws (oversize 1mm for expansion).
Attach with self-tapping screws or rivets every 150mm. Seal gaps with silicone.
Success: Panels secured, light-tight except door.
Why? Poly is shatter-resistant and fire-retardant vs. acrylic.
💡 Tips:
⚠️ Warnings:
Cut front panel oversized for door. Attach 3 hinges to one side frame/panel. Add 2-4 magnetic latches opposite. Test open/close smooth.
Success: Secure, easy-access door.
Why? Frequent access needed for maintenance without full disassembly.
💡 Tips:
Mount 120mm intake fan low-front (filtered), exhaust high-rear. Wire in parallel to 12V PSU. Add ducts from 3D prints for directed flow.
Success: Fans spin quietly, good airflow without turbulence.
Why? Prevents heat >50°C damaging PLA/electronics; filters odors.
💡 Tips:
⚠️ Warnings:
Install Inkbird controller for heater pad (optional for cold ABS). Place Govee sensor inside, app-linked. Add LED strip for visibility.
Wire all to external PSU with passthrough grommets.
Success: Real-time temp/humidity on phone.
Why? Advanced control for high-temp filaments.
💡 Tips:
Secure printer base with straps/screws. Route cables out. Power on, run 10-hour temp test print (monitor 35-45°C steady).
Success: Stable prints, no warping, quiet operation.
Why? Validates safety/performance before production use.
💡 Tips:
⚠️ Warnings:
Problem: Excessive heat buildup (>60°C)
Solution: Increase exhaust fan speed or add second fan. Check filter clogs. Open door vents during long prints.
Problem: Condensation inside
Solution: Add desiccant packs or dehumidifier outlet. Seal better and preheat to 40°C.
Problem: Door doesn't seal tight
Solution: Adjust hinges/magnets. Add weatherstripping foam tape around edges.
Problem: Vibrations transmitted
Solution: Add rubber dampers under printer feet. Tighten all frame screws.
Problem: Fumes still escape
Solution: Upgrade to activated carbon filter. Ensure negative pressure (more exhaust).
Industry standard for rigid, modular frames—precise T-slots for easy assembly.
Best for: Building the skeletal frame for any printer size.
Price Range: $25-$35
Fire-resistant, impact-proof alternative to acrylic—holds up to 120°C.
Best for: Panels for sides/top/door in high-temp printing.
Price Range: $40-$60
High CFM, low noise with PWM—perfect for filtered ventilation.
Best for: Intake/exhaust to maintain 35-50°C without drafts.
Price Range: $20-$25 each
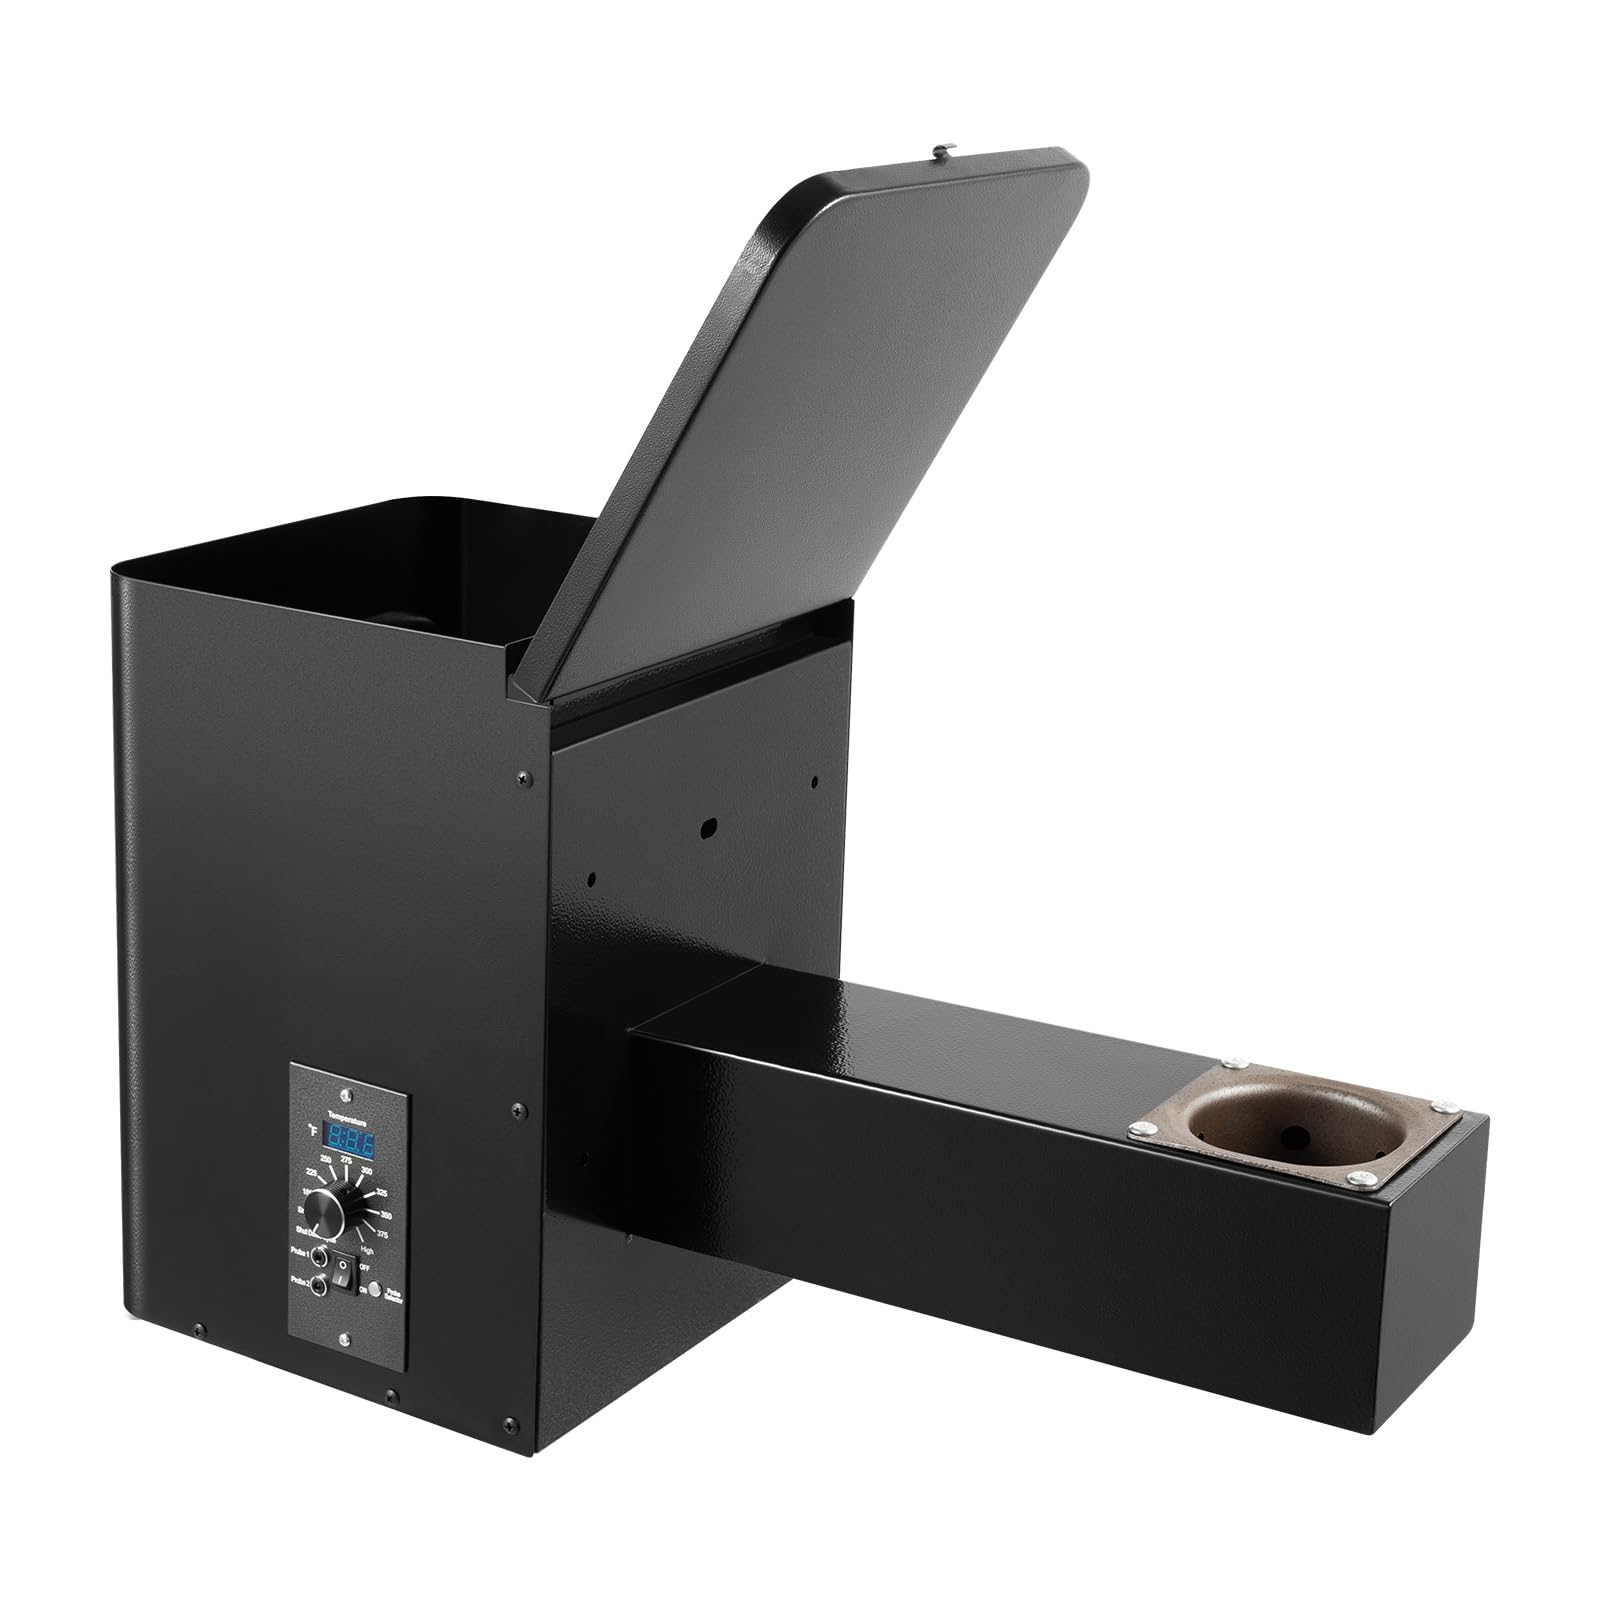
Precise PID control for heaters/dehumidifiers—essential for ABS/PC.
Best for: Automated temp stability in varying ambient conditions.
Price Range: $35-$45
Ready-to-assemble if DIY overwhelm—modular for upgrades.
Best for: Quick enhancement for Ender owners vs full custom.
Price Range: $90-$120
Building the skeletal frame for any printer size.
BOSD 2020 Aluminum Extrusion Profile 400mm (10-Pack) Industry standard for rigid, modular frames—precise T-slots for easy assembly.
Panels for sides/top/door in high-temp printing.
ePlastics Clear Polycarbonate Sheet 24x48x0.177 (4.5mm) Fire-resistant, impact-proof alternative to acrylic—holds up to 120°C.

Intake/exhaust to maintain 35-50°C without drafts.
AC Infinity AXIAL 1225 120mm Quiet Cooling Fan High CFM, low noise with PWM—perfect for filtered ventilation.
Automated temp stability in varying ambient conditions.
Inkbird ITC-308 Digital Temperature Controller Precise PID control for heaters/dehumidifiers—essential for ABS/PC.
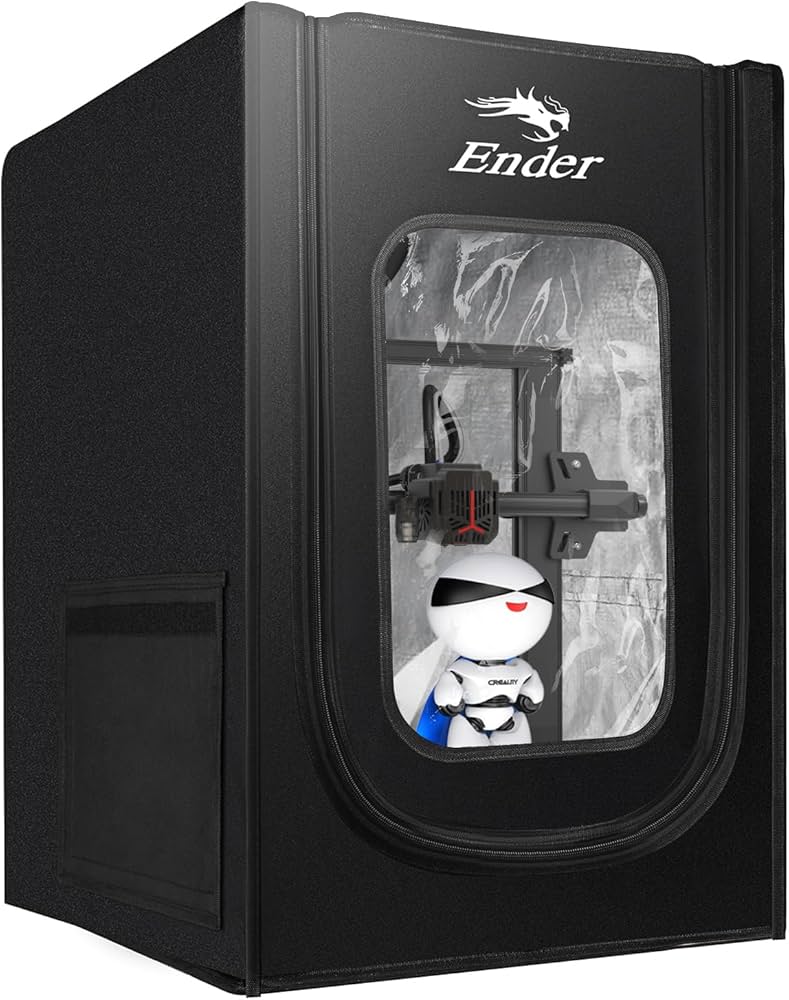
Quick enhancement for Ender owners vs full custom.
Creality Ender 3 Series Enclosure Kit (Prebuilt Option) Ready-to-assemble if DIY overwhelm—modular for upgrades.