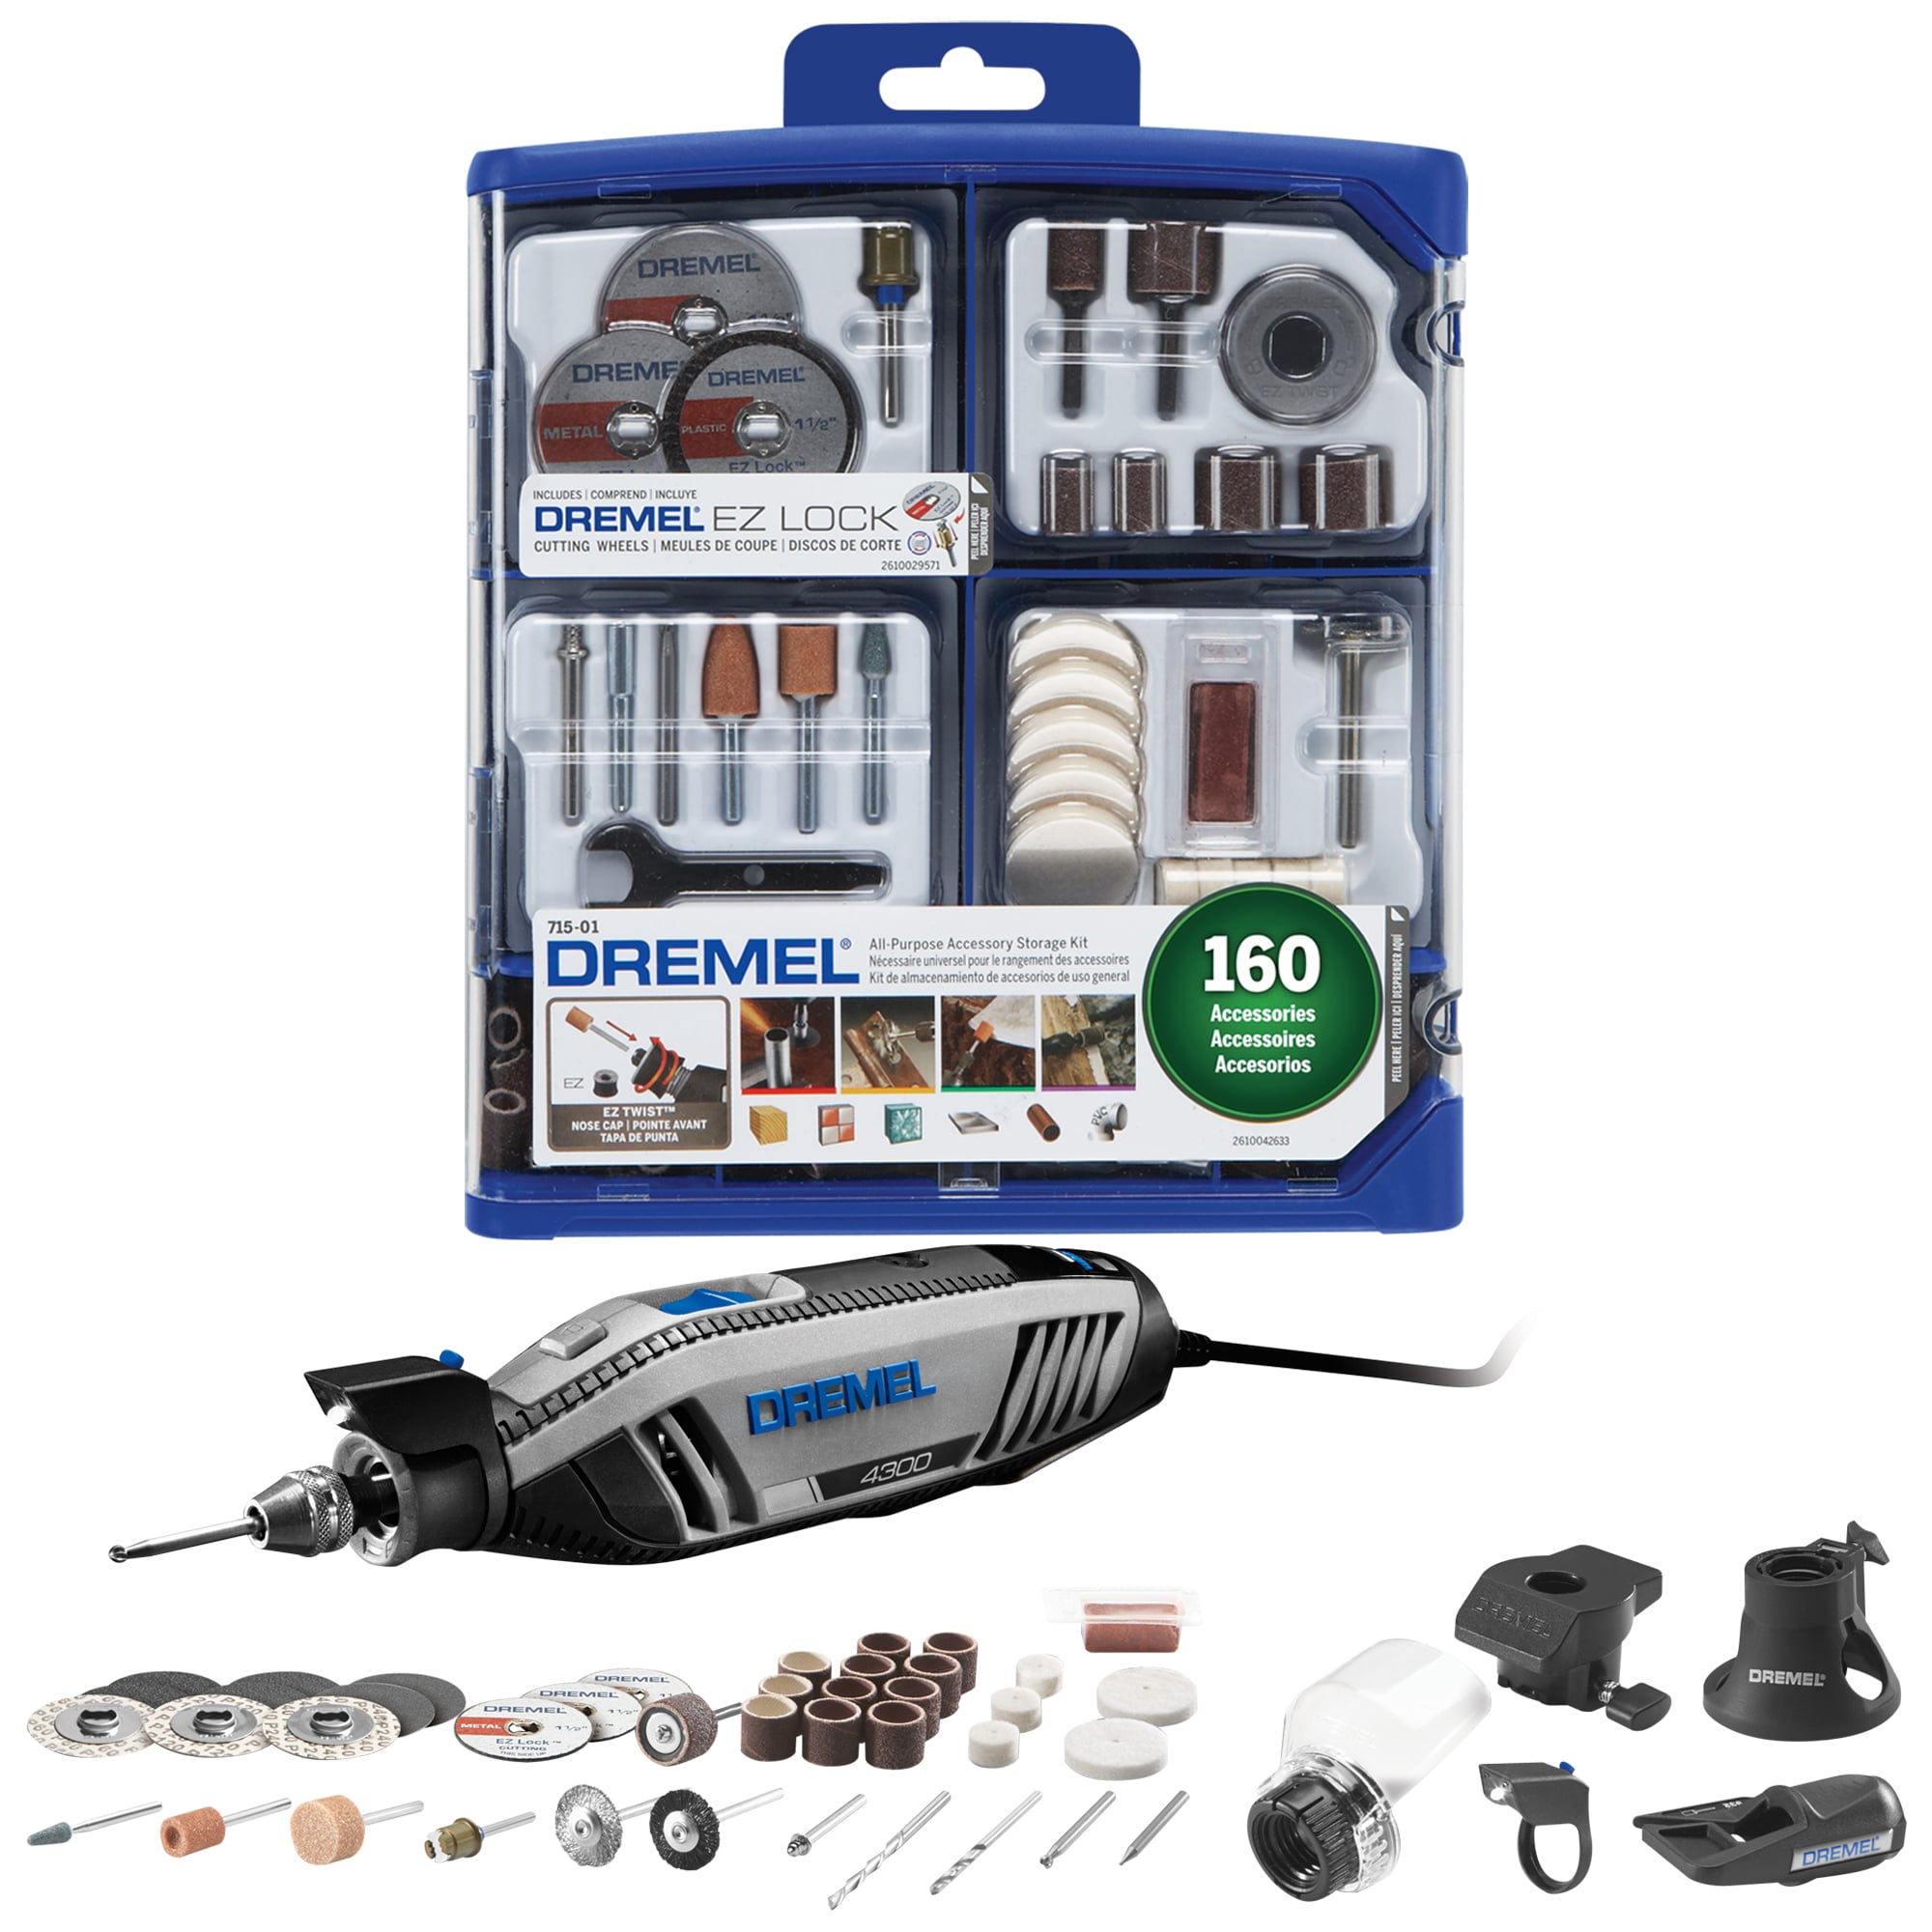
Dremel 4300 Rotary Tool Kit
Primary tool for all engraving steps; handles high torque needs.
$130-$200
Dremel 4300 Rotary Tool Kit Variable speed (5,000-60,000 RPM) and ergonomic design ideal for precise control in advanced engraving.
Get the App
Better experience on mobile
Achieve precise, professional engravings on metals and hard materials using advanced techniques with abrasive mounted points.
Engraving intricate designs on tough materials like steel, stainless steel, or ceramics can be challenging without the right tools and techniques. Abrasive mounted points, small grinding heads attached to shanks, excel at precision material removal, offering control that files or larger grinders can't match. For advanced users, mastering them unlocks custom jewelry, tool markings, or artistic sculptures.
In this guide, you'll learn a complete step-by-step process to engrave safely and effectively. We'll cover preparation, technique, and finishing for flawless results. Expect 30-60 minutes per project, depending on complexity—perfect for hobbyists or pros refining their skills.
This advanced tutorial assumes familiarity with rotary tools; focus on finesse, speed control, and heat management for optimal outcomes.
Estimated Time: 30-60 minutes per engraving project Difficulty: advanced
Set up in a well-ventilated area with a stable workbench. Don full PPE: goggles to shield from flying particles, respirator for dust (abrasive points generate fine silica or metal particles), and gloves for grip without losing dexterity.
Why it matters: Abrasive engraving produces hazardous dust and sparks; neglecting safety risks eye injury or respiratory issues. Expect a clean, organized space to avoid accidents.
Secure a fire extinguisher nearby if working on flammable-adjacent materials.
💡 Tips:
⚠️ Warnings:
Choose based on material and design: aluminum oxide for steels/ferrous metals, silicon carbide for non-ferrous like aluminum or ceramics. Match shape to task—ball nose for curves, cylinder for flats, cone for v-grooves. Use fine grit (120-180) for detailing.
Insert into collet securely; test spin at low speed. Success: Point runs true without wobble, lasting 5-15 minutes per use depending on pressure.
💡 Tips:
⚠️ Warnings:
Sketch design on paper, then transfer with a fine-tip marker or scriber. For precision, use transfer paper or laser-print on adhesive vinyl. Complex designs? Employ a pantograph attachment.
Why: Accurate layout prevents rework. Expect crisp lines visible under magnification.
💡 Tips:
Clamp in a vise with soft jaws (aluminum or wood) to avoid marring. Angle for optimal access; use a rotary vise for curved pieces.
Stability prevents slips, ensuring clean cuts. Test: Piece shouldn't move under moderate force.
⚠️ Warnings:
Match workpiece material; start at 15,000-20,000 RPM for metals. Light pressure—let abrasives do the work. Apply cutting oil sparingly to reduce heat.
Observe: Smooth removal without gouging or burning. Adjust speed down for harder materials.
💡 Tips:
⚠️ Warnings:
Follow lines slowly, multiple shallow passes (0.1-0.2mm depth). Keep tool perpendicular for depth control; feather edges.
Builds precision; expect visible progress without chatter marks.
Switch shapes for fills/shading. Vary pressure for texture. Pause to clear debris with air blast.
Achieve dimension; smooth gradients indicate mastery.
💡 Tips:
Blow off dust; inspect under light. Polish with fine point or felt bob + compound.
Final: Crisp, burr-free engraving shining under polish.
⚠️ Warnings:
Problem: Point glazing (shiny, ineffective surface)
Solution: Dress point on scrap at high speed/light pressure; switch grit.
Problem: Excessive vibration or wobble
Solution: Tighten collet; replace bent shank point.
Problem: Burn marks on workpiece
Solution: Lower RPM, add lubricant, reduce dwell time.
Problem: Chatter marks in engraving
Solution: Increase RPM, steady hand, better fixturing.
Variable speed (5,000-60,000 RPM) and ergonomic design ideal for precise control in advanced engraving.
Best for: Primary tool for all engraving steps; handles high torque needs.
Price Range: $130-$200
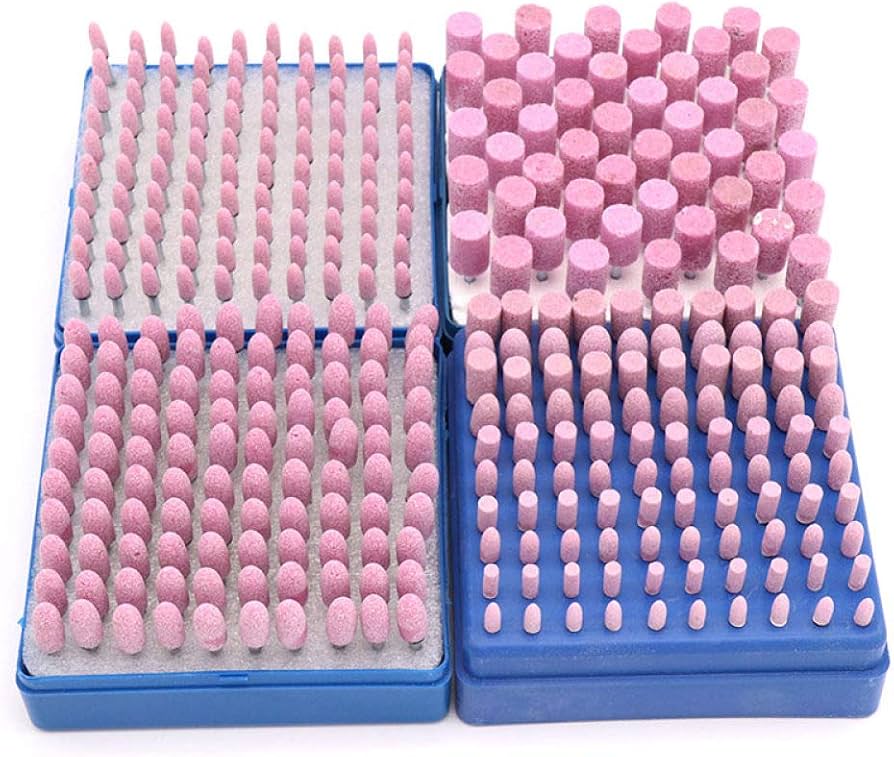
Comprehensive assortment of shapes/grits in 1/8" shank for versatility across metals and ceramics.
Best for: Selecting perfect point for outlines, fills, and polishing.
Price Range: $15-$25
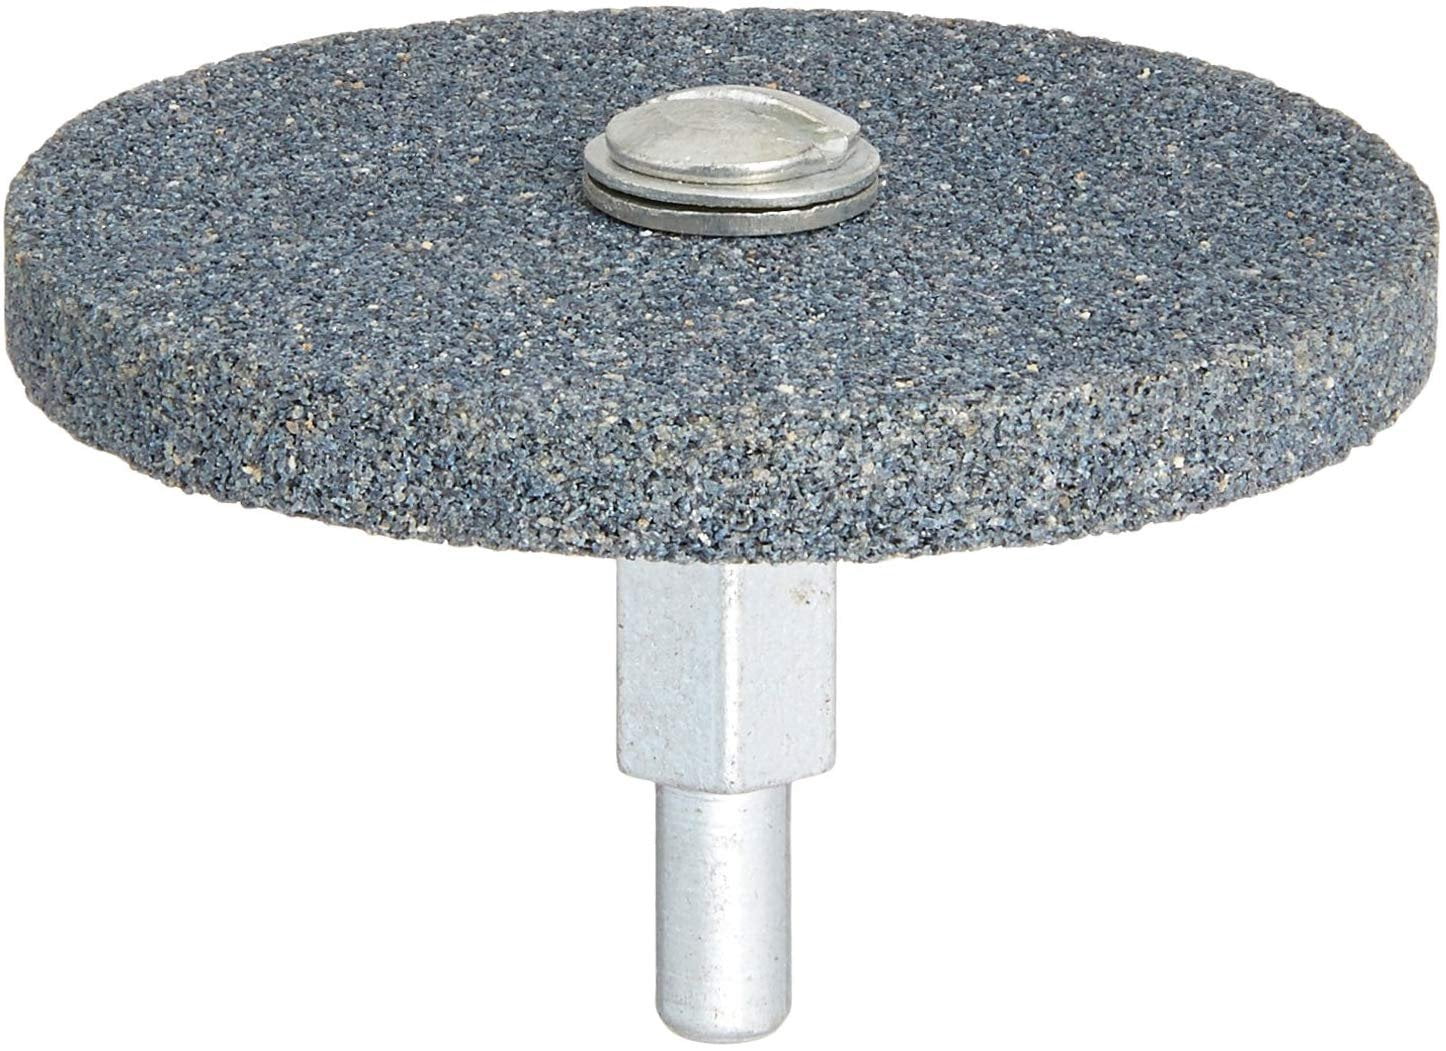
Durable aluminum oxide points for heavy-duty ferrous metal engraving.
Best for: Deep engraving on steel tools or blades.
Price Range: $10-$15
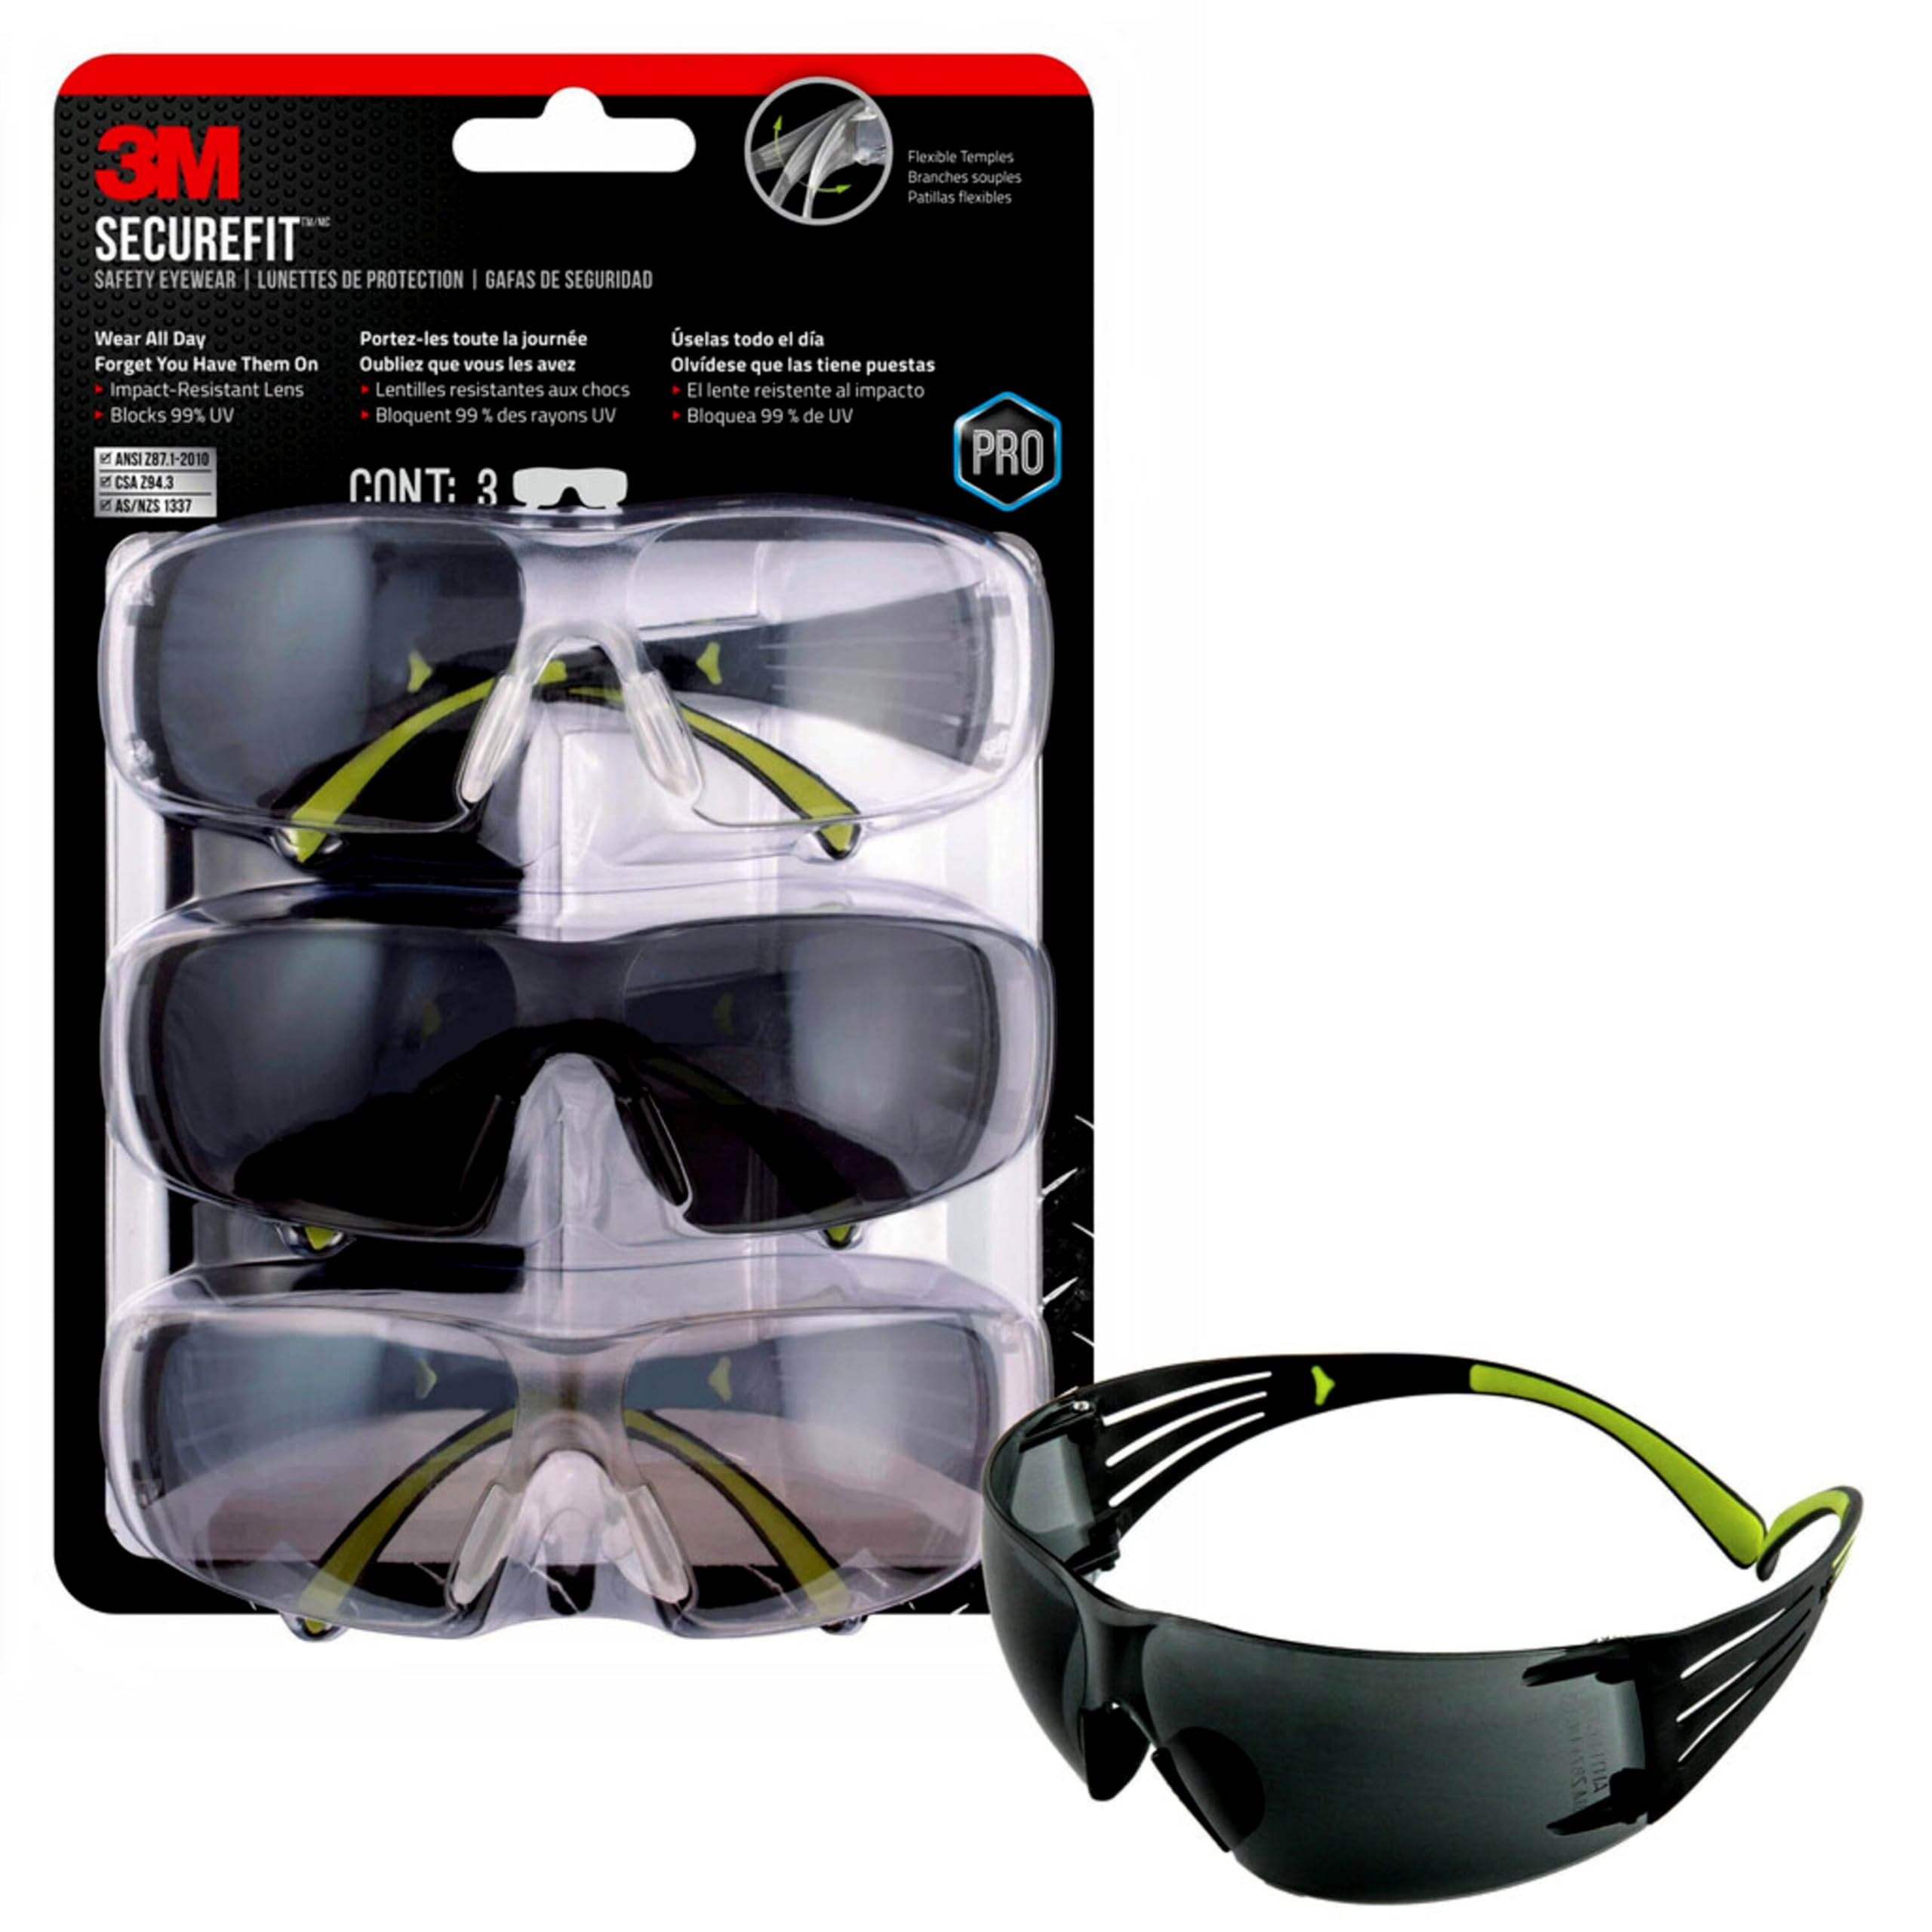
Anti-fog, wraparound protection essential for spark/dust-heavy engraving.
Best for: Mandatory eye safety during operation.
Price Range: $8-$12
Perfect for final buffing to highlight engravings.
Best for: Post-engraving finish for professional shine.
Price Range: $5-$8
Primary tool for all engraving steps; handles high torque needs.
Dremel 4300 Rotary Tool Kit Variable speed (5,000-60,000 RPM) and ergonomic design ideal for precise control in advanced engraving.
Selecting perfect point for outlines, fills, and polishing.
SE 171Pc Abrasive Stone Points Set Comprehensive assortment of shapes/grits in 1/8" shank for versatility across metals and ceramics.
Deep engraving on steel tools or blades.
Forney 69273 Mounted Stone Set Durable aluminum oxide points for heavy-duty ferrous metal engraving.
Mandatory eye safety during operation.
3M Secure Fit 400 Safety Glasses Anti-fog, wraparound protection essential for spark/dust-heavy engraving.
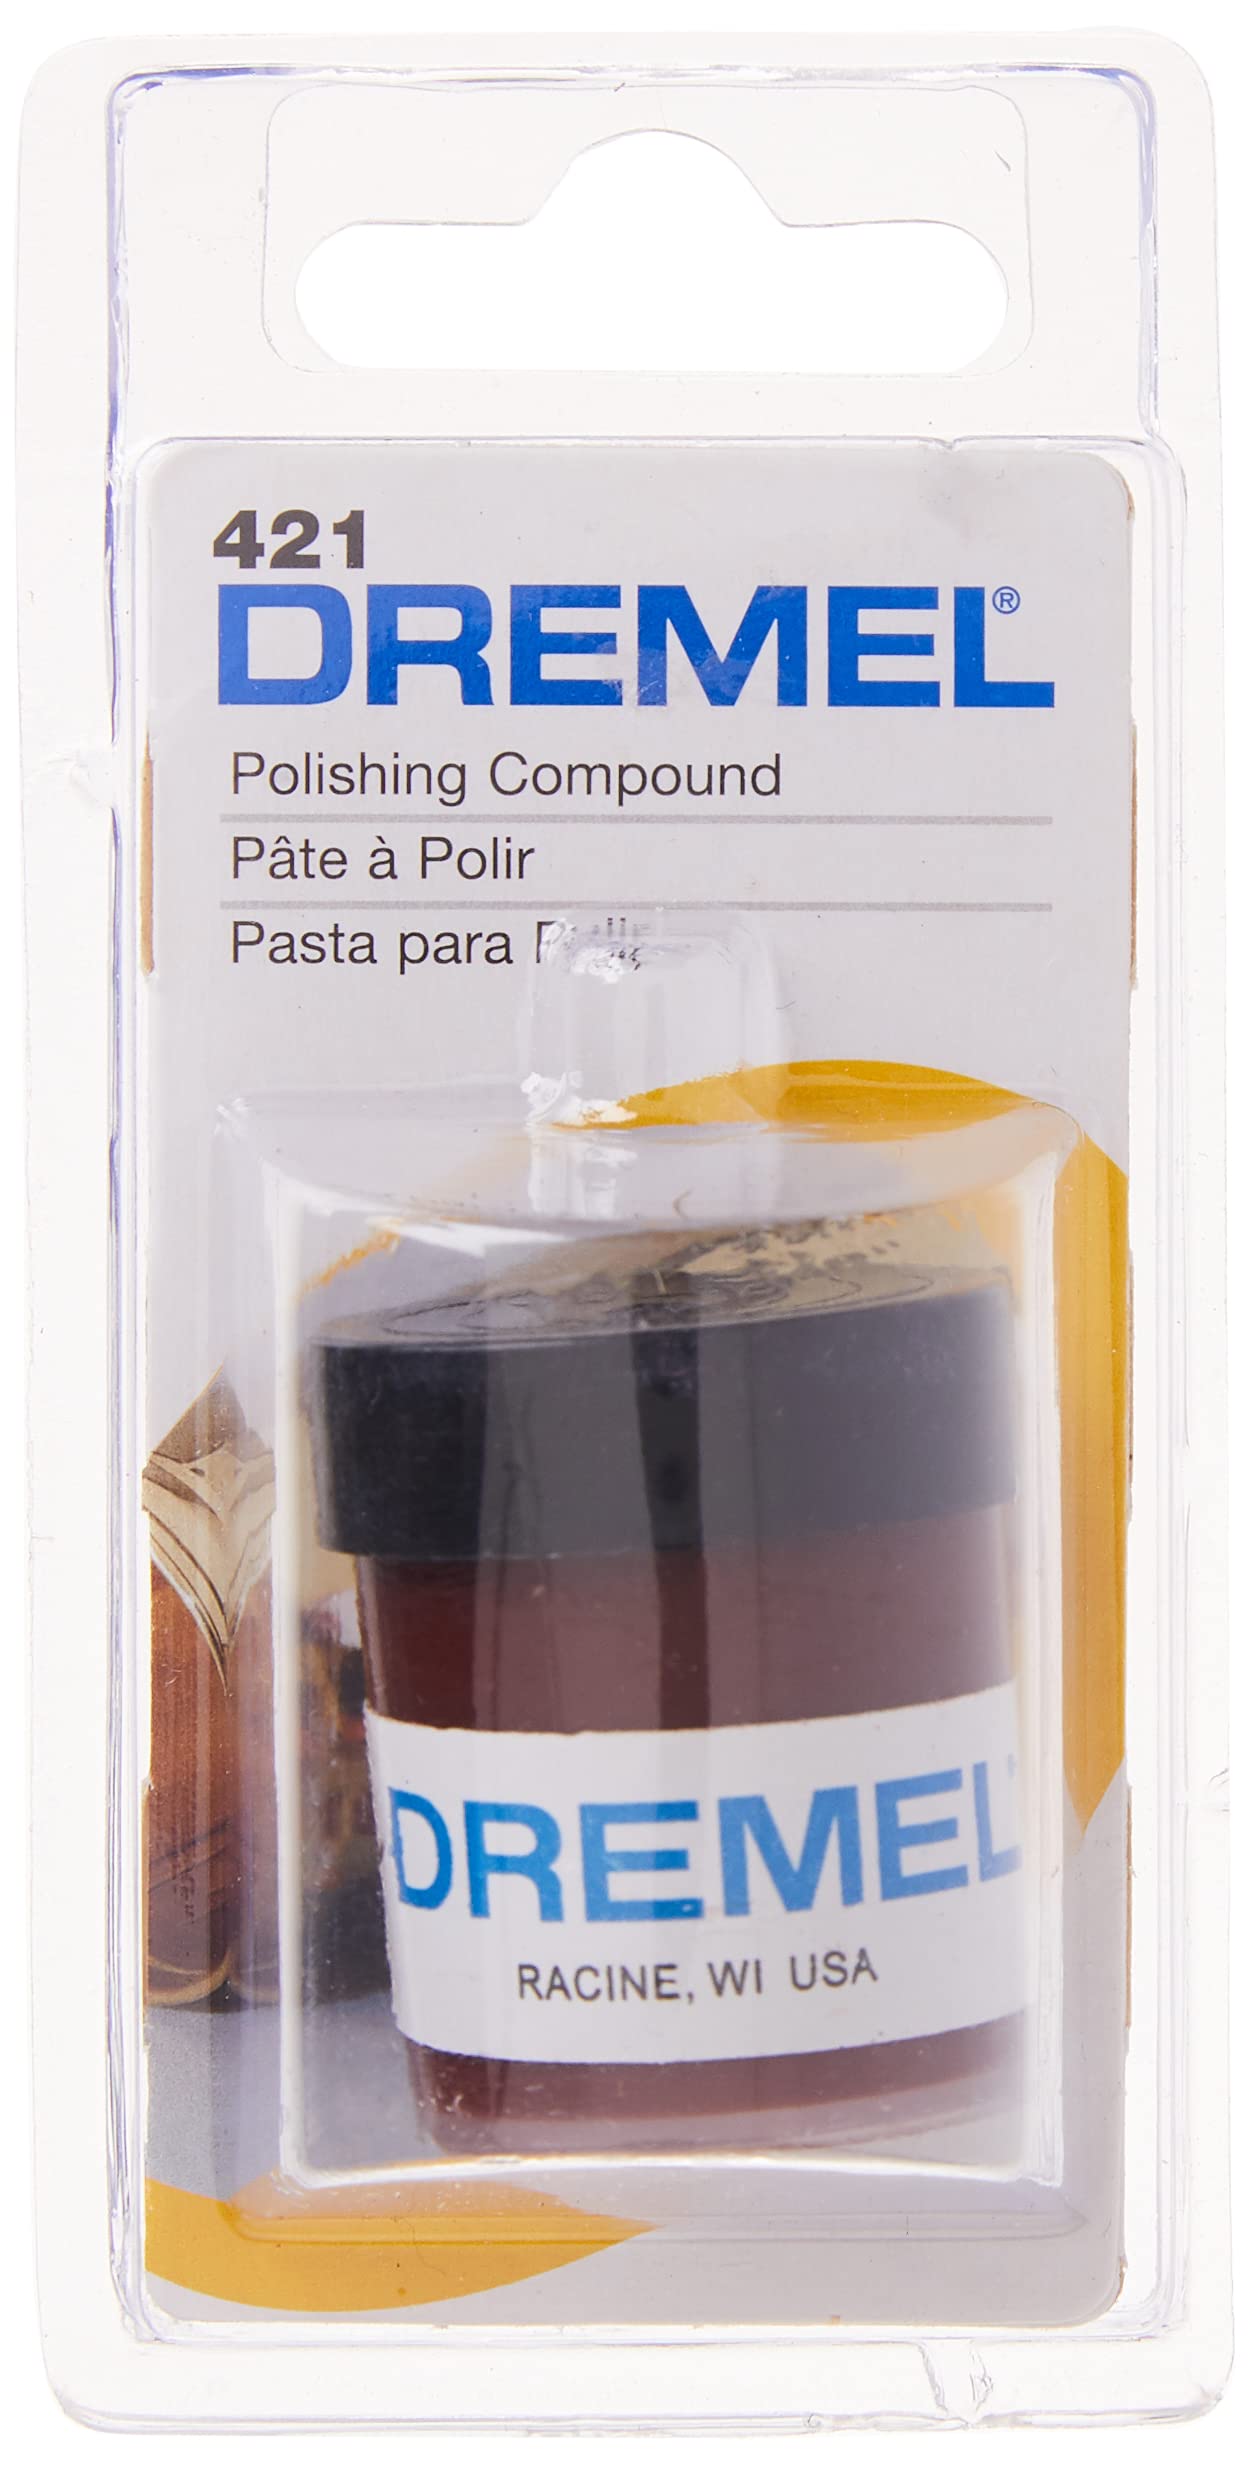
Post-engraving finish for professional shine.
Dremel 421 Polishing Compound Perfect for final buffing to highlight engravings.