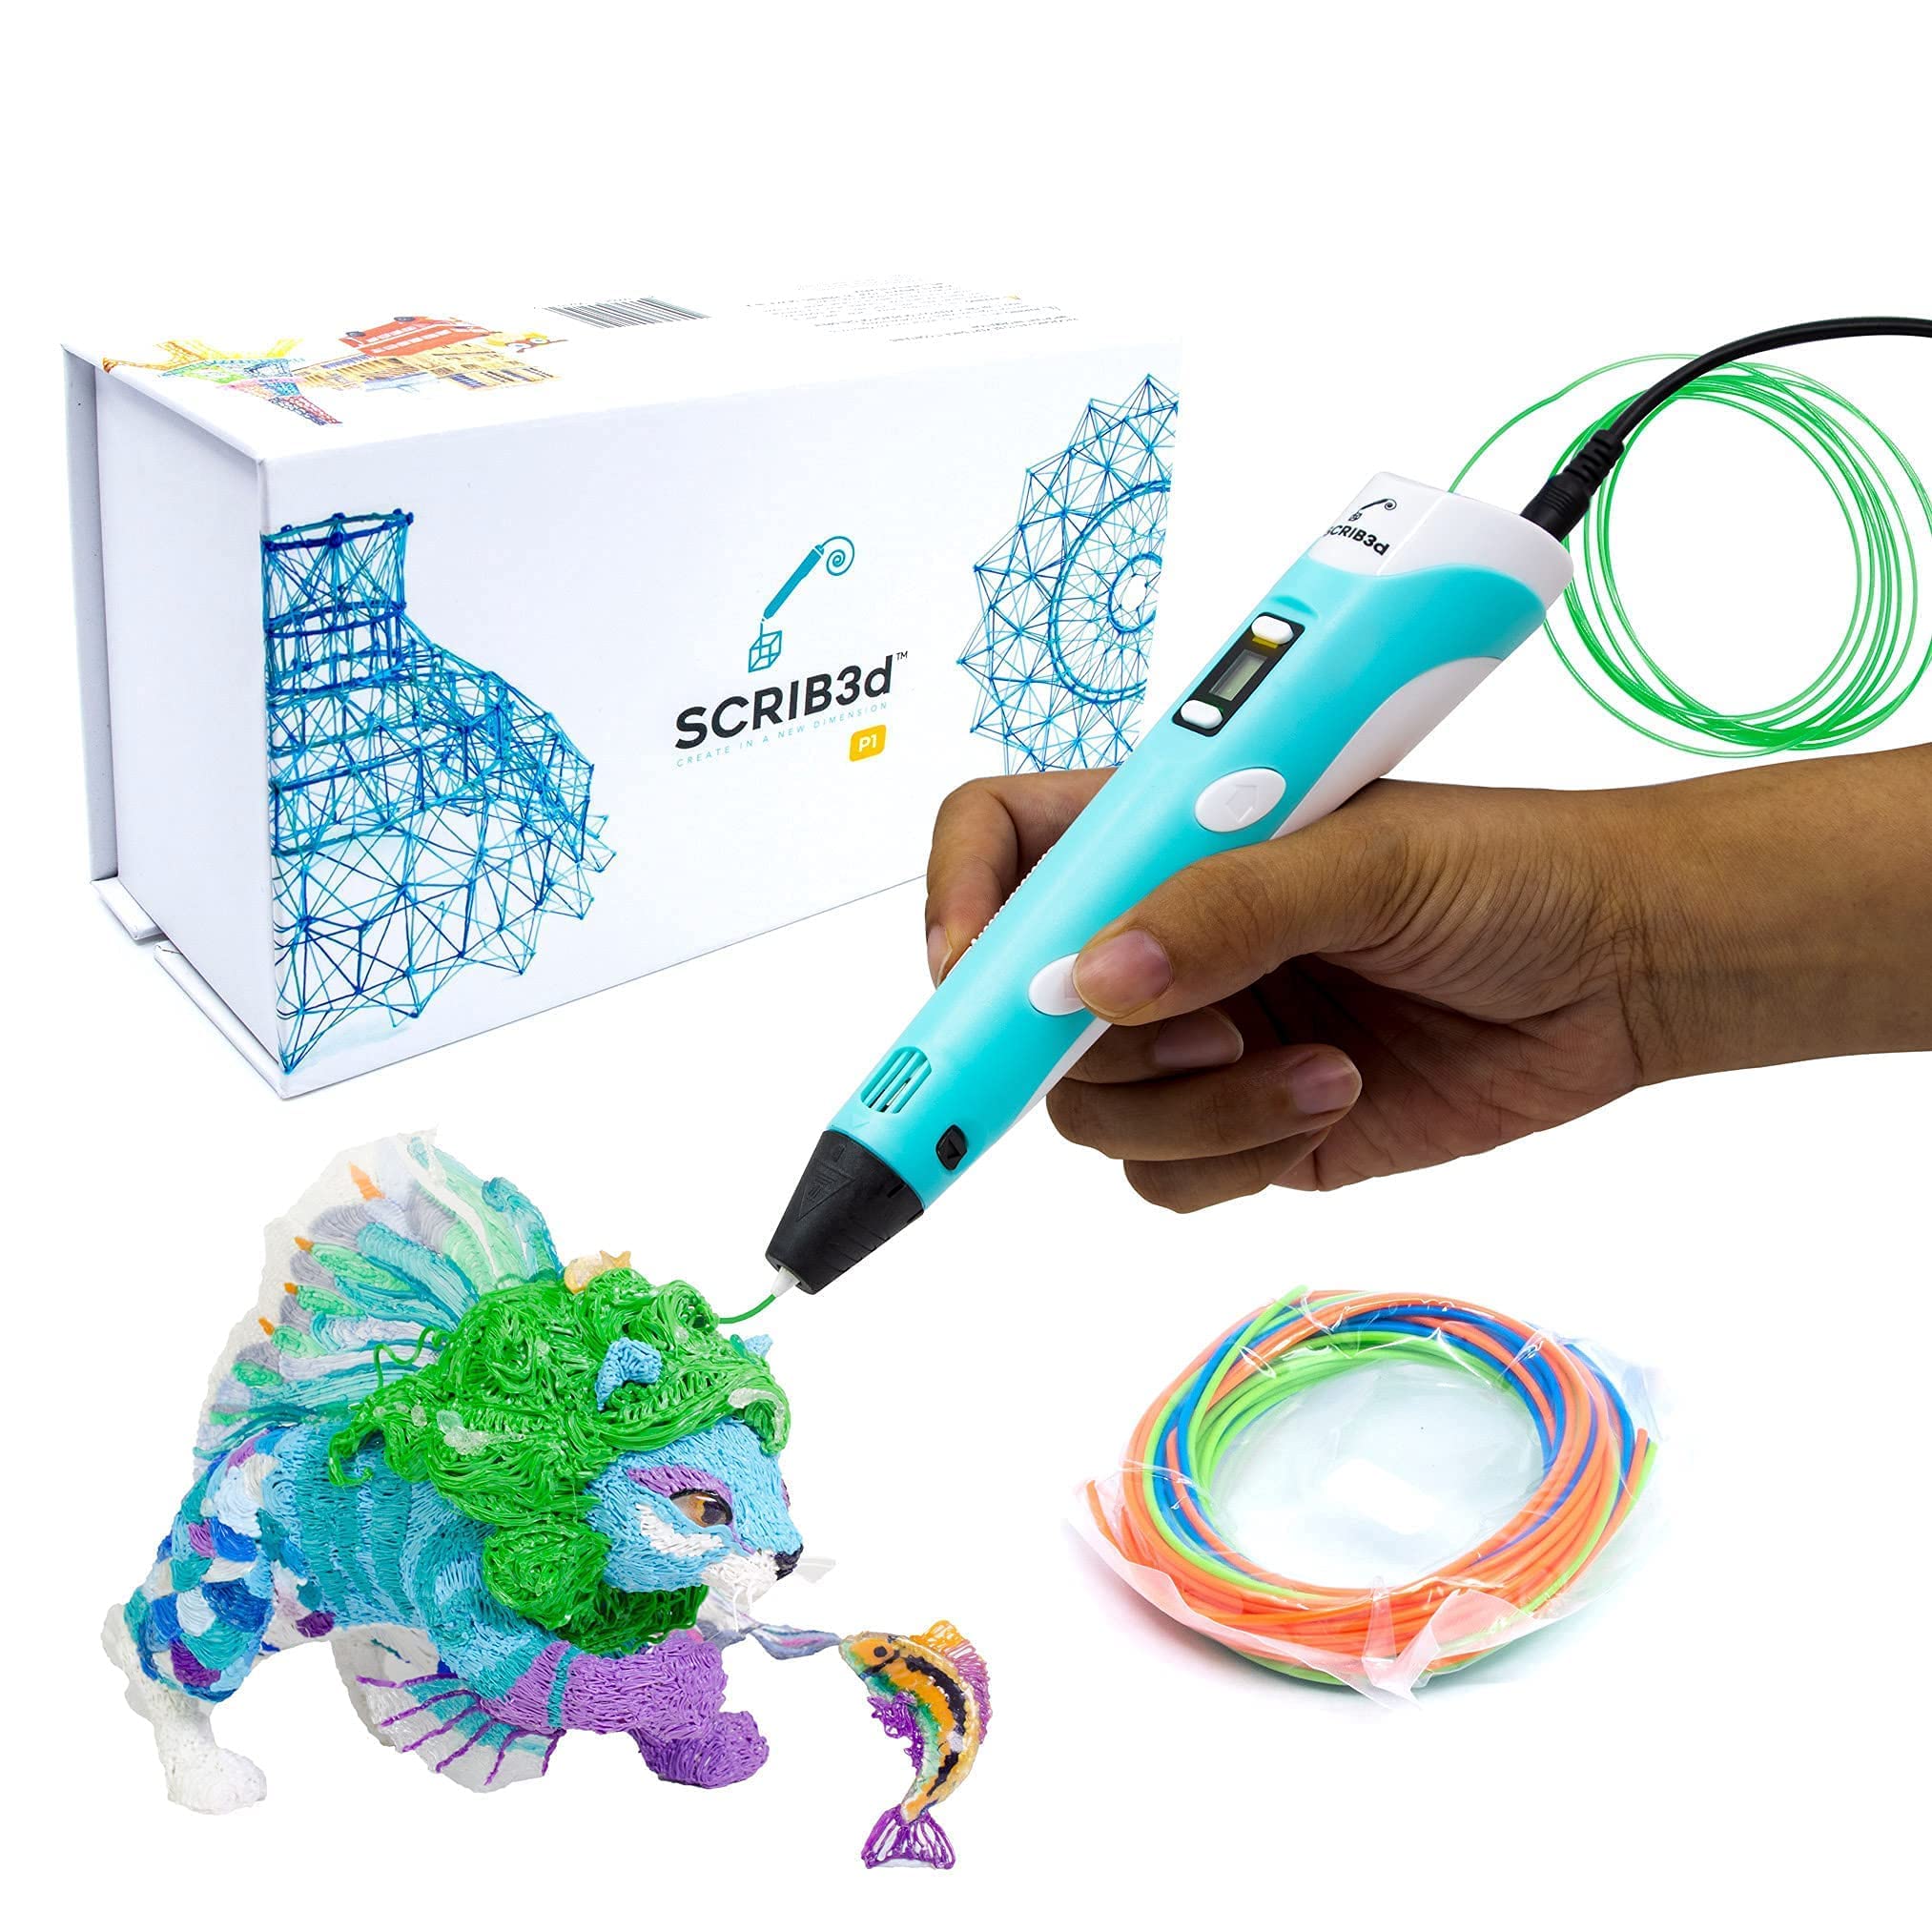
SCRIB3D Beginner 3D Printing Pen Kit
Small detailed engravings on wood/leather.
$24.99
SCRIB3D Beginner 3D Printing Pen Kit Affordable, easy nozzle swap, includes filament—perfect for first-time engravers with precise control.
Get the App
Better experience on mobile
Master beginner-friendly engraving on wood, glass, or metal using a 3D printing pen—create custom designs in 20-30 minutes.
Ever wanted to personalize your gadgets, jewelry, or home decor with intricate designs but lacked the tools? Traditional engraving requires expensive machines or skills, but 3D printing pens offer an affordable, fun alternative for beginners. These handheld devices melt plastic filament to 'draw' precise lines on surfaces, mimicking engraving effects.
In this guide, you'll learn step-by-step how to engrave stunning designs using a 3D printing pen. We'll cover everything from setup to finishing touches, with tips for flawless results. Expect a simple process that's safe and creative—no prior experience needed.
The whole project takes 20-30 minutes for a small design, perfect for quick crafts. By the end, you'll have a professionally engraved item ready to show off.
Estimated Time: 20-30 minutes Difficulty: beginner
Collect all items from the 'What You Need' list. Inspect your 3D printing pen for damage and ensure it's clean. Cut a 12-18 inch piece of PLA filament.
Why it matters: Proper prep prevents interruptions and ensures safety. PLA is ideal for engraving as it melts at low temps (around 190-220°C) and adheres well without excessive buildup.
Expect a clutter-free workspace ready for action.
💡 Tips:
⚠️ Warnings:
Sketch or print a simple design (e.g., name, logo) at 1-2mm line thickness. Use free tools like Inkscape or stencil generators. Cut out or print on thin paper/vinyl.
Thin lines ensure the pen tip can trace precisely. Test print on paper first to check scale.
Success: A crisp, scalable template that fits your surface.
💡 Tips:
Place a heat-resistant mat on a stable table. Secure your surface (e.g., wood block) with tape. Wear gloves.
This prevents slips and protects surfaces. Good lighting helps precision.
Expect a safe, steady base—no wobbles.
💡 Tips:
⚠️ Warnings:
Insert filament into the pen per manual (usually back-loading). Turn on and set temp to 190-210°C for PLA. Wait 2-3 minutes until hot.
Why: Correct temp melts filament smoothly for fine extrusion.
Success: Filament feeds easily; tip glows hot.
💡 Tips:
⚠️ Warnings:
Tape stencil securely to your surface, ensuring no bubbles. For vinyl, burnish with a credit card.
This guides your lines perfectly.
Expect a taut, aligned template ready for tracing.
💡 Tips:
Extrude slowly on scrap material, tracing simple lines. Adjust speed/pressure for thin beads.
Builds confidence; aim for 0.5-1mm wide lines.
Success: Smooth, even practice lines without blobs.
💡 Tips:
⚠️ Warnings:
Trace stencil lines slowly (1-2mm/sec), letting hot plastic deposit and cool slightly. Lift pen between strokes. Fill outlines if desired.
The plastic 'etches' by adhering and contracting.
Success: Crisp, raised-engraved design matching stencil.
💡 Tips:
Let cool 5 minutes. Peel stencil gently. Sand lightly if bumpy; wipe with alcohol.
Reveals polished engraving.
Final result: Durable, custom-engraved item.
💡 Tips:
Problem: Pen clogs mid-engraving
Solution: Heat to 220°C, insert cleaning wire, extrude scrap filament. Prevent with dry storage.
Problem: Lines too thick or blobby
Solution: Reduce extrusion speed/pressure; use finer nozzle if available.
Problem: Plastic won't stick to surface
Solution: Roughen surface lightly with sandpaper; ensure surface is clean and dry.
Problem: Wavy or inconsistent lines
Solution: Steady your hand with a rest; practice more.
Affordable, easy nozzle swap, includes filament—perfect for first-time engravers with precise control.
Best for: Small detailed engravings on wood/leather.
Price Range: $24.99
Dual-drive extruder for smooth flow, ergonomic grip reduces fatigue during tracing.
Best for: Longer sessions on glass or metal.
Price Range: $29.99
Kid-safe low-temp PLA only, shatterproof design—ideal for beginners avoiding burns.
Best for: Safe engraving on various crafts.
Price Range: $49.99
High-quality, consistent diameter for thin engraving lines without jams.
Best for: Refill for multiple projects in various colors.
Price Range: $15.99
Protects hands from hot plastic splatter during engraving.
Best for: Safety essential for all sessions.
Price Range: $12.99
Small detailed engravings on wood/leather.
SCRIB3D Beginner 3D Printing Pen Kit Affordable, easy nozzle swap, includes filament—perfect for first-time engravers with precise control.
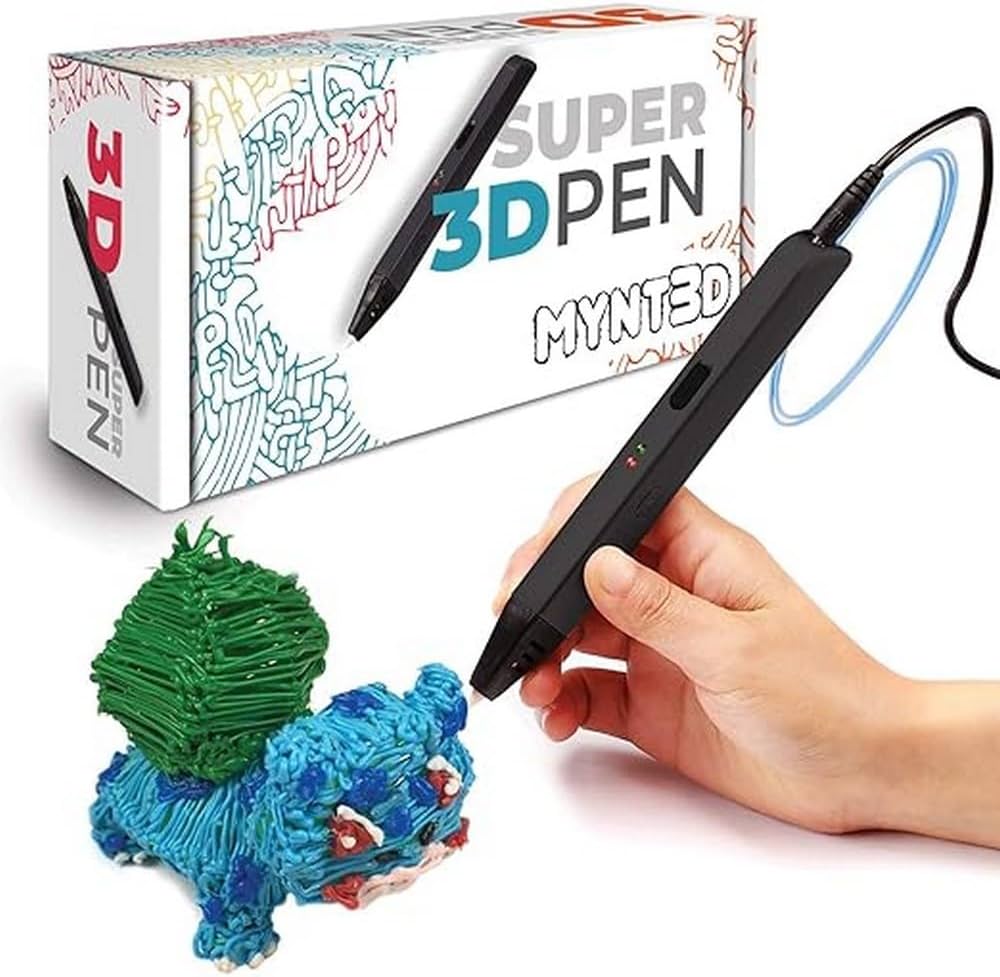
Longer sessions on glass or metal.
MYNT3D Super 3D Printing Pen Dual-drive extruder for smooth flow, ergonomic grip reduces fatigue during tracing.
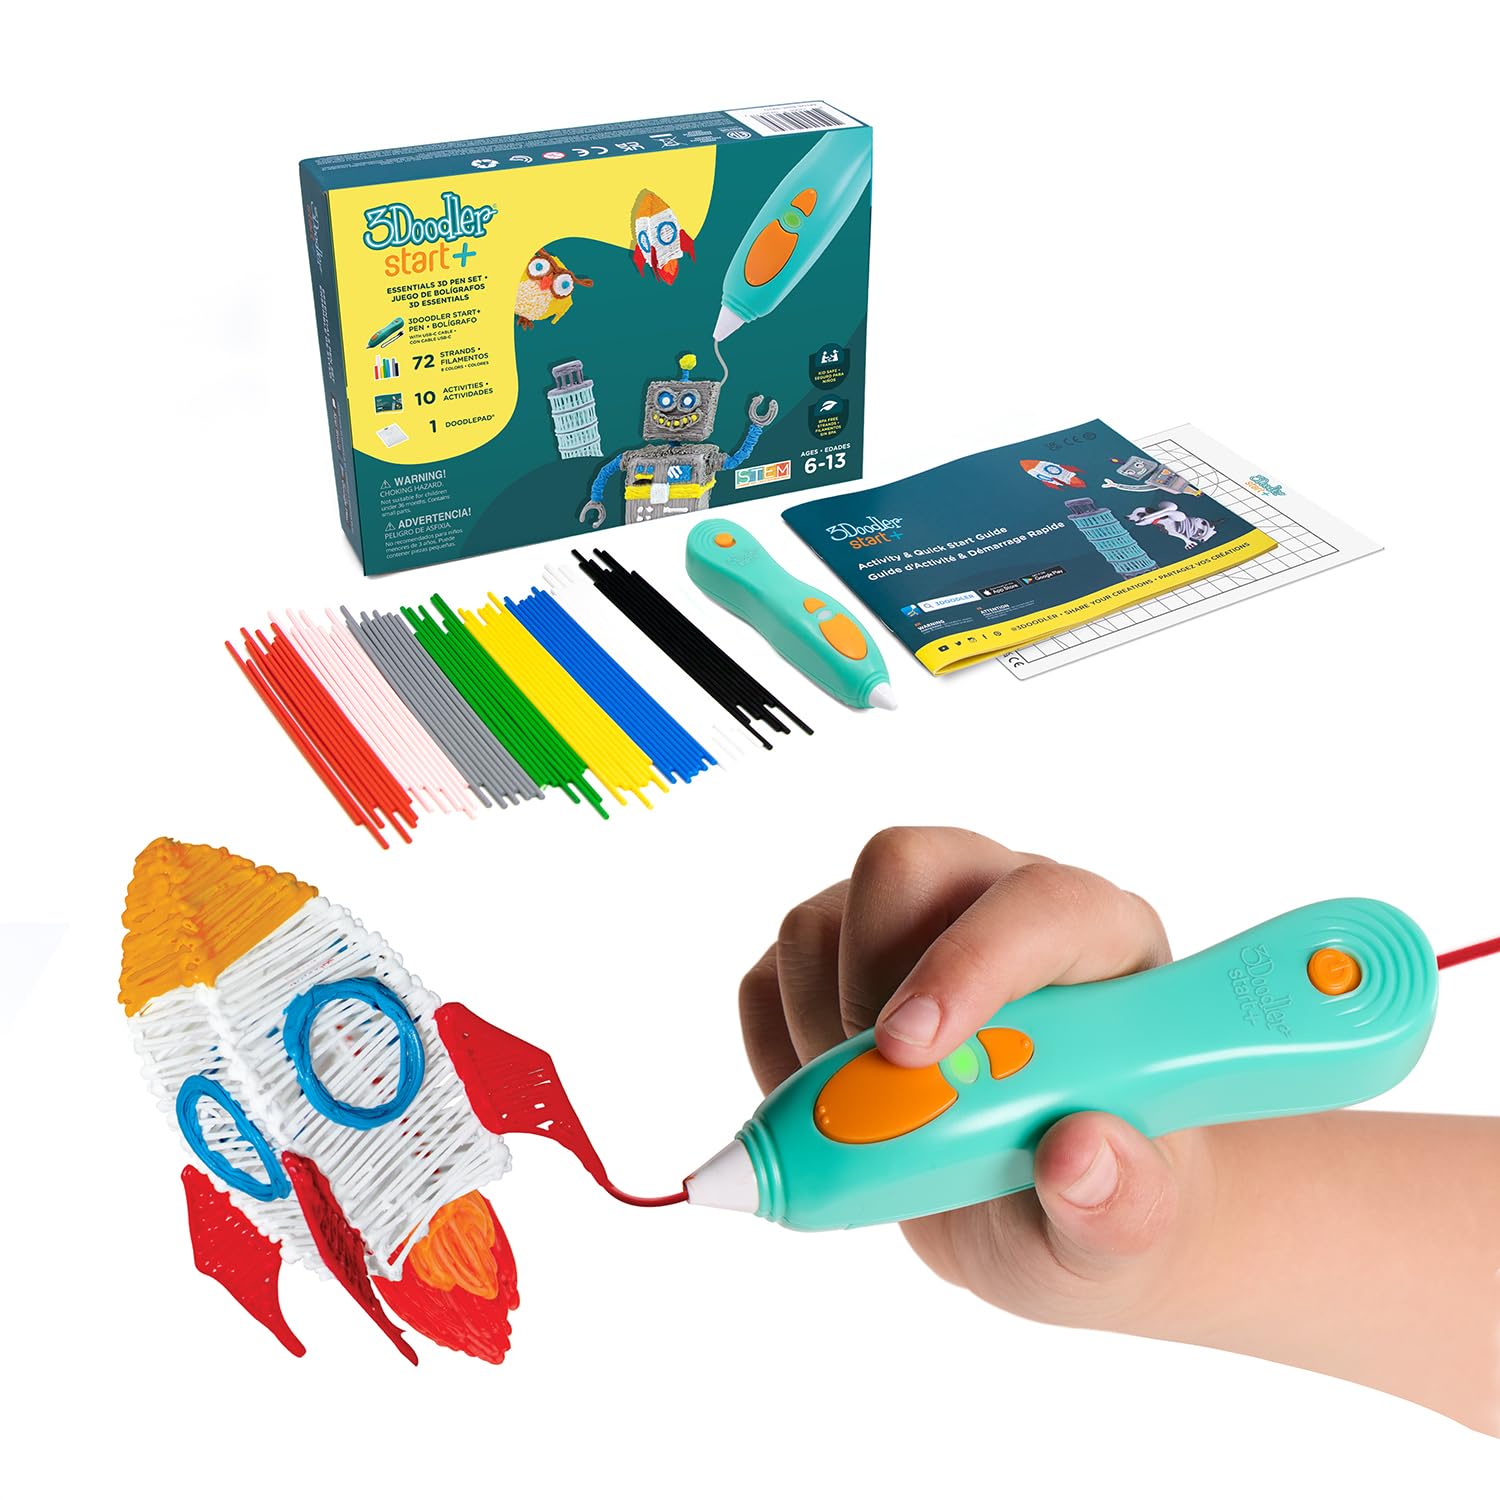
Safe engraving on various crafts.
3Doodler Start+ 3D Printing Pen Kid-safe low-temp PLA only, shatterproof design—ideal for beginners avoiding burns.
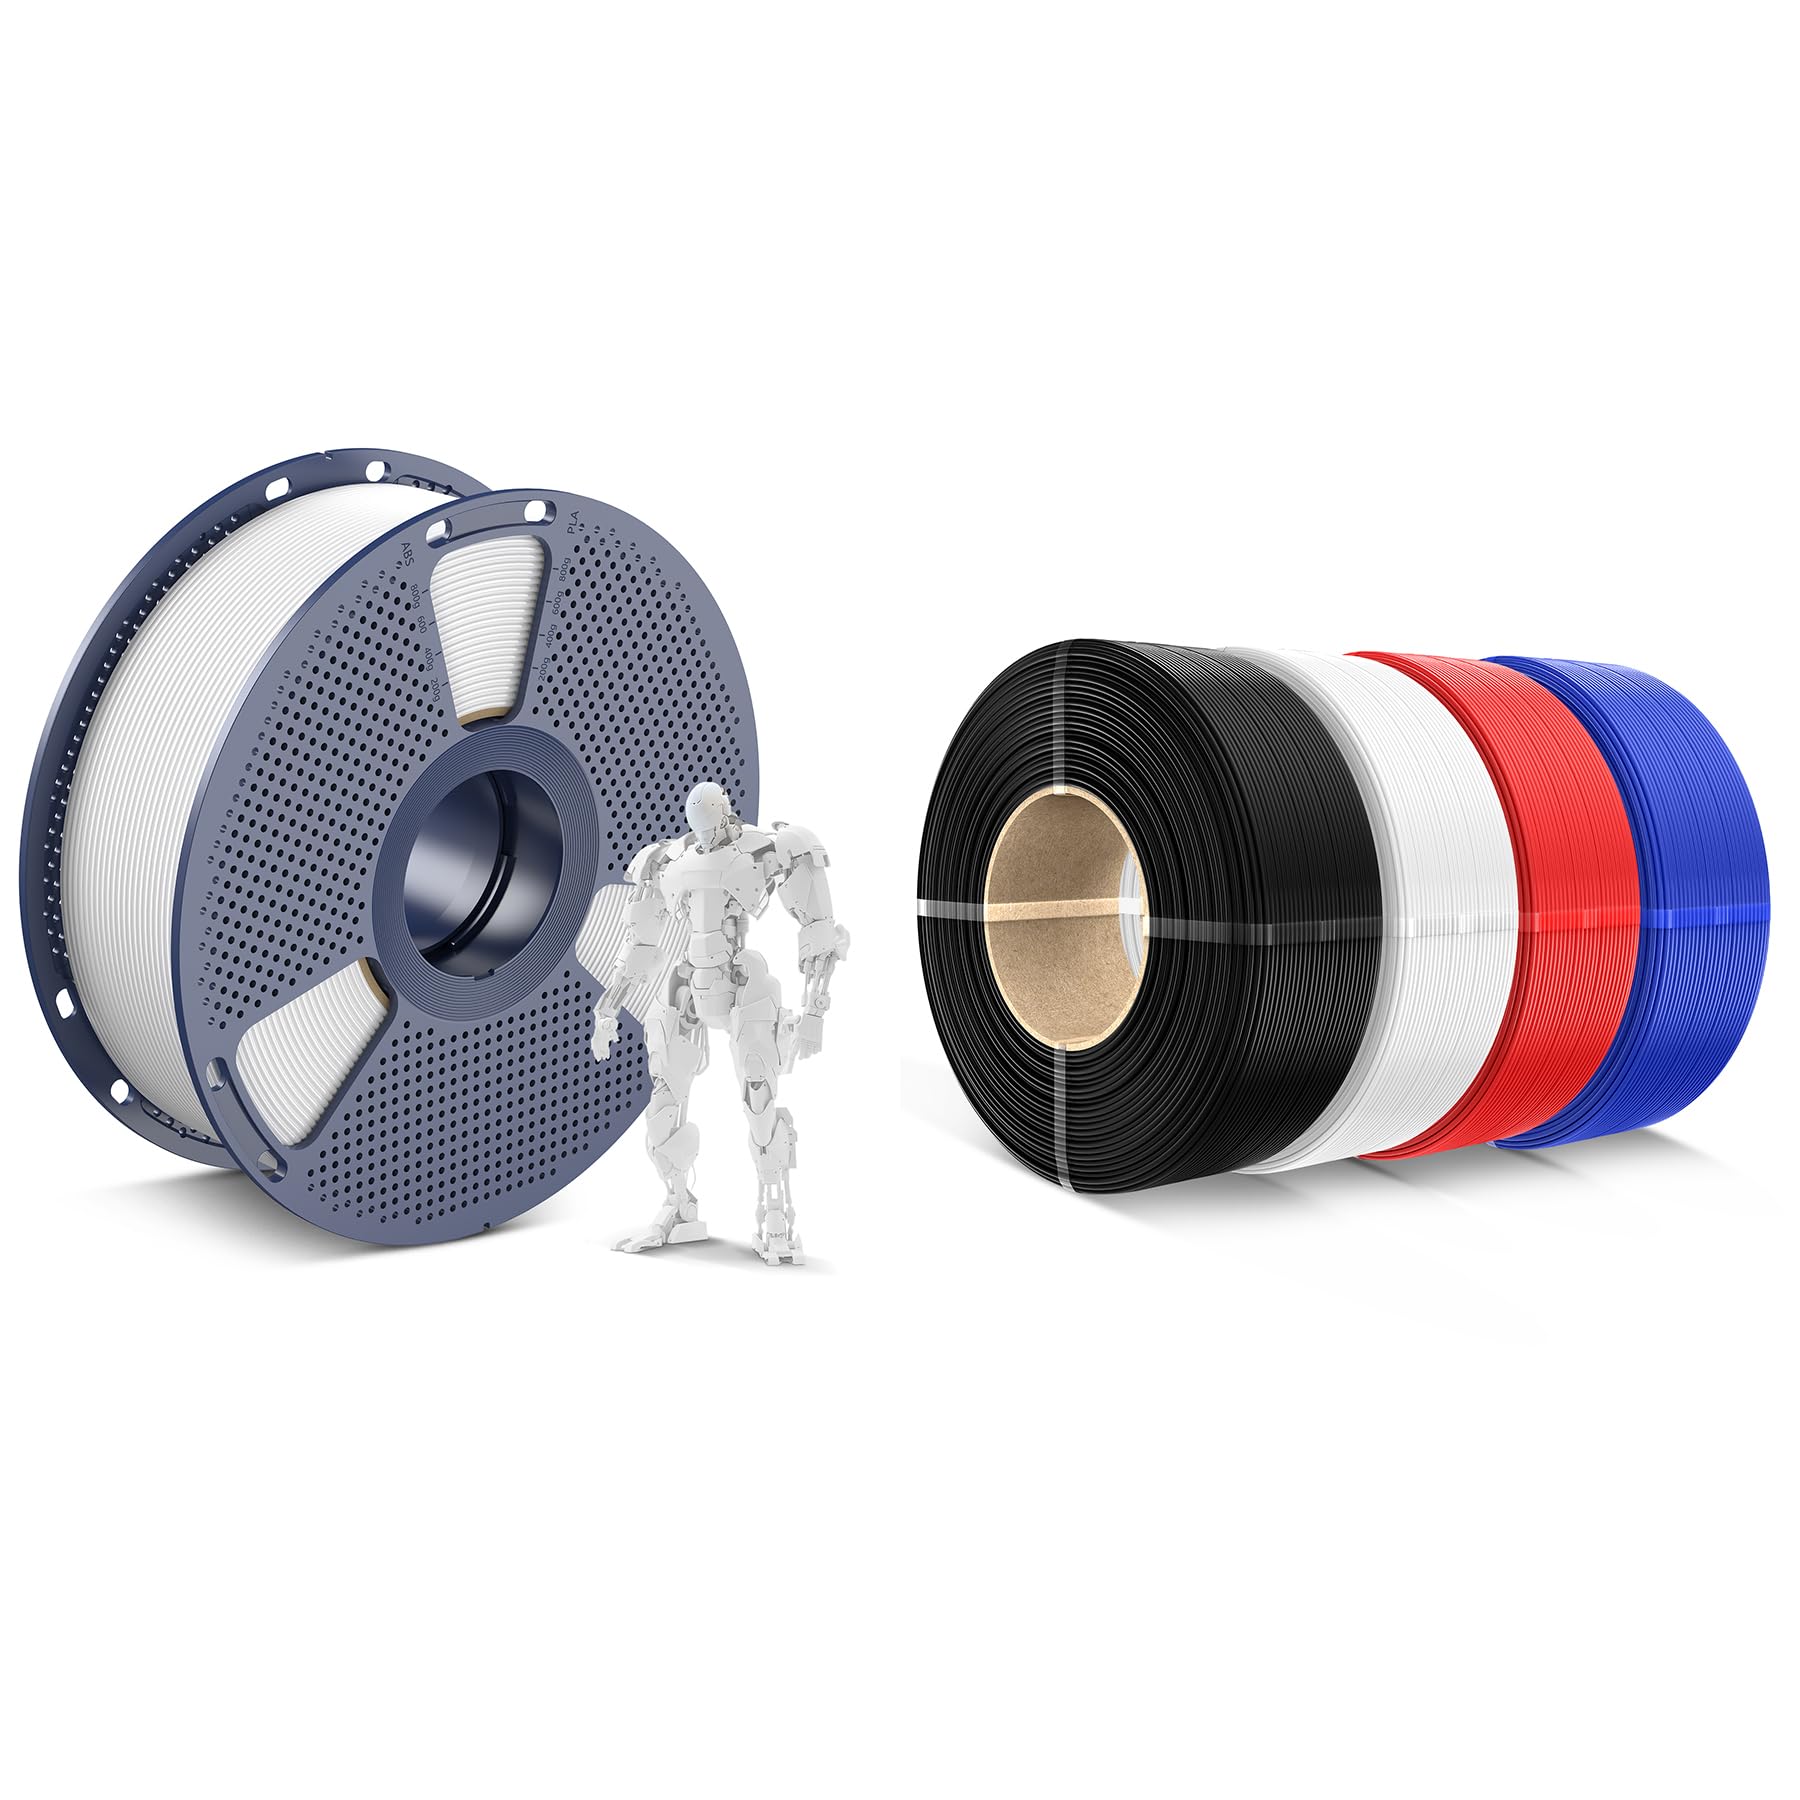
Refill for multiple projects in various colors.
SUNLU PLA 3D Printing Filament 1.75mm High-quality, consistent diameter for thin engraving lines without jams.
Safety essential for all sessions.
Nitril Disposable Gloves (100-pack) Protects hands from hot plastic splatter during engraving.