Sticky residues from stickers, tape, or labels can mar your car's interior, making it look worn and dirty. Whether it's old parking permits on the windshield, shipping labels on new parts, or glue from repairs, these adhesives are tough to remove without risking scratches or discoloration on delicate surfaces like leather, vinyl, or plastic. Improper removal can lead to costly damage, but with the right adhesive remover and technique, you can restore your interior to like-new condition.
In this guide, you'll learn a proven, intermediate-level process to effectively use adhesive removers. We'll cover preparation, application, cleanup, and post-care to ensure safe results on various car materials. Expect to spend 20-45 minutes per affected area, depending on size and stubbornness—no special skills needed beyond basic care.
By following these steps, you'll avoid common pitfalls like surface haze or lingering odors, achieving a clean, residue-free finish that protects your investment.
▸What You'll Need
- •Adhesive remover (citrus-based or automotive-specific, e.g., Goo Gone Automotive)
- •Microfiber cloths (lint-free)
- •Plastic scraper or credit card (for gentle scraping)
- •Isopropyl alcohol (91% for cleanup)
- •Nitril or rubber gloves
- •Vacuum or soft brush (optional for prep)
- •Interior protectant or conditioner (for leather/vinyl post-clean)
- •Spray bottle with water (optional)
Estimated Time: 20-45 minutes per area
Difficulty: intermediate
▸Step-by-Step Instructions
Step 1: Prepare Your Workspace and Gather Materials
Park your car in a well-ventilated area, like outdoors or a garage with doors open, to avoid inhaling fumes. Turn off the engine and remove any loose items from the area. Vacuum or brush away dust and debris to prevent scratching during cleaning.
Lay down towels or drop cloths to protect surrounding surfaces. Wear gloves to shield your skin from chemicals. This step ensures safety and prevents cross-contamination.
Success looks like: A clean, organized workspace ready for action—no loose particles or unprotected areas.
💡 Tips:
- •Work in sections to avoid overwhelming the area.
- •Have paper towels handy for quick spills.
⚠️ Warnings:
- •Never work in a closed car; fumes can build up quickly.
Step 2: Test the Adhesive Remover
Choose an inconspicuous spot, like under a seat or the underside of a door panel. Apply a small amount of remover with a microfiber cloth, let it sit for 1-2 minutes, then wipe off. Inspect for discoloration, softening, or residue.
This prevents damage to visible surfaces. Wait 5-10 minutes to check for haze or color change.
Success looks like: No damage or color change after testing—product is safe for your material.
💡 Tips:
- •Test on multiple surfaces if mixed materials (e.g., vinyl + leather).
⚠️ Warnings:
- •Skip solvent-based removers on plastics; they can melt surfaces.
Step 3: Scrape Off Excess Adhesive
Use a plastic scraper held at a 30-degree angle to gently lift bulk adhesive. Work slowly in one direction to avoid gouging. Dispose of scraps immediately.
This reduces the amount of remover needed and speeds up the process. Don't force it—if it resists, proceed to chemical application.
Success looks like: Large chunks removed, leaving a thin film of residue.
💡 Tips:
- •Warm the adhesive with a hairdryer on low for 30 seconds to loosen it.
⚠️ Warnings:
- •Avoid metal tools—they scratch easily.
Step 4: Apply the Adhesive Remover
Spray or dab remover directly onto the residue, covering it fully but avoiding overspray. Use sparingly— a dime-sized amount per 2x2 inch area.
The solvent breaks down the adhesive bond. Let it dwell for 1-5 minutes (check product instructions); you'll see it bubbling or softening.
Success looks like: Residue turning gooey and lifting from the surface.
💡 Tips:
- •Citrus-based removers like Goo Gone work best on interiors—less harsh.
Step 5: Agitate and Wipe Away Residue
Gently rub with a microfiber cloth in circular motions. Reapply remover if needed for stubborn spots. Wipe in straight lines to avoid streaks.
Agitation helps dissolve remaining glue without abrasion. Switch to a clean cloth section frequently.
Success looks like: Surface mostly clean, with minimal sticky feel.
💡 Tips:
- •Use a soft toothbrush for textured areas like vents.
⚠️ Warnings:
- •Don't scrub hard—let chemistry do the work.
Step 6: Clean and Neutralize the Area
Dampen a cloth with isopropyl alcohol or soapy water to remove remover residue. Wipe thoroughly, then dry with a clean microfiber towel.
This eliminates chemical traces that attract dirt. Rinse multiple times if needed.
Success looks like: No sticky or chemical smell; surface feels smooth.
💡 Tips:
- •Follow with a water-vinegar mix (1:1) for natural neutralization.
Step 7: Dry, Inspect, and Protect
Air dry for 10-15 minutes or use a fan. Inspect under good light for missed spots. Apply interior protectant to vinyl/leather for UV protection.
Prevents cracking and maintains appearance. Buff lightly for shine.
Success looks like: Pristine, protected surface matching the rest of the interior.
💡 Tips:
- •Condition leather immediately to restore moisture.
⚠️ Warnings:
- •Avoid silicone-based protectants—they attract dust.
▸Pro Tips
- •Always work top-to-bottom to catch drips.
- •For heat-sensitive plastics, use low-dwell removers.
- •Combine with a clay bar for textured residues.
- •Store remover in a cool place for longer shelf life.
- •Use painter's tape to mask delicate trim.
- •Reapply protectant monthly for maintained interiors.
- •Test dwell time on tough spots first—shorter is safer.
▸Common Mistakes to Avoid
- •Skipping the test spot, leading to discoloration—always test first.
- •Using too much product, causing drips and stains—apply sparingly.
- •Rubbing aggressively, scratching surfaces—let it dwell and wipe gently.
- •Not neutralizing remover residue, attracting dirt—always clean afterward.
- •Ignoring ventilation, risking fume inhalation—work outdoors.
▸Troubleshooting
Problem: Residue won't budge after dwelling.
Solution: Reapply and cover with plastic wrap for 10 minutes to enhance penetration, then retry.
Problem: Hazy film left behind.
Solution: Wipe with isopropyl alcohol; if persists, use a clay bar lubricant and mitt.
Problem: Color fading on vinyl.
Solution: Stop immediately, rinse with soapy water; seek pro detailer if damage is deep.
Problem: Strong odors lingering.
Solution: Ventilate car overnight; sprinkle baking soda and vacuum.
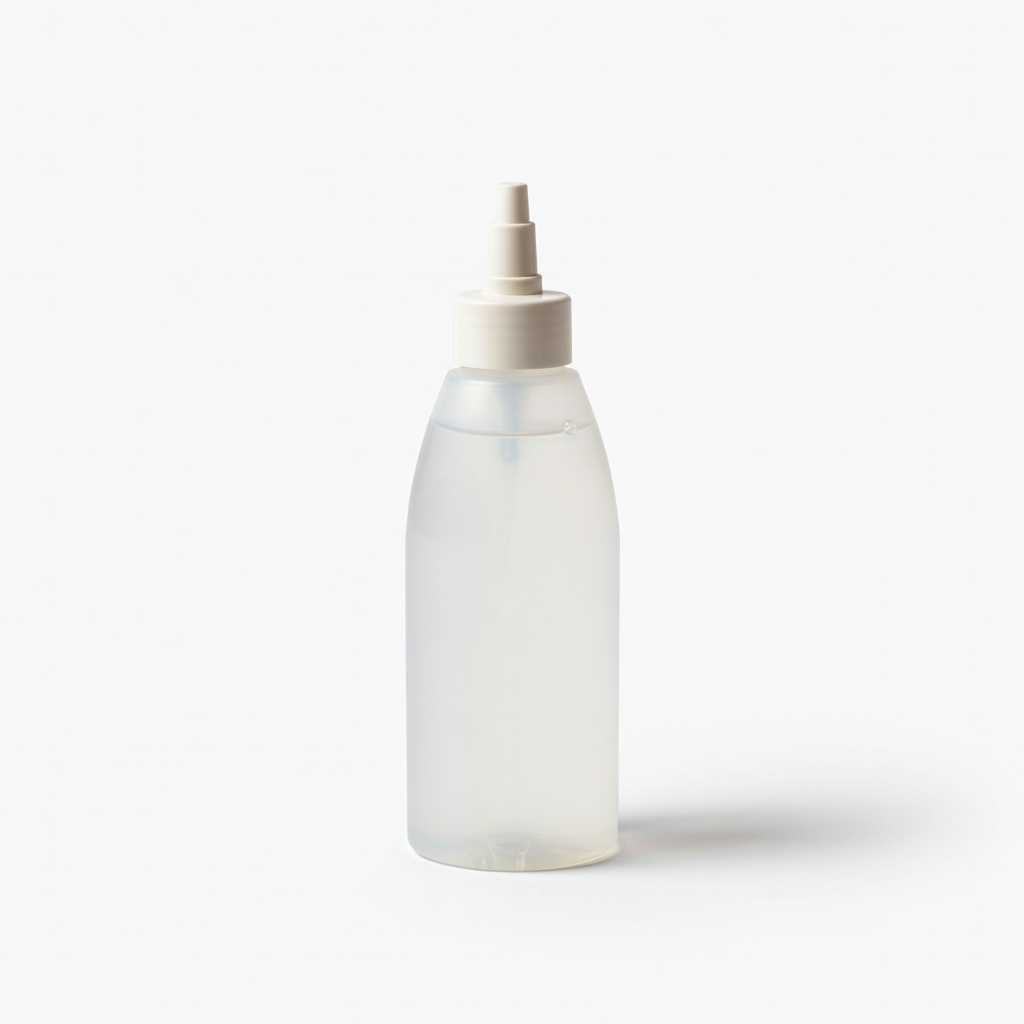
Goo Gone Automotive Goo & Adhesive Remover
Citrus-based formula safe for car interiors, dissolves tough adhesives without damaging vinyl or leather.
Best for: Ideal for dashboards, seats, and plastics; quick-acting for everyday residues.
Price Range: $6-8
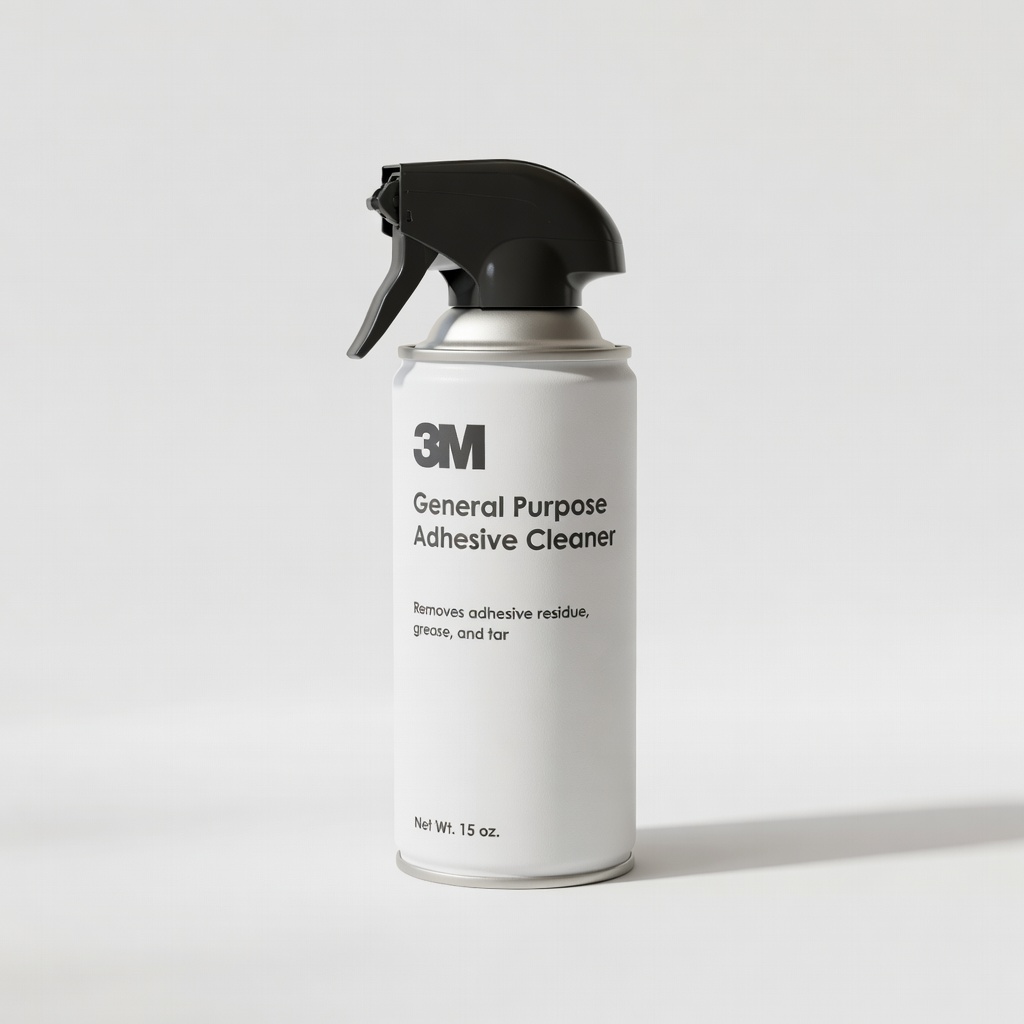
3M General Purpose Adhesive Cleaner
Professional-grade, fast-evaporating solvent that cuts through industrial glues effectively.
Best for: Best for heavy-duty tape or glue on metal/trim; use sparingly on plastics.
Price Range: $12-15
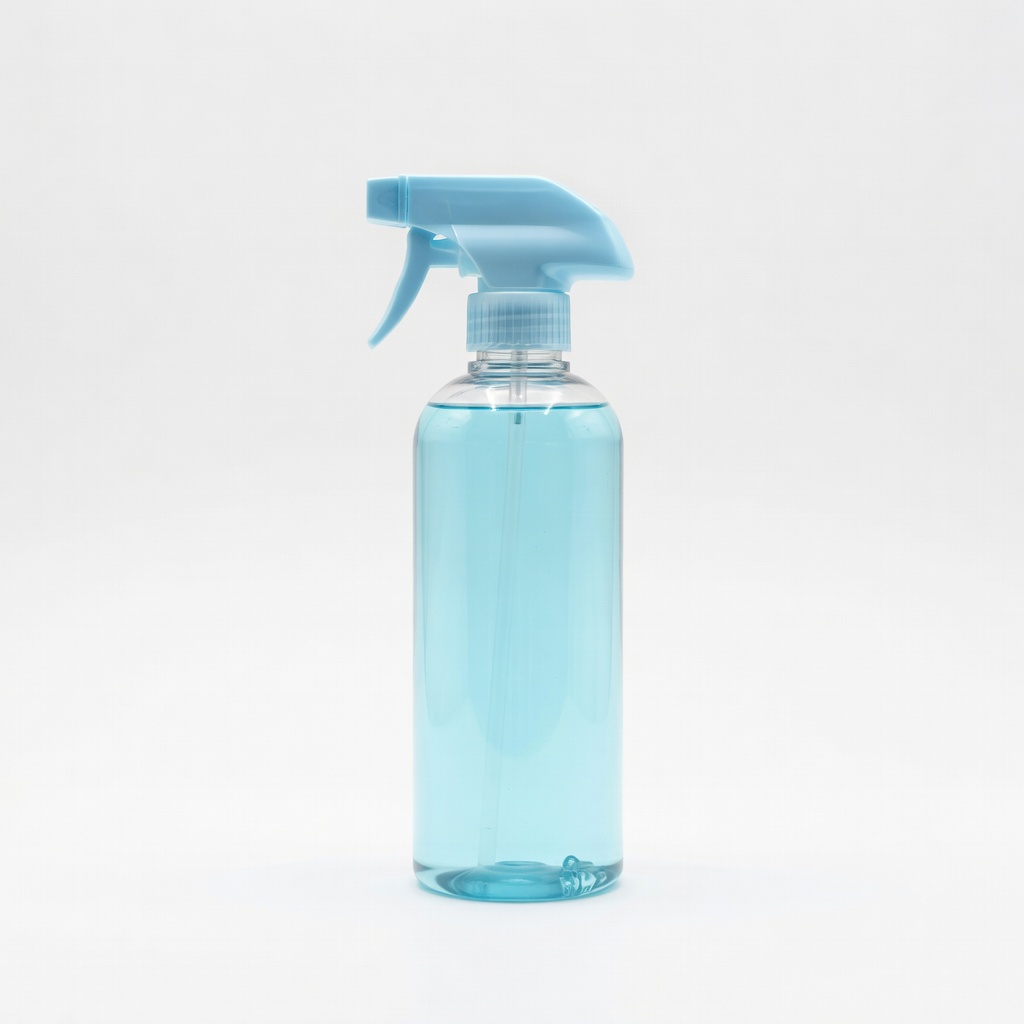
Chemical Guys Nonsense All Surface Cleaner
pH-neutral cleaner that removes adhesives gently, safe for all interior fabrics.
Best for: Upholstery and fabric seats where harsh solvents might stain.
Price Range: $15-20
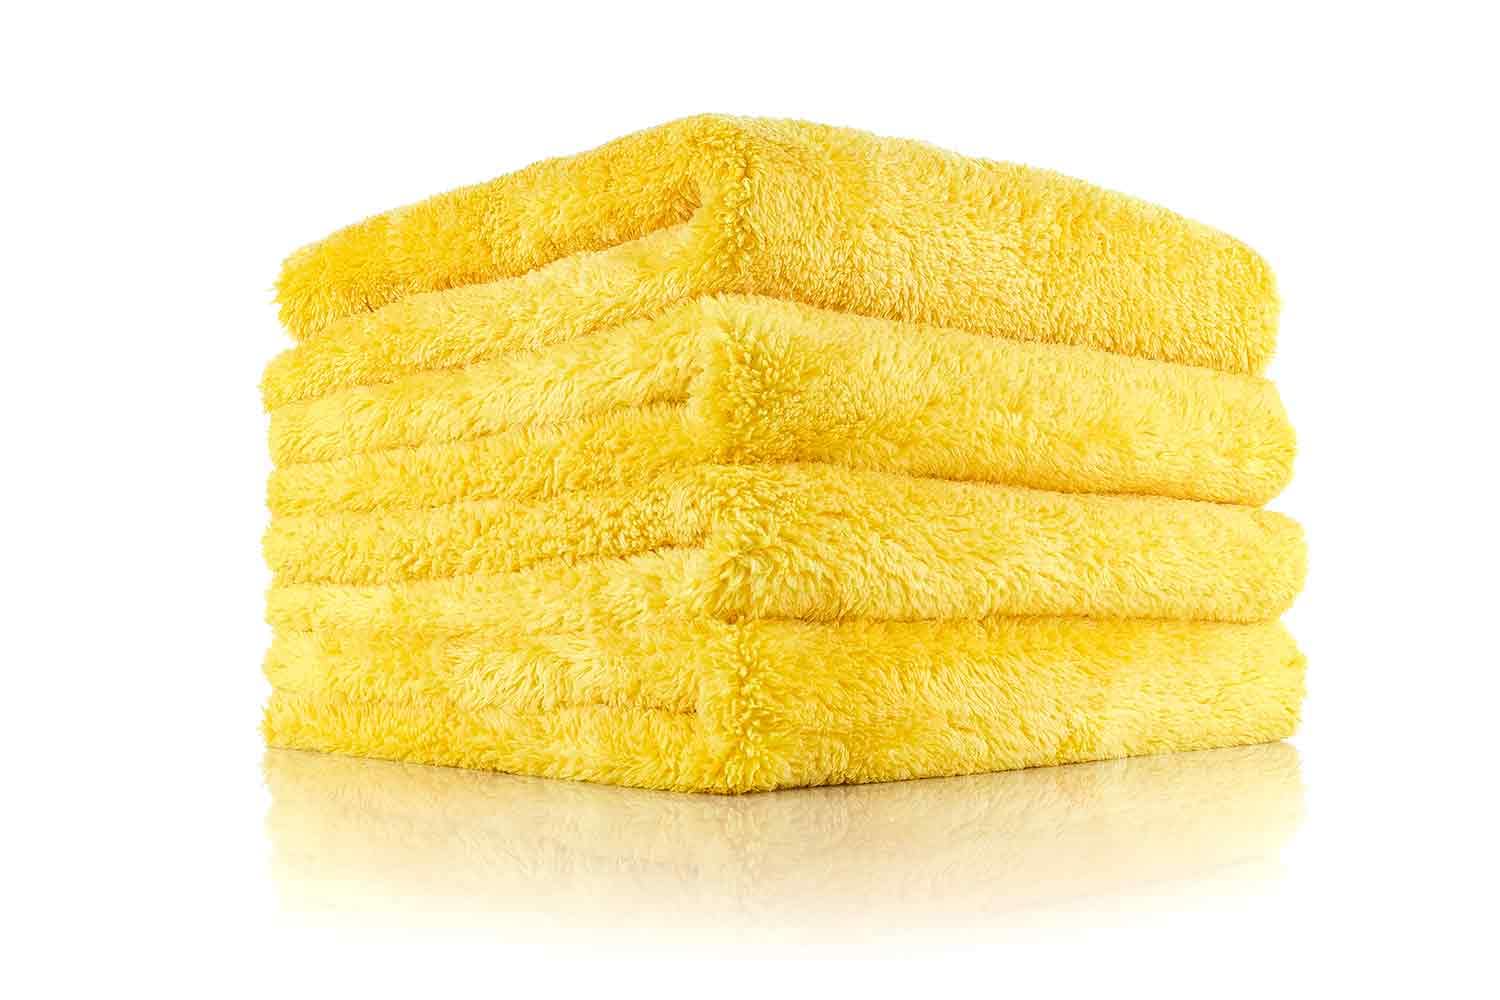
The Rag Company Eagle Edgeless Microfiber Towels
Ultra-soft, lint-free cloths prevent scratches and absorb residue efficiently.
Best for: Essential for wiping and buffing during every step.
Price Range: $20 for 6-pack
303 Aerospace Protectant
UV protectant restores shine and prevents cracking after cleaning.
Best for: Final step on vinyl, rubber, and plastic surfaces.
Price Range: $10-15