
MYNT3D Super 3D Printing Pen
Ideal for first-time users practicing lines and basic shapes.
$29.99
MYNT3D Super 3D Printing Pen Affordable beginner pen with simple controls and anti-clog nozzle for smooth starts.
Get the App
Better experience on mobile
Master drawing simple 3D shapes like cubes and pyramids using a 3D printing pen in under an hour—no prior experience needed.
Ever dreamed of creating your own 3D models by hand? A 3D printing pen lets you draw in mid-air, turning sketches into tangible objects without a full printer. It's perfect for beginners wanting to explore 3D art, crafts, or STEM projects.
In this guide, you'll learn to draw basic 3D shapes like a cube or pyramid step-by-step. We'll cover setup, practice techniques, and building height for true 3D effects. Expect 45-60 minutes total, with most time on practice—ideal for kids 8+ or adult hobbyists.
By the end, you'll have a sturdy 3D shape to show off, plus tips to tackle more complex designs confidently.
Estimated Time: 45-60 minutes Difficulty: beginner
Choose a flat, heat-resistant surface away from flammable materials. Cover it with a silicone mat or parchment paper to catch drips and make cleanup easy. Wear safety goggles and gloves to protect from hot plastic.
Why it matters: 3D pens heat filament to 180-220°C (356-428°F), so preventing burns or fires is key. Expect a clutter-free area for focused practice.
Plug in the pen and let it preheat for 2-3 minutes.
💡 Tips:
⚠️ Warnings:
Cut a straight end on your PLA filament. Insert it into the pen's loading port until it stops, then press the load button (follow your pen's manual). The pen will heat and feed the filament automatically.
Success looks like: Filament extrudes smoothly from the nozzle when you press the draw button—no jamming.
Why: Proper loading ensures consistent flow for clean lines.
💡 Tips:
⚠️ Warnings:
Set temperature to 190-200°C for PLA. Press and hold the draw button while moving the pen steadily forward for 10-20 cm lines. Practice curves by gently rotating your wrist.
Expect wobbly lines at first—aim for smooth, even thickness (1-2mm). Do 20-30 lines to build control.
This warms up your hand-eye coordination for 3D building.
💡 Tips:
⚠️ Warnings:
Print a simple square (5x5cm) or triangle template on paper under your mat. Trace it slowly, filling lightly for a solid base.
Success: A flat, even outline without gaps or blobs. Let it cool 10-20 seconds.
Why: Strong base prevents wobbling when adding height.
💡 Tips:
Position nozzle at base edge, press draw, and slowly lift pen straight up 3-5cm while extruding. Repeat for all corners.
Expect slight tapering—practice keeps it straight. Connect tops lightly.
This creates the 3D illusion as plastic hardens mid-air.
💡 Tips:
⚠️ Warnings:
Draw diagonal bridges between vertical walls to form faces (e.g., for cube). Fill gaps sparingly.
Success: A sturdy frame holding shape without falling. For pyramid, angle inward.
Why: Bridges lock structure together.
💡 Tips:
Bridge the top edges, then add patterns or texture. Let entire shape cool 2-3 minutes.
Gently peel from mat. Success: Freestanding 3D shape!
💡 Tips:
⚠️ Warnings:
Press unload button, remove filament. Wipe nozzle with cloth when cool.
Store safely. Congrats—your first 3D shape!
💡 Tips:
Problem: Filament clogs nozzle
Solution: Unload, heat to 220°C, insert cleaning wire or thin filament to push out. Use quality PLA.
Problem: Stringy drips between lines
Solution: Retract filament briefly between strokes; lower temp 5-10°C.
Problem: Shape sags or won't hold
Solution: Build slower, cooler room helps hardening. Add supports.
Problem: Pen won't heat
Solution: Check power outlet; clean contacts. If persists, contact manufacturer.
Affordable beginner pen with simple controls and anti-clog nozzle for smooth starts.
Best for: Ideal for first-time users practicing lines and basic shapes.
Price Range: $29.99
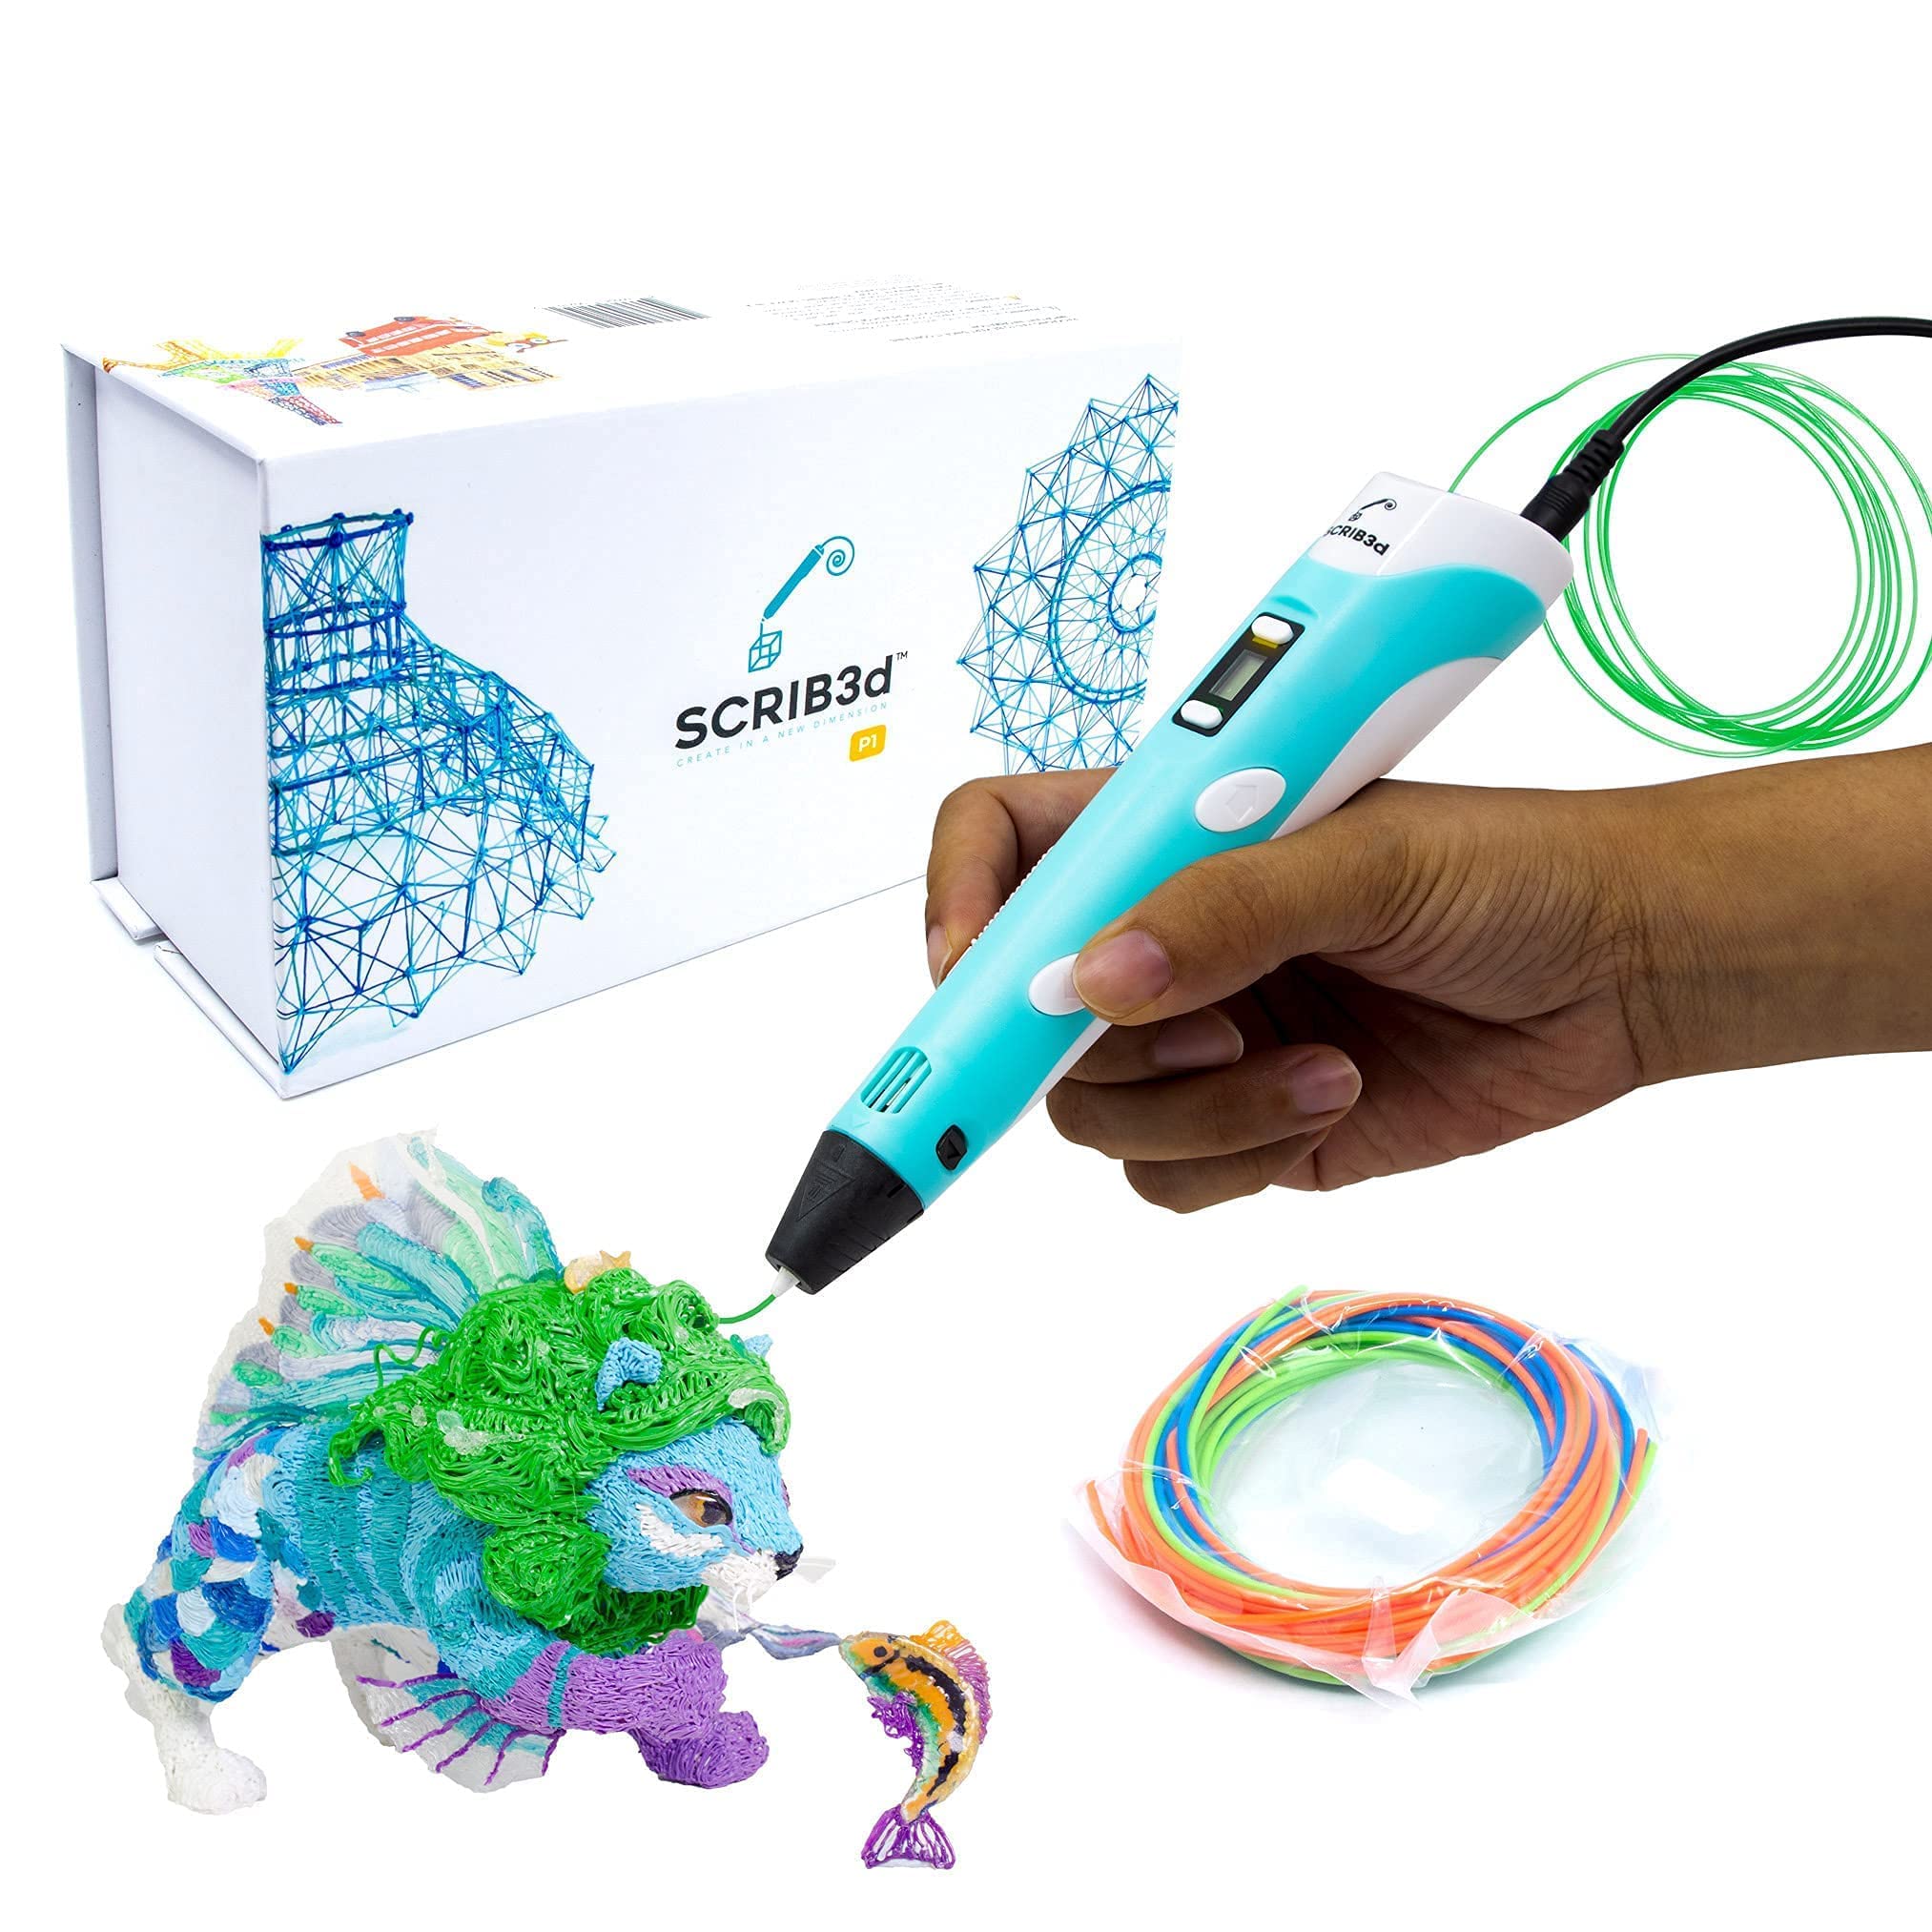
Includes filament and stencils; dual-drive for reliable extrusion.
Best for: Perfect for guided templates and multi-color projects.
Price Range: $24.99
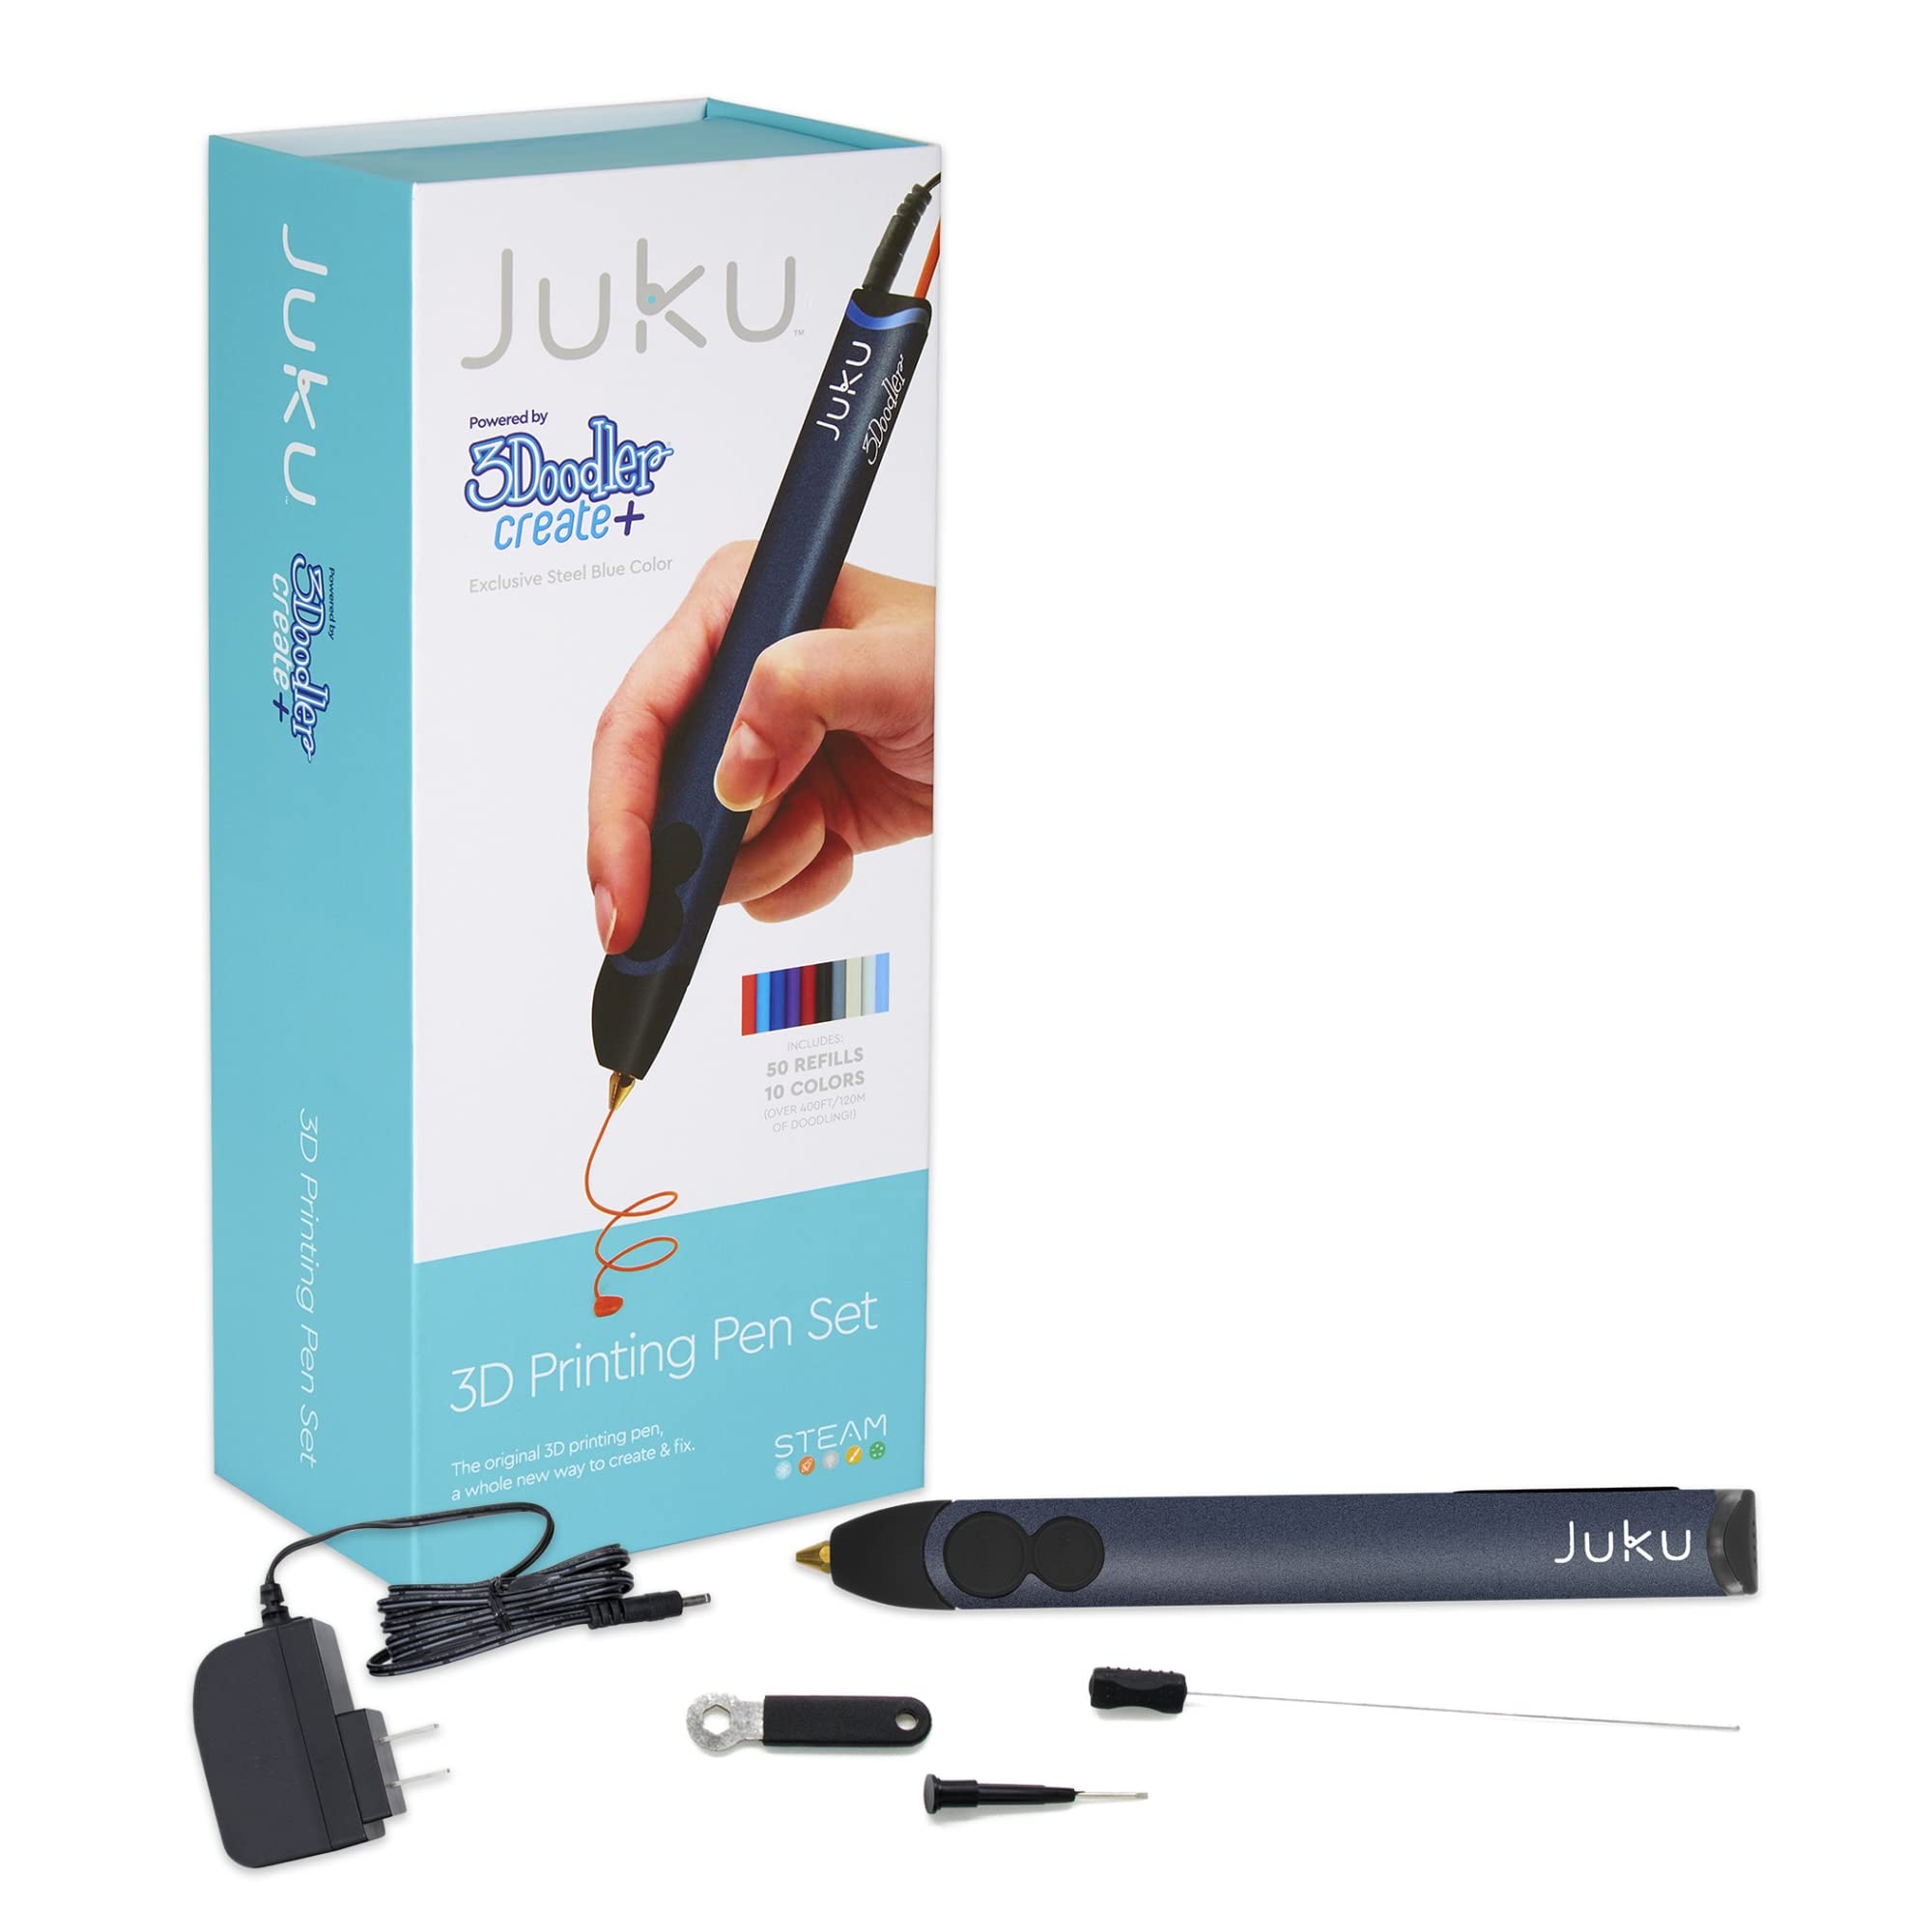
Precise temperature control and OLED screen for prosumer accuracy.
Best for: Scaling to complex shapes after basics.
Price Range: $79.99
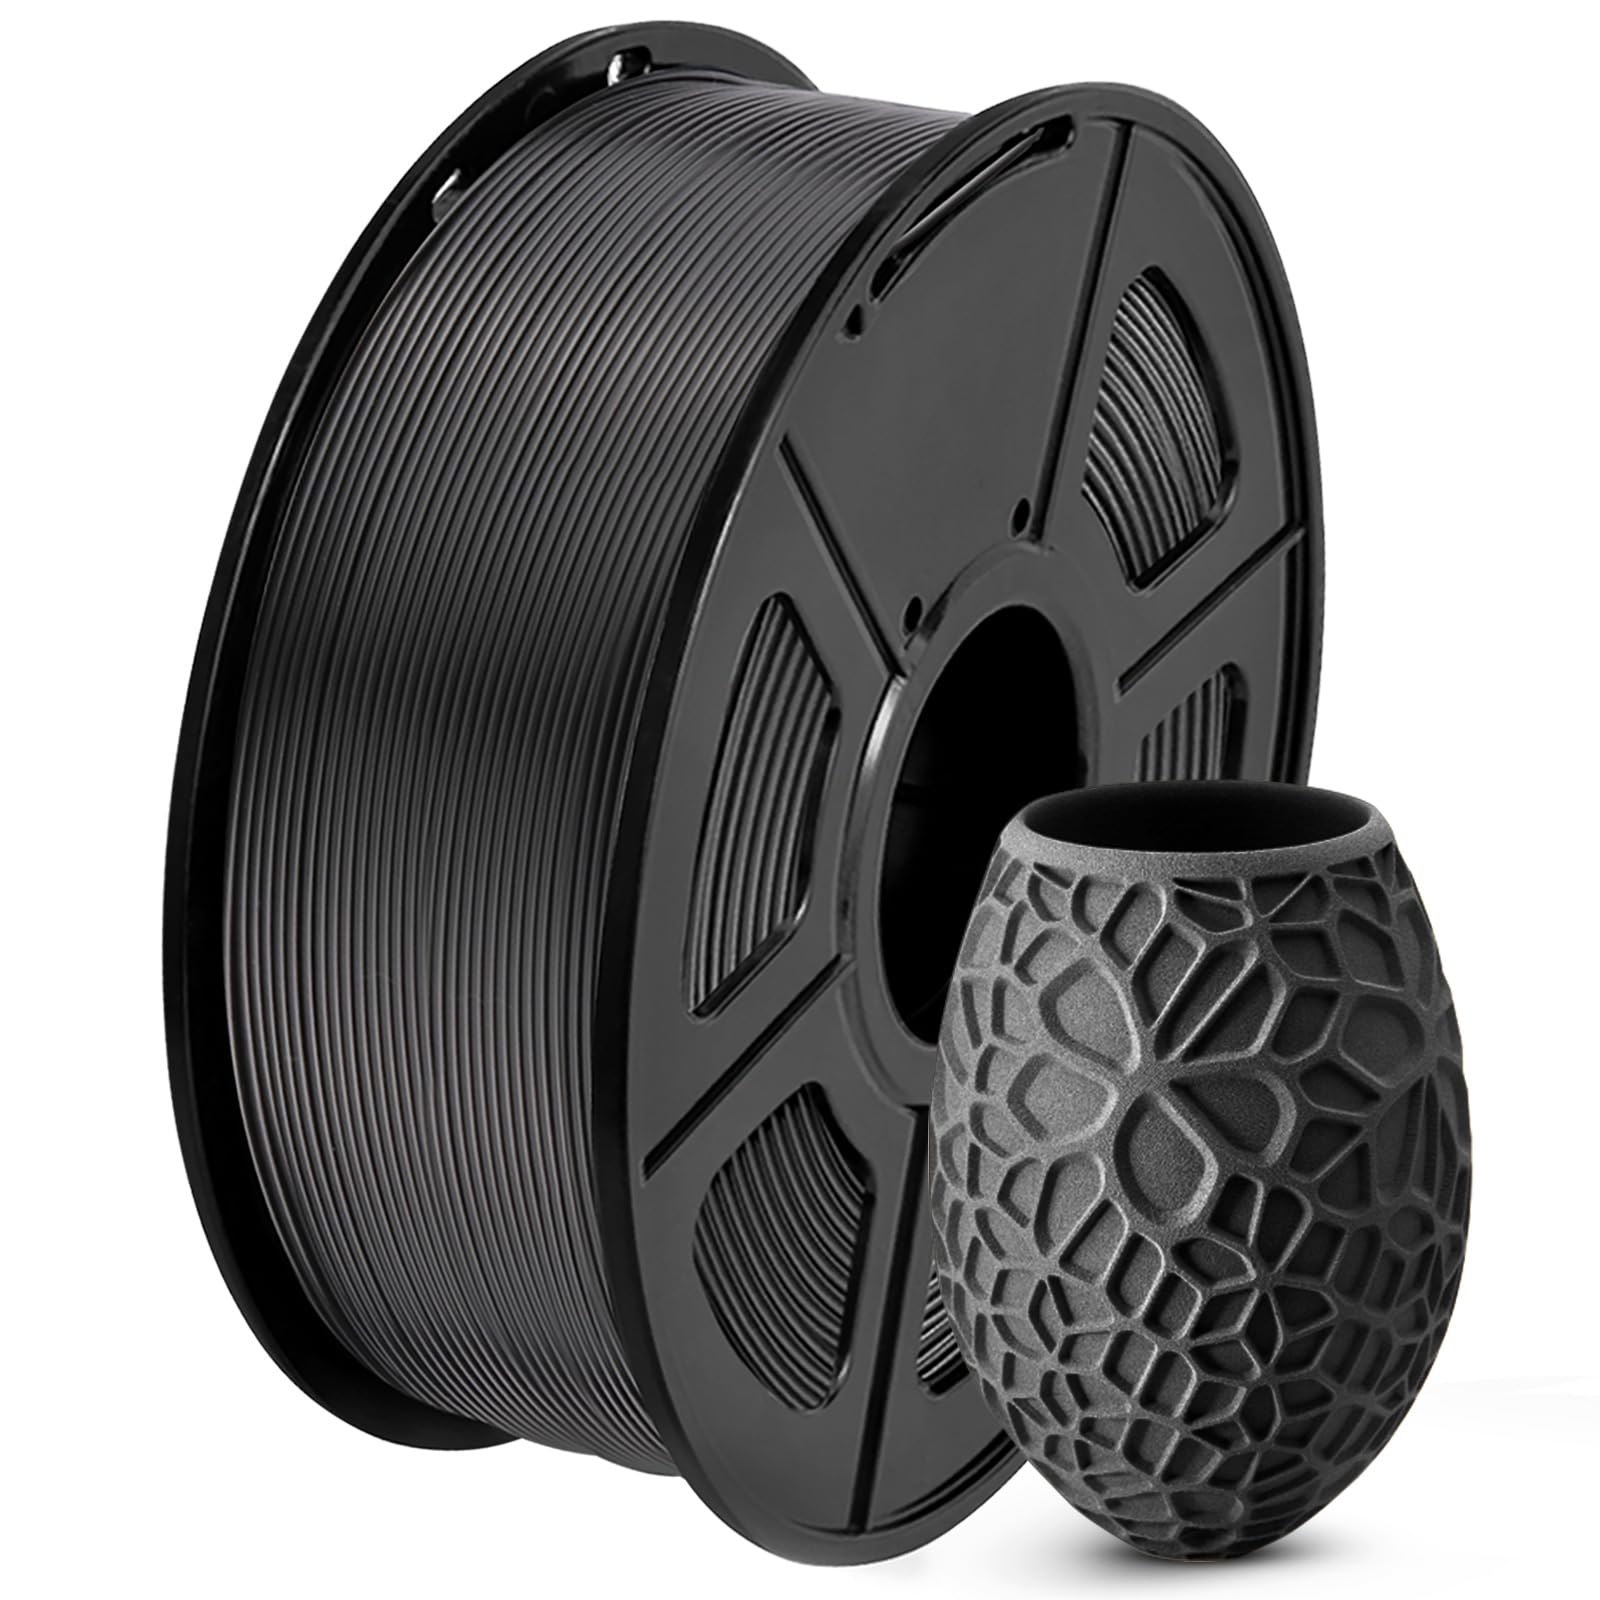
Smooth, low-warp PLA in vibrant colors for easy extrusion.
Best for: Refills for endless practice without jams.
Price Range: $19.99 per 1kg spool
Prevents sticking and protects tables; marked grids for templates.
Best for: Essential base for all drawing sessions.
Price Range: $9.99
Ideal for first-time users practicing lines and basic shapes.
MYNT3D Super 3D Printing Pen Affordable beginner pen with simple controls and anti-clog nozzle for smooth starts.
Perfect for guided templates and multi-color projects.
Scrib3D P1 3D Printing Pen Kit Includes filament and stencils; dual-drive for reliable extrusion.
Scaling to complex shapes after basics.
3Doodler Create+ 3D Printing Pen Precise temperature control and OLED screen for prosumer accuracy.
Refills for endless practice without jams.
SUNLU PLA 3D Printing Filament 1.75mm Smooth, low-warp PLA in vibrant colors for easy extrusion.

Essential base for all drawing sessions.
Silicone 3D Pen Mat Non-Stick Surface Prevents sticking and protects tables; marked grids for templates.