
Rogue Ohio Barbell
For lifters who want a high-quality all-purpose bar with high tensile strength.
$300-$400
Rogue Ohio Barbell Premium barbell with excellent knurling and durability, suitable for heavy deadlifts.
Get the App
Better experience on mobile
Master the deadlift technique to build strength and avoid injury. Learn step-by-step setup, execution, and common mistakes.
The deadlift is often called the king of exercises because it builds total-body strength, targeting your hamstrings, glutes, back, and core. However, improper form can lead to serious injury. This guide is designed for intermediate lifters who already know the basics but want to refine their technique, increase their lift, and stay safe. You'll learn the exact setup, execution, and cues to pull heavy weights efficiently. Expect to spend 45 minutes reading and practicing, then incorporate these steps into your regular training.
Estimated Time: 45 minutes (initial learning and practice) + regular workouts Difficulty: intermediate
Stand with your mid-foot under the barbell. Your feet should be hip-width apart with toes slightly pointed out (about 15 degrees). The barbell should touch your shins. This stance provides a stable base and allows your hips to hinge properly.
Why it matters: A proper stance aligns your body to generate maximum force from your legs and hips. Too wide or too narrow can shift the load to your lower back.
What success looks like: When you look down, the bar is directly over the middle of your foot, and your shins are about one inch from the bar.
💡 Tips:
⚠️ Warnings:
Bend at your hips and knees to lower your torso until you can grip the bar with your hands just outside your knees. Use a double overhand grip for lighter weights, or a mixed grip (one hand over, one under) for heavier pulls. Your arms should hang straight down, perpendicular to the floor.
Why it matters: Grip width affects leverage and arm engagement. Arms outside knees prevents the bar from drifting away from your body.
What success looks like: Your shoulders are directly over or slightly ahead of the bar. Your shins touch the bar. Your back is flat, not rounded.
💡 Tips:
⚠️ Warnings:
With your shins touching the bar, raise your chest without moving the bar. This will lift your hips slightly. Your hips should be higher than your knees but not too high – think of a 'power position' like a vertical jump.
Why it matters: Hip height determines the leverage and which muscles are emphasized. Too low and you'll squat the weight; too high and you'll round your back.
What success looks like: Your shoulders are slightly in front of the bar, arms vertical, shins vertical (shins should not push the bar forward).
💡 Tips:
⚠️ Warnings:
Take a deep breath into your belly (not your chest) and brace your core as if someone is about to punch you. At the same time, pull your shoulder blades down and back (but not together) to engage your lats. Your arms should feel like ropes – they just hold the bar; your lats and back do the pulling.
Why it matters: Bracing creates intra-abdominal pressure to protect your spine. Lat engagement keeps the bar close to your body during the pull.
What success looks like: You feel tightness in your entire torso. The bar won't move yet, but you're ready to pull.
💡 Tips:
⚠️ Warnings:
Initiate the pull by pushing the floor away with your feet. Don't try to pull the bar up with your arms – think of leg pressing the ground. As your legs straighten, keep the bar in contact with your body (drag it up your shins and thighs). The bar should travel in a straight line.
Why it matters: The deadlift is a leg press with a back extension. Using your legs first recruits your powerful glutes and hamstrings.
What success looks like: The bar breaks off the floor smoothly. Your hips and shoulders rise at the same rate. The bar stays close; you might feel it brush your shins.
💡 Tips:
⚠️ Warnings:
Once the bar passes your knees, drive your hips forward to meet the bar. Squeeze your glutes and stand tall at the top. Avoid leaning back. Your shoulders should be back but not overly pulled. The bar finishes at hip height.
Why it matters: The lockout completes the lift and places the load on your glutes and posterior chain. A proper lockout ensures full hip extension.
What success looks like: You are standing straight up, bar at hip level, shoulders back, glutes contracted. Your arms are straight, and the bar is against your thighs.
💡 Tips:
⚠️ Warnings:
Lower the bar by hinging at your hips first, not by bending your knees. Keep your back flat and push your hips back. Once the bar passes your knees, bend your knees to lower the bar to the floor. Maintain your brace until the plates touch the ground.
Why it matters: A controlled descent prevents injury and allows you to reset properly for the next rep. Many injuries happen on the way down.
What success looks like: The bar descends in a straight line, controlled, no bouncing off the floor.
💡 Tips:
⚠️ Warnings:
Once the bar is on the floor, briefly release your grip, reset your stance, and take a new breath. Don't bounce the weight off the floor. For multiple reps, treat each rep as a single deadlift.
Why it matters: Resetting ensures you maintain proper position for each rep, especially when fatigued.
What success looks like: You pause for a moment, reset your brace, and start the next rep cleanly.
💡 Tips:
⚠️ Warnings:
Problem: Bar doesn't come off the floor smoothly (stalls at start).
Solution: Increase leg drive; think 'push with feet'. Also check your starting hip height – might be too high or low.
Problem: Lower back pain after deadlifting.
Solution: Likely due to rounding or poor bracing. Review video of your form; reduce weight and focus on neutral spine. If pain persists, consult a physiotherapist.
Problem: Grip fails before legs/back.
Solution: Use mixed grip, hook grip, or add lifting straps/chalk. Also check that you're not squeezing the bar too early – grip the bar firmly but not with maximal effort until the pull starts.
Premium barbell with excellent knurling and durability, suitable for heavy deadlifts.
Best for: For lifters who want a high-quality all-purpose bar with high tensile strength.
Price Range: $300-$400
Durable rubber bumper plates that allow deadlifts without excessive noise and reduce floor damage.
Best for: For home gyms where dropping weights is necessary; made of virgin rubber.
Price Range: $150-$250 per set
High-quality block chalk to improve grip without leaving residue.
Best for: Every lifter needs chalk for grip, especially on deadlifts.
Price Range: $10-$15
Flat, firm sole ideal for deadlifting; provides stable base and heel elevation minimal.
Best for: Affordable deadlift shoe alternative for those not wanting specialized deadlift slippers.
Price Range: $50-$70
Allow you to hold heavier weights without grip fatigue, while still allowing release.
Best for: For intermediate lifters who want to overload the pull beyond grip strength.
Price Range: $30-$40
For lifters who want a high-quality all-purpose bar with high tensile strength.
Rogue Ohio Barbell Premium barbell with excellent knurling and durability, suitable for heavy deadlifts.
For home gyms where dropping weights is necessary; made of virgin rubber.
REP Fitness Bumper Plates Durable rubber bumper plates that allow deadlifts without excessive noise and reduce floor damage.
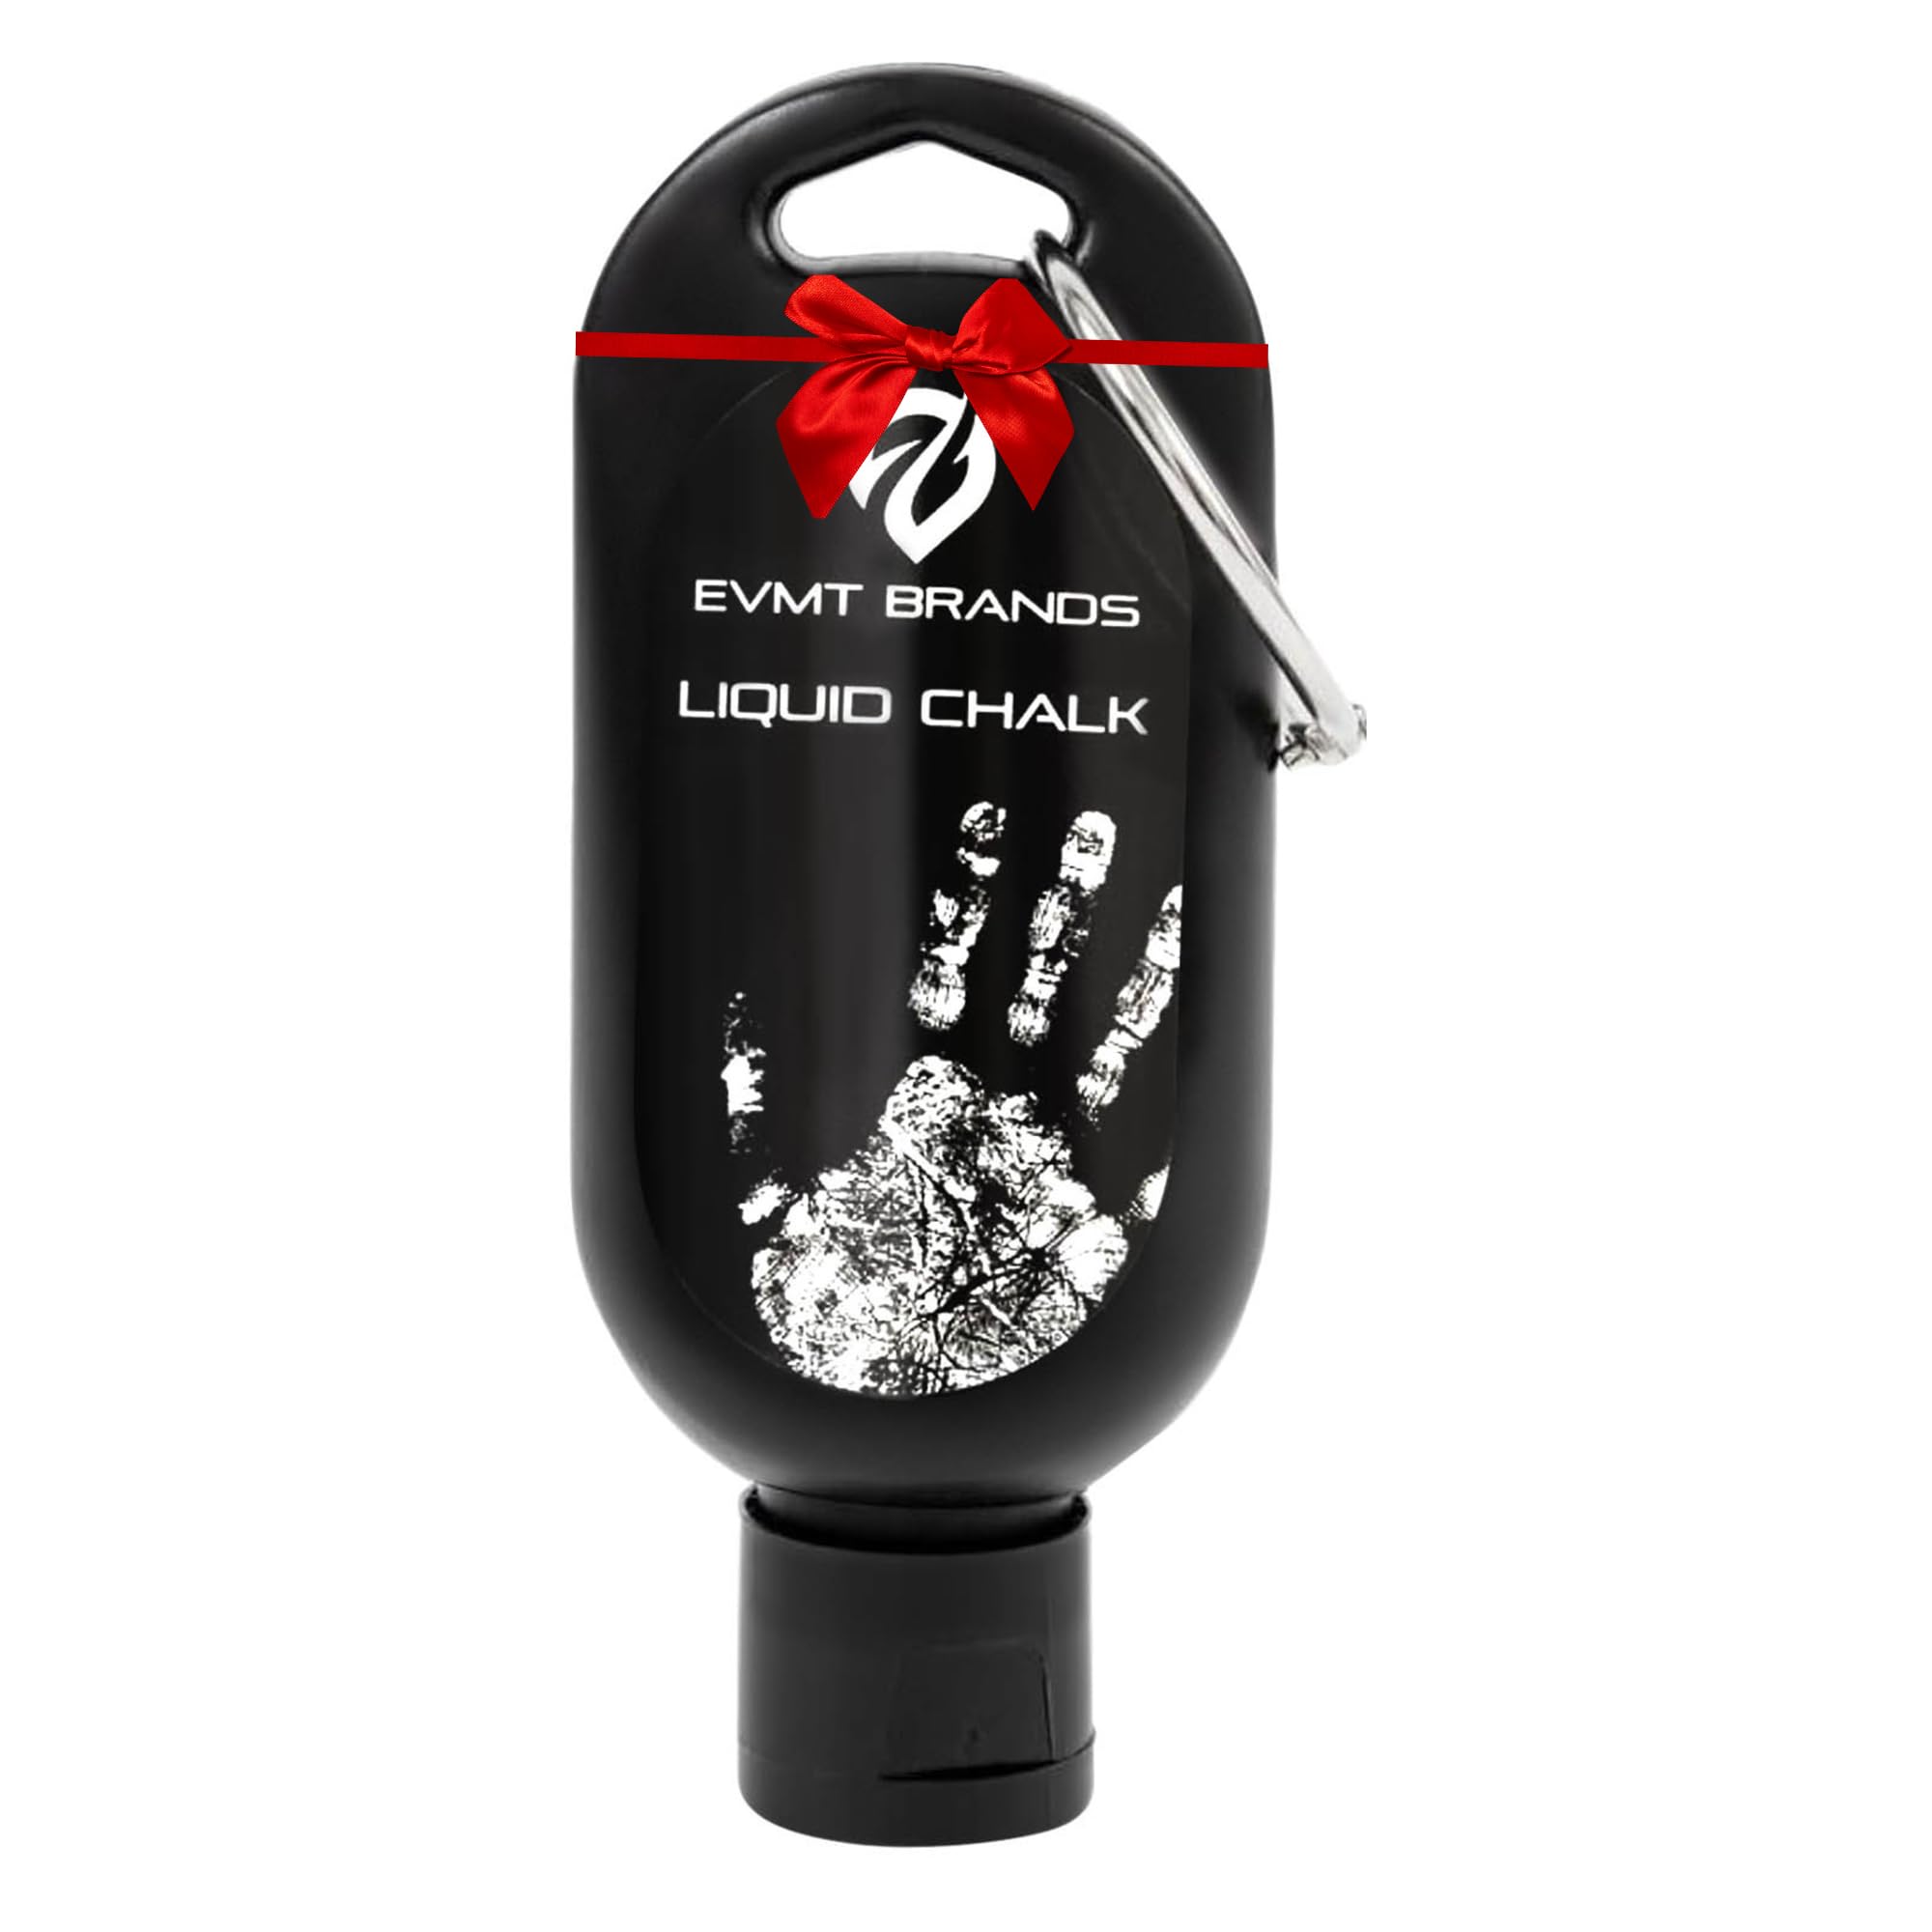
Every lifter needs chalk for grip, especially on deadlifts.
Rogue Gym Chalk High-quality block chalk to improve grip without leaving residue.
Affordable deadlift shoe alternative for those not wanting specialized deadlift slippers.
Converse Chuck Taylor All Star Low Top Flat, firm sole ideal for deadlifting; provides stable base and heel elevation minimal.
For intermediate lifters who want to overload the pull beyond grip strength.
Versa Gripps Lifting Straps Allow you to hold heavier weights without grip fatigue, while still allowing release.