
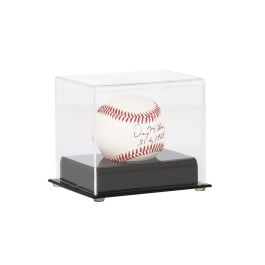
BCW Supplies Acrylic Display Case for Consoles
Primary enclosure for console + accessories on shelf.
$24.99
BCW Supplies Acrylic Display Case for Consoles Perfect fit for 3DO dimensions with hinged lid for easy access and dust protection.
Get the App
Better experience on mobile
Learn to create a stunning, preservation-focused display for your 3DO Interactive Multiplayer console and accessories in under 2 hours.
Owning a rare 3DO console is a badge of honor for retro gaming collectors, but improper display can lead to dust buildup, cable clutter, or even hardware degradation from poor ventilation. Advanced collectors know that a well-executed display not only showcases the angular beauty of the FZ-1 or FZ-10 but also keeps it functional for demos.
In this guide, you'll master the art of displaying your 3DO console with professional-grade aesthetics, proper wiring for playability, and protective measures. We'll cover cleaning, mounting, lighting, and cable management step-by-step.
Expect a 1-2 hour project that's advanced due to precise alignment, custom fitting, and optional AV upscaling integration. The result: a museum-worthy setup that impresses at conventions or home shelves.
Estimated Time: 1-2 hours Difficulty: advanced
Begin by powering off and unplugging your 3DO. Remove all cables, controllers, and discs. Open the case if needed (Phillips screwdriver required for FZ-1) to check for dust inside the CD drive and power supply.
Why? Advanced displays demand pristine internals to prevent yellowing or failure during demos. Expect to find 30-year-old grime; success looks like visible internals free of debris.
Pro tip: Document disassembly with photos for reassembly.
💡 Tips:
⚠️ Warnings:
Wipe exterior with microfiber cloth dampened in 90% isopropyl alcohol. Clean ports, buttons, and discs separately. For internals, use cotton swabs on PCBs.
This preserves value (3DOs fetch $200+ mint) and ensures reliable display demos. Success: Shiny black/gray plastic with no residue, no sticky controllers.
Dry fully (30 mins) before proceeding.
💡 Tips:
⚠️ Warnings:
Choose a low-humidity, dust-free spot (shelf, cabinet, or wall 3-5ft high). Measure space: 3DO is ~10x8x3 inches. Level surface with spirit level.
Why matters: Proper placement avoids warping and allows airflow. Expect stable, vibration-free mount.
Optional: Wall-mount with brackets for floating effect.
💡 Tips:
Fit console into acrylic case or secure on tiered stand. Use risers for controllers/games below. Align for front ports accessible.
Aesthetics shine here—advanced setups use mirrored bases. Success: Secure, gap-free fit elevating the console's futuristic design.
Secure with museum putty if earthquake-prone.
💡 Tips:
⚠️ Warnings:
Route AV/power cables behind with Velcro ties. Use right-angle plugs for clean rear exit. Connect to power strip.
Keeps display tidy for photos/videos. Test continuity. Success: Invisible cables, no tangles.
Advanced: Solder custom S-Video harness if upgrading.
💡 Tips:
Affix LED strips behind/under console (battery or USB-powered). Set to cool white or blue for 90s vibe. Sync with controller blinks.
Enhances curves and labels. Success: Glowing showcase visible in dim rooms.
Diffuse with frosted tape.
💡 Tips:
⚠️ Warnings:
Display 5-10 games vertically, controllers angled. Hook to CRT/LCD via scaler. Boot with Gex or Road Rash.
Final polish: Playable centerpiece. Success: Boots to menu, stable video/audio.
Photograph from multiple angles.
💡 Tips:
Problem: Console won't power on after setup
Solution: Check cable seating and polarity; test power supply separately with multimeter.
Problem: Dust accumulates quickly
Solution: Add glass door or HEPA-filter fan; clean bi-weekly.
Problem: LEDs interfere with IR remote
Solution: Reposition strips away from sensor; use IR extender.
Problem: Wobbly stand
Solution: Add rubber feet or weight base; use shims for leveling.
Perfect fit for 3DO dimensions with hinged lid for easy access and dust protection.
Best for: Primary enclosure for console + accessories on shelf.
Price Range: $24.99
Customizable colors highlight 3DO's design; app control for demos.
Best for: Backlighting shelves or cases.
Price Range: $19.99
High-quality reproduction for reliable video output without fraying originals.
Best for: Connecting to modern TVs for live demos.
Price Range: $19.99
Specialized non-abrasive formula safe for vintage plastic and screens.
Best for: Initial deep clean and ongoing maintenance.
Price Range: $14.99
Minimalist mount for elevated display; holds console securely.
Best for: Wall-mounted floating showcase.
Price Range: $19.99
Primary enclosure for console + accessories on shelf.
BCW Supplies Acrylic Display Case for Consoles Perfect fit for 3DO dimensions with hinged lid for easy access and dust protection.
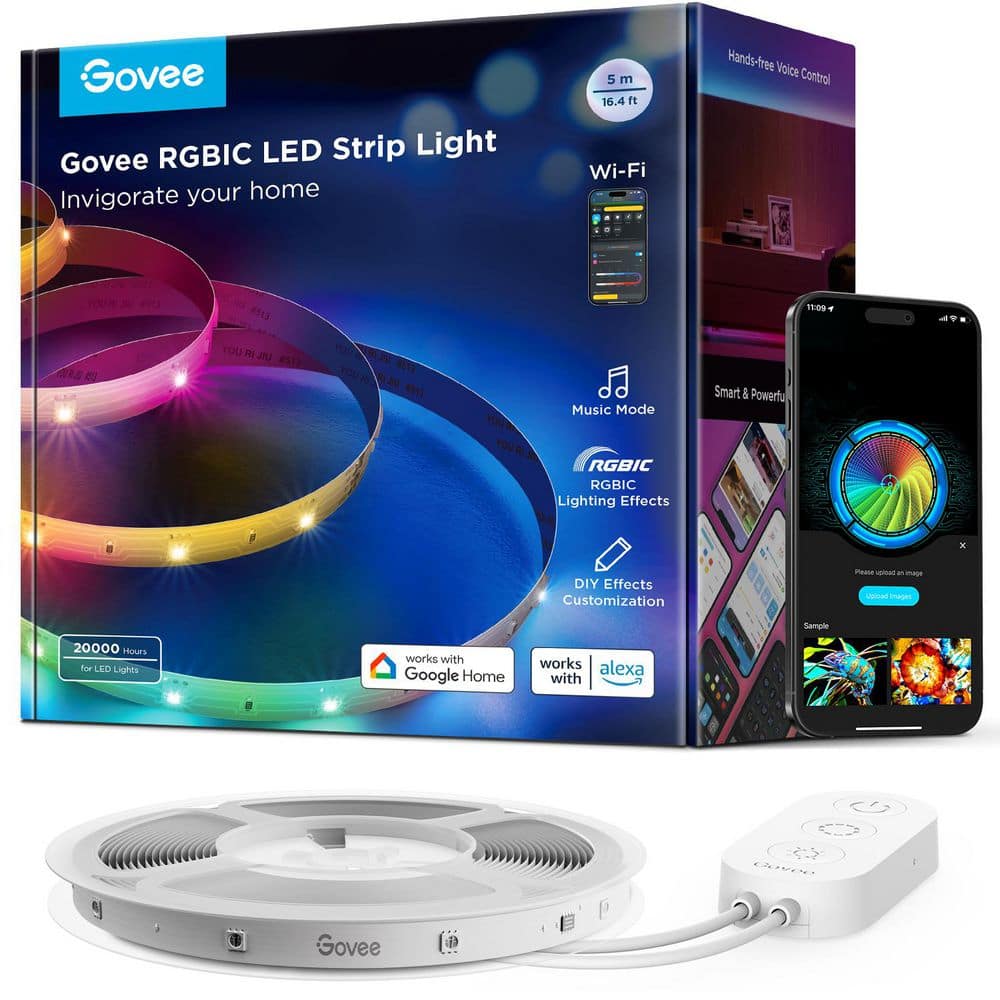
Backlighting shelves or cases.
Govee RGBIC LED Strip Lights (16.4ft) Customizable colors highlight 3DO's design; app control for demos.
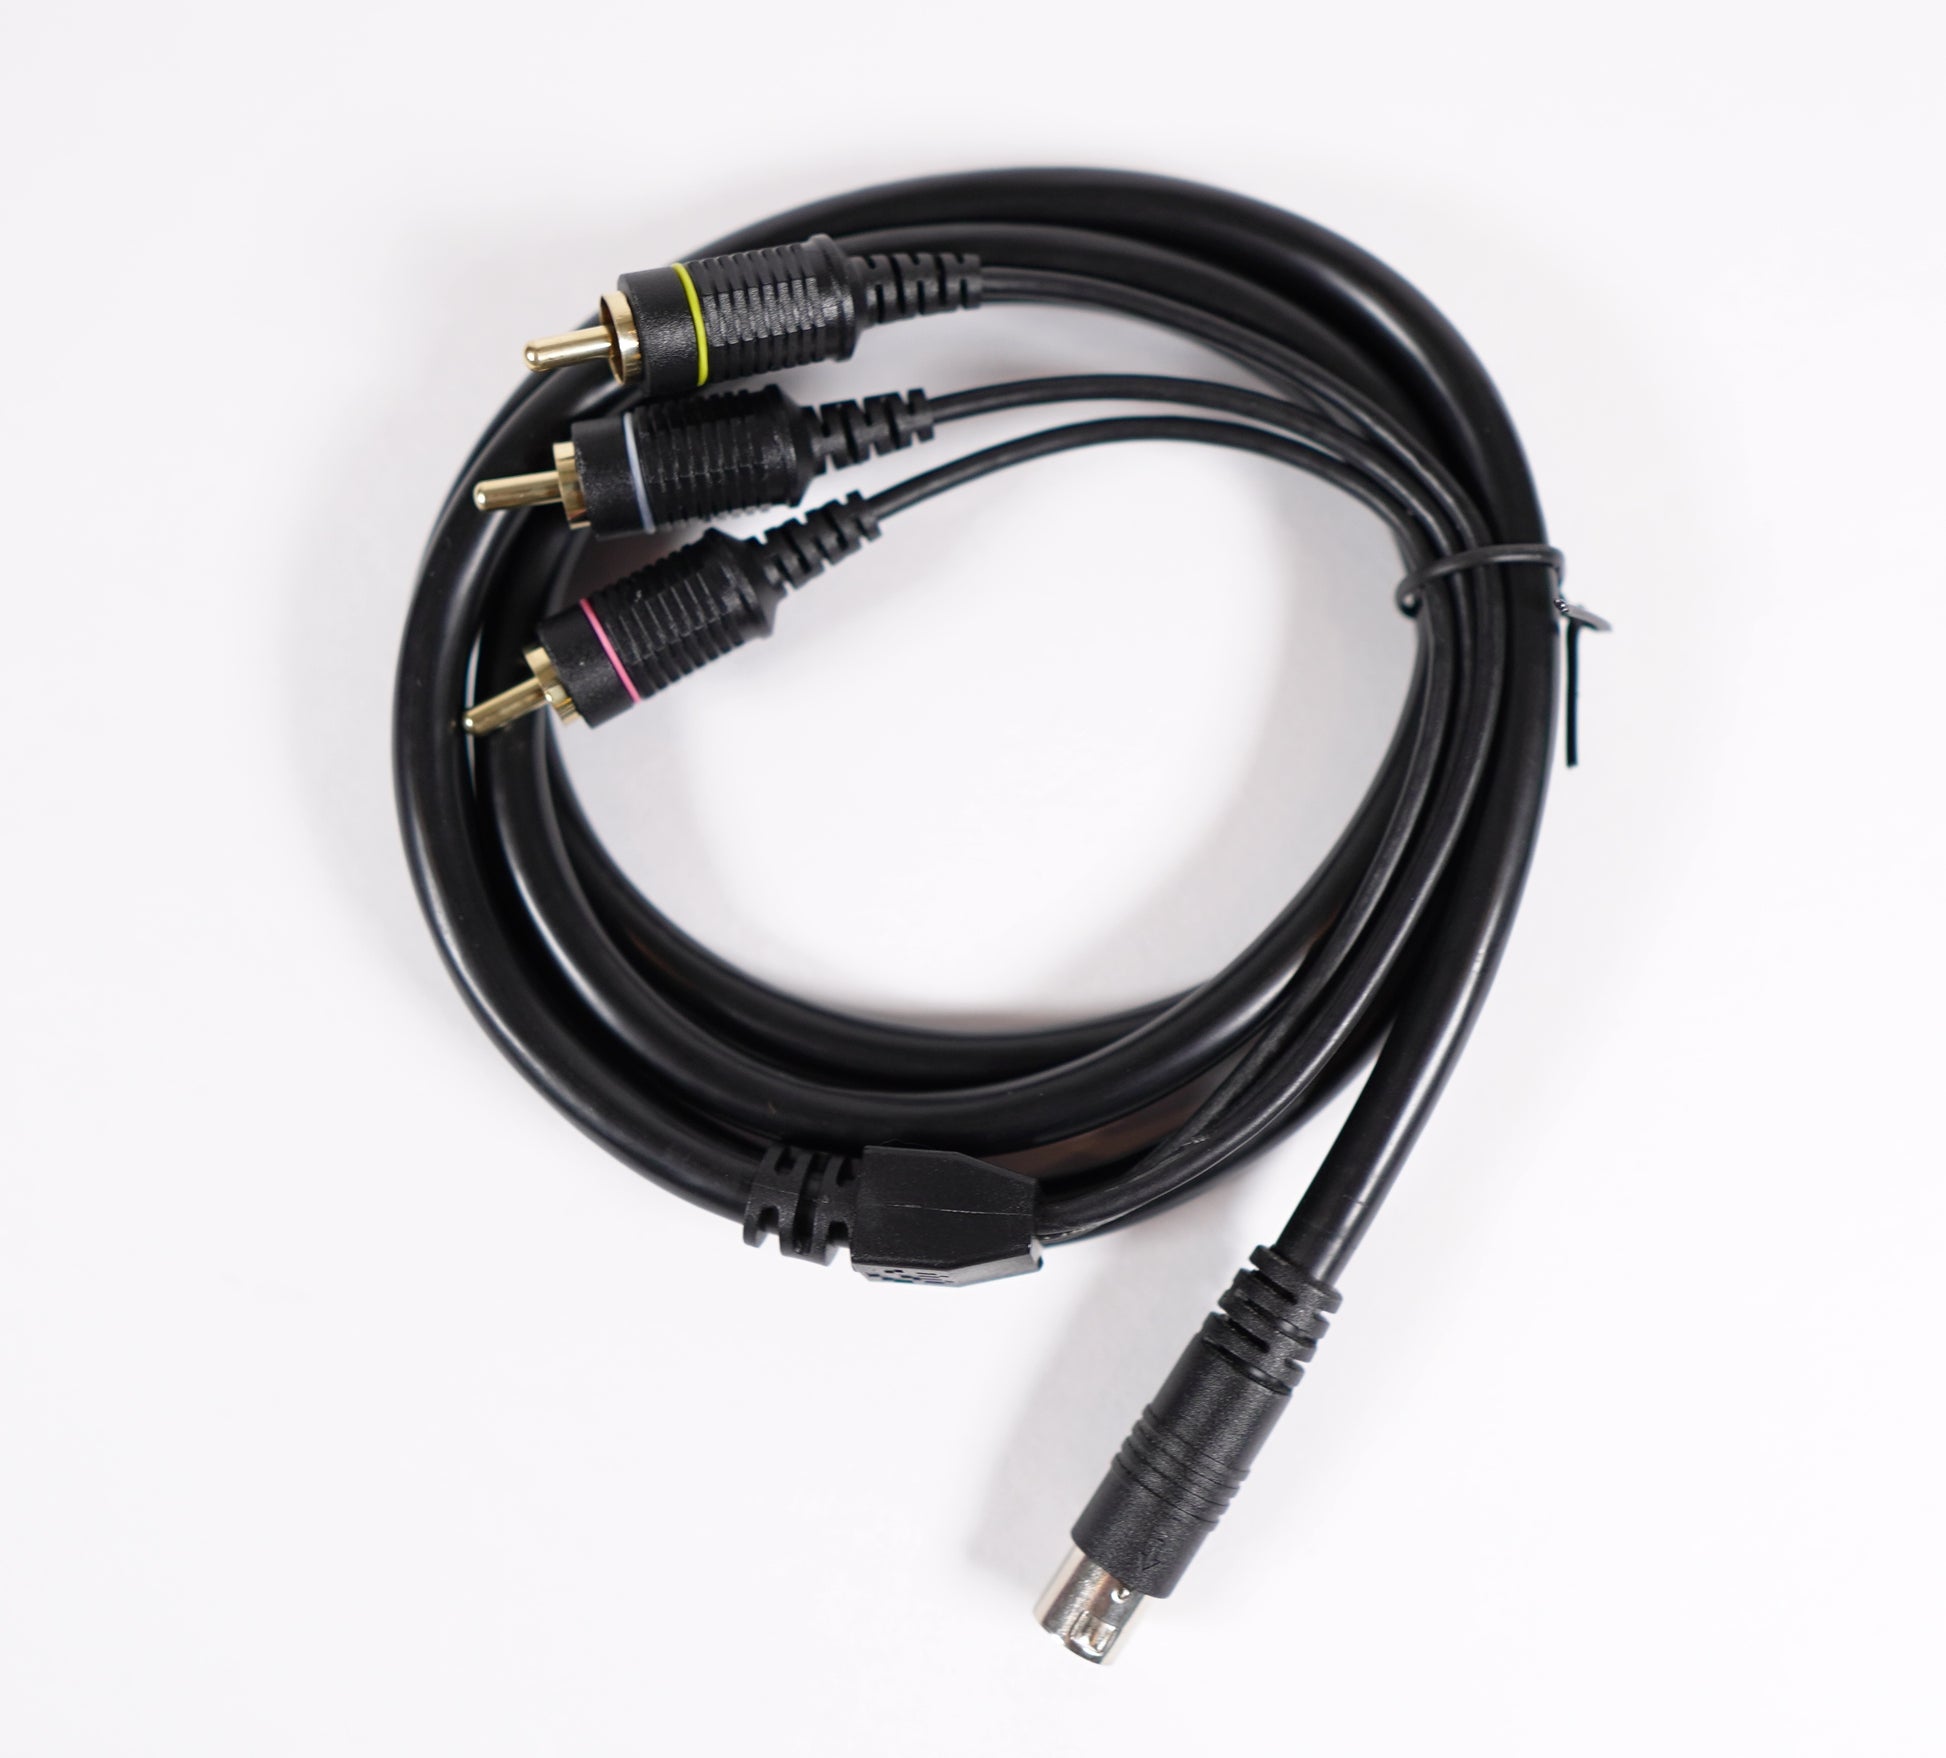
Connecting to modern TVs for live demos.
Retro Access 3DO Composite AV Cable High-quality reproduction for reliable video output without fraying originals.
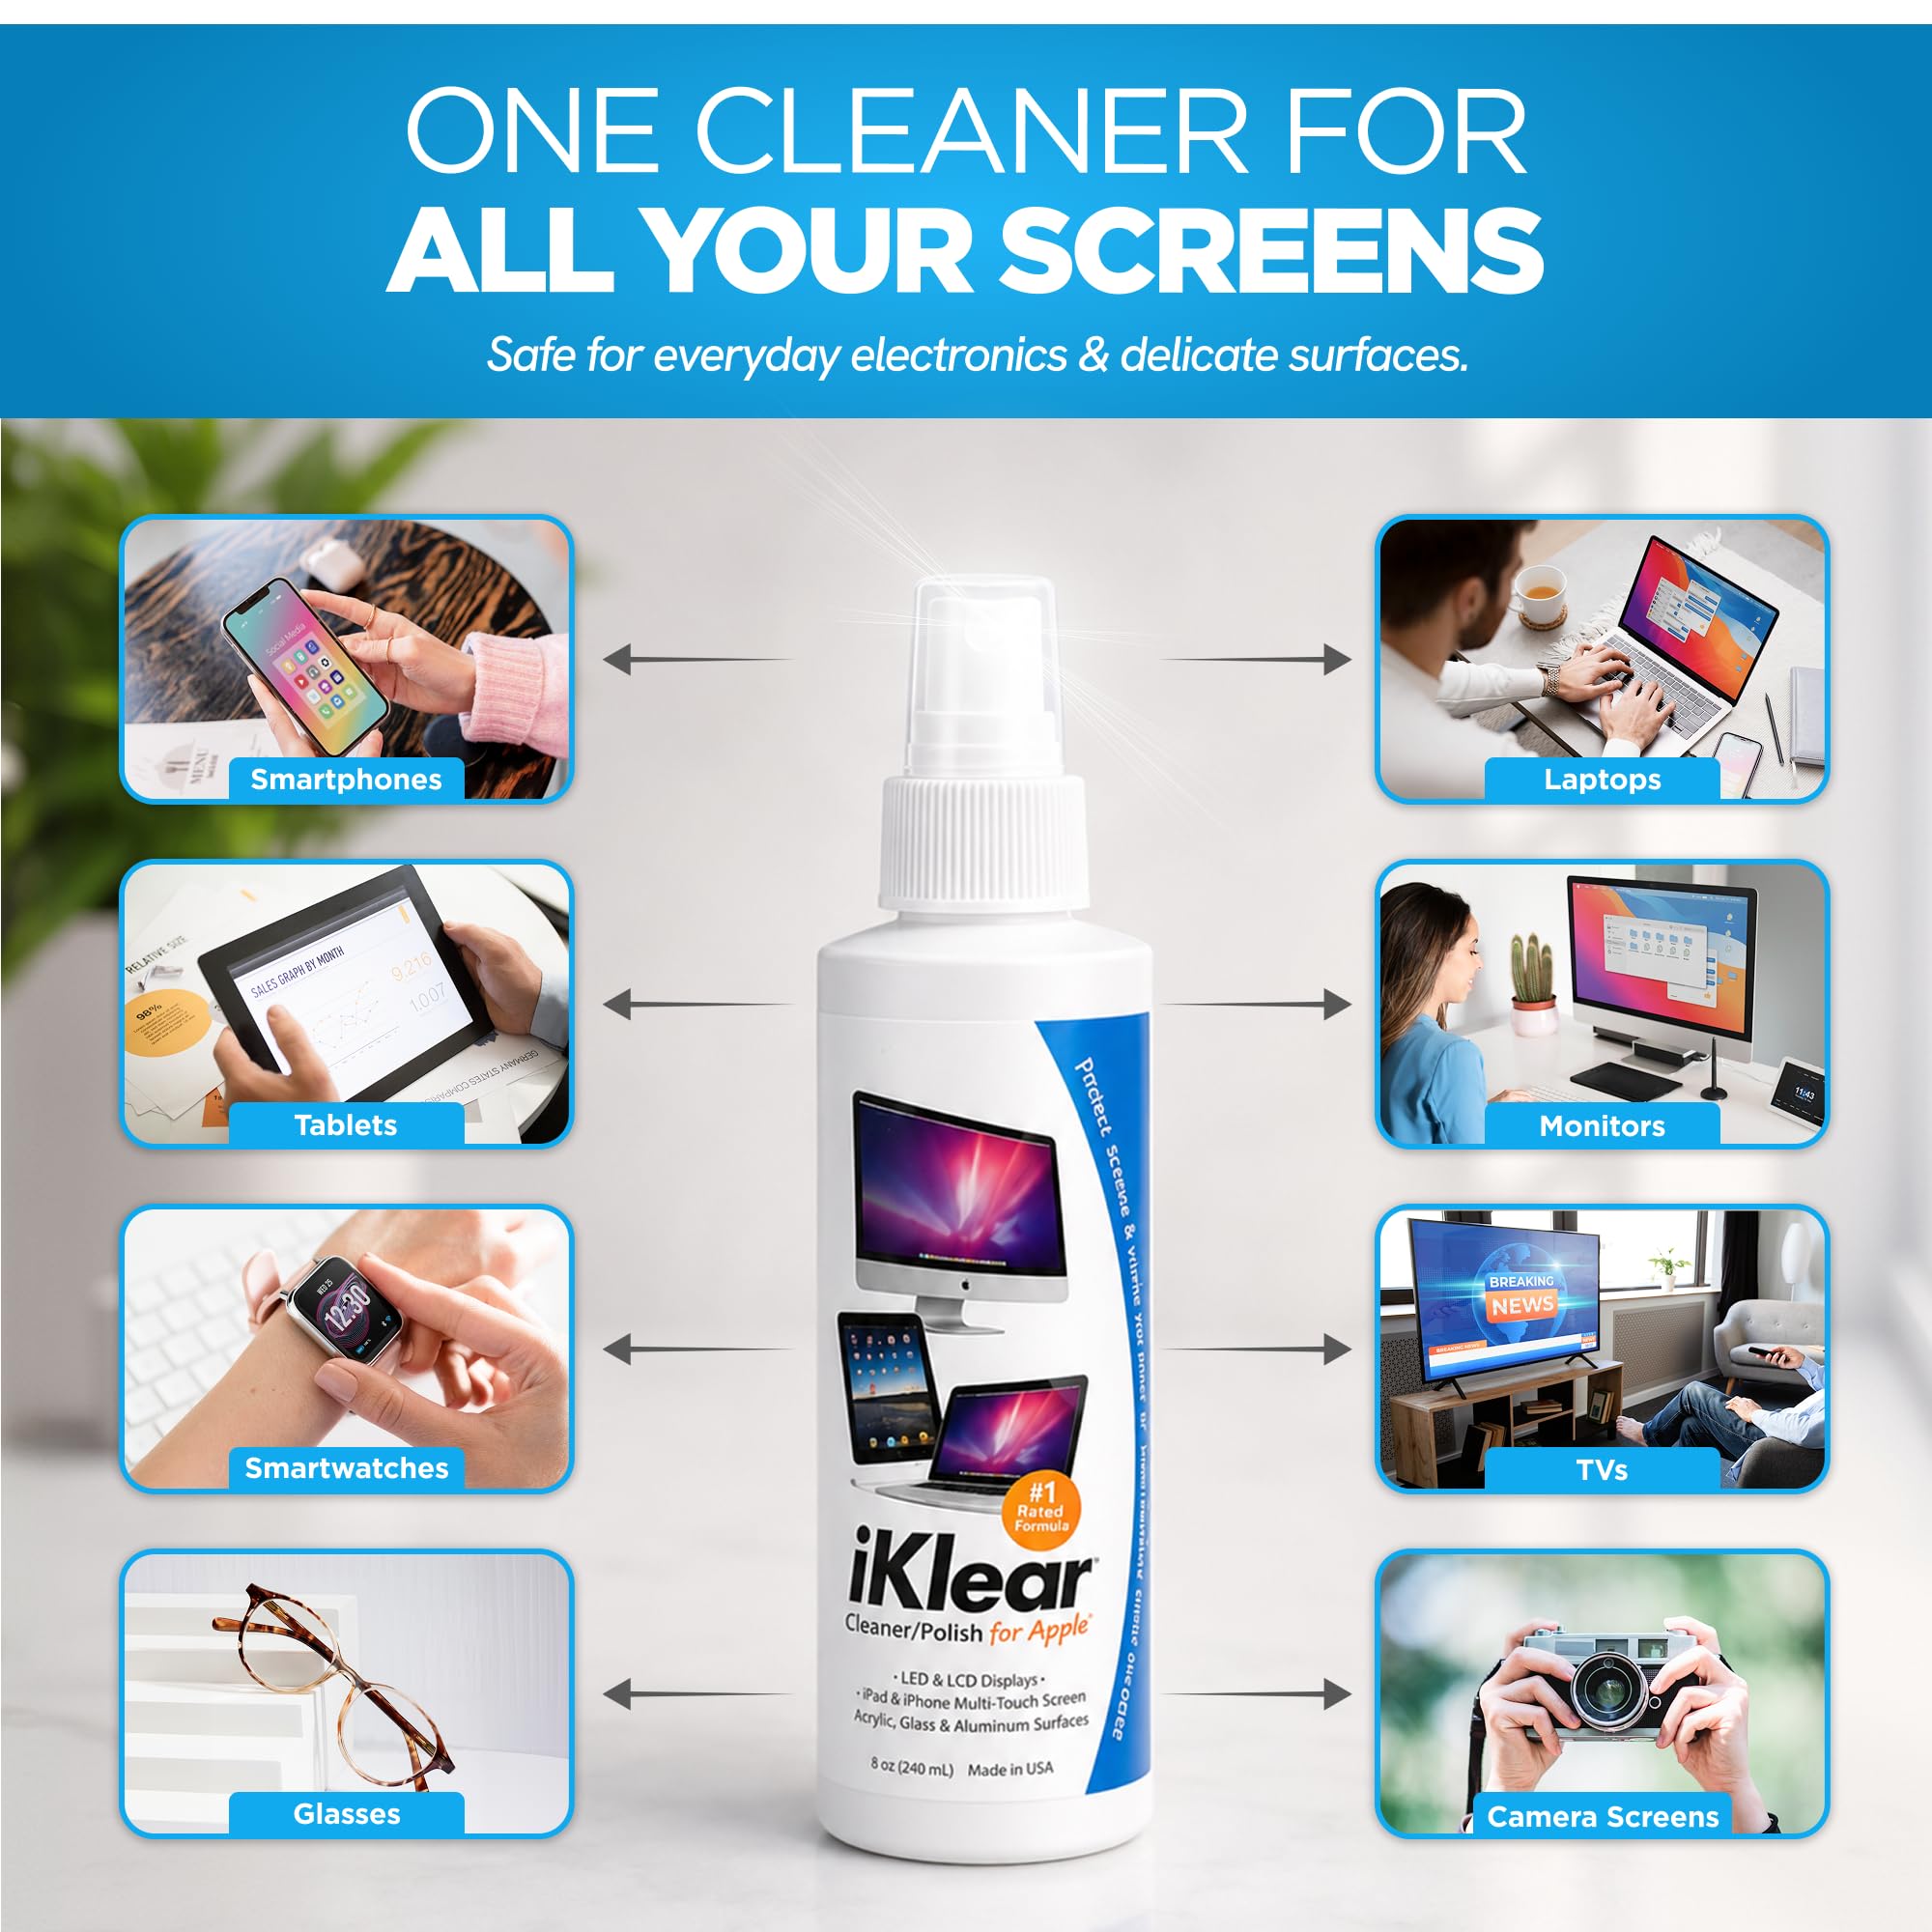
Initial deep clean and ongoing maintenance.
iKlear Gaming Console Cleaning Kit Specialized non-abrasive formula safe for vintage plastic and screens.
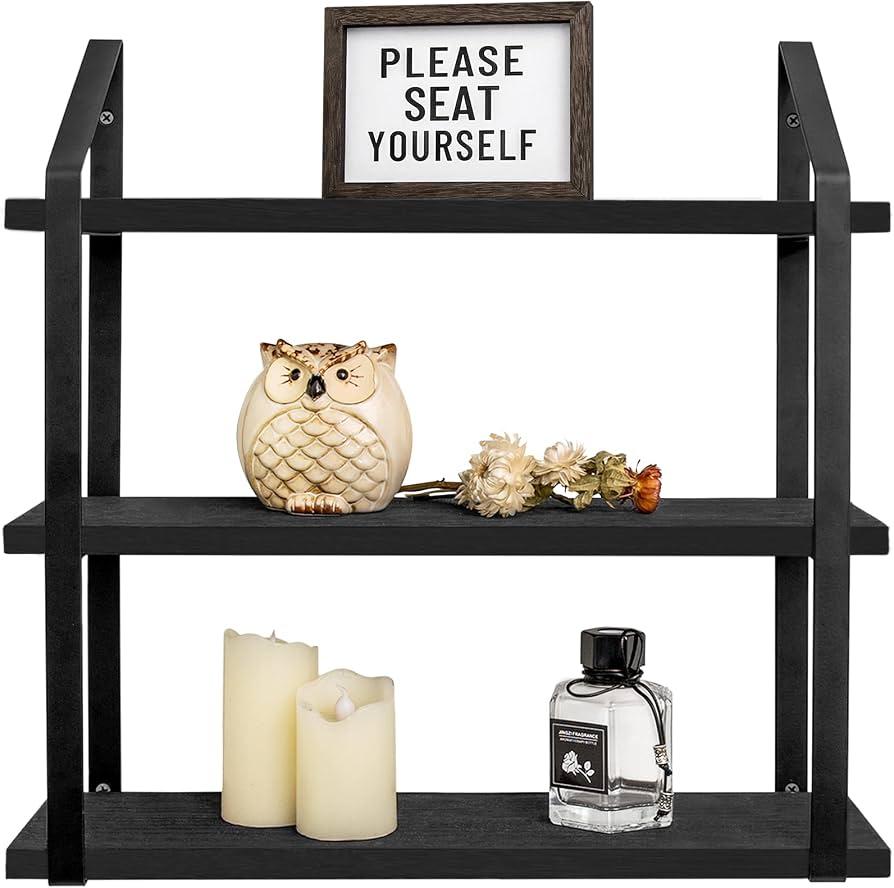
Wall-mounted floating showcase.
Mkono Floating Wall Shelves (11 inch) Minimalist mount for elevated display; holds console securely.