Activity cubes are a favorite for babies and toddlers, packed with buttons, shapes, and spinning parts that little hands love to explore. But with all that mouthing and grabbing, they can quickly become a breeding ground for germs, especially during cold and flu season. Regular disinfection ensures your child's playtime stays healthy and fun.
In this beginner-friendly guide, you'll learn a foolproof step-by-step process to clean and disinfect activity cubes safely. We'll cover everything from gathering supplies to drying and reassembling, using gentle, baby-safe methods. No advanced tools required—just everyday items or affordable products.
Expect the whole process to take 15-20 minutes per cube, with air-drying adding 1-2 hours. It's easy, effective, and keeps toys looking new.
▸What You'll Need
- •Mild dish soap (baby-safe, like Babyganics)
- •Disinfectant spray or wipes (baby toy cleaner or diluted white vinegar)
- •Soft microfiber cloths or paper towels
- •Soft-bristle toothbrush or small brush for crevices
- •Warm water
- •Optional: Rubbing alcohol (70% isopropyl) for electronics spots
- •Optional: Removable battery compartment screwdriver
Estimated Time: 15-20 minutes active time + 1-2 hours drying
Difficulty: beginner
▸Step-by-Step Instructions
Step 1: Gather Your Supplies
Before starting, collect all materials in one spot. Lay down a towel or newspaper to catch drips and protect surfaces.
This prep step saves time and prevents mid-clean frustration. Check your activity cube's manual for specific care instructions—most are plastic and wipeable.
💡 Tips:
- •Label a tray for 'dirty' vs. 'clean' parts to stay organized.
⚠️ Warnings:
- •Avoid using on wooden or fabric cubes; stick to plastic ones.
Step 2: Remove Batteries and Loose Parts
Power off the cube and remove batteries if it has lights or sounds. Gently detach any removable panels, beads, or shapes as per the toy's design.
Why? Electronics hate moisture, and loose parts clean better separately. Expect to see built-up grime here—success looks like easy access to all surfaces.
💡 Tips:
- •Store batteries in a dry ziplock bag.
⚠️ Warnings:
- •Don't force parts; if stuck, skip to wiping.
- •Never submerge electronic cubes in water.
Step 3: Dust Off Loose Dirt
Use a dry microfiber cloth to wipe away crumbs, dust, and visible dirt from all sides.
This pre-clean removes 80% of debris, making disinfection easier. Surfaces should look mostly clean now, with no loose particles.
💡 Tips:
- •Shake gently over a trash bin outdoors first.
Step 4: Soap Wash Surfaces and Crevices
Mix a few drops of mild dish soap in warm water. Dip a cloth or brush in the solution and scrub all surfaces, focusing on buttons, slots, and textures.
Soap breaks down oils and residue from tiny hands. Rinse the cloth often. Success: No sticky spots left; cube feels smooth.
For tough crevices, use the toothbrush gently.
💡 Tips:
- •Work in sections to avoid overwhelming suds.
⚠️ Warnings:
- •Don't soak the cube—wipe damp, not wet.
Step 5: Apply Disinfectant
Spray or wipe on baby-safe disinfectant (or 1:10 vinegar-water mix). Let sit 1-5 minutes to kill germs.
This targets viruses and bacteria. Why it matters: Babies explore with mouths, so 99.9% germ kill is key. Expect a clean, fresh scent.
💡 Tips:
- •Test disinfectant on a hidden spot first.
Step 6: Rinse and Wipe Dry
Wipe off disinfectant with a clean, damp cloth, then dry immediately with a fresh microfiber towel.
Rinsing prevents residue irritation. Cube should be residue-free and damp-dry.
⚠️ Warnings:
- •Skip rinse for no-rinse disinfectants like toy sprays.
Step 7: Air Dry and Reassemble
Place in a sunny, well-ventilated spot for 1-2 hours until bone-dry. Reinsert batteries and snap parts back.
Dryness prevents mold. Test functions—success: cube works perfectly, smells fresh.
💡 Tips:
- •Use a fan to speed drying.
⚠️ Warnings:
- •Don't store damp; wait fully dry.
▸Pro Tips
- •Disinfect weekly during flu season or after illness.
- •Use UV light sanitizers for non-washable parts overnight.
- •Add a drop of tea tree oil to soap water for natural antibacterial boost (dilute well).
- •Clean multiple cubes at once in batches.
- •Label clean date with sticker for tracking.
- •Freeze overnight to kill germs naturally (in ziplock).
- •Microfiber cloths dry faster and leave no lint.
▸Common Mistakes to Avoid
- •Submerging electronic cubes in water—causes shorts; always wipe only.
- •Skipping drying—leads to mold; air dry fully.
- •Using harsh bleach—irritates baby skin; opt for baby-safe options.
- •Overlooking crevices—germs hide; use brush.
- •Not removing batteries—moisture damages internals.
▸Troubleshooting
Problem: Stubborn stains or marker marks
Solution: Rub gently with baking soda paste, then disinfect. For plastics, Mr. Clean Magic Eraser (diluted).
Problem: Cube won't turn on after cleaning
Solution: Ensure fully dry inside battery area (24 hours). Check connections.
Problem: Lingering odor
Solution: Repeat vinegar disinfect step; air out longer.
Problem: Parts won't snap back
Solution: Ensure completely dry; lubricate with tiny soap dab if needed.
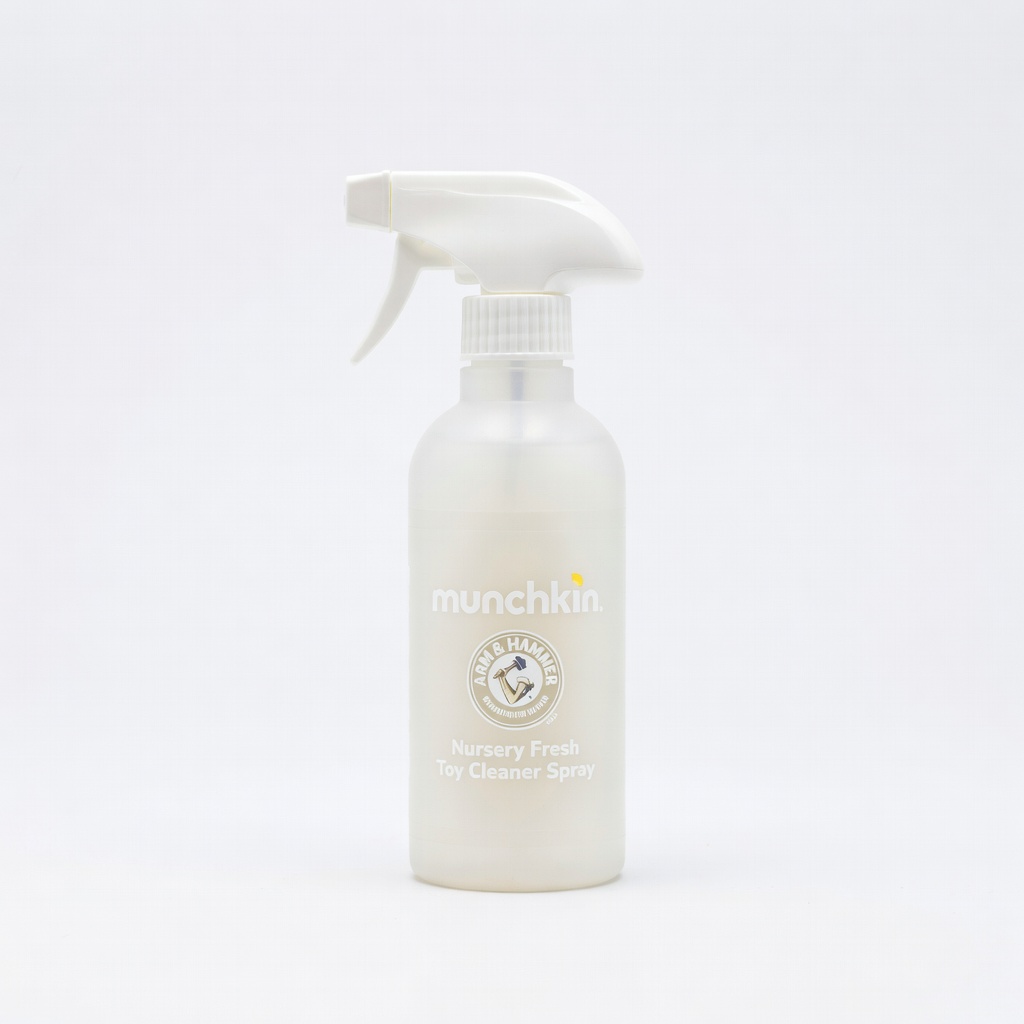
Munchkin Arm & Hammer Nursery Fresh Toy Cleaner Spray
Baby-safe, no-rinse formula kills 99.9% germs without harsh chemicals; perfect for quick disinfection.
Best for: Spray on surfaces during step 5 for electronics-safe cleaning.
Price Range: $4.99
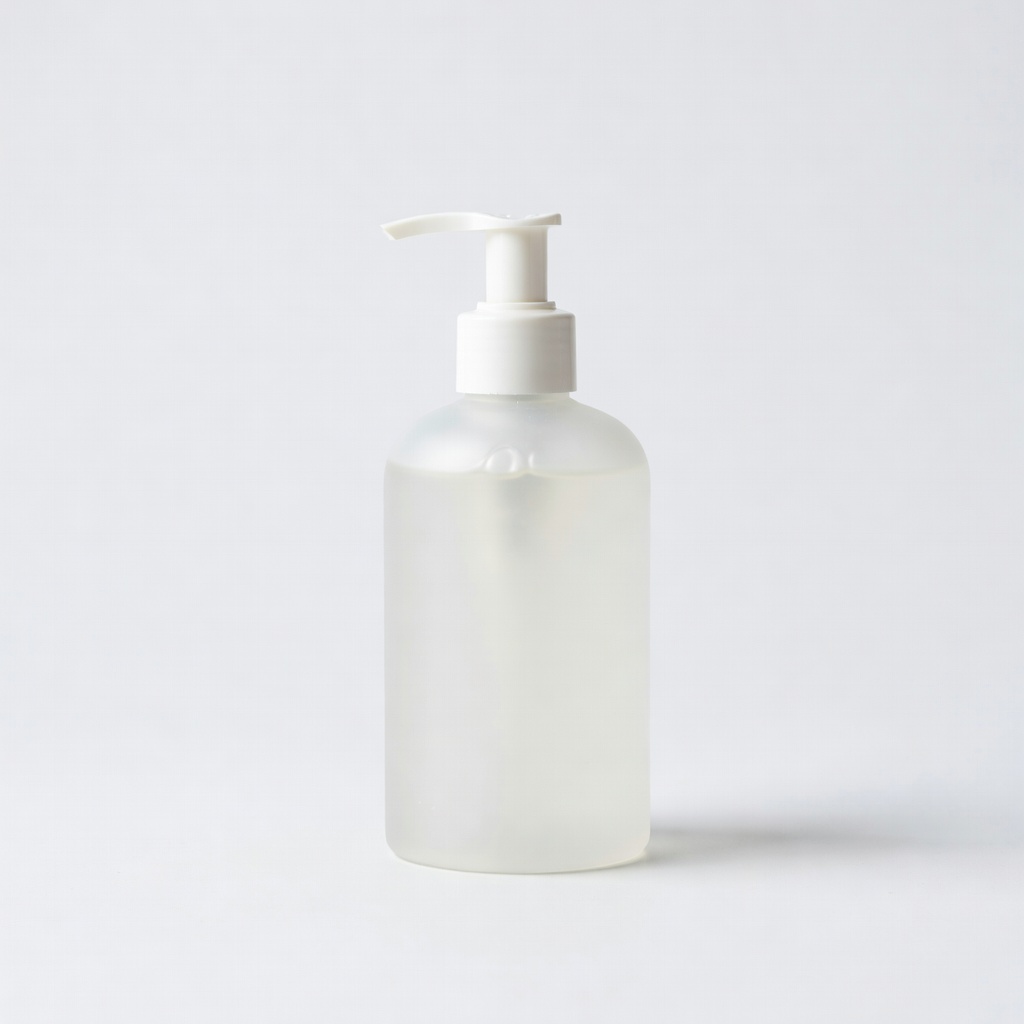
Babyganics Liquid Dish Soap
Plant-based, fragrance-free, safe for baby toys; gentle yet effective on residues.
Best for: Mix for soapy wash in step 4.
Price Range: $6.99
Amazon Basics Microfiber Cleaning Cloths
Lint-free, absorbent, machine-washable; ideal for wiping without scratching plastic.
Best for: All wiping steps for streak-free results.
Price Range: $12.99 for 24-pack
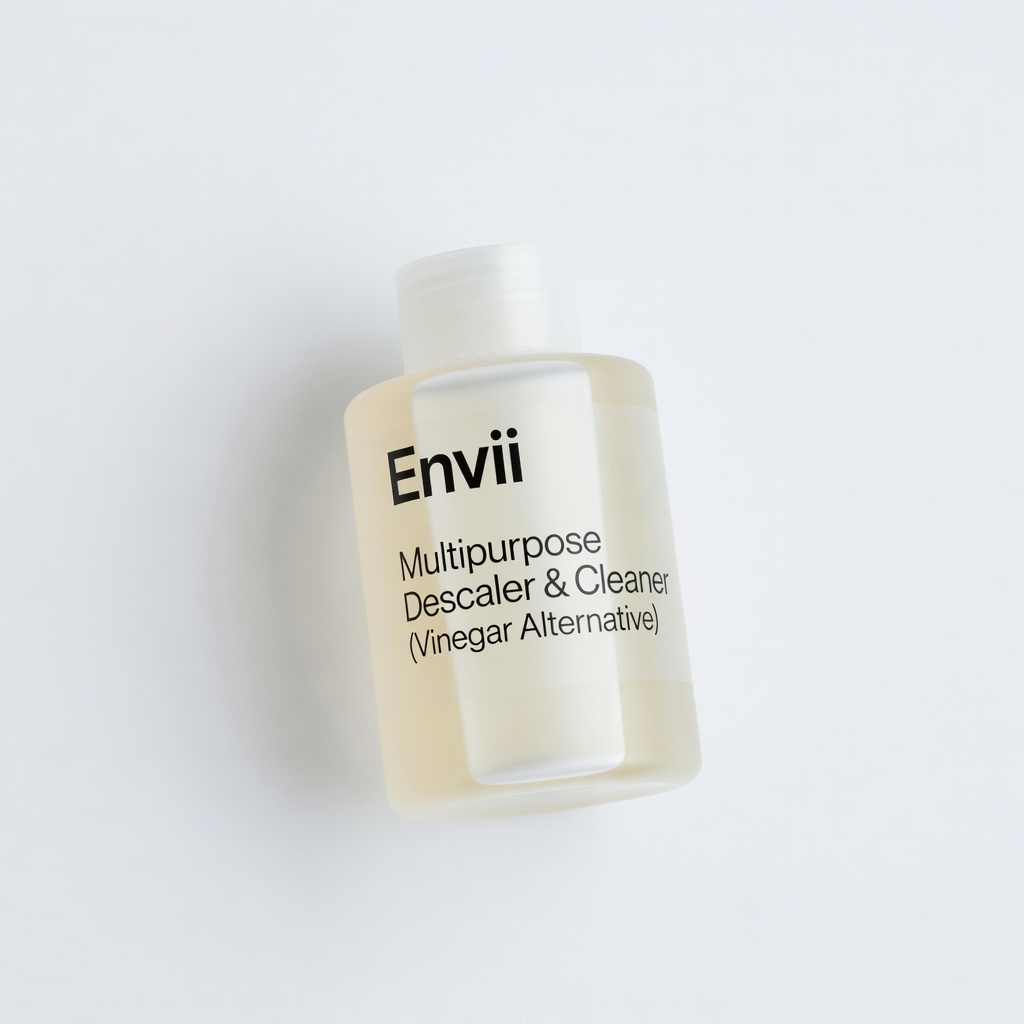
Envii Multipurpose Descaler & Cleaner (Vinegar Alternative)
Natural, odorless disinfectant for tough grime; safer than bleach.
Best for: Dilute for crevices or full disinfect.
Price Range: $14.99
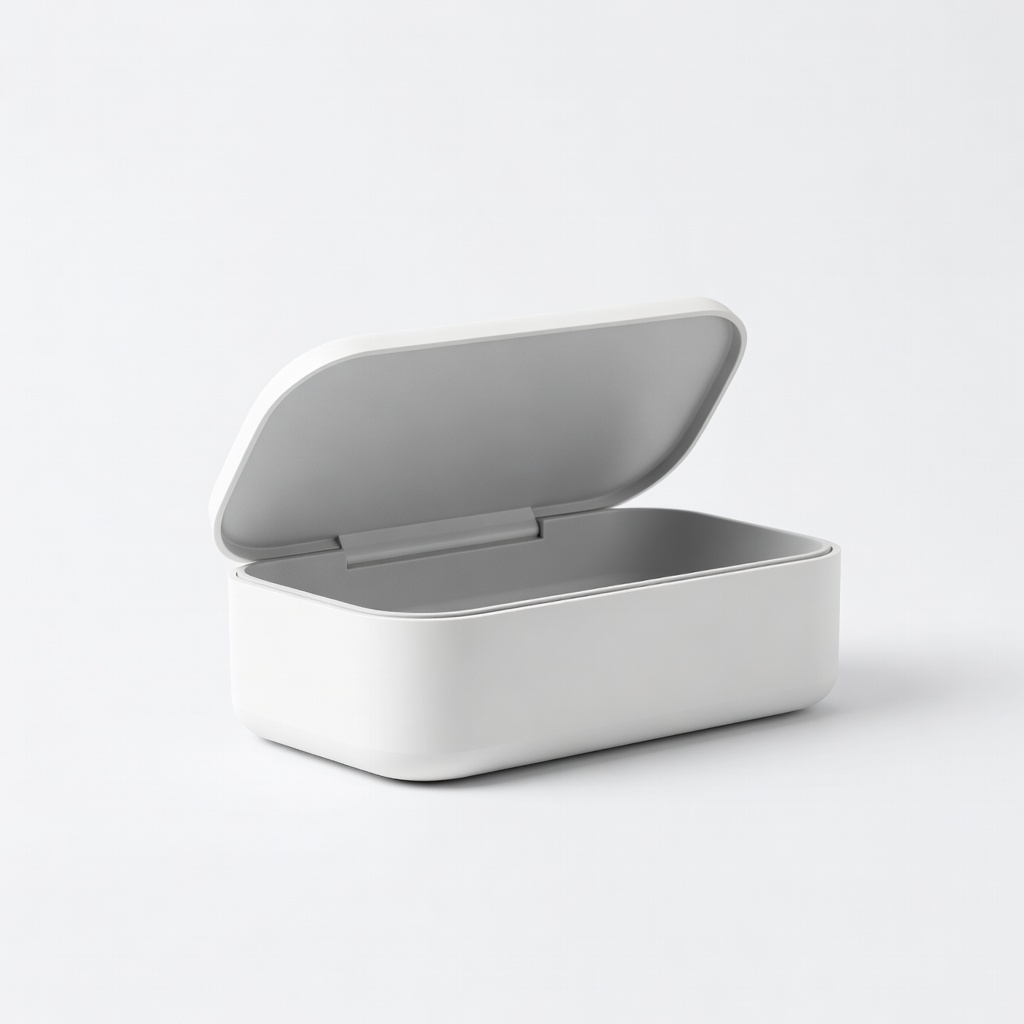
PhoneSoap UV Toy Sanitizer
Chemical-free UV light kills germs inside crevices; hands-off.
Best for: Post-wipe sanitizing for extra protection.
Price Range: $39.99