
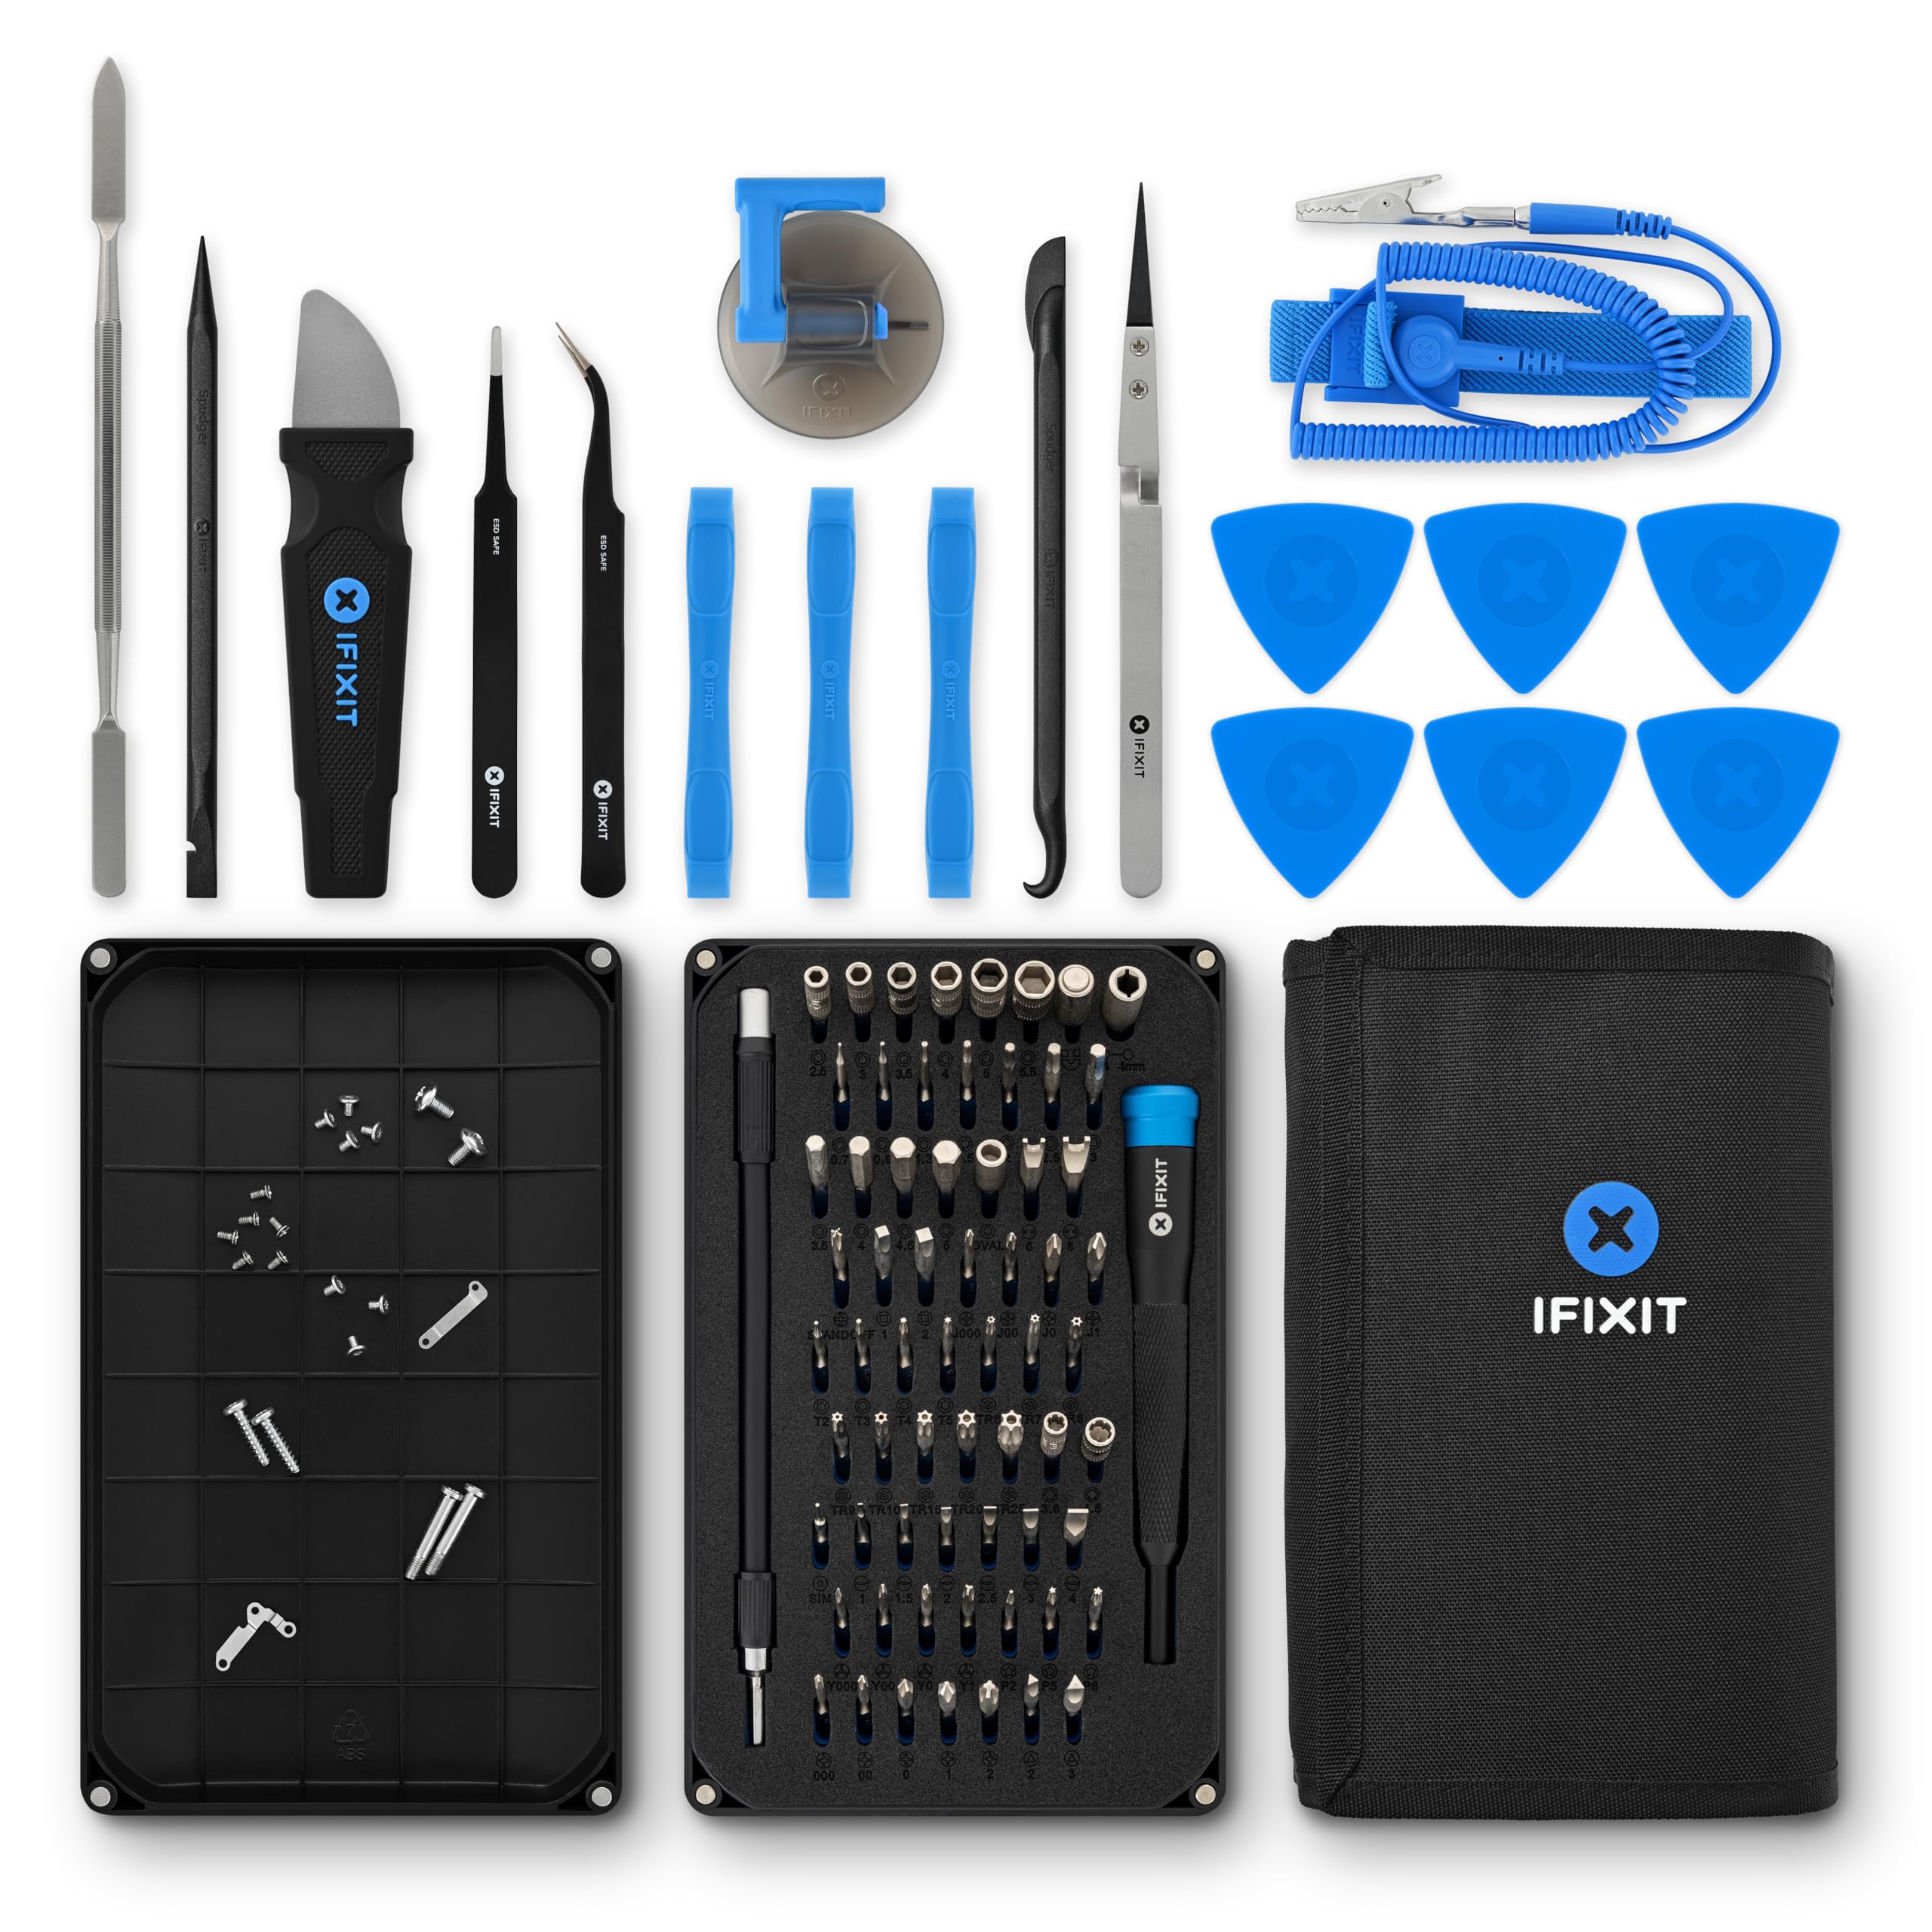
iFixit Pro Tech Toolkit
All disassembly steps, especially screws and prying.
$74.99
iFixit Pro Tech Toolkit Complete precision screwdrivers, spudgers, and tweezers designed for laptops—prevents stripping.
Get the App
Better experience on mobile
Safely take apart your 2-in-1 laptop, remove dust and grime, and reassemble it to restore performance and prevent overheating in under 2 hours.
Dust buildup inside 2-in-1 laptops like Lenovo Yoga or HP Spectre models leads to overheating, fan noise, and reduced battery life—common issues after 1-2 years of use. Regular cleaning extends hardware life and boosts speed, but improper disassembly risks damage or voiding warranties. This guide equips intermediate users with safe, model-agnostic steps tailored for 2-in-1 convertibles.
You'll learn to research your model, disassemble safely, deep clean components, and reassemble flawlessly. We cover precautions like battery disconnection first and use of anti-static tools. Expect 1-2 hours total, depending on your device's complexity—far quicker than professional service.
Note: Always check iFixit.com or your manufacturer's service manual for model-specific quirks, as 2-in-1s vary (e.g., glued batteries in Surfaces). Proceed at your own risk; this may void warranty.
Estimated Time: 1-2 hours Difficulty: intermediate
Before touching screws, search for your exact 2-in-1 model (e.g., 'Lenovo Yoga 9i disassembly guide iFixit'). Download the service manual from the manufacturer's site or watch a YouTube teardown video.
This step identifies unique features like hidden screws under rubber feet or flip-hinge mechanisms. Success looks like a printed or tabbed guide ready, noting screw counts and torque specs.
Why it matters: 2-in-1s like Microsoft Surface have pentalobe screws; skipping this leads to frustration.
💡 Tips:
⚠️ Warnings:
Set up on an anti-static mat in a well-lit, static-free area (away from carpets). Attach the anti-static wrist strap to yourself and a grounded metal object. Lay out tools in order.
Organize a magnetized tray labeled for different screw sizes. Success: A clutter-free table with parts bins ready.
Why: Prevents static damage to RAM/SSD and lost tiny screws.
💡 Tips:
⚠️ Warnings:
Back up files to cloud/external drive. Shut down fully (hold power 10s if needed), unplug charger, and remove SD cards/peripherals. Wait 5-10 mins for capacitors to discharge.
Flip to tablet mode if applicable to release tension. Success: Laptop cold, screen off, no lights.
Why: Data loss prevention and shock safety.
💡 Tips:
Peel rubber feet if hiding screws (common on Dells/HPs). Use correct bit to remove 8-12 Phillips/Torx screws—store by size. Gently pry with plastic tool from hinge edge, working around.
Success: Cover lifts evenly with clips popping softly—no cracks.
Why: Exposes internals; wrong tools strip screws.
⚠️ Warnings:
Locate battery (usually center), peel tape gently, unplug connector with spudger (slide parallel, don't yank). Tape connector aside.
Success: Battery cable secured away—no contact.
Why: Prevents shorts/shocks during cleaning—critical safety step.
💡 Tips:
⚠️ Warnings:
Blast short bursts of compressed air at fans/heatsinks (hold fan blades). Brush dust from fins. Wipe thermal paste areas lightly with isopropyl-damp cloth—avoid liquids inside.
Success: Visible dust gone, fans spin freely by hand.
Why: 80% performance gain from cooling restoration.
💡 Tips:
If accessible, brush keyboard/trackpad gaps. Use isopropyl on Q-tip for ports/edges—let dry fully (10 mins).
Success: No residue, ports lint-free.
Why: Sticky keys and USB issues fixed.
⚠️ Warnings:
Check for loose cables. Reconnect battery firmly. Snap cover on, align clips, tighten screws snug (not overtight). Boot up and test.
Success: No rattles, passes hardware diagnostics.
Why: Ensures functionality post-clean.
💡 Tips:
Problem: Screws stripped or stuck
Solution: Use rubber band over bit for grip; rubber mallet tap. Seek pro if broken.
Problem: Cover won't snap back
Solution: Check alignment/misaligned clips; heat edges with hairdryer if glued.
Problem: Won't boot after reassembly
Solution: Double-check battery/cables; reseat RAM if accessible.
Problem: Fan louder post-clean
Solution: Redust? Reapply thermal paste if needed—pro help advised.
Complete precision screwdrivers, spudgers, and tweezers designed for laptops—prevents stripping.
Best for: All disassembly steps, especially screws and prying.
Price Range: $74.99
Non-flammable, powerful blasts for dust removal without residue.
Best for: Cleaning fans/heatsinks safely.
Price Range: $12.99
Affordable ESD protection clips to ground—essential for internals.
Best for: Prevent static damage during handling.
Price Range: $6.99
Pure, residue-free for wiping components without corrosion.
Best for: Ports, edges, and light surface cleaning.
Price Range: $14.99
Budget magnetic set with 2-in-1 bits (Torx/Phillips)—great starter.
Best for: Screws on entry-level 2-in-1s.
Price Range: $25.99
All disassembly steps, especially screws and prying.
iFixit Pro Tech Toolkit Complete precision screwdrivers, spudgers, and tweezers designed for laptops—prevents stripping.
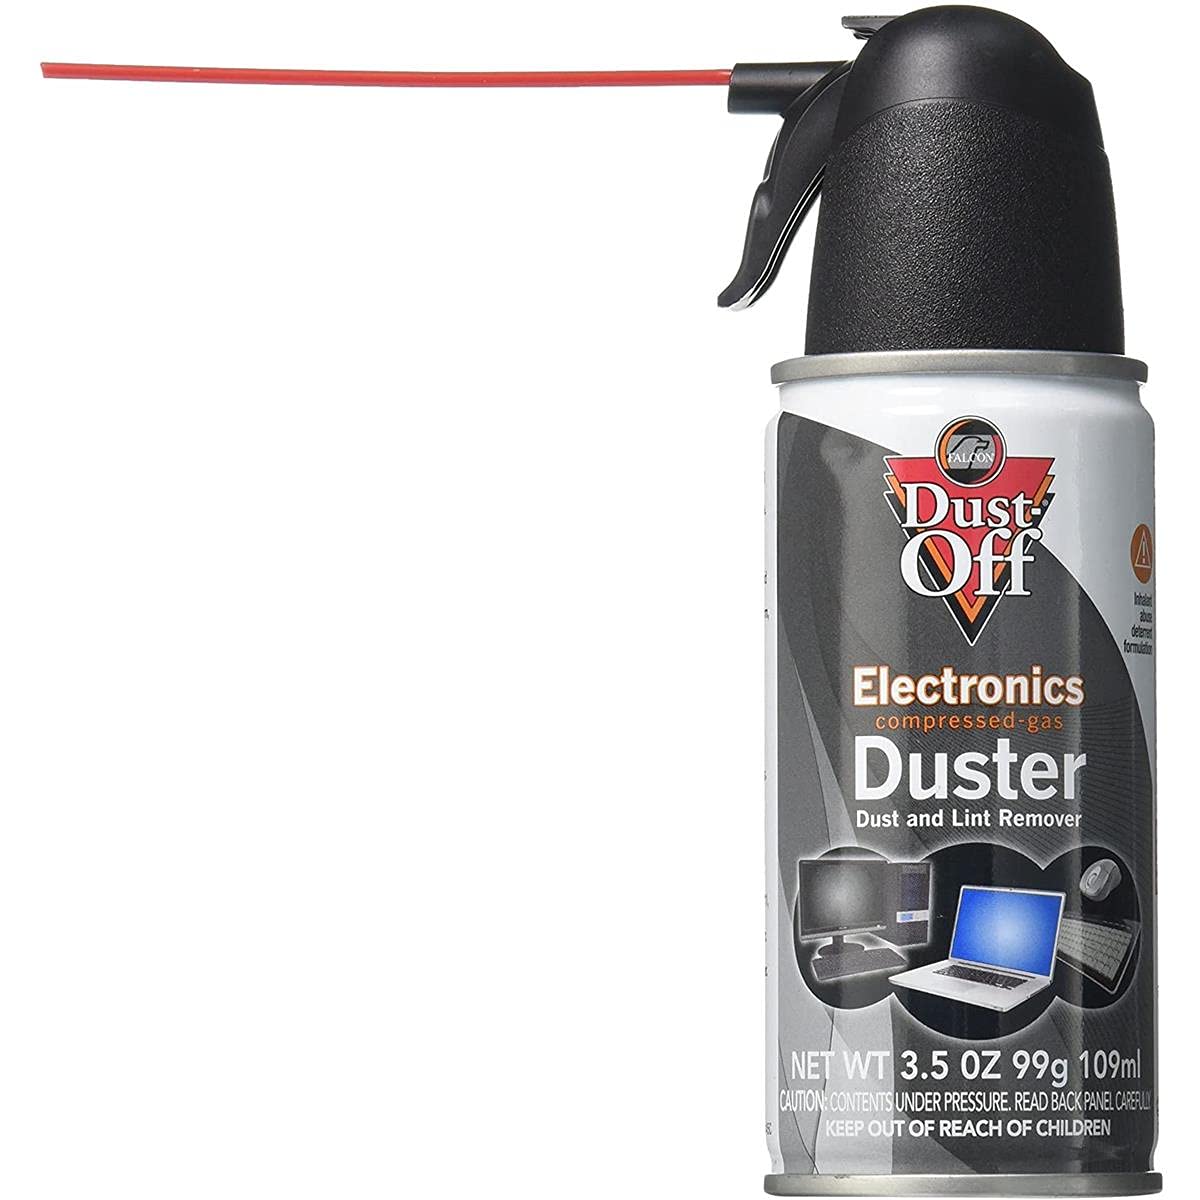
Cleaning fans/heatsinks safely.
Falcon Safety Dust-Off Compressed Air Non-flammable, powerful blasts for dust removal without residue.
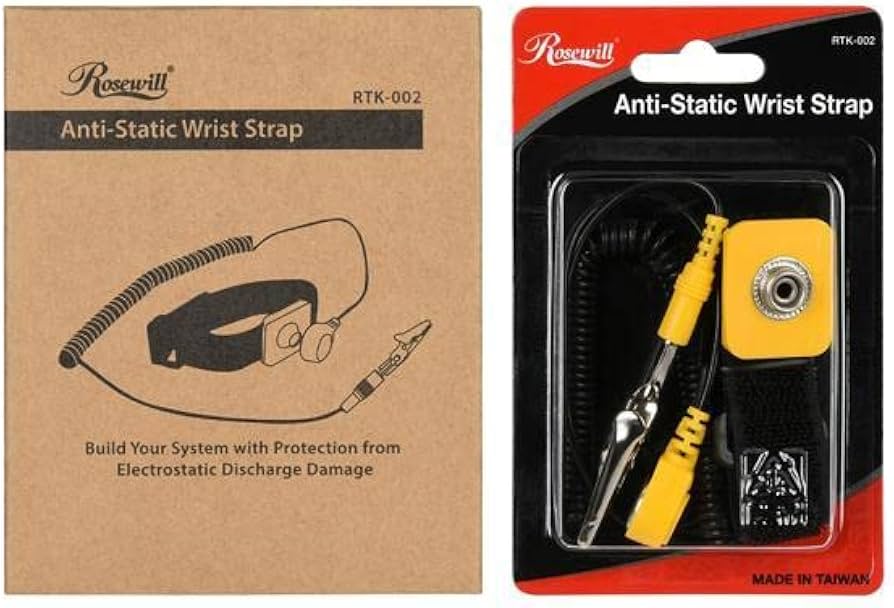
Prevent static damage during handling.
Rosewill Anti-Static Wrist Strap Affordable ESD protection clips to ground—essential for internals.

Ports, edges, and light surface cleaning.
MG Chemicals 99% Isopropyl Alcohol Pure, residue-free for wiping components without corrosion.
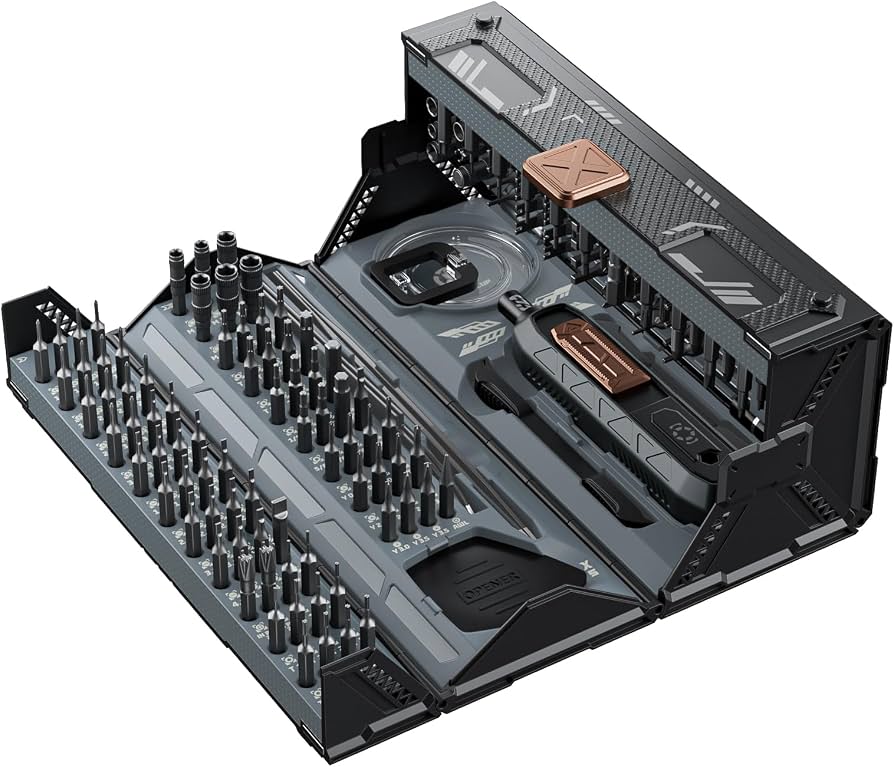
Screws on entry-level 2-in-1s.
Jakemy Precision Screwdriver Kit Budget magnetic set with 2-in-1 bits (Torx/Phillips)—great starter.