
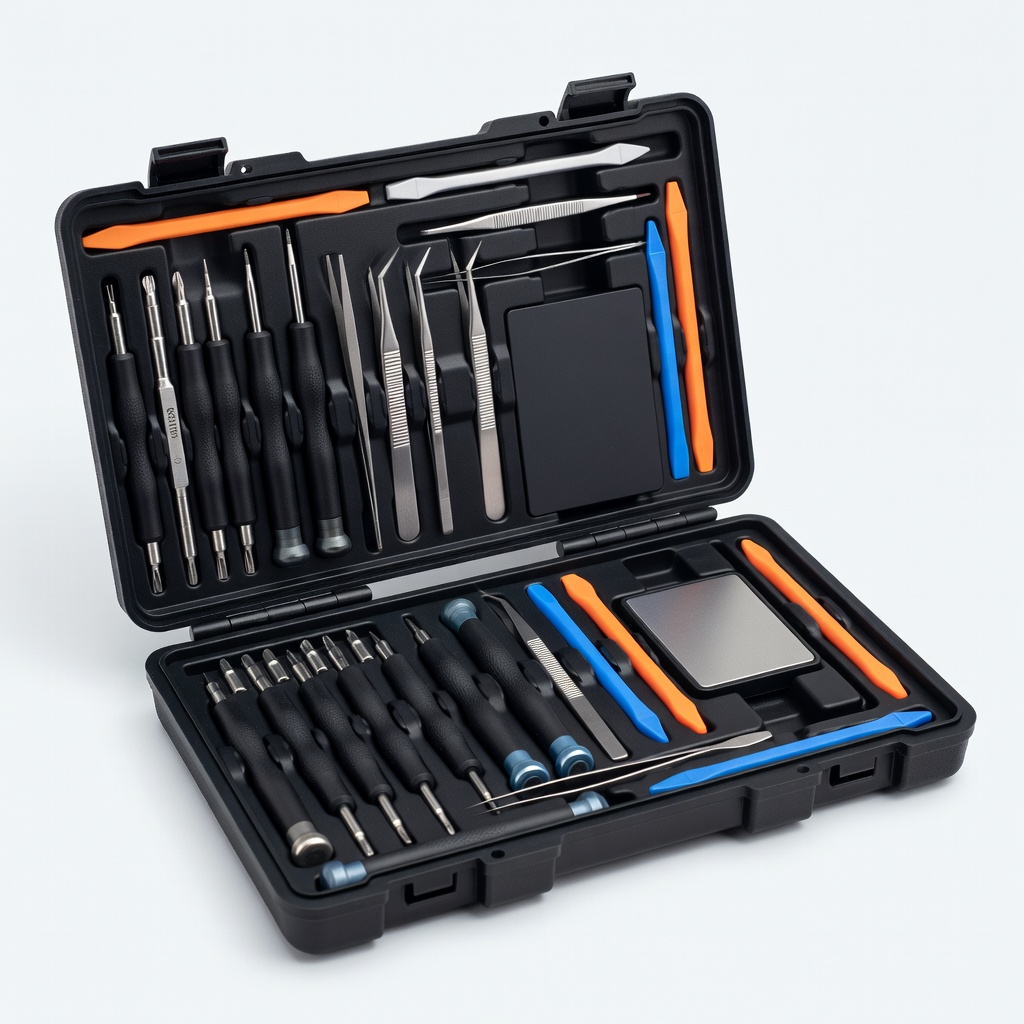
iFixit Pro Tech Toolkit
Full disassembly; lifetime warranty.
$74.99
iFixit Pro Tech Toolkit Essential all-in-one kit with 64 bits (incl. Torx/Pentalobe for 2-in-1s), spudgers, tweezers—covers 95% of repairs.
Get the App
Better experience on mobile
Safely take apart your 2-in-1 laptop like a pro to replace the battery and restore full performance in 1-2 hours.
2-in-1 laptops, such as Lenovo Yoga, HP Spectre x360, or Microsoft Surface Pro, offer versatility but their batteries degrade after 2-4 years of heavy use, leading to short runtime and swelling risks. Professional replacement can cost $200+, but with advanced skills, you can DIY for under $100 using a model-specific battery.
This guide teaches you the complete disassembly process with clear steps tailored for advanced users. You'll learn to access the battery without damaging hinges, screens, or convertibles. Always cross-reference your exact model on iFixit.com, as designs vary (e.g., Surface uses strong adhesives, Yoga has screws).
Expect 1-2 hours for first-timers; difficulty is advanced due to tiny screws, fragile ribbons, and static risks. Success means a fully reassembled laptop with 6+ hours battery life post-replacement.
Estimated Time: 1-2 hours (plus 30 min research) Difficulty: advanced
Start by identifying your exact 2-in-1 model (e.g., Lenovo Yoga 9i Gen 8) via system info or bottom label. Search iFixit.com or YouTube for '[model] battery replacement guide'—disassembly varies greatly.
Order a compatible battery matching voltage (e.g., 11.55V, 60Wh) and connector type. Verify seller ratings to avoid fakes.
Success looks like: Downloaded PDF guide and battery arriving with matching part number.
💡 Tips:
⚠️ Warnings:
Work on a clean, well-lit table covered with an ESD mat. Clip anti-static wrist strap to mat and unpainted metal on laptop chassis.
Organize screws by size in a labeled tray—2-in-1s use 20-50 tiny ones.
Success looks like: Grounded setup with tools laid out, no carpet nearby.
💡 Tips:
⚠️ Warnings:
Shut down completely, unplug charger, remove SD cards/USB. Flip upside down, peel off rubber feet to reveal hidden screws (use tweezers).
Success looks like: All screws visible, feet saved for reattachment.
💡 Tips:
⚠️ Warnings:
Use correct bits (usually Phillips #00) to remove 8-14 screws. Keep captive screws in holes.
Store by length/type to avoid mix-ups during reassembly.
Success looks like: All screws out, cover loose but not pried yet.
💡 Tips:
⚠️ Warnings:
Insert plastic pry tool at seams (start at hinges). Gently work around, releasing clips—avoid metal tools.
For adhesive models (e.g., Surface), apply low heat (150°F) for 2 mins first.
Success looks like: Cover off without cracks, revealing fans/SSD.
💡 Tips:
⚠️ Warnings:
Unplug ribbon cables (flip ZIF locks up, pull gently horizontally). Remove SSD/WiFi if blocking (2-4 screws).
Tape cables aside.
Success looks like: Clear path to battery, no tugged cables.
💡 Tips:
⚠️ Warnings:
Isolate power first: Unplug battery connector from motherboard (pull straight up).
Remove 4-6 battery screws, lift out carefully—adhesives? Pry with plastic card.
Success looks like: Old battery out, no residue on contacts.
💡 Tips:
⚠️ Warnings:
Clean contacts with isopropyl alcohol. Secure new battery screws, reconnect cable (push firmly).
Reverse steps: Reinstall components, snap cover, add screws/feet snugly (don't overtighten).
Success looks like: Fully reassembled, powers on with full charge indicator.
💡 Tips:
⚠️ Warnings:
Charge to 100%, discharge fully, recharge. Run battery report (Windows: powercfg /batteryreport).
Success looks like: New capacity 90%+ of rated, no swelling.
💡 Tips:
Problem: Stuck screws
Solution: Apply penetrating oil (WD-40 Specialist), wait 5 min, use rubber band grip. If stripped, use precision extractor set.
Problem: Laptop won't power on after reassembly
Solution: Recheck battery cable seating, all ribbons. Run without bottom cover to test.
Problem: Bottom cover won't snap
Solution: Align clips precisely, press from center out. Replace if broken (cheap on eBay).
Problem: Battery not recognized
Solution: Reset SMC (on hinge models: hold power 40s). Ensure firmware-compatible battery.
Problem: Adhesives too strong (e.g., Surface)
Solution: Use iOpener heat pad 2-3 mins per side. Seek pro if unsure.
Essential all-in-one kit with 64 bits (incl. Torx/Pentalobe for 2-in-1s), spudgers, tweezers—covers 95% of repairs.
Best for: Full disassembly; lifetime warranty.
Price Range: $74.99
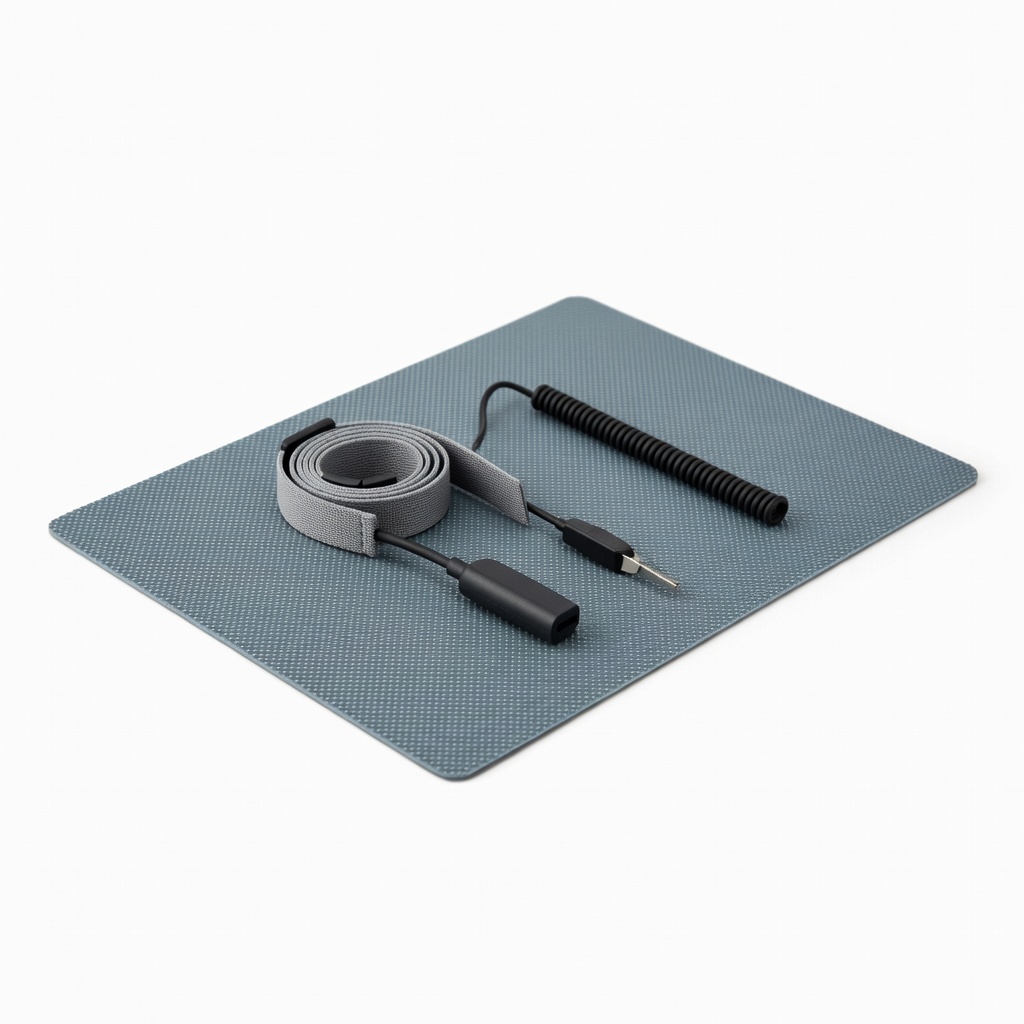
Prevents ESD damage critical for advanced internals like motherboards.
Best for: Every repair session.
Price Range: $24.95
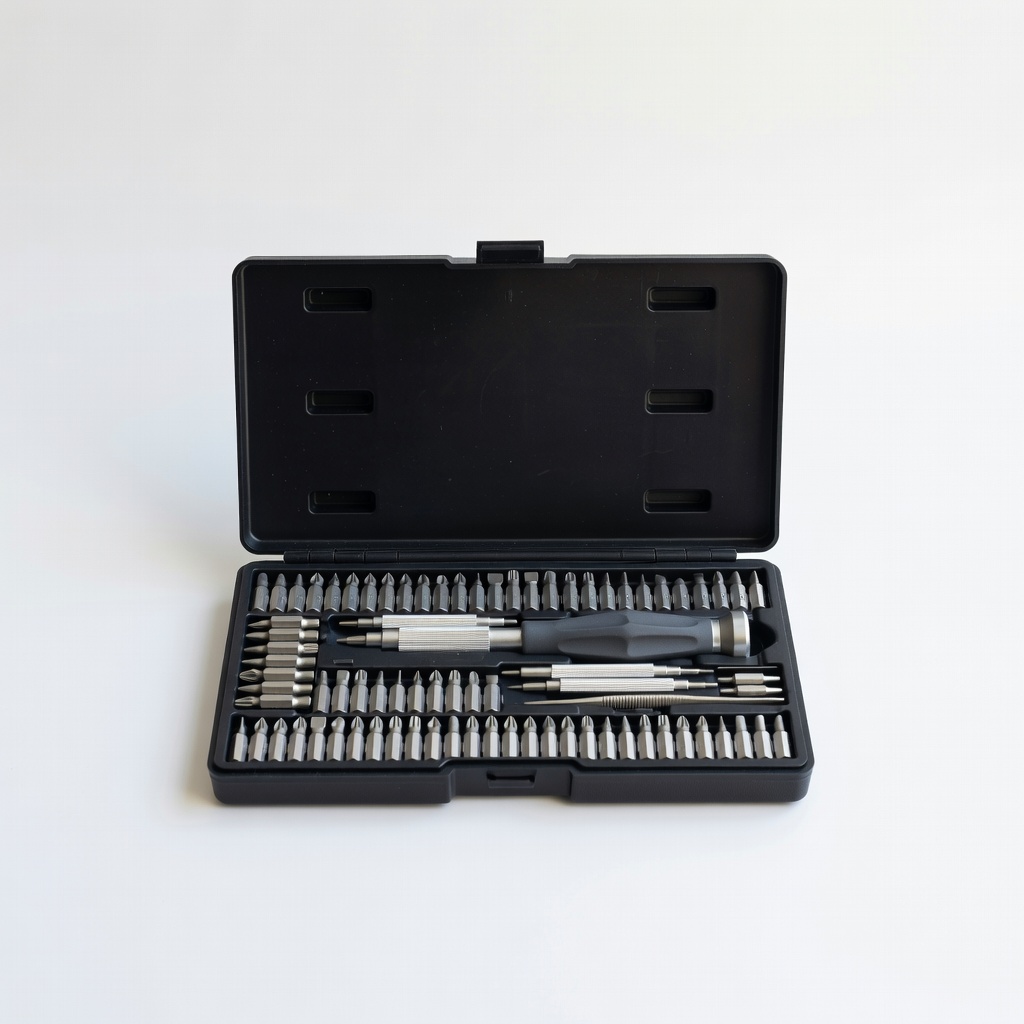
Budget alternative with magnetic bits; great for tiny laptop screws.
Best for: If iFixit too pricey; daily repairs.
Price Range: $19.99
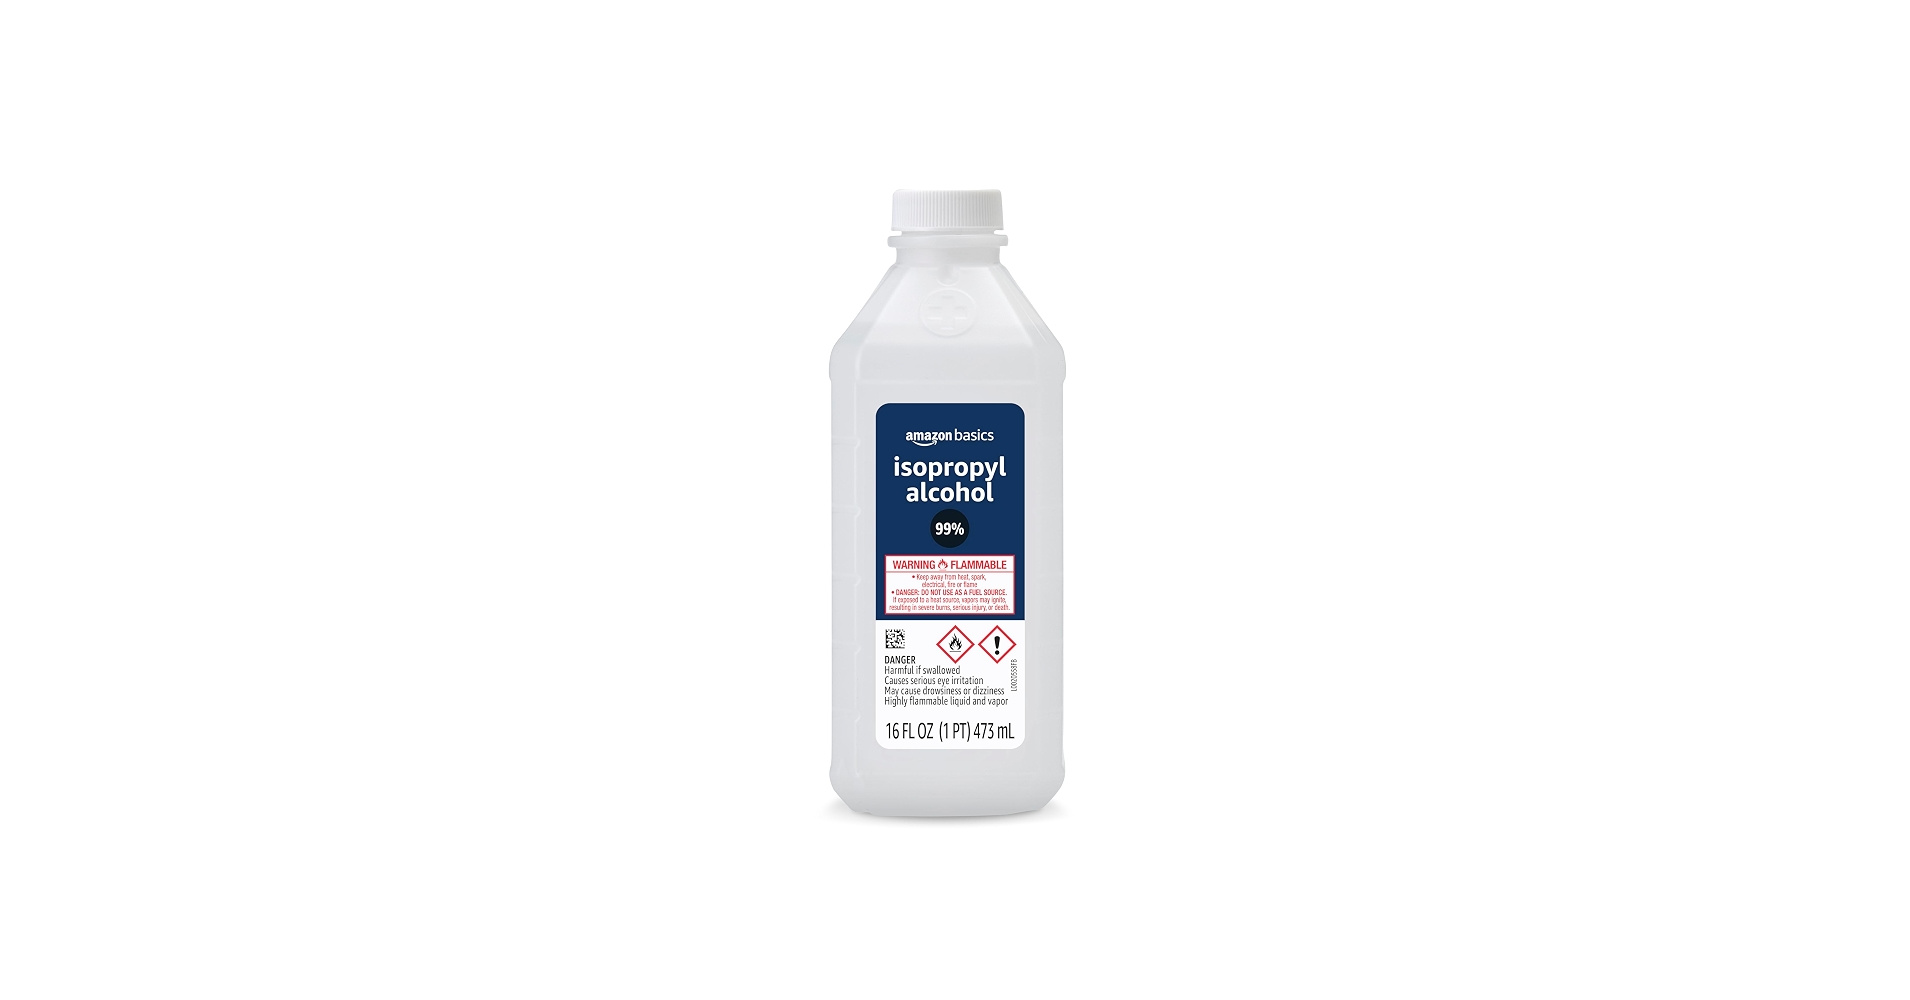
Safe, residue-free cleaning for contacts and adhesives.
Best for: Post-removal cleaning.
Price Range: $9.99
Adjustable, grounded cord for solo work.
Best for: Portable ESD protection.
Price Range: $7.99
Full disassembly; lifetime warranty.
iFixit Pro Tech Toolkit Essential all-in-one kit with 64 bits (incl. Torx/Pentalobe for 2-in-1s), spudgers, tweezers—covers 95% of repairs.
Every repair session.
iFixit Anti-Static Wrist Strap and Mat Kit Prevents ESD damage critical for advanced internals like motherboards.
If iFixit too pricey; daily repairs.
ORIA 120 in 1 Precision Screwdriver Kit Budget alternative with magnetic bits; great for tiny laptop screws.
Post-removal cleaning.
Amazon Basics 99% Isopropyl Alcohol Safe, residue-free cleaning for contacts and adhesives.
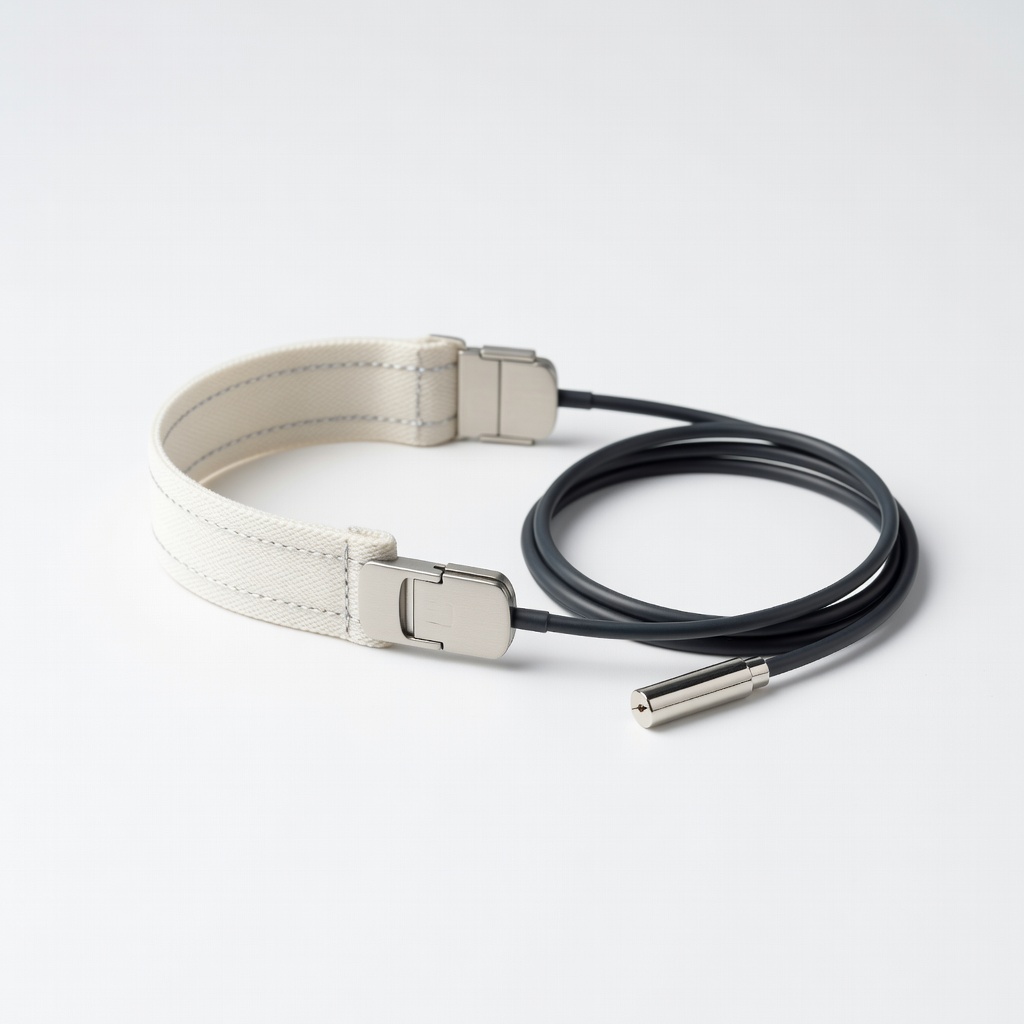
Portable ESD protection.
KEKU Anti-Static Wrist Strap Adjustable, grounded cord for solo work.