In an era dominated by digital photography, developing film at home offers advanced photographers a tactile, rewarding experience that digital can't replicate. Whether you're tired of lab fees or want to fine-tune every aspect of your negatives, home development lets you control temperature, timing, and chemistry for unparalleled results. It's a skill that hones your craft, but it requires precision to avoid ruined rolls.
This guide will walk you through the complete process of developing black-and-white film at home, from unloading to drying. You'll learn the science behind each step, why it matters, and how to achieve consistent, high-quality negatives. Expect a hands-on process that's both meditative and technical—perfect for those with experience in film loading and basic chemistry.
The entire process takes 2-4 hours per roll, depending on your setup, plus overnight drying. It's rated advanced due to the need for accurate measurements, darkroom handling, and chemical safety knowledge. By the end, you'll have crisp negatives ready for scanning or printing.
▸What You'll Need
- •Changing bag or light-tight darkroom (required for unloading film)
- •Developing tank with reels (e.g., stainless steel or plastic, required)
- •Film developer (e.g., Ilford ID-11 or D-76, required)
- •Stop bath (acetic acid or water, required)
- •Fixer (e.g., Ilford Rapid Fixer, required)
- •Hypo clearing agent (optional but recommended for faster washing)
- •Distilled water (required for mixing and washing)
- •Precision thermometer (0.1°C accuracy, required)
- •Measuring cylinders or syringes (for chemicals, required)
- •Timer (required)
- •Film squeegee or lint-free cloth (optional for drying)
- •Chemical storage bottles (required)
- •Safety gear: gloves, apron, goggles (required)
- •pH test strips or wetting agent (e.g., Photo-Flo, optional)
Estimated Time: 2-4 hours active time per roll, plus 4-24 hours drying
Difficulty: advanced
▸Step-by-Step Instructions
Step 1: Prepare Your Workspace and Safety Gear
Set up a clean, dedicated area for development—ideally a bathroom or darkroom with running water and good ventilation. Lay out all tools and chemicals, ensuring everything is at room temperature (around 20°C/68°F). Mix your chemicals in advance if possible, but only prepare what you'll use for one session to avoid waste.
Why this matters: Temperature fluctuations can ruin development, and a cluttered space leads to spills or contamination. Success looks like a organized station with labeled bottles and no light leaks.
Wear your safety gear: nitrile gloves protect against harsh chemicals, goggles shield your eyes, and an apron prevents stains. Dispose of chemicals responsibly—never down the drain without neutralization.
💡 Tips:
- •Work in a space with dimmable lights for easier transitions.
- •Label all bottles clearly to avoid mix-ups.
⚠️ Warnings:
- •Avoid skin contact with undiluted chemicals; they can cause burns.
- •Ensure ventilation to prevent fume inhalation.
Step 2: Unload the Film in Complete Darkness
In a changing bag or darkroom, carefully remove the exposed roll from your camera. Use scissors to cut the leader, then unwind the film onto a reel inside the developing tank. As an advanced user, you'll know to handle the film by its edges to avoid fingerprints.
This step is crucial because any light exposure here will fog your negatives, destroying your images. Expect a tactile challenge—feel for the sprockets to align properly on the reel. Once loaded, close the tank lid; light-proofing is now your ally.
Secure the spool and tank parts, then transfer to your lit workspace. Success: A fully loaded reel without scratches or bends.
💡 Tips:
- •Practice with dummy film to perfect your technique.
- •Keep movements slow and deliberate in the dark.
⚠️ Warnings:
- •Don't use zip-lock bags as substitutes; they leak light.
- •If using a bag, seal it multiple times before opening.
Step 3: Mix and Heat Your Chemicals
Using distilled water at 20°C, mix the developer according to the package (e.g., 1:1 dilution for Ilford ID-11). Prepare stop bath (usually 1:64 dilution) and fixer (1:4 for rapid fixer). Use your thermometer to ensure all solutions are at the exact development temperature—typically 20°C for standard films.
Precision here ensures even development; too hot, and images overdevelop; too cold, and they're underdeveloped. Pour into separate beakers or directly into measuring tools. For advanced control, pre-heat the tank in a water bath.
Success: Crystal-clear solutions at the correct temp, ready for pouring. Agitate gently when mixing to dissolve powders fully.
💡 Tips:
- •Use a digital thermometer for accuracy within 0.1°C.
- •Prepare extra developer for agitation tests if experimenting.
⚠️ Warnings:
- •Never mix developer and fixer—contamination ruins the batch.
- •Powder chemicals can be dusty; wear a mask while mixing.
Step 4: Develop the Film
Pour the developer into the tank, start your timer (e.g., 6-8 minutes for ISO 400 film at 20°C), and agitate continuously for the first 30 seconds, then every 30 seconds thereafter by inverting the tank gently.
Development converts exposed silver halides to metallic silver, creating your image. Why it matters: Proper agitation prevents uneven density (streaks). Expect the tank to feel warm as the reaction exothermic. After time's up, the film will have taken shape invisibly inside.
Dump the developer immediately—don't reuse for critical rolls unless specified.
💡 Tips:
- •Tap the tank to dislodge bubbles after initial pour.
- •Consult film-specific data sheets for exact times.
⚠️ Warnings:
- •Over-agitation leads to high contrast; under does to flat images.
- •Time precisely—seconds count in advanced processing.
Step 5: Stop the Development
Pour in the stop bath and agitate for 30 seconds. This halts the developer action instantly, preventing overdevelopment.
The acidic stop bath neutralizes the alkaline developer, stabilizing exposure. It's essential for consistency across negatives. Rinse briefly if using water stop, but acid is more reliable for advanced work.
Success: No residual development, ready for fixing. Pour out and proceed quickly.
💡 Tips:
- •If skipping stop bath, use three water changes, but it's less precise.
- •Advanced tip: Indicator stop bath turns purple when exhausted.
⚠️ Warnings:
- •Prolonged stop can make film brittle; keep it short.
Step 6: Fix the Film
Add fixer to the tank and agitate for 5-10 minutes (check film specs). This removes unexposed silver halides, making the negatives light-stable and archivable.
Fixing is where your image becomes permanent; without it, negatives fog under light. For advanced users, monitor clearing time—film should clear in 2-3 minutes. Agitate every minute.
After, the tank contents will look milky. Success: Clear, stable negatives that won't degrade.
💡 Tips:
- •Use rapid fixer for faster processing and longer bath life.
- •Test fixer exhaustion with a snippet of film.
⚠️ Warnings:
- •Under-fixing leaves hazy negatives; over-fixing softens emulsion.
Step 7: Wash and Clear the Film
Rinse in running water at 20°C for 5-10 minutes, or use the Ilford method: fill/dump cycles. Add hypo clearing agent for 2 minutes to remove fixer residues, then final wash.
Thorough washing prevents chemical stains and ensures longevity. Why it matters: Residual fixer causes yellowing over time. Expect water to run clear after cycles.
Hang the film to dry in a dust-free area. Success: Spotless, residue-free negatives.
💡 Tips:
- •Use a print washer for efficiency if processing multiple rolls.
- •Photo-Flo reduces drying spots.
⚠️ Warnings:
- •Hard water causes mineral deposits; use distilled for final rinse.
Step 8: Dry and Inspect the Negatives
Squeegee or air-dry the film upright for 4-24 hours. Once dry, cut into strips and store in archival sleeves.
Drying preserves emulsion integrity; inspect for density and sharpness under light. Advanced evaluation: Check for even development and no reticulation (cracking).
Success: Glossy, curl-free negatives ready for scanning or contact printing.
💡 Tips:
- •Use a negative carrier for flat drying.
- •Scan immediately to digitize your work.
⚠️ Warnings:
- •Touch only edges; oils ruin emulsion.
- •Avoid direct sunlight during drying.
▸Pro Tips
- •Always calibrate your thermometer against a known standard for precision.
- •Batch process multiple rolls to save chemical costs and time.
- •Experiment with push/pull development for creative exposure control.
- •Keep a development log: note times, temps, and results for repeatability.
- •Use LED safelights in your darkroom to avoid accidental fogging.
- •Pre-soak film in water for 1 minute to even temperature and reduce air bubbles.
- •For color film (advanced extension), maintain stricter temp control at 38°C.
▸Common Mistakes to Avoid
- •Inaccurate temperature control, leading to uneven development—always double-check with a calibrated thermometer.
- •Insufficient agitation, causing bromide drag streaks—agitate consistently but gently.
- •Poor darkroom hygiene, resulting in dust or scratches—clean your workspace and tools religiously.
- •Rushing the wash, which leaves chemical residues and degrades negatives over time—follow full protocols.
- •Reusing exhausted chemicals without testing, yielding weak negatives—discard after recommended capacity.
▸Troubleshooting
Problem: Streaks or uneven density on negatives
Solution: Check agitation technique; ensure even inversions and no trapped air. Retest with fresh developer.
Problem: Fogged or hazy film
Solution: Verify complete darkness during unloading; test for light leaks in tank. If persistent, use fresher fixer.
Problem: Drying spots or water marks
Solution: Add a few drops of wetting agent to final rinse; dry in low-humidity environment with gentle airflow.
Problem: Thin or low-contrast negatives
Solution: Increase development time or temperature slightly next roll; confirm film ISO wasn't underrated.
Problem: Emulsion damage or reticulation
Solution: Avoid extreme temperature shocks; mix chemicals gradually. If severe, consult a pro lab for salvage.
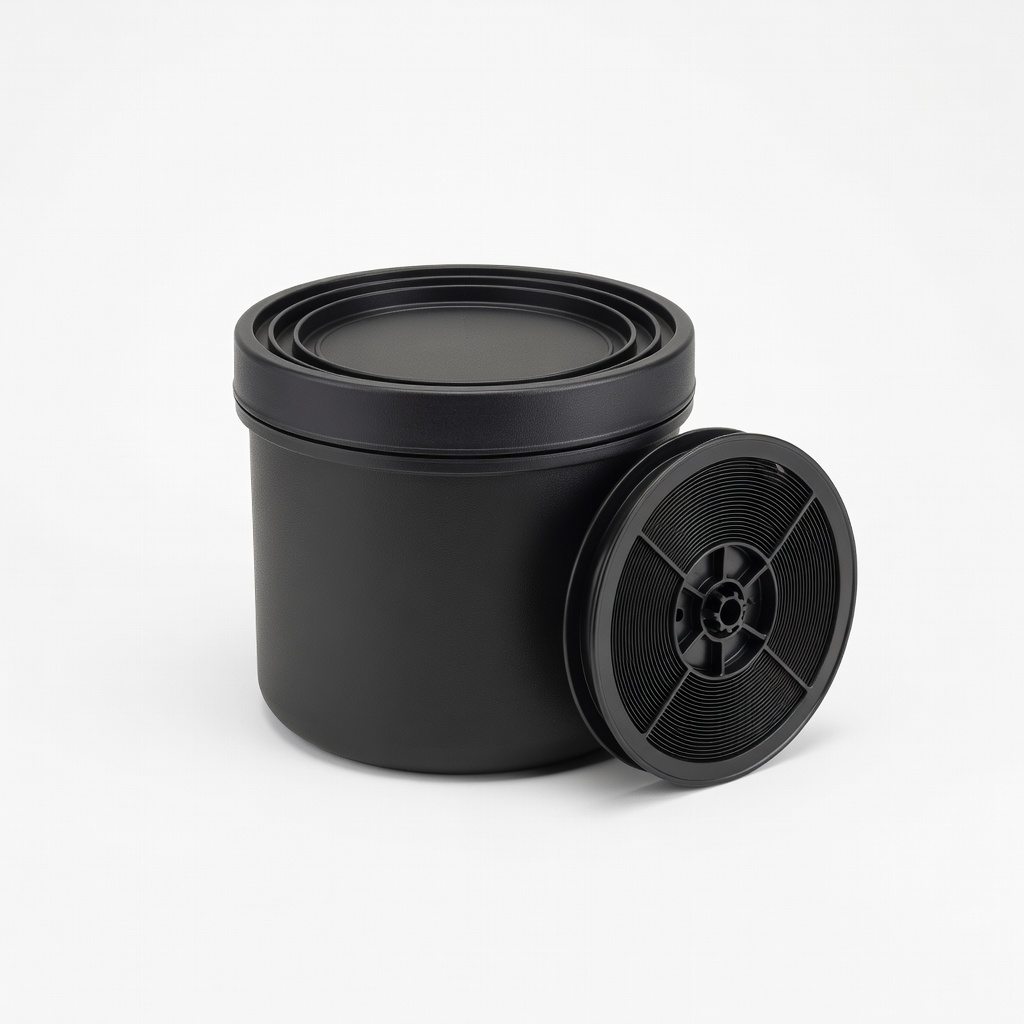
Paterson Universal Developing Tank and Reel (PTP232)
This durable plastic tank is ideal for 35mm and 120 film, with easy loading and light-tight design for reliable home processing.
Best for: Essential for containing and agitating film during development; perfect for beginners to advanced users handling multiple formats.
Price Range: $30-$40
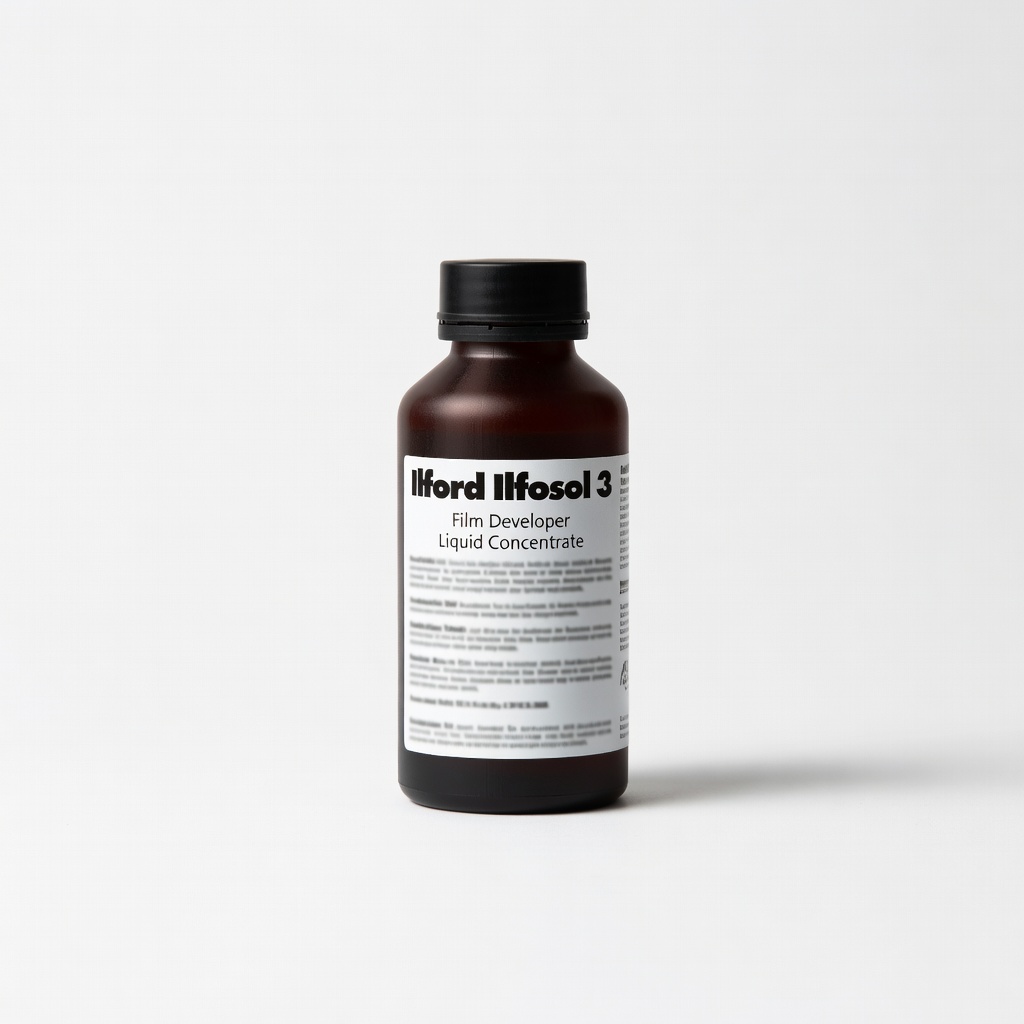
Ilford Ilfosol 3 Film Developer (Liquid Concentrate)
A forgiving, high-acutance developer that produces sharp negatives with fine grain, suitable for a wide range of films.
Best for: Use for standard black-and-white development; dilute 1:9 for one-shot use to ensure consistency in home setups.
Price Range: $15-$20
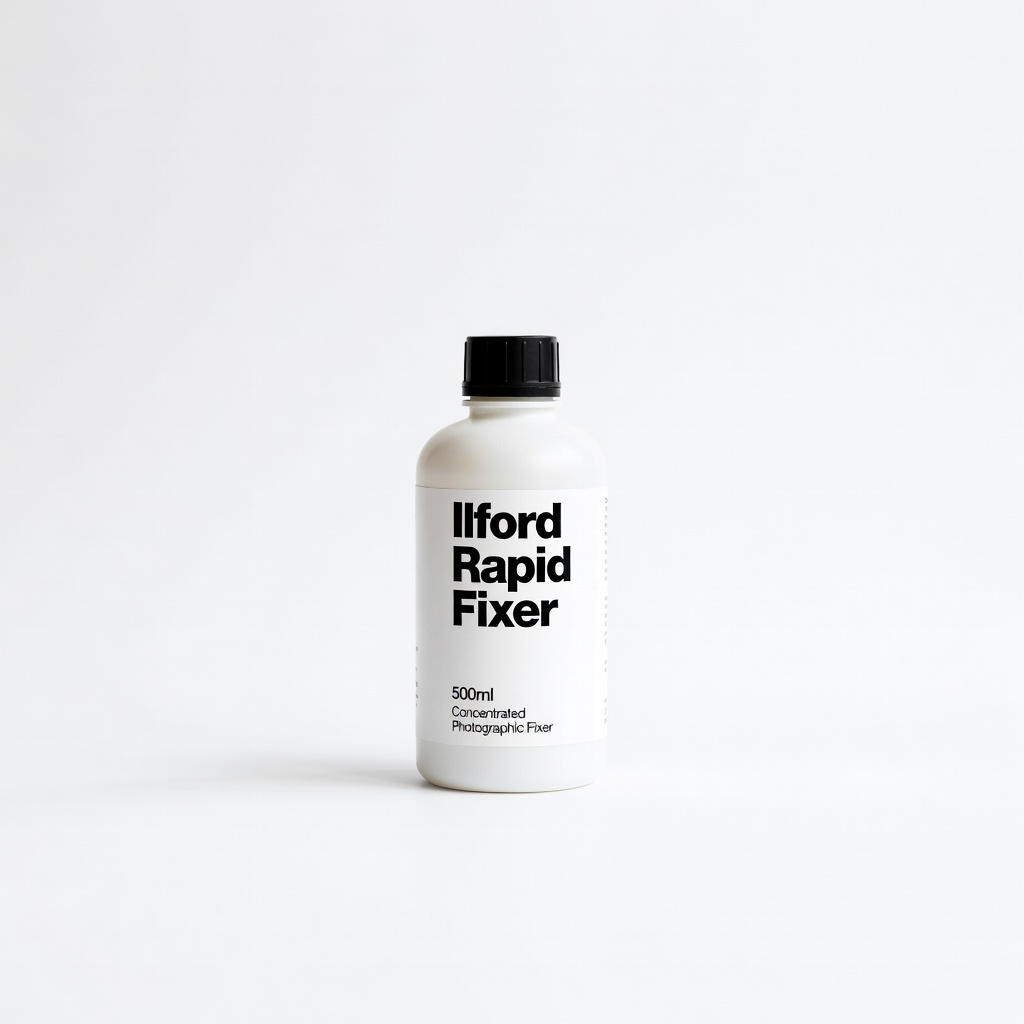
Ilford Rapid Fixer
Fast-acting powdered fixer clears film quickly and has a long tray life, making it efficient for home darkrooms.
Best for: Apply after stopping development to stabilize images; mix 1:4 for rapid processing of multiple rolls.
Price Range: $20-$25
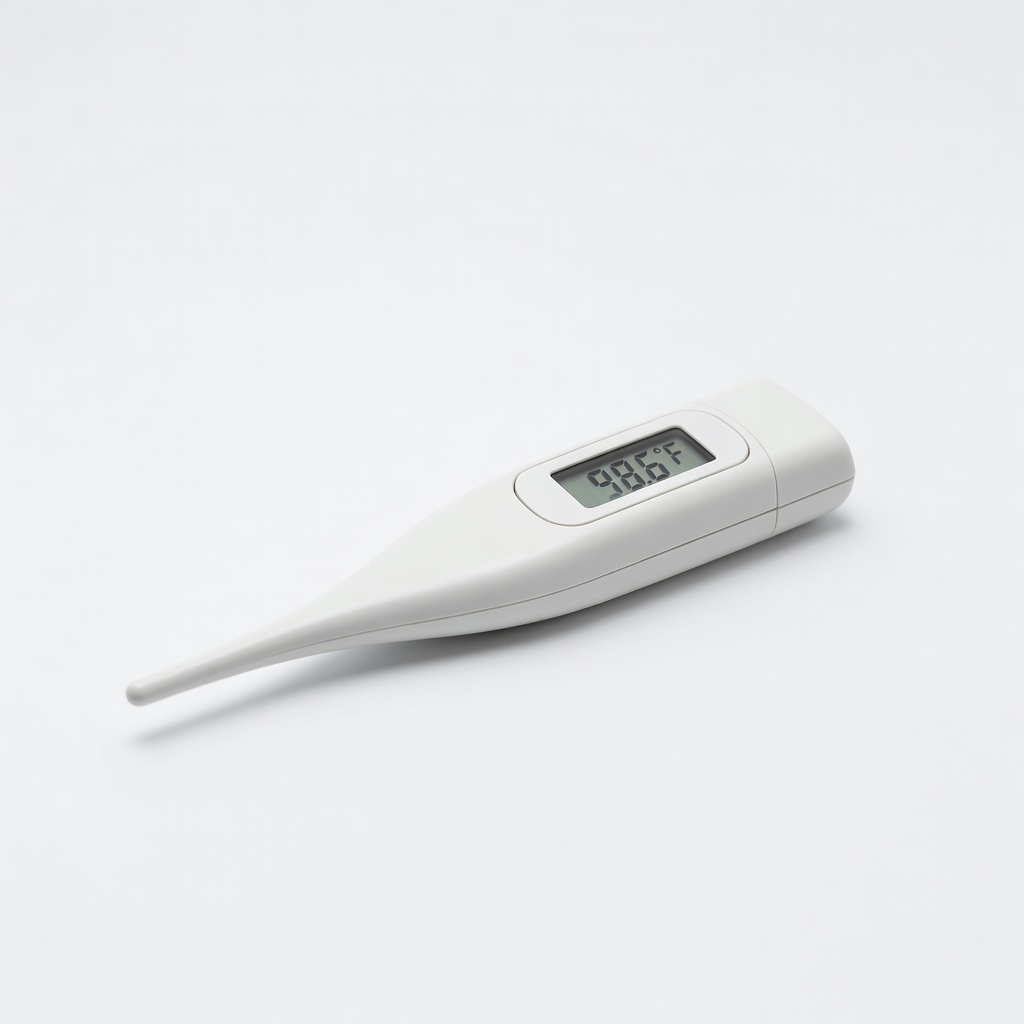
Kodak Digital Thermometer
Accurate to 0.1°C with a large display, crucial for maintaining precise temperatures in chemical baths.
Best for: Monitor developer, stop, and wash water temps; clip it to your tank for hands-free use during agitation.
Price Range: $15-$25
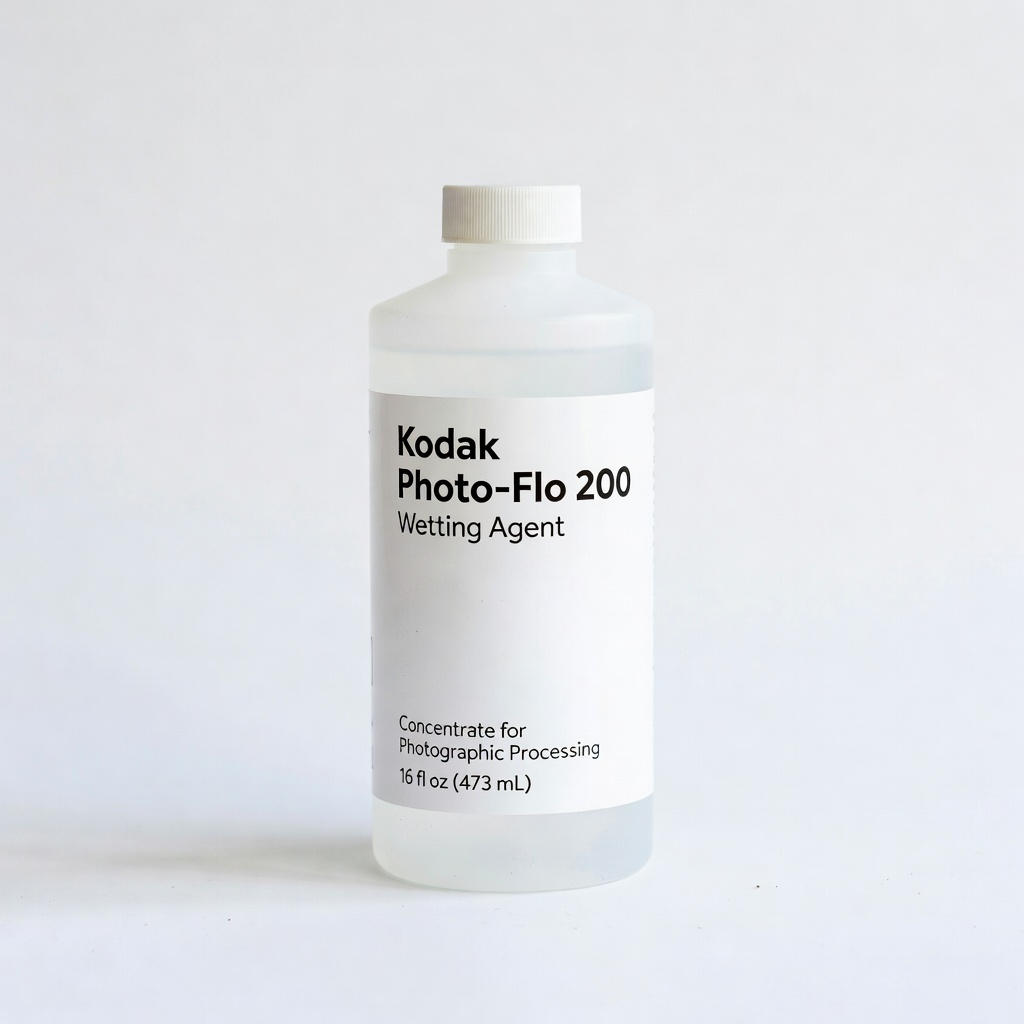
Kodak Photo-Flo 200 Wetting Agent
Reduces surface tension in rinse water, preventing drying marks and ensuring spot-free negatives.
Best for: Add to final wash (1:600 dilution) for all film types; especially helpful in humid or hard-water areas.
Price Range: $10-$15