Let's face it: a dirty car interior can be embarrassing and even affect your driving experience. Over time, dust, crumbs, stains, and odors build up, making your car feel less inviting. But you don't need to spend hundreds at a professional detailer to get that fresh, clean look. With the right tools and techniques, you can detail your car interior like a pro in just a few hours. In this guide, we'll walk you through every step—from prepping the space to finishing touches—so you can achieve amazing results. You'll learn the best practices for cleaning every surface, what products to use, and how to avoid common mistakes. Whether you have cloth or leather seats, this guide has you covered. Expect to spend about 2 to 3 hours for a thorough detail.
▸What You'll Need
- •Shop vacuum or a powerful handheld vacuum with attachments
- •Microfiber towels (at least 10, washable)
- •Interior all-purpose cleaner (dilutable or spray)
- •Upholstery and carpet cleaner (or a steam cleaner if available)
- •Soft bristle brushes (different sizes for vents, seams)
- •Interior detailing brushes (like a boar's hair brush)
- •Glass cleaner and a separate microfiber towel for glass
- •Leather cleaner and conditioner (if you have leather seats)
- •Trim and plastic protectant (UV protectant for dash and doors)
- •Toothpicks or detailing clay (for tight crevices)
- •Trash bags for removing debris
- •Optional: ozone generator for odor removal, carpet extractor
Estimated Time: 2 to 3 hours
Difficulty: beginner
▸Step-by-Step Instructions
Step 1: Remove All Trash and Personal Items
Start by taking out everything from your car—floor mats, floor mats, trash, documents, phone chargers, and any other loose items. Check under seats and in door pockets. This step is crucial because it gives you full access to all surfaces. Don't forget to check the trunk as well. Once you've emptied the car, shake out floor mats and set them aside to be cleaned later. Dispose of all trash in a garbage bag. This initial declutter makes the rest of the detailing much more efficient.
💡 Tips:
- •Use a small trash bag to collect items as you go.
- •If you find valuables, set them in a safe place outside the car.
Step 2: Thoroughly Vacuum the Interior
Use a vacuum with a crevice tool, a brush attachment, and a wide nozzle to vacuum every inch. Start with the headliner (if needed), then move down to seats, carpets, and floor mats. Pay special attention to cracks between seats and center console, along seat tracks, and around pedals. Use a stiff brush or your fingers to loosen embedded dirt before vacuuming. Remove floor mats and vacuum them separately, both sides. For deep-seated dirt, a shop vacuum is recommended over a regular home vacuum.
💡 Tips:
- •Vacuum in rows to ensure you don't miss spots.
- •Use a crevice tool along weatherstripping and door seals.
- •For pet hair, use a rubber brush or a squeegee to loosen it first.
⚠️ Warnings:
- •Avoid pressing the vacuum too hard on fabric seats to prevent pilling.
Step 3: Clean Carpets and Floor Mats
Spray an upholstery cleaner on carpets and floor mats. Use a soft-bristle brush to agitate the cleaner into the fibers. Let it sit for a few minutes to break down stains and odors. Then use a wet/dry vacuum or a carpet extractor to remove the dirty water. If you don't have an extractor, use a clean, damp microfiber towel to blot up as much moisture as possible. Repeat for heavily soiled areas. Rinse the floor mats with a hose (if removable) and let them dry completely before putting them back.
💡 Tips:
- •Use a dedicated carpet cleaner for set-in stains like coffee or mud.
- •Work in small sections to avoid over-saturating the carpet.
- •After cleaning, place towels under mats to absorb moisture.
⚠️ Warnings:
- •Don't soak the carpet; excess moisture can lead to mold.
- •If using a steam cleaner, ensure the carpet is not too delicate.
Step 4: Treat Upholstery (Cloth Seats)
If your seats are fabric, apply an upholstery cleaner and work it in with a soft brush. Pay attention to high-contact areas like the seat bottom and side bolsters. Use a wet/dry vacuum or extractor to remove the dirt and cleaner. For stubborn stains, spot-treat with a specialized stain remover. Allow seats to air dry with windows open or use a fan to speed up the process. For a deeper clean, consider renting a steam cleaner or extractor.
💡 Tips:
- •Test cleaner on an inconspicuous area first to ensure colorfastness.
- •Use a microfiber towel to blot stains rather than rubbing.
- •For new stains, treat as soon as possible for best results.
⚠️ Warnings:
- •Excessive water can cause mold; use minimal moisture.
- •Don't use bleach or harsh chemicals on fabric.
Step 5: Clean Leather Seats (If Applicable)
For leather seats, start by vacuuming all loose dirt. Then apply a dedicated leather cleaner to a microfiber towel and wipe the seats. Use a soft brush for seams and crevices. Follow with a leather conditioner to keep the leather supple and prevent cracking. Avoid using products that contain silicone or alcohol, as they can dry out leather. Let the conditioner sit for the recommended time, then buff off any excess with a clean towel.
💡 Tips:
- •Use a pH-neutral leather cleaner for safest results.
- •Condition every 3-6 months to maintain leather health.
- •Avoid saddle soap or household cleaners—they can damage leather.
⚠️ Warnings:
- •Do not over-condition; it can leave residue and attract dirt.
- •Never use a brush with stiff bristles on leather—it can scratch.
Step 6: Clean Hard Surfaces (Dash, Doors, Center Console)
Use a damp microfiber towel with an all-purpose interior cleaner to wipe down all plastic, vinyl, and metal surfaces. For intricate areas like air vents and buttons, use a detailing brush or a soft toothbrush. Avoid spraying cleaner directly onto electronics; spray onto the towel instead. Wipe steering wheel, gear shift, door handles, and dashboard. For sticky residue, use a dedicated adhesive remover or isopropyl alcohol diluted with water.
💡 Tips:
- •To clean vents, use a brush attachment on your vacuum or a microfiber wrapped around a butter knife.
- •Use a protectant with UV protection for dashboards to prevent fading.
- •For piano black trim, use a separate clean microfiber to avoid scratches.
⚠️ Warnings:
- •Avoid getting water into electrical buttons or infotainment screens.
- •Do not use ammonia-based glass cleaners on tinted windows.
Step 7: Clean Windows and Mirrors
Use a streak-free glass cleaner and a dedicated glass microfiber towel. Spray the cleaner onto the towel, not directly onto the glass to avoid overspray. Wipe the inside and outside of all windows, including the windshield and rear window. Use a separate side of the towel to dry and buff. For stubborn dirt or film, use a glass cleaner with ammonia or a 50/50 vinegar-water solution (but not on tinted windows). Clean the rearview mirror and sun visor mirrors as well.
💡 Tips:
- •Work in a cool, shaded area to prevent streaking from quick drying.
- •Use two towels: one for cleaning, one for buffing.
- •For very dirty glass, use a clay bar on exterior glass to remove contaminants.
⚠️ Warnings:
- •Avoid using the same towel used for wax or grease on glass.
- •Never use a dirty towel; it will leave streaks.
Step 8: Apply Protectant to Trim and Plastic
After cleaning, apply a protectant (like 303 Aerospace Protectant or a spray dressing) to all exposed plastic, vinyl, and rubber surfaces. This includes dash, door panels, center console, and rubber seals. Use an applicator pad or microfiber to apply evenly. Avoid getting protectant on pedals, steering wheel (unless it's a non-glossy type), or glass. For matte finishes, choose a matte protectant. Allow it to dry per product instructions.
💡 Tips:
- •Less is more—too much protectant can create glare on windshield.
- •Use a clean microfiber to buff off excess for a natural look.
- •For rubber seals, apply protectant to prevent drying and cracking.
⚠️ Warnings:
- •Avoid using protectants that are too oily; they attract dust.
- •Do not apply to floor pedals—it can make them slippery.
Step 9: Final Touch-Ups and Detail Inspection
Go over the entire interior with a fresh microfiber towel to pick up any missed spots or streaks. Check cup holders, door pockets, and seams for leftover debris. Use a crevice tool on your vacuum to finalize any loose dirt. Spray a fabric refresher or odor eliminator if needed. Reinstall clean floor mats, but make sure they are fully dry. Step back and inspect with good lighting to ensure everything looks clean. Roll down windows slightly to air out any chemical smells.
💡 Tips:
- •Use a bright LED flashlight to spot dust in shadows.
- •For lingering odors, leave a baking soda box under the seat overnight.
- •Wipe down door jambs for a professional touch.
⚠️ Warnings:
- •Avoid closing windows immediately if using strong-smelling products.
▸Pro Tips
- •Always work from the top down (headliner to carpets) so falling dust gets cleaned at the end.
- •Use multiple microfiber towels: one for cleaning, one for drying, one for glass, etc., to avoid cross-contamination.
- •For hard-to-reach spots like cup holders, use a toothbrush or small detailing brush.
- •If you don't have a wet/dry vacuum, use a spray bottle with cleaner and then blot with towels—just be prepared to work in small sections.
- •Steam cleaning is excellent for removing stains without chemicals; consider renting a steamer for tough jobs.
- •Let the car air out after detailing to dry any residual moisture and reduce chemical odors.
- •Invest in quality products; cheap cleaners may leave residue or damage surfaces.
▸Common Mistakes to Avoid
- •Using dish soap or household cleaners on car interior. These can strip protective coatings and dry out materials.
- •Applying protectant before thoroughly cleaning the surface. Protectant will seal in dirt and cause a grimy buildup.
- •Over-wetting carpets and seats, leading to mold, mildew, or unpleasant odors.
- •Using a dirty microfiber towel—this will just spread dirt and cause scratches on clear plastics.
- •Skipping the vacuum step and going straight to wiping; loose debris will grind into surfaces.
▸Troubleshooting
Problem: There is a lingering smell after cleaning.
Solution: Check for hidden moisture under mats or seats; dry thoroughly. Use an odor eliminator spray or place an open box of baking soda in the car overnight. If smells persist, consider a professional ozone treatment.
Problem: The glass has streaks after cleaning.
Solution: Streaks are usually caused by using too much cleaner or a dirty towel. Buff with a clean, dry microfiber towel. Wipe in a different direction (horizontal vs vertical) to spot streaks.
Problem: Leather seats look dried out or chalky.
Solution: Apply a high-quality leather conditioner and let it soak in. You may need to clean again first if there is residue. Use a conditioner with lanolin or beeswax for deep moisturizing.
Problem: The protectant leaves a shiny glare on the dashboard.
Solution: Use a matte finish protectant or apply less product. Buff with a microfiber to remove excess shine.
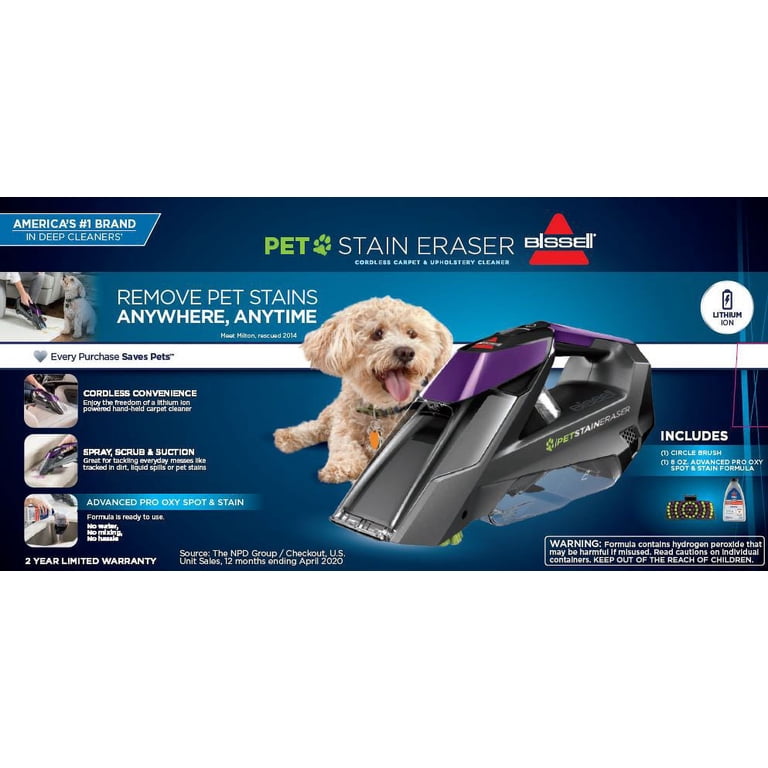
Bissell Pet Stain Eraser Cordless Carpet Cleaner
Ideal for removing tough stains from carpets and upholstery without needing a full wet/dry vacuum.
Best for: Spot cleaning floor mats and fabric seats, especially for pet owners.
Price Range: $70 - $100
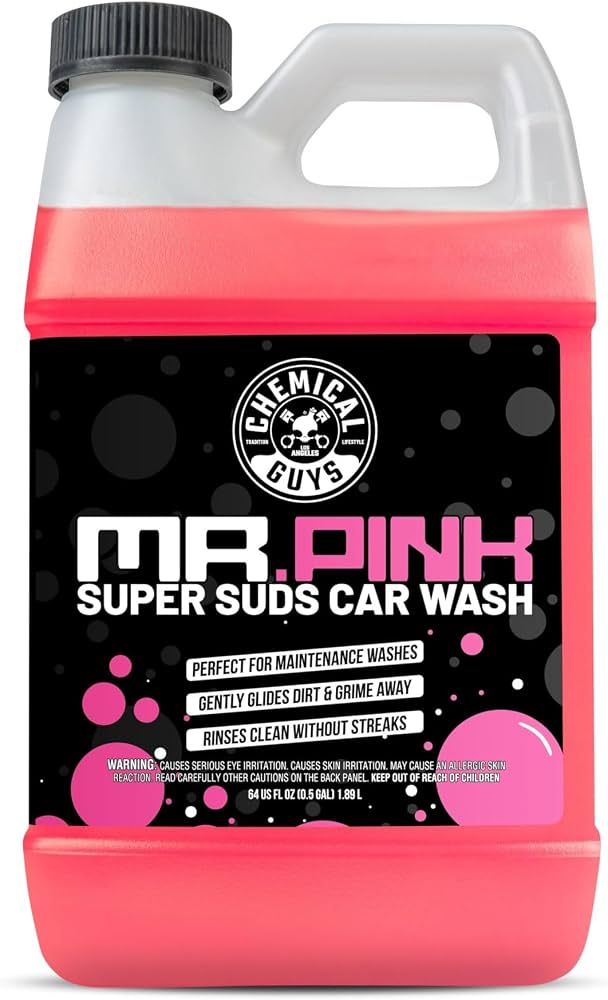
Chemical Guys Mr. Pink Car Wash Soap (for interior use)
A gentle, pH-neutral cleaner that works well on many surfaces when diluted.
Best for: All-purpose interior cleaning for plastic, vinyl, and delicate surfaces.
Price Range: $15 - $25
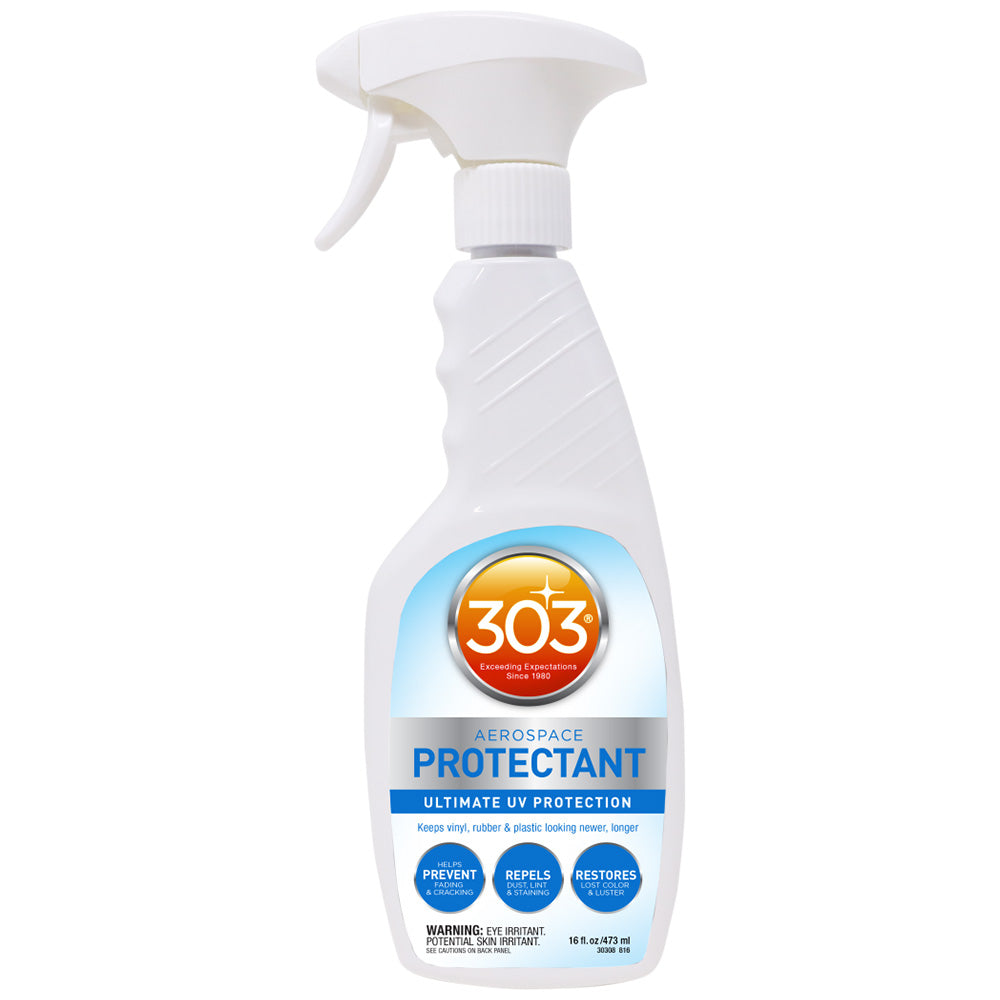
303 Aerospace Protectant
UV protection without a greasy or shiny finish; safe for dashboards, trim, and rubber seals.
Best for: Protecting and restoring interior plastics, vinyl, and rubber after cleaning.
Price Range: $12 - $20
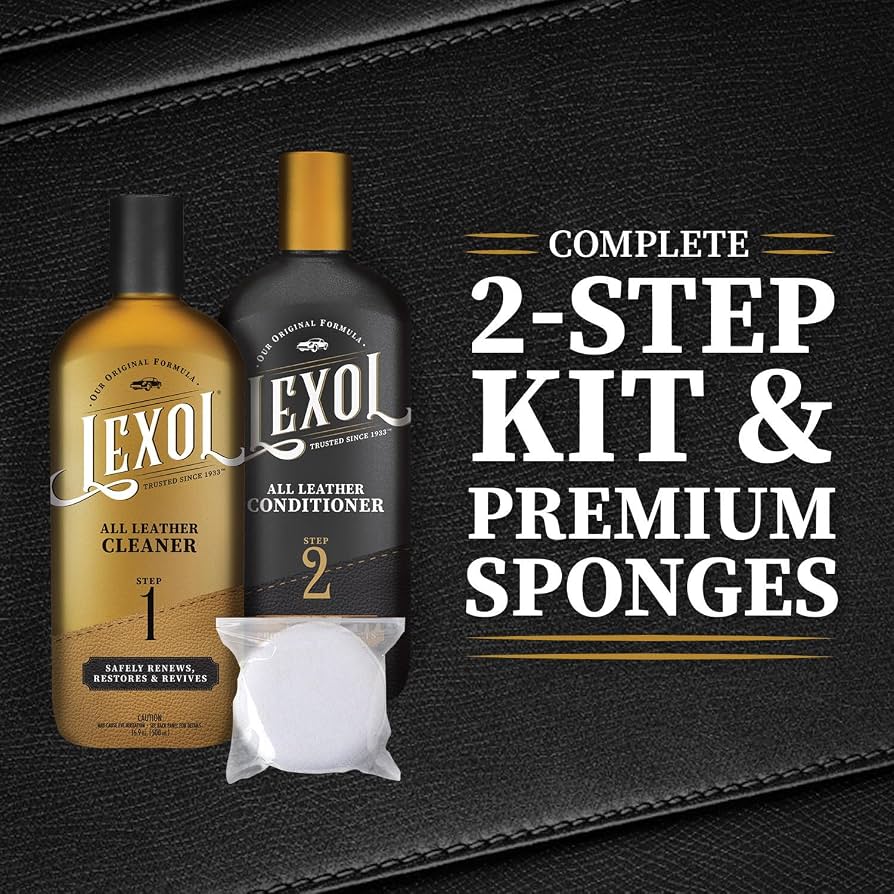
Lexol Leather Cleaner and Conditioner Kit
Trusted by professionals for cleaning and conditioning leather seats without damaging them.
Best for: Cleaning and maintaining leather seats, door panels, and steering wheel covers.
Price Range: $15 - $25
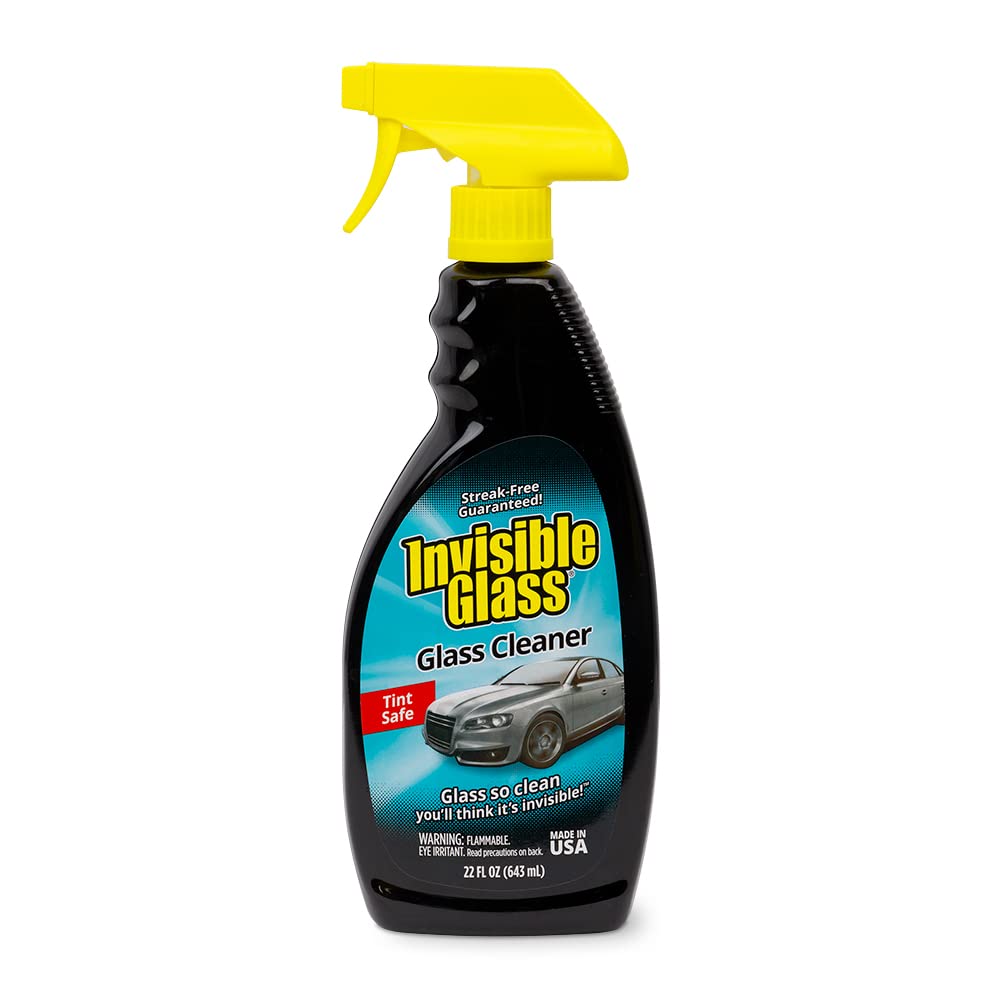
Invisible Glass Premium Glass Cleaner
Streak-free formula that works on both interior and exterior glass, safe for tinted windows.
Best for: Final glass cleaning for windows and mirrors to achieve crystal clarity.
Price Range: $8 - $12