
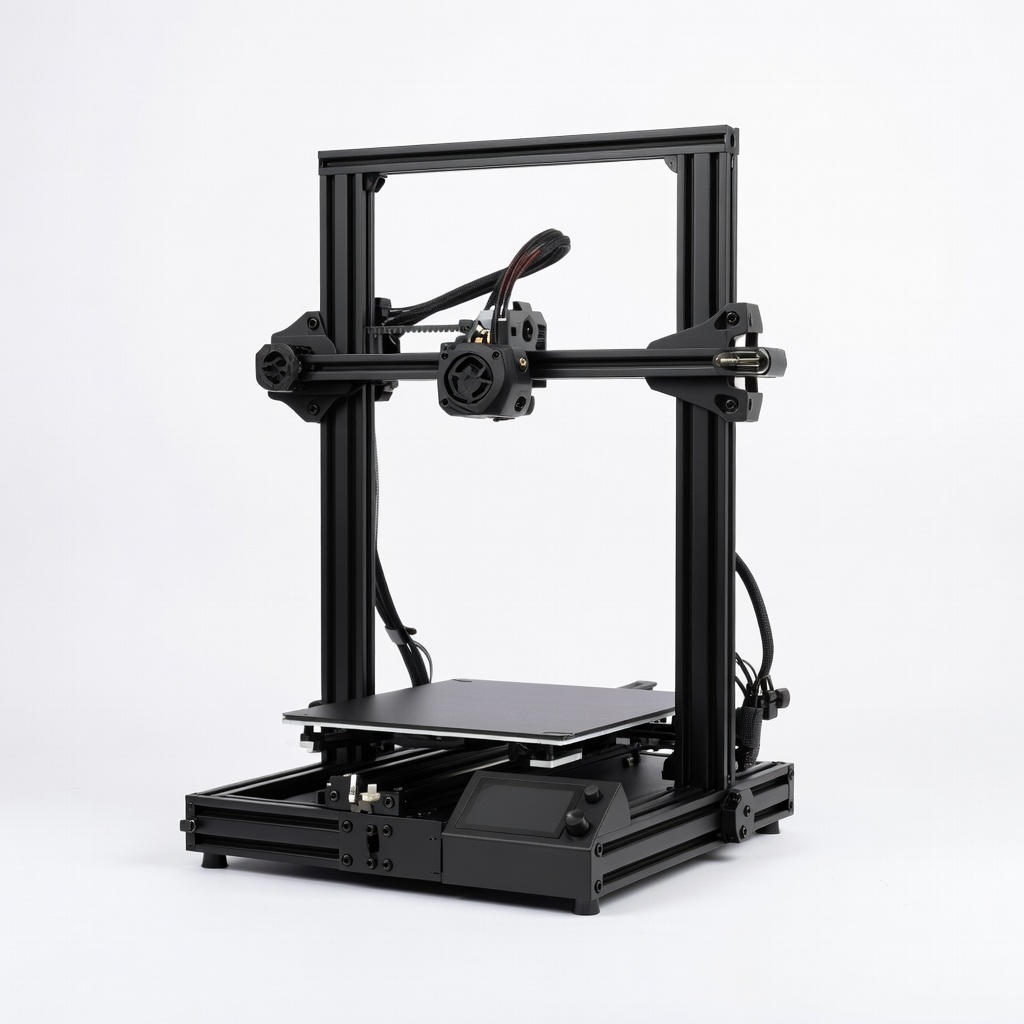
Creality Ender 3 V2 3D Printer
Print your Tinkercad keychain perfectly with easy bed leveling.
$189-$220
Creality Ender 3 V2 3D Printer Best entry-level FDM printer for beginners—reliable, affordable, large community support for your first prints.
Get the App
Better experience on mobile
Beginners: Create your first printable 3D keychain in Tinkercad in under 1 hour—no experience needed.
Designing 3D models for printing can feel overwhelming for beginners, with complex software and steep learning curves blocking your custom gadget dreams. But it doesn't have to be that way. With free tools like Tinkercad, anyone can start creating simple, printable designs today.
In this guide, you'll learn to design a customizable keychain—a practical first project that's quick to print and perfect for personalization. We'll cover everything from account setup to exporting a ready-to-print file. Expect a straightforward process using drag-and-drop tools, no coding required.
Total time: 30-60 minutes. Difficulty: absolute beginner. By the end, you'll have a model ready for your 3D printer and the confidence to tackle more projects.
Estimated Time: 30-60 minutes Difficulty: beginner
Go to tinkercad.com and click 'Join Now' or 'Sign In.' Use your email, Google, or Autodesk account to create a free account. Verify your email if prompted.
Tinkercad is browser-based, so no downloads needed—perfect for beginners. Once logged in, you'll see the dashboard with sample designs.
Success: You're on the Tinkercad homepage, ready to create.
💡 Tips:
Click 'Create new design' on the dashboard. This opens a blank 3D workspace with a grid workplane.
Familiarize yourself: Left sidebar has shape libraries (basic, solid, hole), top bar for views/zoom, right panel for size adjustments.
Success: Empty canvas with grid visible, ready for shapes.
💡 Tips:
Drag a 'Box' from the Basic Shapes menu to the workplane. Resize it in the right panel: Length 40mm, Width 20mm, Height 3mm. Center it using Align tool (select box, click Align icon, choose center options).
This forms the keychain body. Keep dimensions small for quick prints.
Success: A flat rectangular base on the grid.
⚠️ Warnings:
Drag 'Text' shape from Basic Shapes. Type your name or initials (e.g., 'ABC'). Set font size to 10-12mm height, position on the base. Click the text, then 'Hole' in inspector to cut it into the base.
Duplicate text if needed for back side. This creates raised or engraved effects.
Success: Text embedded in the base, visible as a cutout or extrusion.
💡 Tips:
Drag a 'Cylinder' shape, resize to 5mm diameter, 4mm height. Position at one end of the base. Turn it into a Hole, then use Align to center it properly.
This allows a keyring to pass through without breaking.
Success: Clean circular hole through the keychain end.
Select all shapes (Ctrl+A or drag box), click 'Group' (or Ctrl+G). This merges into one solid model. Rotate/inspect for issues; ungroup if needed to edit.
Use Ruler tool for precise measurements. Ensure no overlaps or gaps.
Success: Single grouped object, manifold and printable.
💡 Tips:
⚠️ Warnings:
Click 'Export' top-right, choose 'STL' for 3D printing. Download the .STL file.
Open in slicer like Cura to preview layers and estimate print time (5-10 mins for this model).
Success: STL file saved, slices without errors.
Problem: Model won't slice or shows errors
Solution: Ensure all holes are grouped; use Tinkercad's 'Analyzer' for watertight check. Repair in free tool like Meshmixer.
Problem: Print has gaps or weak spots
Solution: Increase wall thickness to 2-3mm; avoid sharp overhangs over 45°.
Problem: Text doesn't show clearly
Solution: Use bold fonts, minimum 5mm height; extrude positively if engraving fails.
Problem: File too large/slow
Solution: Simplify shapes; export at default resolution.
Best entry-level FDM printer for beginners—reliable, affordable, large community support for your first prints.
Best for: Print your Tinkercad keychain perfectly with easy bed leveling.
Price Range: $189-$220
High-quality, consistent PLA that's beginner-friendly with minimal warping.
Best for: Ideal filament for simple models like keychains—vibrant colors available.
Price Range: $18-$25
Precise measurements ensure your designs match real-world sizes.
Best for: Measure keyring or phone for accurate model scaling.
Price Range: $15-$25
Keeps prints stable, reduces noise—upgrades any open-frame printer.
Best for: For consistent keychain prints in drafts.
Price Range: $60-$80
Ultra-easy multi-color printing for advanced keychains later.
Best for: Quick, high-quality prints once basics mastered.
Price Range: $299-$350
Print your Tinkercad keychain perfectly with easy bed leveling.
Creality Ender 3 V2 3D Printer Best entry-level FDM printer for beginners—reliable, affordable, large community support for your first prints.
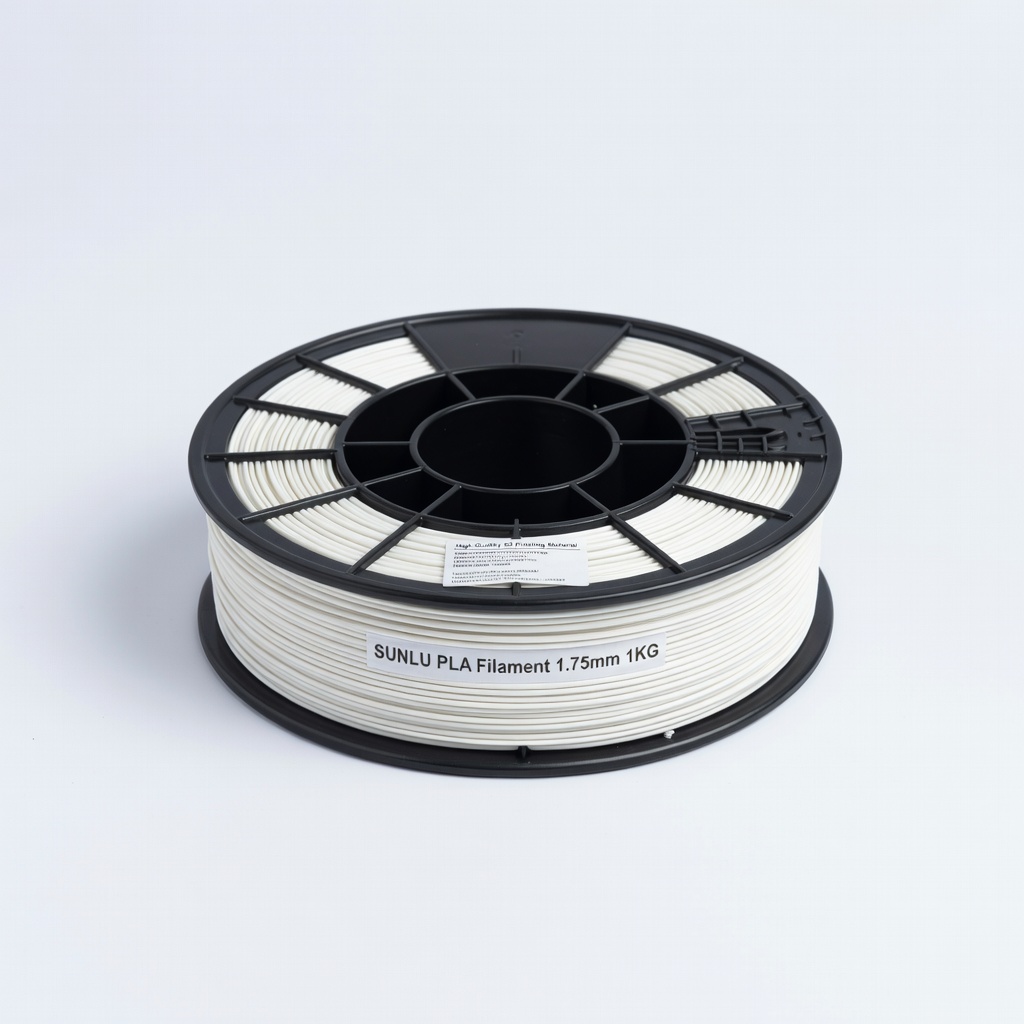
Ideal filament for simple models like keychains—vibrant colors available.
SUNLU PLA Filament 1.75mm 1KG High-quality, consistent PLA that's beginner-friendly with minimal warping.
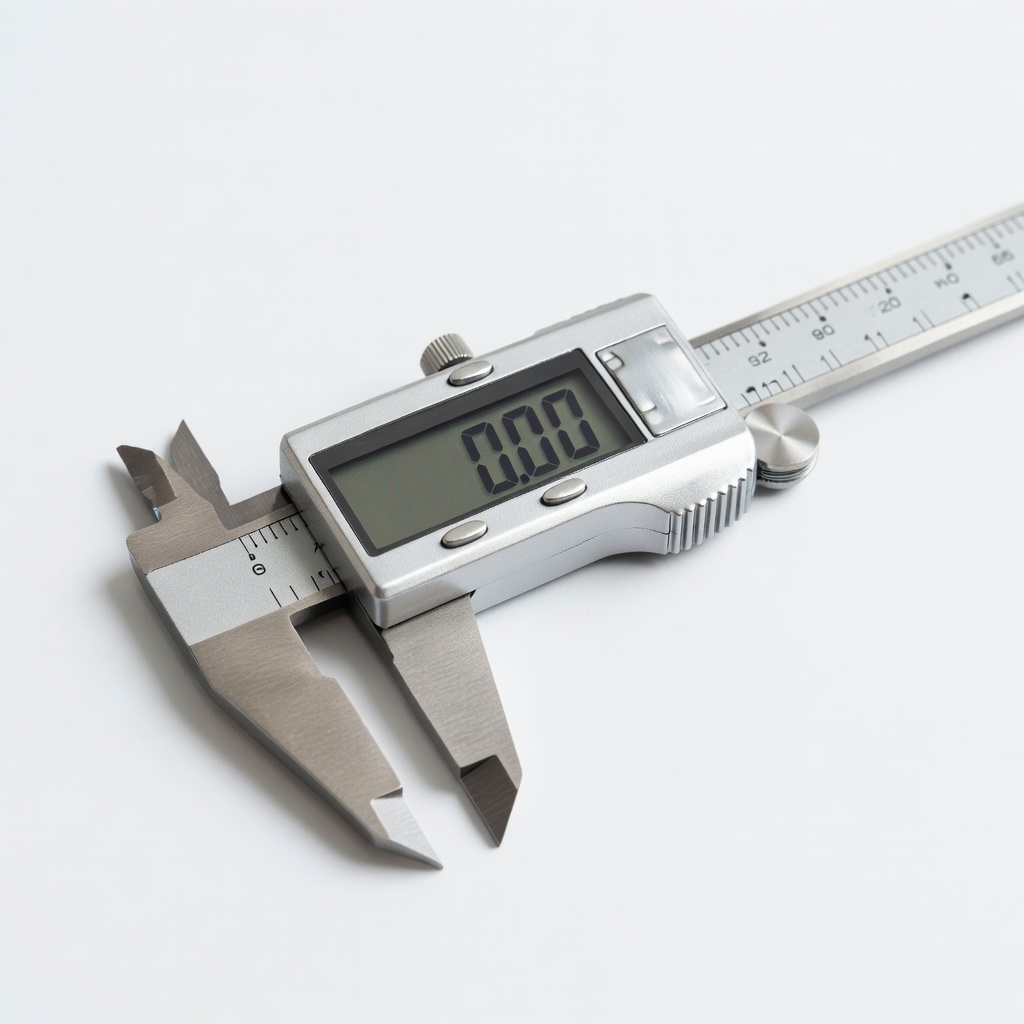
Measure keyring or phone for accurate model scaling.
Neiko 01407A Electronic Digital Caliper Precise measurements ensure your designs match real-world sizes.
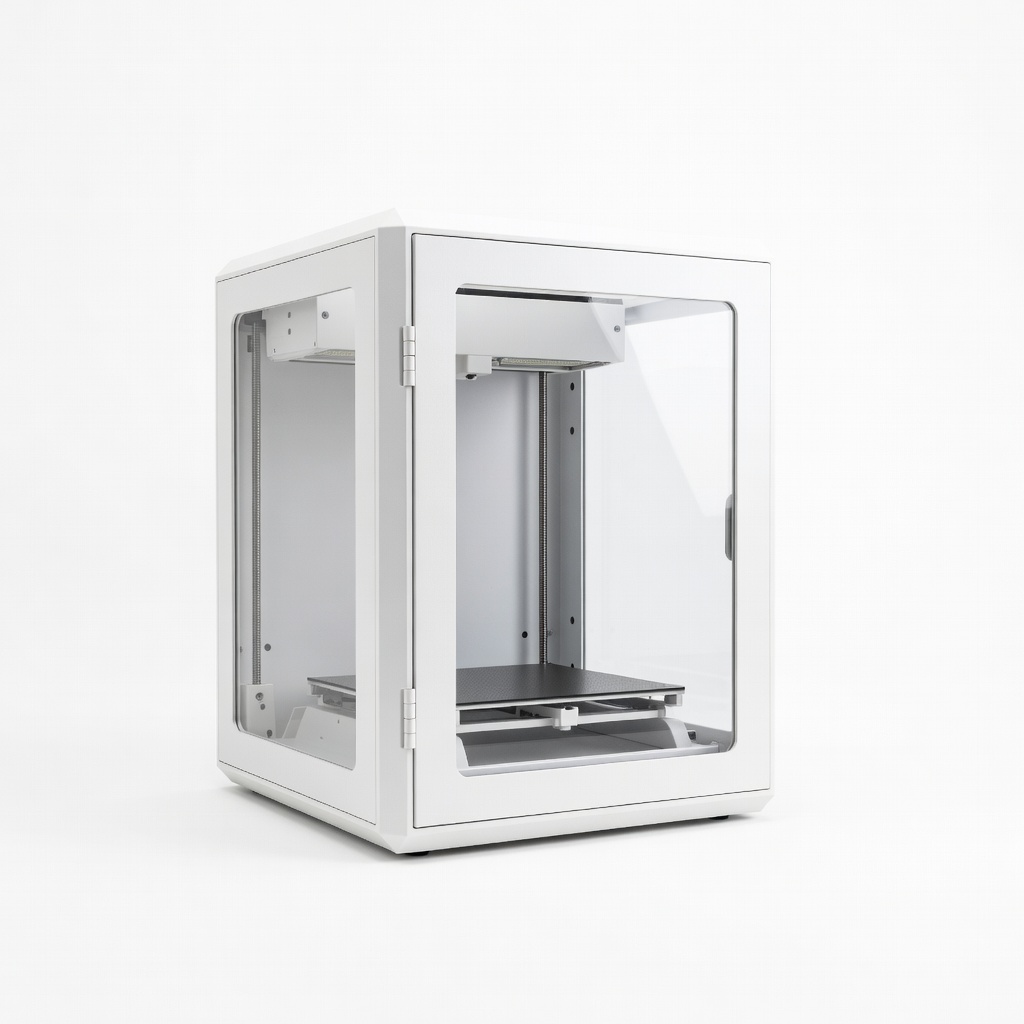
For consistent keychain prints in drafts.
ELEGOO Mercury Plus 2.0 3D Printer Enclosure Keeps prints stable, reduces noise—upgrades any open-frame printer.
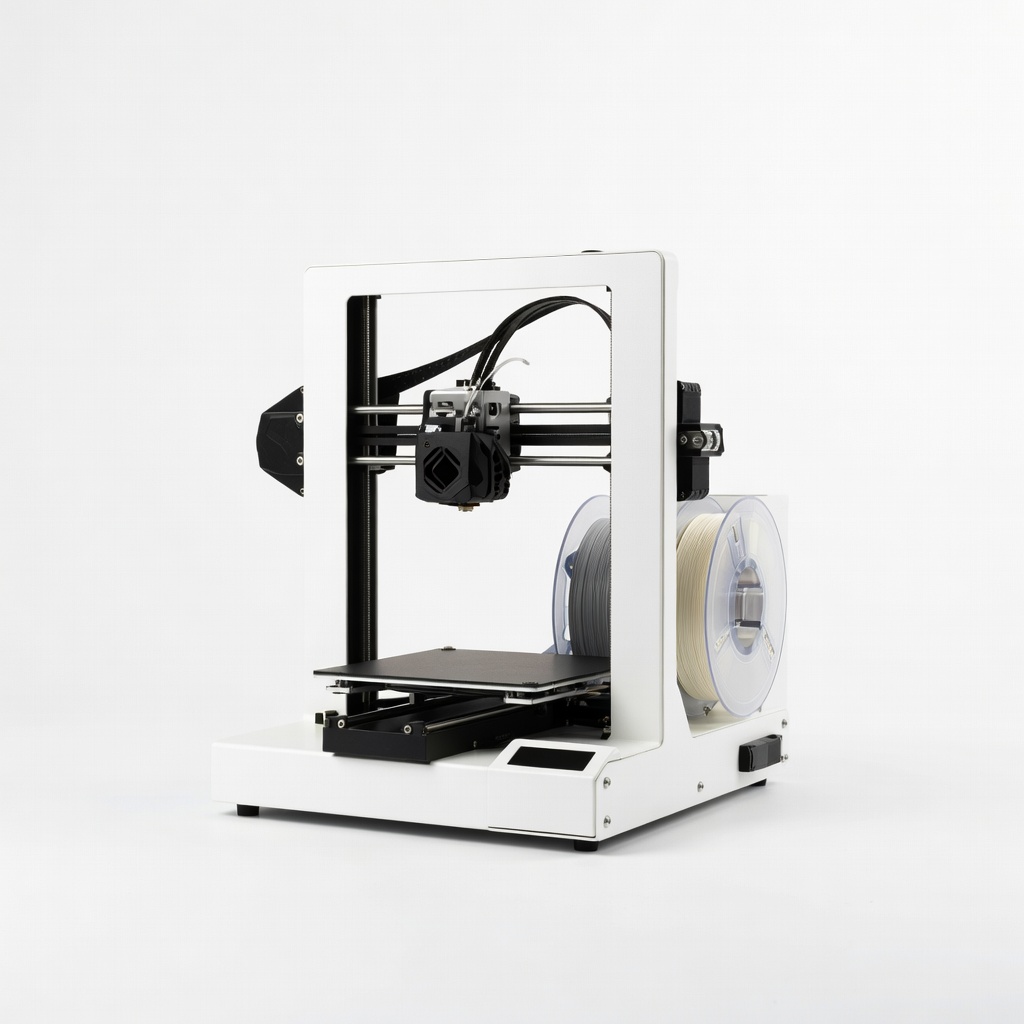
Quick, high-quality prints once basics mastered.
Bambu Lab A1 Mini 3D Printer Ultra-easy multi-color printing for advanced keychains later.