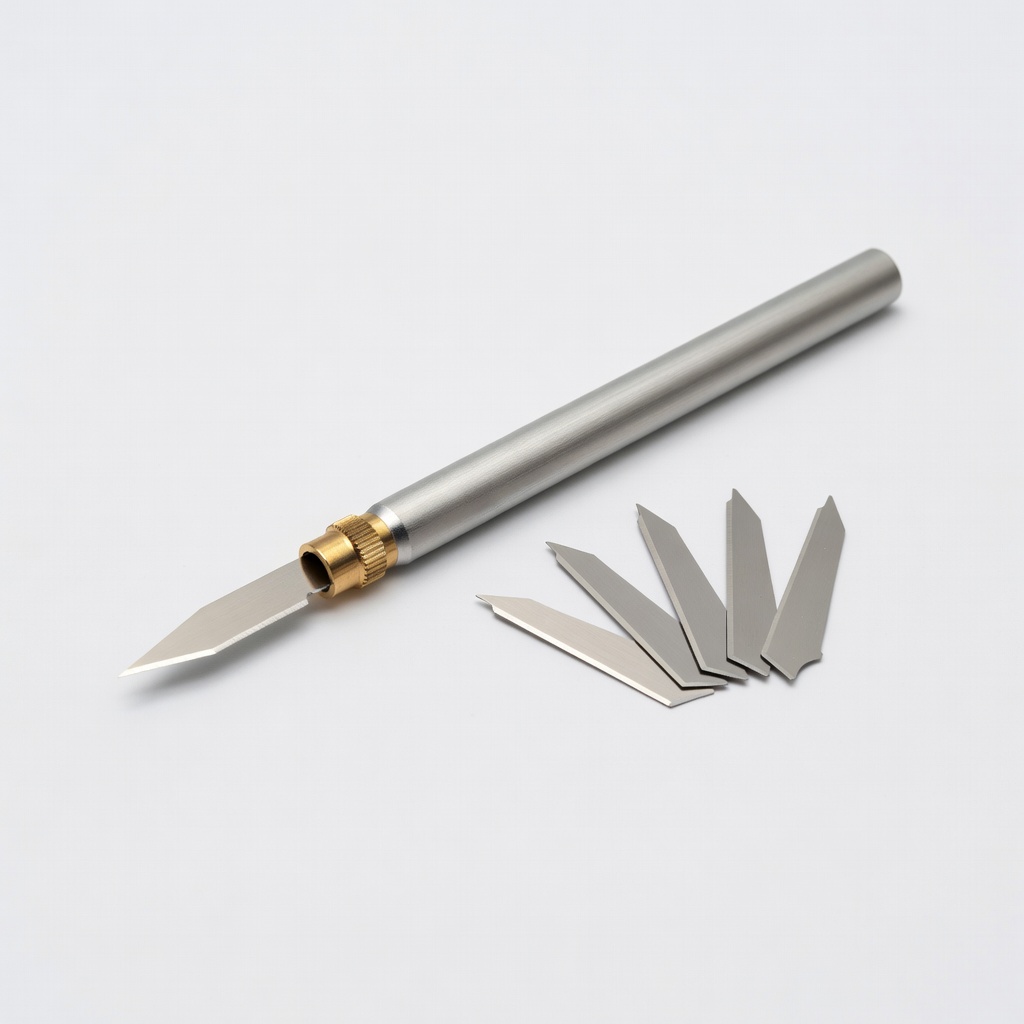
X-Acto #1 Precision Knife with 5 Blades
Ideal for beginners cutting detailed designs by hand.
$10.99
X-Acto #1 Precision Knife with 5 Blades Essential for clean, precise cuts on stencil material without tearing.
Get the App
Better experience on mobile
Transform your walls with personalized designs using simple tools and techniques—no advanced skills required.
Personalizing your home with wall art can be intimidating if you're not an artist, but custom stencils offer an easy, affordable way to add unique flair without the mess of freehand painting. Whether you're creating motivational quotes, intricate patterns, or family-themed motifs, stencils ensure crisp, professional results every time. This guide is perfect for beginners who want to dive into DIY crafts.
In this tutorial, you'll learn how to brainstorm ideas, design your stencil digitally or by hand, cut it precisely, and apply it to your wall for stunning results. The process is straightforward and creative, allowing you to experiment with endless possibilities. By the end, you'll have a reusable stencil ready for multiple projects.
Expect to spend 1-2 hours on your first stencil, depending on complexity. It's beginner-friendly, requiring only basic crafting skills like cutting and tracing—no prior design experience needed.
Estimated Time: 1-2 hours Difficulty: beginner
Start by deciding what you want your wall art to say or depict. Think about themes like quotes, florals, geometrics, or silhouettes that match your room's style. Sketch rough ideas on paper to visualize—keep designs simple with bold lines and minimal details for easier cutting and cleaner stenciling.
Why it matters: A clear concept prevents frustration later. For beginners, opt for 1-3 elements to avoid overwhelming complexity. Expect a fun, creative phase where you refine ideas based on your space's size and color scheme.
Once sketched, note the approximate size (e.g., 12x18 inches) to fit your wall.
💡 Tips:
⚠️ Warnings:
Open free software like Canva (web-based) or Inkscape (downloadable). Search for 'stencil template' or draw your own using basic shapes and text tools. Convert images to black-and-white outlines by increasing contrast and removing fills—stencils work best as negative space (cut-out areas).
Why it matters: Digital tools allow precise scaling and editing, ensuring your stencil transfers cleanly. Expect to spend 15-30 minutes tweaking for a clean, vector-style look. Save as a PDF for printing.
If you prefer hand-drawing, trace your sketch directly onto acetate with a pencil, but digital is recommended for beginners to avoid errors.
💡 Tips:
⚠️ Warnings:
Load your acetate or mylar sheet into the printer (use a carrier sheet if needed to prevent jams). Print the design at full size in black ink on the smooth side of the material. If your printer can't handle acetate, print on regular paper first and trace.
Why it matters: Accurate printing ensures your stencil matches your vision. Expect crisp lines if your printer is set to 'high quality'—low-res prints lead to fuzzy cuts. Let it dry for 5 minutes before handling.
For larger designs, tile-print across multiple sheets and tape together later.
💡 Tips:
⚠️ Warnings:
Set up a flat, well-lit surface with your cutting mat. Secure the printed acetate with painter's tape to prevent slipping. Have your craft knife blades sharp and ready—dull blades tear material.
Why it matters: A stable setup ensures safety and precision. Expect a controlled environment where you can focus without interruptions. This step takes 5 minutes but saves time overall.
💡 Tips:
⚠️ Warnings:
Using light pressure, score along the outline with the craft knife, following the lines carefully. Make multiple passes for thicker areas, lifting the knife only at corners to avoid jagged edges. Cut from the center outward to maintain control.
Why it matters: Precise cuts create reusable stencils that yield sharp paint edges. Expect some practice—your first cuts might wobble, but steady hands improve with each line. Peel away the negative space once done.
For intricate designs, use a magnifying glass if needed.
💡 Tips:
⚠️ Warnings:
Place the stencil on scrap paper or cardboard and apply a light coat of paint with a brush to check for leaks or rough edges. If paint bleeds, smooth cuts with fine sandpaper or recut problem areas.
Why it matters: Testing reveals issues before wall application, saving paint and time. Expect clean transfers if done right—blurry tests mean refinements needed. This step confirms your stencil's durability.
Wipe clean and dry for reuse in testing.
💡 Tips:
⚠️ Warnings:
Clean the wall surface and position the stencil, securing with painter's tape. Dab paint lightly with a stencil brush in upward strokes to avoid bleeding under edges. Layer colors if multi-tonal, letting each dry.
Why it matters: Proper application turns your design into art. Expect vibrant, professional results—peel slowly to reveal. This final step brings your vision to life.
Remove tape while paint is wet for easy lifting.
💡 Tips:
⚠️ Warnings:
Problem: Stencil tears during cutting
Solution: Use fresher, sharper blades and lighter pressure; if material is brittle, switch to thicker mylar.
Problem: Paint bleeds under edges on the wall
Solution: Press edges down firmly with a credit card and use less paint; ensure wall is clean and dry.
Problem: Design doesn't align when tiling large prints
Solution: Add alignment marks in software and overlap tiles by 1/4 inch before taping; measure twice.
Problem: Stencil warps after printing
Solution: Flatten under heavy books for 24 hours; avoid humid storage areas.
Essential for clean, precise cuts on stencil material without tearing.
Best for: Ideal for beginners cutting detailed designs by hand.
Price Range: $10.99
Helps secure and transfer stencil designs smoothly, reducing slips during cutting.
Best for: Use when positioning large or intricate stencils on walls.
Price Range: $9.99
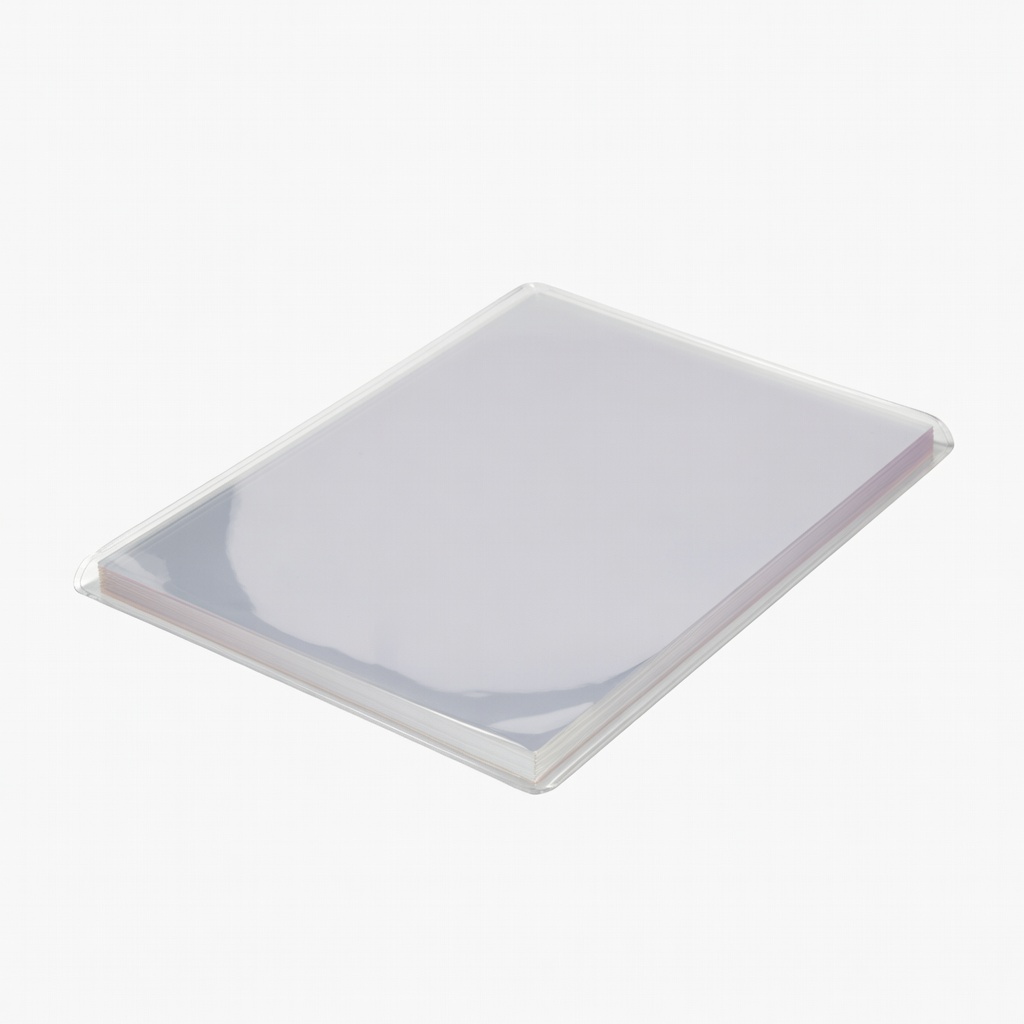
Durable, transparent material perfect for reusable stencils that hold up to paint and cutting.
Best for: Print and cut custom designs for wall art projects.
Price Range: $12.50
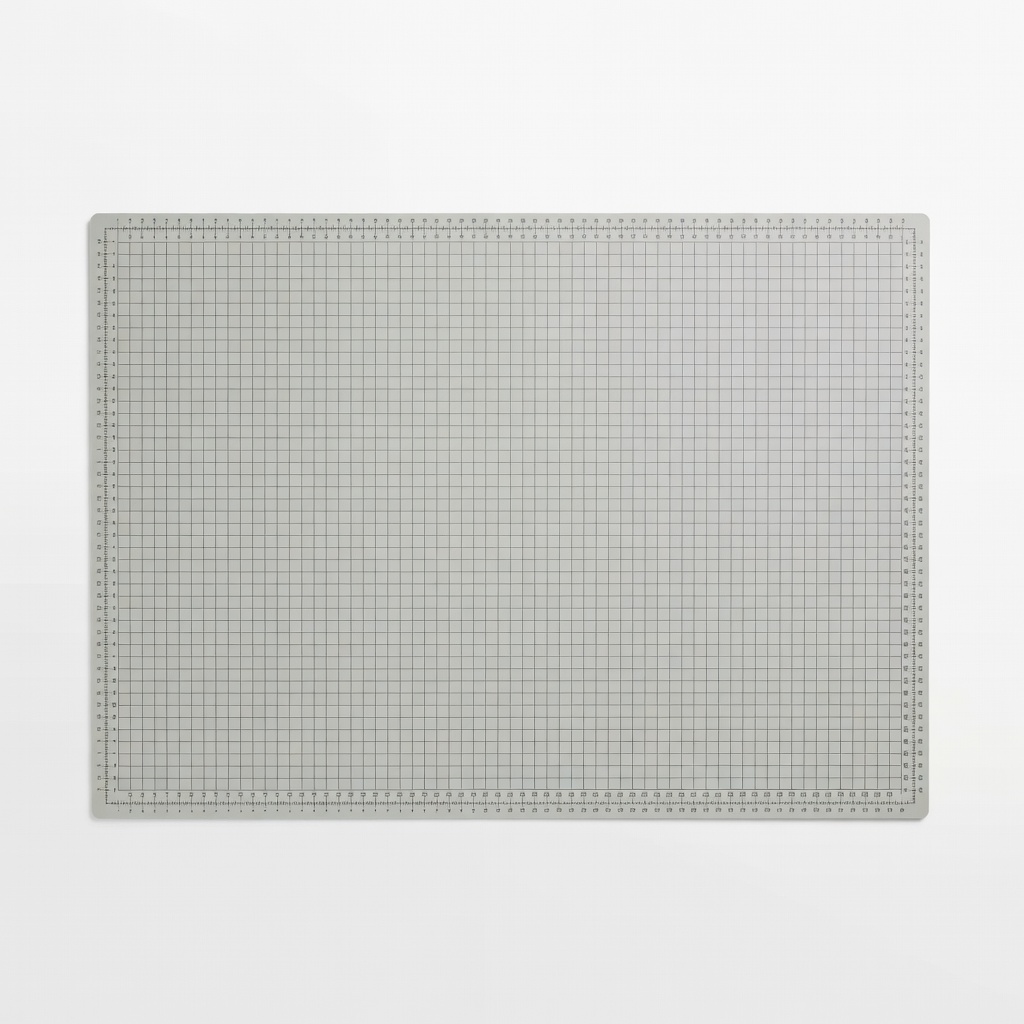
Protects surfaces and extends blade life for safer, more accurate stencil cutting.
Best for: Set up a dedicated workspace for all craft projects.
Price Range: $19.99
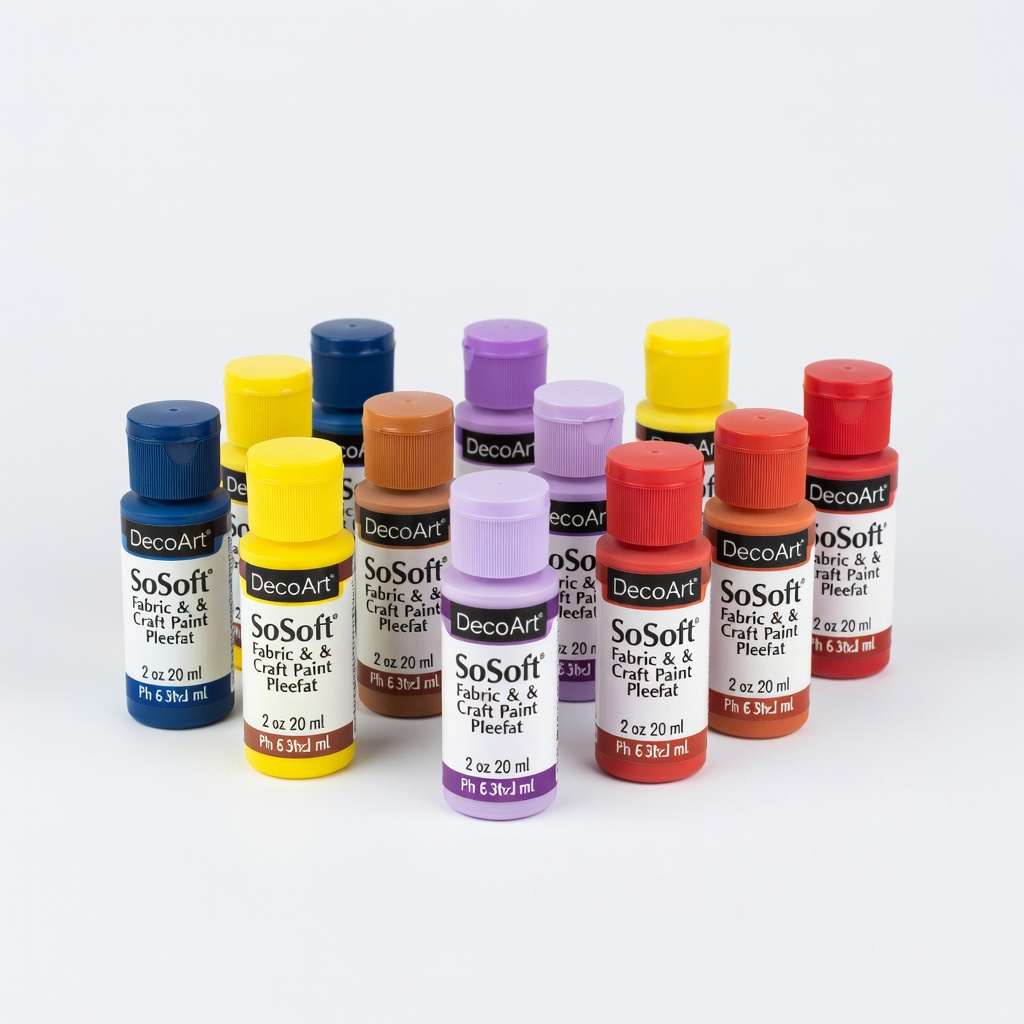
Flexible, non-toxic paint that adheres well to walls without cracking on stencils.
Best for: Apply to stenciled designs for vibrant, long-lasting wall art.
Price Range: $2.99
Ideal for beginners cutting detailed designs by hand.
X-Acto #1 Precision Knife with 5 Blades Essential for clean, precise cuts on stencil material without tearing.

Use when positioning large or intricate stencils on walls.
Cricut StandardGrip Transfer Tape Helps secure and transfer stencil designs smoothly, reducing slips during cutting.
Print and cut custom designs for wall art projects.
Grafix Clear Acetate Sheets (9x12 inches, 20-pack) Durable, transparent material perfect for reusable stencils that hold up to paint and cutting.
Set up a dedicated workspace for all craft projects.
Fiskars Self-Healing Cutting Mat (12x18 inches) Protects surfaces and extends blade life for safer, more accurate stencil cutting.
Apply to stenciled designs for vibrant, long-lasting wall art.
DecoArt SoSoft Fabric & Craft Paint (2 oz, various colors) Flexible, non-toxic paint that adheres well to walls without cracking on stencils.