Ever wanted to make your own 3D printed gadgets but felt overwhelmed by complex software? Tinkercad, Autodesk's free online tool, lets beginners design custom 3D models with drag-and-drop simplicity. It's perfect for hobbyists starting with 3D printing.
In this guide, you'll learn to build a personalized keychain step-by-step—from basic shapes to exporting a printable file. By the end, you'll have a ready-to-print STL file and the skills to design anything. Expect 20-30 minutes total, with no prior CAD knowledge required.
We'll cover signing up, shaping, texturing, and exporting, plus tips to avoid pitfalls. Ready to turn ideas into prints?
▸What You'll Need
- •Computer or laptop with internet (Chrome or Firefox browser recommended)
- •Free Tinkercad account (sign up at tinkercad.com)
- •Mouse for precise dragging (trackpad works but less ideal)
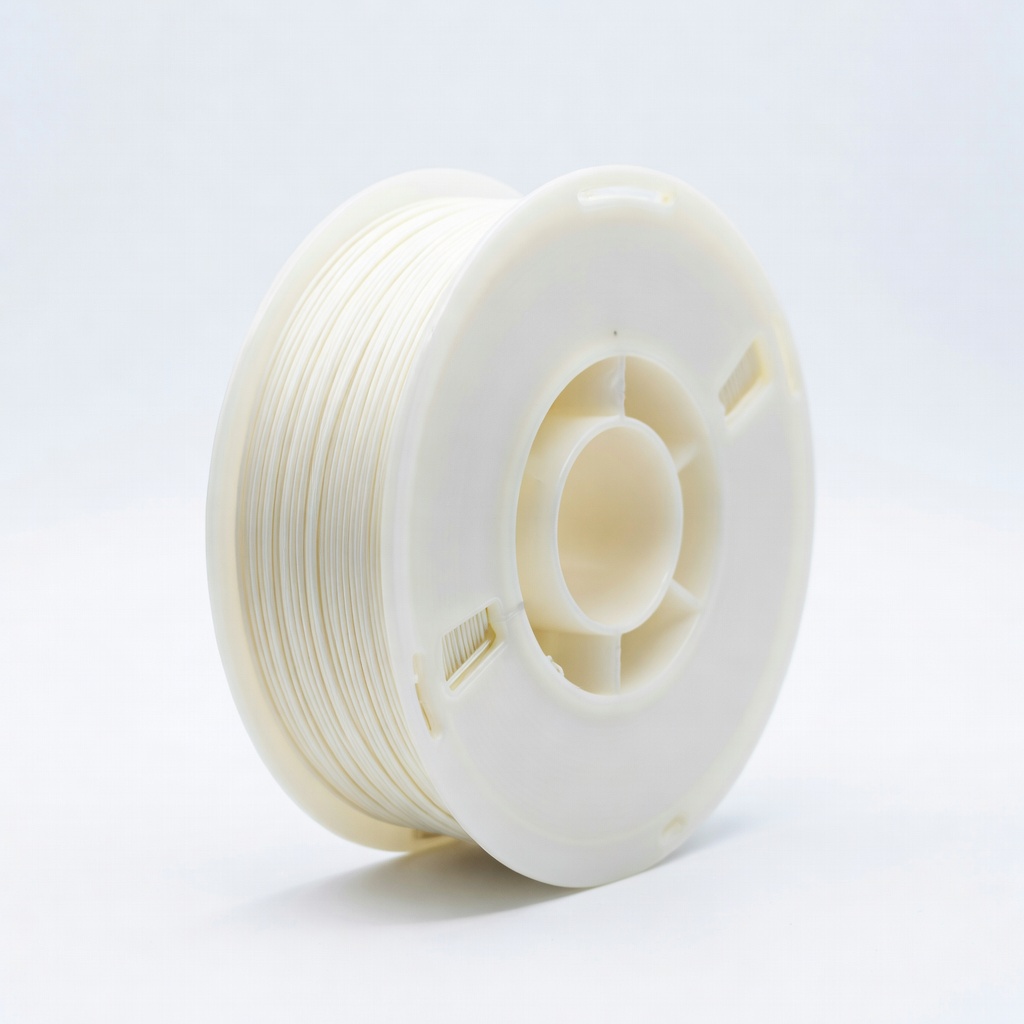
- •Optional: 3D printer and PLA filament to test your design
Estimated Time: 20-30 minutes
Difficulty: beginner
▸Step-by-Step Instructions
Step 1: Sign Up and Start a New Design
Head to tinkercad.com and create a free Autodesk account if you don't have one—use your email or Google login. Once logged in, click 'Create new design' from the dashboard.
You'll land on a blank 3D workspace with a grid floor. This is your canvas; the grid helps align objects. Success looks like an empty workplane with tools on the right (shapes) and top (zoom, rotate).
Why it matters: Tinkercad autosaves everything, so no fear of losing work.
💡 Tips:
- •Use incognito mode if privacy is a concern—account optional for basics.
Step 2: Add Your Base Shape
On the right panel, drag a Box (basic shape library) onto the workplane. Resize it by dragging corner handles: aim for 40mm wide, 20mm deep, 3mm tall for a keychain base.
Use the bottom shape editor for exact dimensions—type values directly. Rotate if needed with top controls.
Expect a solid rectangular block; this forms the keychain body.
💡 Tips:
- •Hold Shift while dragging for proportional scaling.
⚠️ Warnings:
- •Don't make it too thin (<2mm)—it won't print well.
Step 3: Add Custom Text
Drag a Text shape from the right panel onto the top of your box. In the shape editor, type your name or message (e.g., 'Maker'), set font to something bold like 'Write', height to 2mm.
Position it centered using alignment tools (top toolbar)—select both shapes, click Align > Center.
Success: Text sits flush on the box, raised for visibility.
💡 Tips:
- •Experiment with fonts; 'Dogtag' is great for keychains.
Step 4: Create a Keyring Hole
Drag a Hole Cylinder (switch to Hole mode in shape panel) to one end of the keychain. Resize to 4mm diameter, 4mm height—position it halfway through the base.
Holes subtract material when grouped. Align precisely with snap-to-grid (toggle on top-right).
Expect a preview subtraction when overlapping.
💡 Tips:
- •Make hole slightly larger than your keyring (3-5mm).
⚠️ Warnings:
- •Avoid placing hole too close to edges—risks breakage.
Step 5: Group Everything Together
Select all shapes (Ctrl+A or drag-select), then click Group (top toolbar, looks like overlapping squares). Holes will cut out, solid shapes merge.
Ungroup anytime with Edit > Ungroup if tweaks needed. Your keychain now appears as one object.
Success: A single solid model with text raised and hole punched.
💡 Tips:
- •Use Ctrl+Z for quick undos.
Step 6: Refine and Test Fit
Orbit the view (right-click drag) to inspect from all angles. Use Ruler tool to measure—ensure total size <50mm for easy printing.
Click Start 3D Printing preview (top-right) to simulate layers.
Expect a sliced view showing print path; fix overlaps here.
💡 Tips:
- •Export a test print at 50% scale first.
Step 7: Export Your STL File
Click Export (top-right), select .STL for 3D printing. Download to your computer.
STL is the standard format for slicers like Cura. Name it descriptively (e.g., 'my-keychain.stl').
Success: File ready for slicing and printing—open in your slicer to verify.
💡 Tips:
- •Also export OBJ for sharing online.
Step 8: Optional: Print Your Design
Import STL into free slicer like Ultimaker Cura. Set supports off (no overhangs), infill 20%, layer 0.2mm. Slice and send to printer.
PLA at 200°C nozzle works best for beginners. Print time: 10-15 mins.
Success: Tangible keychain off the bed—add keyring!
▸Pro Tips
- •Enable grid snap (top-right) for perfect alignments.
- •Duplicate shapes (Ctrl+D) to iterate quickly.
- •Use Workplanes (drag from object face) for precise layering.
- •Color-code shapes before grouping for easy editing.
- •Save designs to Gallery for remixing later.
- •Practice with Tinkercad's built-in tutorials first.
- •Scale models 110% for shrinkage in PLA prints.
▸Common Mistakes to Avoid
- •Forgetting to group: Model prints as separate pieces—always select all before grouping.
- •Overly thin walls (<1.5mm): Brittle prints—keep >2mm thick.
- •Ignoring overhangs: Unsupported angles fail—limit to 45° or add supports.
- •Huge file sizes: Too many details slow printing—simplify for beginners.
- •Wrong export format: Use STL, not OBJ for slicers.
▸Troubleshooting
Problem: Design won't group or holes don't cut
Solution: Ensure hole overlaps solid by at least 1mm; ungroup and reposition.
Problem: Model too big for printer bed
Solution: Scale down in Tinkercad (select > drag corner) to fit 100x100mm.
Problem: Text looks jagged
Solution: Increase text height to 2-3mm and use bold fonts.
Problem: Browser lags
Solution: Clear cache or switch to Chrome; reduce shape count.
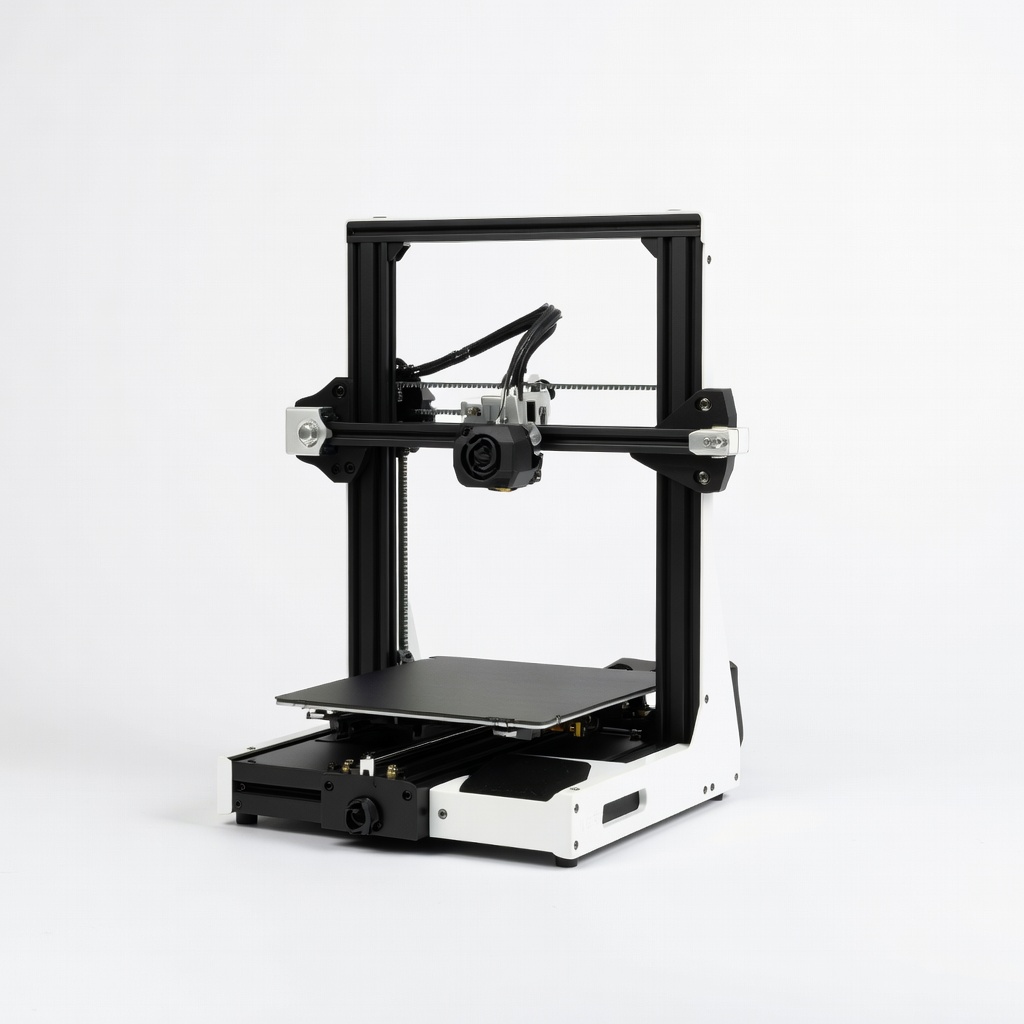
Creality Ender 3 V3 SE 3D Printer
Best beginner printer for Tinkercad models—auto-leveling and fast setup make printing your designs effortless.
Best for: Ideal for first-time prints like keychains; handles PLA perfectly.
Price Range: $199
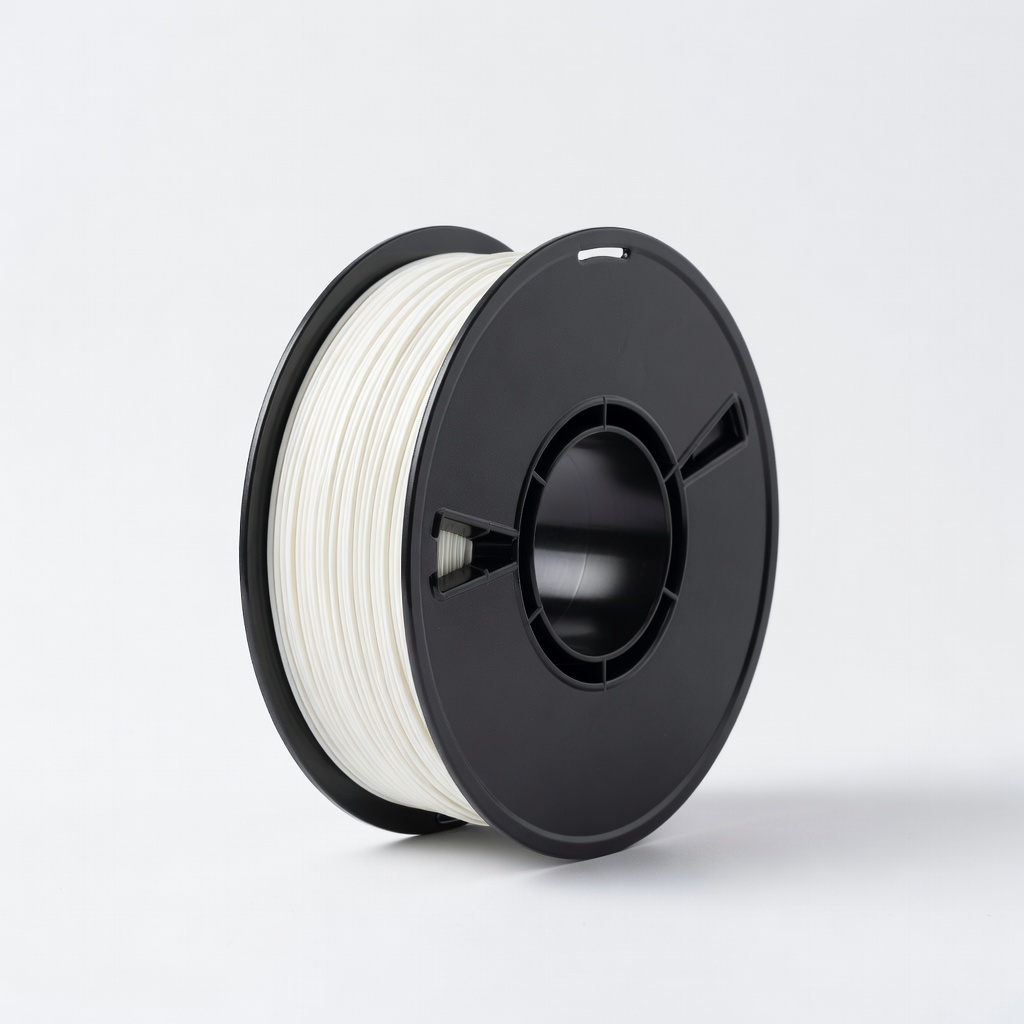
HATCHBOX PLA 3D Printer Filament 1.75mm
Reliable, affordable filament that prints smoothly without clogs—perfect match for custom Tinkercad designs.
Best for: Use for keychains and prototypes; 1kg spool lasts dozens of prints.
Price Range: $24.99
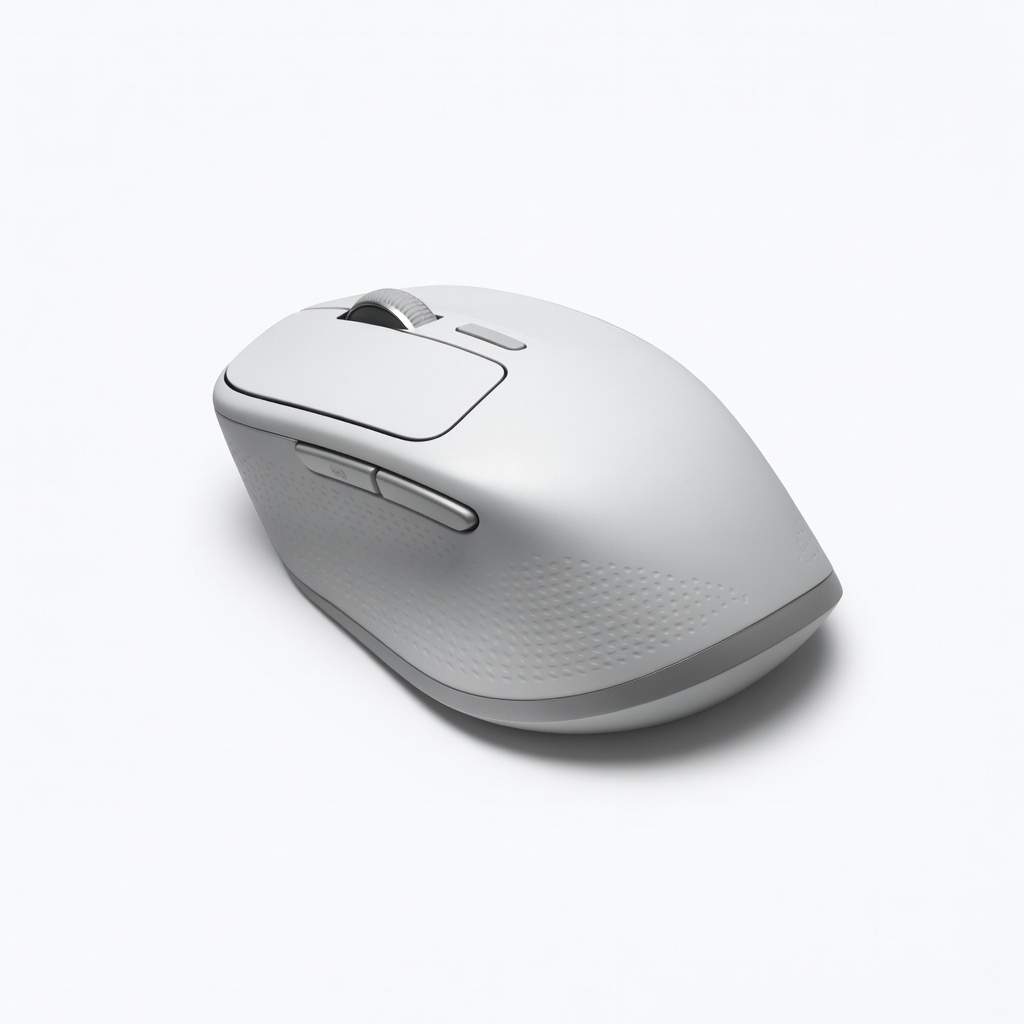
Logitech M720 Triathlon Mouse
Precision scrolling and multi-device support speeds up Tinkercad dragging/rotating.
Best for: Essential for accurate shape placement on laptops.
Price Range: $39.99
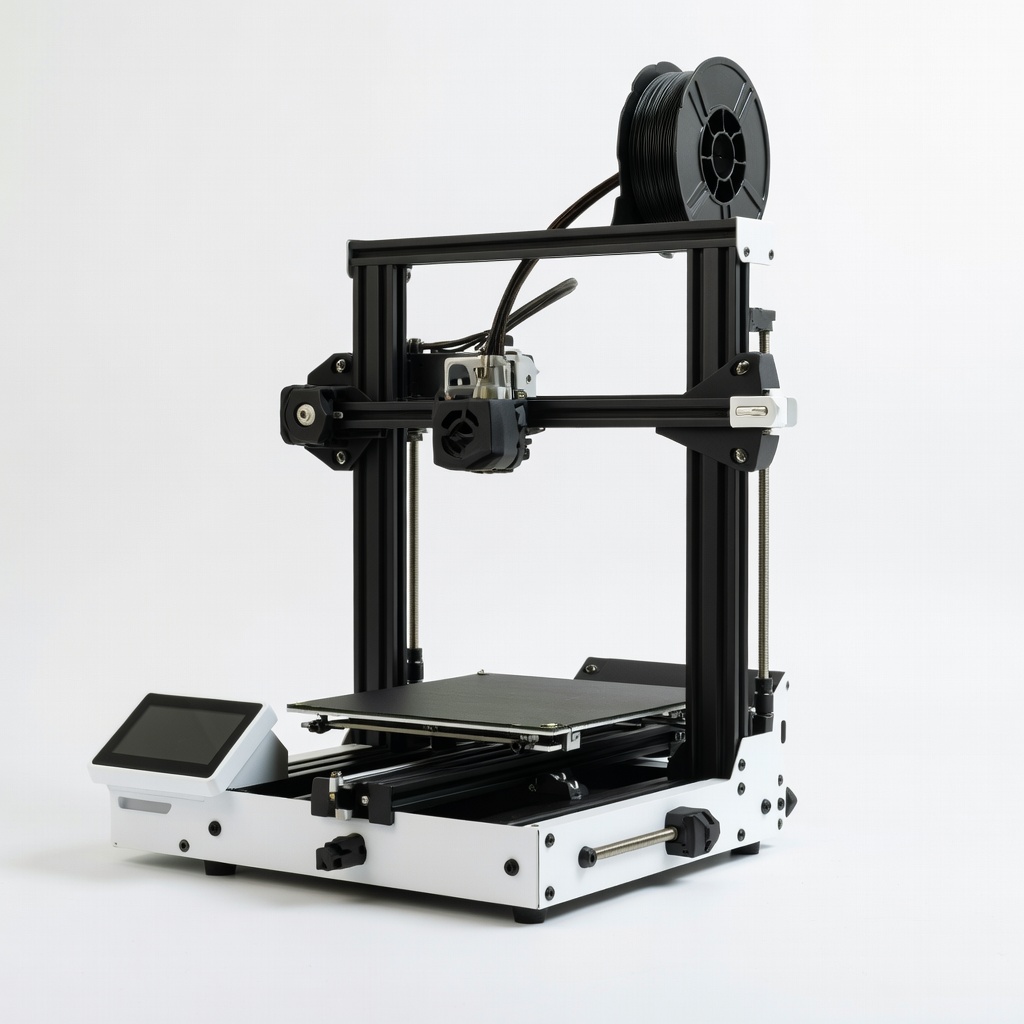
ELEGOO Neptune 3 Pro FDM 3D Printer
Enclosed design for stable prints; beginner-friendly with touchscreen.
Best for: Great for detailed Tinkercad models in various filaments.
Price Range: $249
Creality Hyper PLA Filament
High-speed filament reduces print time by 40% for quick Tinkercad prototypes.
Best for: When iterating designs rapidly.
Price Range: $19.99