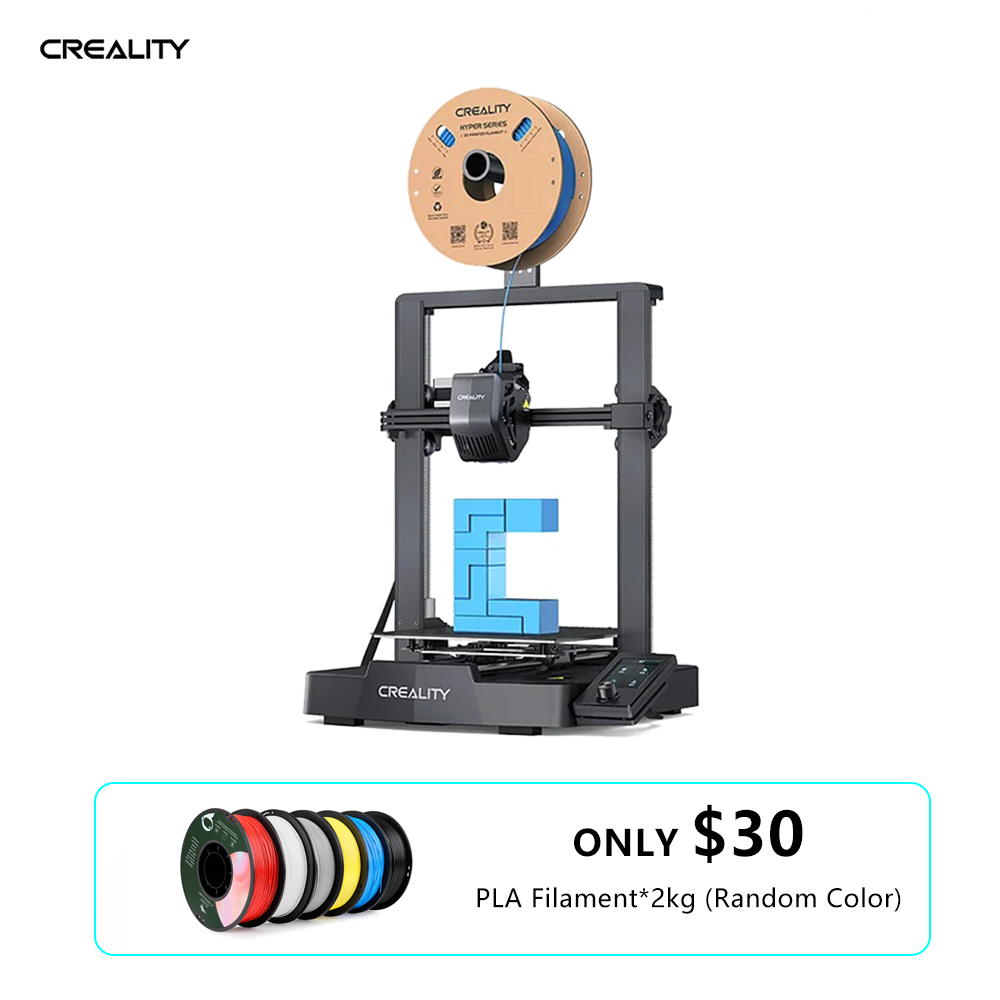
Creality Ender 3 V3 SE 3D Printer
Printing your first keychain or accessories right after designing.
$198-$220
Creality Ender 3 V3 SE 3D Printer Best beginner printer for testing Tinkercad designs—fast, auto-leveling, reliable for custom parts.
Get the App
Better experience on mobile
Create custom 3D printable designs like keychains or stands in minutes using Tinkercad's free, beginner-friendly tools—no prior experience needed.
Ever wanted to print custom parts for your 3D printer but felt overwhelmed by complex CAD software? Tinkercad solves that—it's a free, web-based tool from Autodesk perfect for beginners to drag, drop, and design 3D models ready for printing.
In this guide, you'll learn to build a simple custom keychain from scratch, step by step. By the end, you'll have an STL file ready to slice and print on any FDM printer. Expect a fun, frustration-free process that builds confidence for more advanced designs.
Total time: 20-30 minutes. No downloads required—just a browser and internet.
Estimated Time: 20-30 minutes Difficulty: beginner
Head to www.tinkercad.com and click 'Join Now' or 'Sign In' if you have an account. Use your email or Autodesk account to create a free profile. Verify your email if prompted.
This sets up your personal workspace. Tinkercad autosaves everything, so no worries about losing work. You'll land on the dashboard with recent designs.
💡 Tips:
From the dashboard, click 'Create new design'. A blank 3D workspace loads with a grid workplane, shape menu on the right, and inspector panel on the left.
Familiarize yourself: The grid snaps objects for precision. Zoom with mouse wheel, pan by dragging with right-click. This is your canvas for building.
💡 Tips:
Drag a Box from the right panel onto the workplane. It snaps to the grid. In the inspector (left sidebar), set dimensions: Width 40mm, Depth 20mm, Height 3mm for a keychain base.
Why? Basic shapes (box, sphere, cylinder) are building blocks. Resize precisely for print-friendly sizes—avoid anything under 1mm thick to prevent fragility.
Expect a solid gray object; it'll turn blue when selected.
💡 Tips:
⚠️ Warnings:
Search 'Text' in the shapes menu and drag it on top. Set text to your name or initials, font size 10-15mm height. Position it centered using the Align tool (top toolbar, select both objects first).
Center Align horizontally and vertically. This creates a raised name on your base—perfect for personalization.
💡 Tips:
Drag a Cylinder, resize to 5mm diameter x 3mm height. Drag it to the edge of your base. Click the hole icon in inspector to turn it red (subtract mode).
Group by selecting both base and hole (Ctrl+click), then click Group (top toolbar). This cuts the hole cleanly. Expect the cylinder to vanish, leaving a perfect loop.
⚠️ Warnings:
Select your grouped object. Use Shape Generators (right panel) like 'Scribble' for curves or 'Hole' for more cuts. Rotate if needed (handles appear on selection).
Duplicate (Ctrl+D) for symmetry. Fine-tune positions with arrow keys for 1mm nudges.
💡 Tips:
Export > STL (top right). Before downloading, click 'Check for issues' or view in 3D. Ensure no overlaps, walls >1mm, no hanging parts.
Success: Green checkmark, manifold model ready to print.
💡 Tips:
Download the STL. Open in your slicer (e.g., Cura), add supports if needed, slice, and send to printer. Test print at 0.2mm layer height.
Your custom keychain is done! Scale up designs for larger parts.
Problem: Model won't export or slicer errors
Solution: Ensure all objects grouped; use 'Analyzer' tool in Tinkercad.
Problem: Print fails (stringing, warping)
Solution: Optimize design thickness; check filament and bed adhesion.
Problem: Shapes won't snap
Solution: Toggle snap grid off/on; zoom closer.
Problem: Browser lags
Solution: Use Chrome; simplify design (fewer shapes).
Best beginner printer for testing Tinkercad designs—fast, auto-leveling, reliable for custom parts.
Best for: Printing your first keychain or accessories right after designing.
Price Range: $198-$220
High-quality, easy-to-print filament perfect for Tinkercad prototypes—no warping issues.
Best for: Material for initial test prints of custom models.
Price Range: $18-$25
Accurate measurements ensure designs match real-world parts precisely.
Best for: Measuring objects before designing replacements or custom fits.
Price Range: $25-$30
Improves bed adhesion for flawless first layers on custom prints.
Best for: Upgrade for consistent printing of Tinkercad models.
Price Range: $18-$25
Printing your first keychain or accessories right after designing.
Creality Ender 3 V3 SE 3D Printer Best beginner printer for testing Tinkercad designs—fast, auto-leveling, reliable for custom parts.
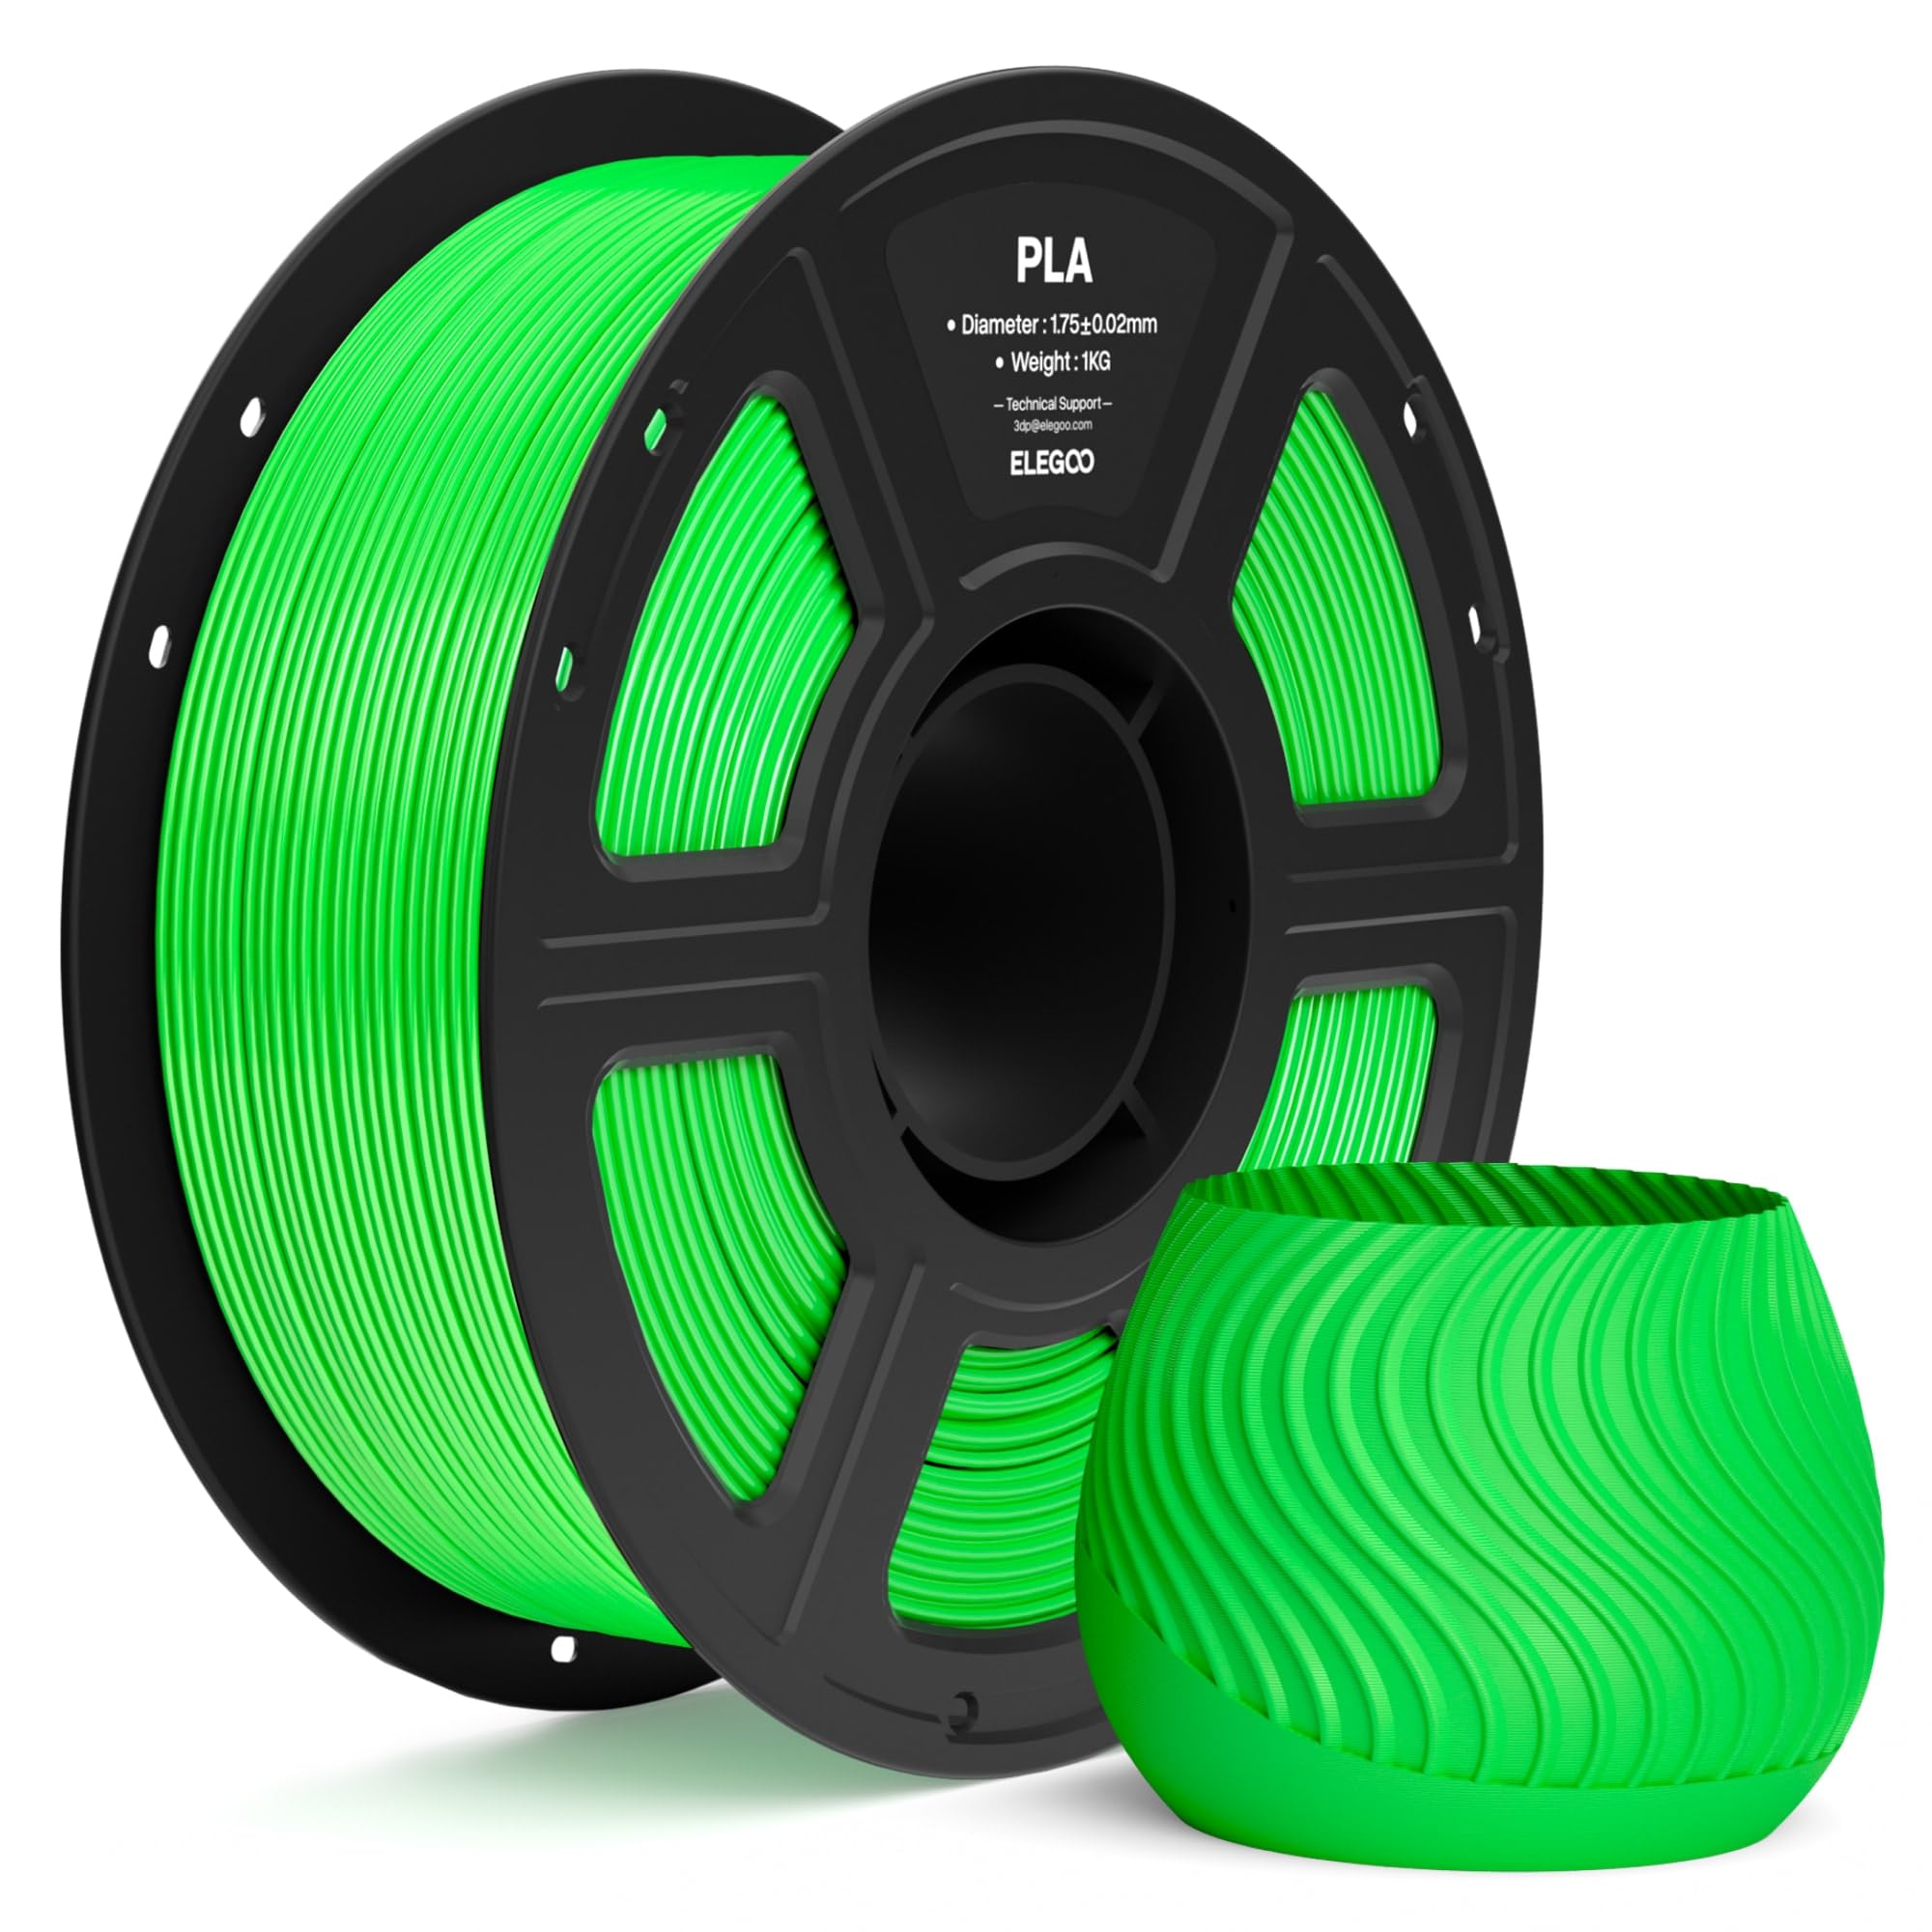
Material for initial test prints of custom models.
ELEGOO PLA Filament 1.75mm 1KG High-quality, easy-to-print filament perfect for Tinkercad prototypes—no warping issues.
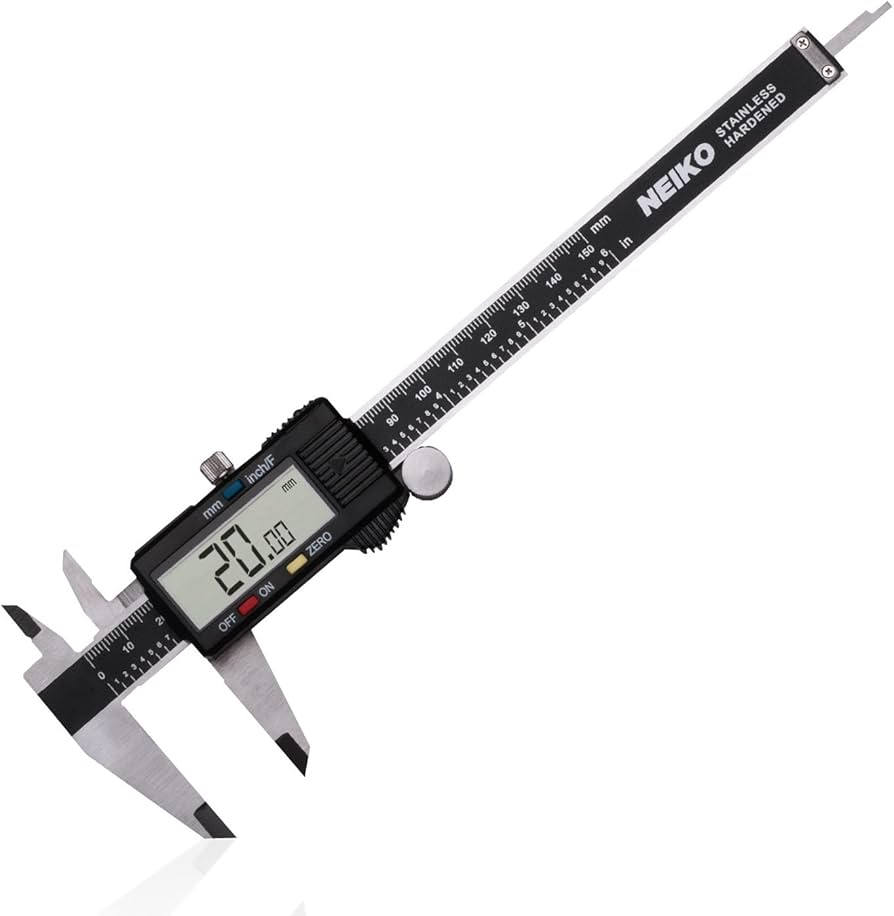
Measuring objects before designing replacements or custom fits.
Neiko 01407A Electronic Digital Caliper Accurate measurements ensure designs match real-world parts precisely.

Upgrade for consistent printing of Tinkercad models.
Creality PEI Magnetic Build Plate Improves bed adhesion for flawless first layers on custom prints.