Your Keurig works hard brewing cup after cup, but over time, minerals and limescale from your water can build up inside the machine’s internal tubing. This buildup doesn’t just affect performance—it can make your coffee taste bitter, slow down brewing, and even cause the machine to overheat. The good news? Descaling with vinegar is a simple, affordable, and effective way to restore your Keurig to like-new condition.
In this guide, you’ll learn exactly how to descale your Keurig using white vinegar, step by step. We’ll cover everything from prepping your machine to the final rinse, so your coffee tastes fresh and your Keurig runs smoothly for years. Descale with confidence—you’ll need only about 30-45 minutes and a few basic supplies already in your kitchen.
▸What You'll Need
- •White vinegar (distilled, 5% acidity)
- •Large mug or bowl (at least 12 ounces)
- •Fresh water
- •Clean, lint-free cloth
- •Paperclip or needle-cleaning tool (optional)
- •Keurig descaling solution (optional, if you prefer not to use vinegar)
Estimated Time: 30-45 minutes
Difficulty: beginner
▸Step-by-Step Instructions
Step 1: Turn Off and Unplug Your Keurig
Begin by turning off your Keurig using the power button. Unplug it from the wall outlet to avoid any accidental heating during the process. If you just brewed a cup, wait a few minutes for the machine to cool down.
Remove the K-Cup from the pod holder and empty the drip tray. Remove any loose grounds or debris from the K-Cup holder area. This gives you a clear workspace and prevents contamination during descaling.
While you don't need to disassemble the entire machine, ensuring these parts are clean ahead of time helps the vinegar solution work directly on internal mineral buildup.
💡 Tips:
- •Take a photo of the water reservoir and filter placement, so you remember how to reinstall everything later.
⚠️ Warnings:
- •Never submerge the Keurig base in water or place the reservoir in the dishwasher unless the manual explicitly says it's dishwasher-safe.
Step 2: Empty and Remove the Water Reservoir
Lift the water reservoir straight up from the machine and empty any remaining water. If your model uses a water filter in the reservoir, remove it and set it aside. You'll need to remove the filter so it doesn't absorb the vinegar solution, which could alter its effectiveness and leave an aftertaste.
If the reservoir is dirty, give it a quick rinse with warm soapy water and dry it completely. It's important to start with a clean vessel so the vinegar solution isn't picking up old residue.
Note: Some Keurig models have the filter in the reservoir, while newer ones may have it inside the machine. Check your user manual if you're unsure.
💡 Tips:
- •Place the water filter in a small bowl and keep it covered until you're ready to put it back.
⚠️ Warnings:
- •Don't run the vinegar solution through the activated charcoal filter—it can damage the filter and reduce its effectiveness.
Step 3: Mix the Vinegar Solution
White vinegar is the most effective and affordable option. Use a 1:1 ratio of water to white vinegar. For a standard 40-ounce Keurig reservoir, that means 20 ounces each of water and vinegar. If your machine has a smaller reservoir, adjust accordingly.
You can mix the solution directly in the reservoir or in a large pitcher and then pour it in. If mixing in the reservoir, add the vinegar and water, then swirl gently to combine. Vinegar is a mild acid that dissolves calcium and limescale efficiently.
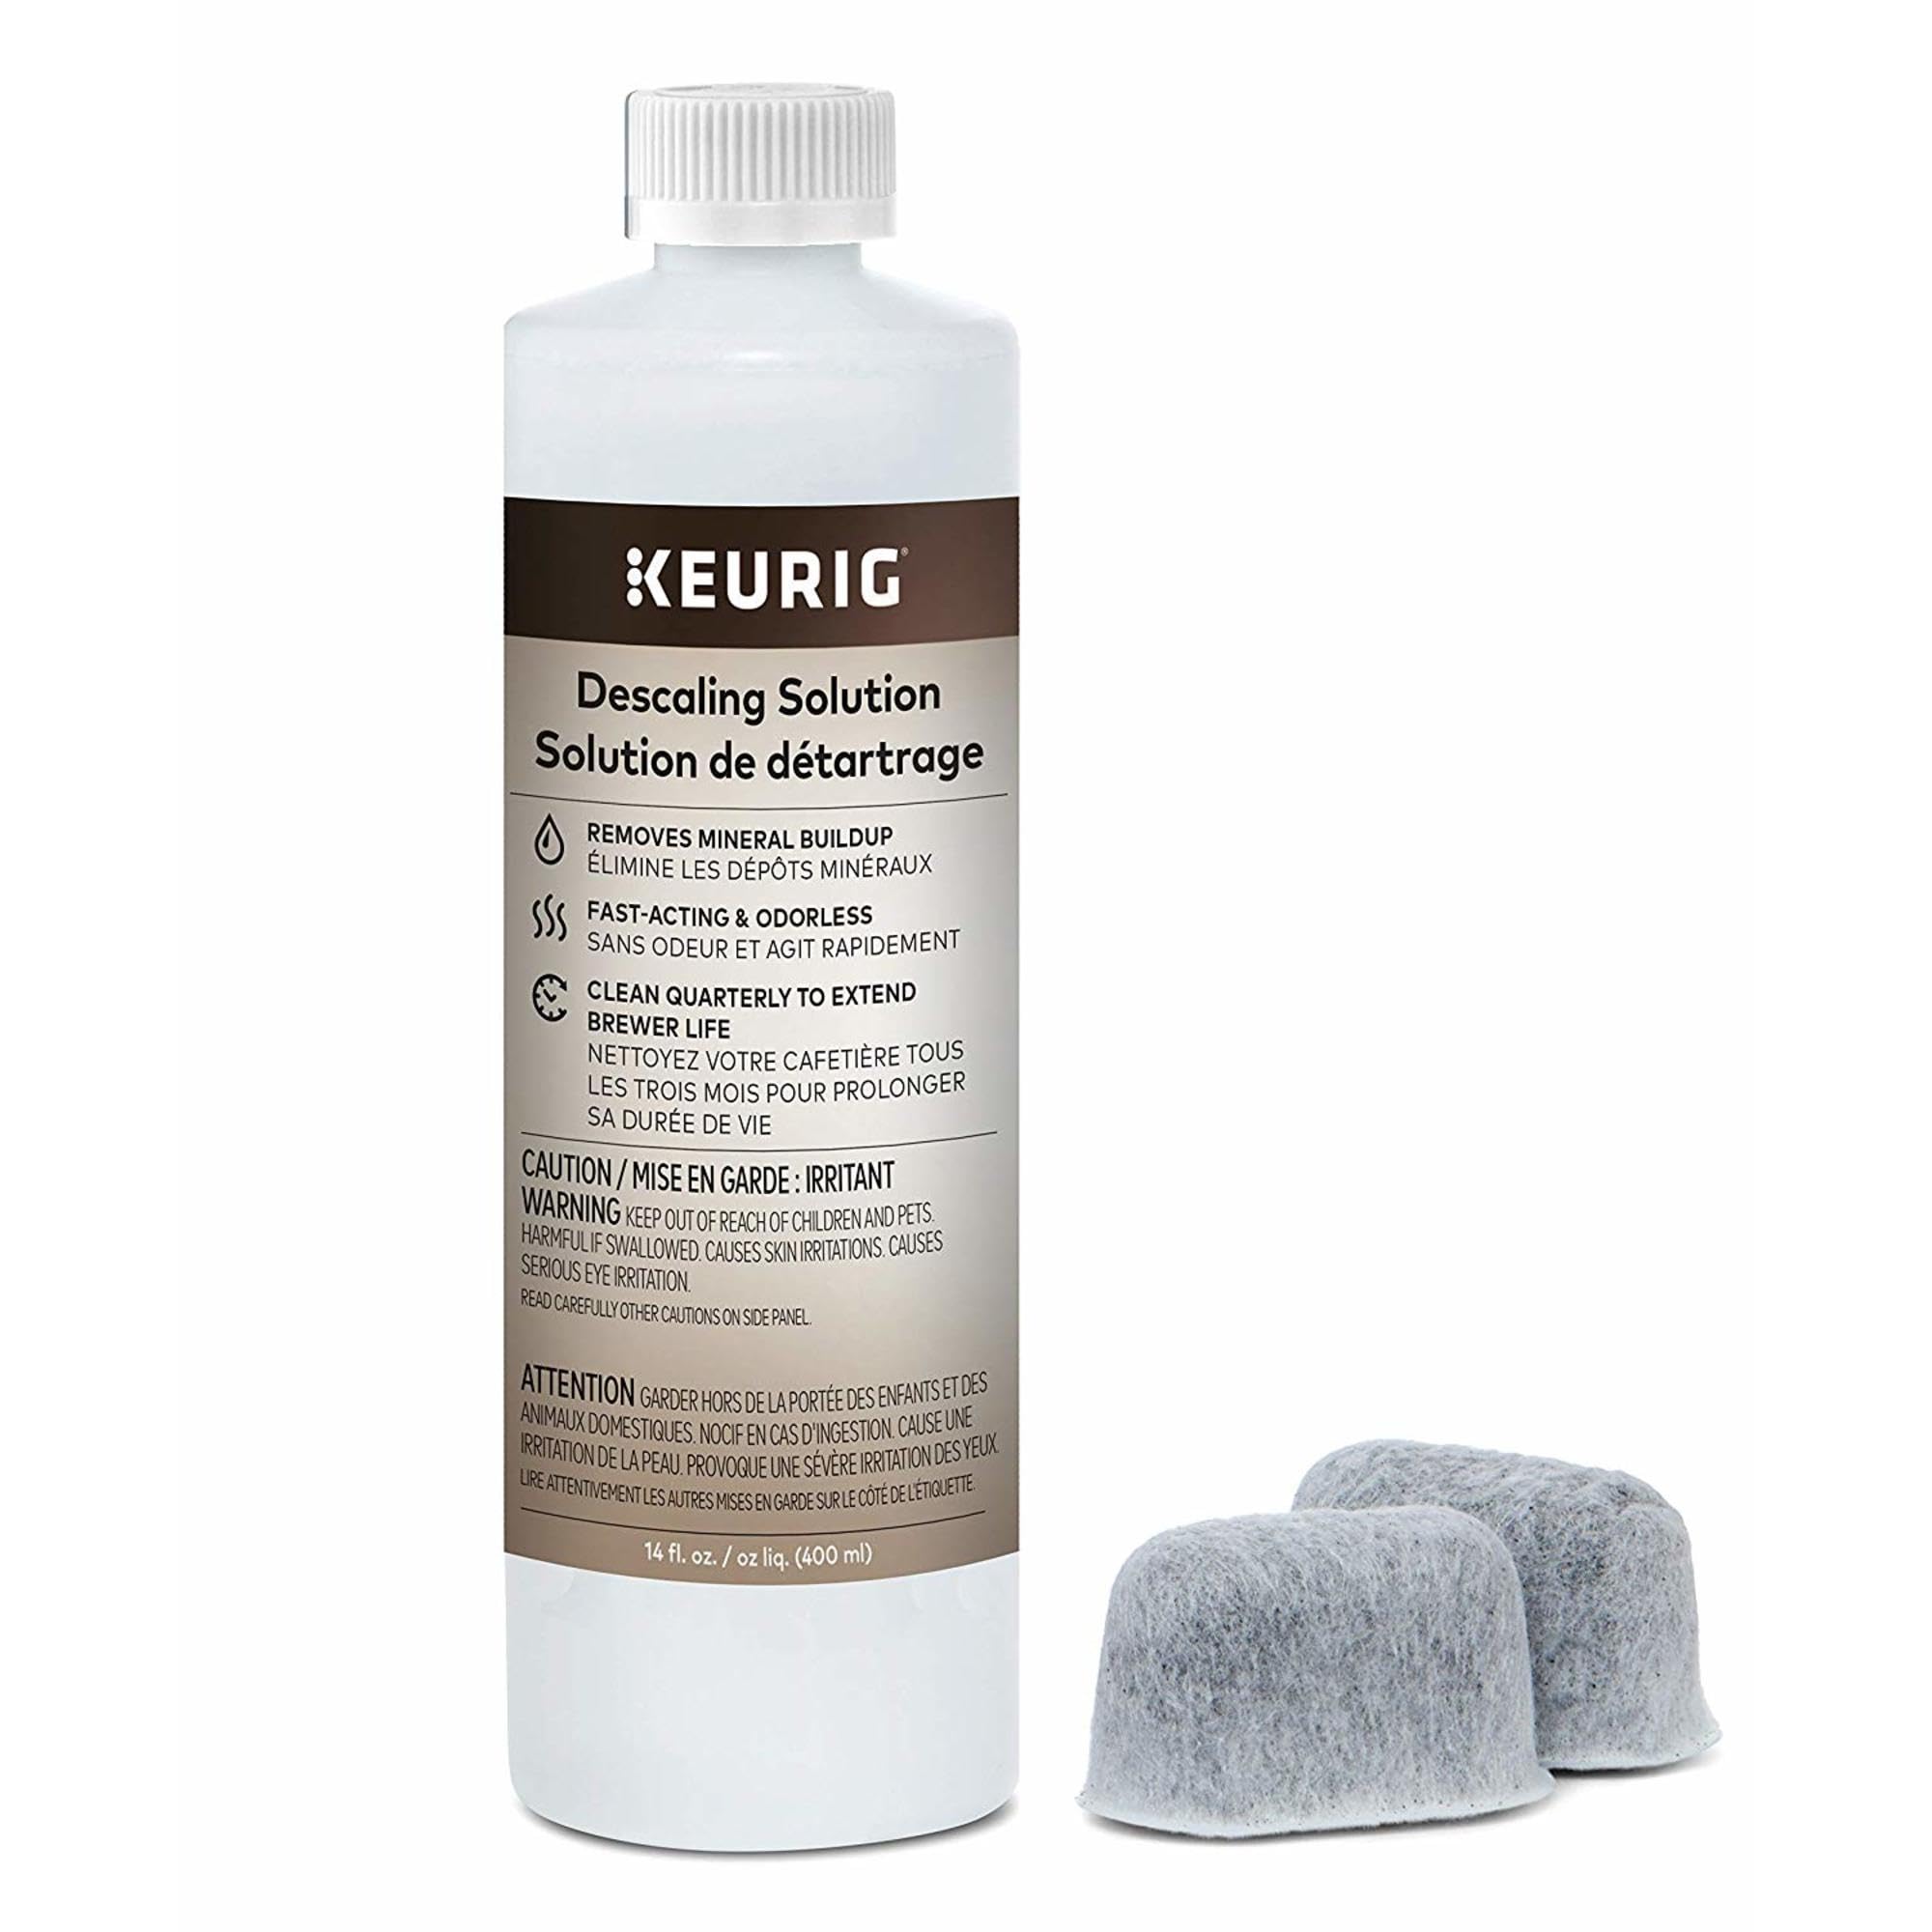
If you prefer not to use vinegar because of the smell or potential aftertaste, you can use a commercial descaler like the Keurig Descaling Solution—follow the instructions on the bottle. But white vinegar works just as well at a fraction of the cost.
💡 Tips:
- •Use distilled white vinegar with 5% acidity, which is the standard in most grocery stores.
⚠️ Warnings:
- •Do not use bleach, or other harsh chemicals—they can damage the internal tubing and leave harmful residues.
Step 4: Fill the Reservoir and Reassemble It
If you mixed in a pitcher, pour the solution into the reservoir. Then place the reservoir back onto the Keurig base, ensuring that the water inlet tube is fully inserted and the reservoir is seated properly. Give it a gentle wiggle to confirm it's secure.
The machine will not pull water if the reservoir isn't aligned, so double-check the connection. Also, ensure the lid is closed properly to avoid any spills.
Now plug your Keurig back in and turn it on. The machine will heat the water; you'll see the power button turn off when it's ready. Some models display 'Hot Water' or a similar message. Wait until the brew cycle is ready before proceeding.
💡 Tips:
- •To speed up the heating process, run a quick brew cycle with the system? Actually, just wait; it normally takes less than a minute.
Step 5: Run a Brew Cycle Without a K-Cup
Place a large mug or bowl that can hold at least 12 ounces on the drip tray. Make sure it's centered beneath the nozzle to catch the liquid. Then, lift the handle, do not insert a K-Cup, and close the handle.
Press the brew button and select the largest cup size available (usually 10 oz or 12 oz). The machine will draw the vinegar solution from the reservoir and push it through the internal lines. When the cycle is complete, the mug will contain a warm vinegar solution.
This step gets the vinegar into the internal tubing where mineral buildup accumulates. If this is your first time descaling, you might see small particles or discoloration in the output—that's normal as the scale breaks away.
💡 Tips:
- •If your model has a 'Strong' or 'Extra Bold' button, use it to run a larger cycle for better coverage.
⚠️ Warnings:
- •Never insert a K-Cup during descaling—the vinegar will degrade the coffee and plastics in the K-Cup.
Step 6: Let the Solution Sit for About 30 Minutes
After the first brew cycle, you should have run enough solution through to fill the internal lines. Now, let the vinegar solution sit in the machine for at least 30 minutes. This dwell time is what dissolves tough calcium and limescale deposits from the internal heating element and tubing.
Check the mug—it may have collected a significant amount of solution. Empty it (you can pour it down the drain) and replace it on the drip tray to catch subsequent cycles.
If you have heavy buildup, you can extend the soak time to 45 minutes, but don't exceed an hour to avoid vinegar lingering in the machine too deeply.
💡 Tips:
- •While waiting, clean the exterior of the machine and the drip tray with a damp cloth—it's a great way to stretch your time.
⚠️ Warnings:
- •Don't forget to place the mug back before you start the next cycle, or you'll have a mess.
Step 7: Run Additional Brew Cycles Until the Reservoir Is Empty
After the soaking period, you need to run several more brew cycles using the remaining vinegar solution. Continue to use the largest cup size and the same mug to catch the output. Each cycle pulls more of the solution through and helps flush away the loosened mineral scale.
Run the system repeatedly until the reservoir is completely empty. Depending on your reservoir size, this could be 3-5 additional cycles. If the machine runs dry, it will automatically stop or you'll hear a different sound. Turn off the machine immediately once it's empty to avoid air pumping.
Please do not put a K-Cup in during these cycles; you're rinsing the internal lines.
💡 Tips:
- •If you want to be thorough, alternate between a brew cycle and a rinse cycle by pressing the hot water button if your model has one.
⚠️ Warnings:
- •Some Keurig models have a 'Clean' button that cycles through a specific sequence. If yours does, use that feature; otherwise, the standard brew cycles are fine.
Step 8: Rinse the Reservoir Thoroughly
Once the reservoir is empty, remove it from the Keurig and pour out any remaining drops. Rinse the reservoir thoroughly under running warm water to remove all vinegar traces. If your reservoir has a filter, leave it aside for now.
To get rid of any lingering vinegar odor, wipe the inside with a damp cloth. You can also add a drop of dish soap to the water, but make sure to rinse it completely—soapy residue can cause foam in the machine.
Dry the reservoir completely before refilling with water.
💡 Tips:
- •Use filtered water for the final rinse to avoid introducing new minerals.
⚠️ Warnings:
- •Don't use soap on the inside of the reservoir unless you're prepared to rinse very thoroughly—leftover soap may foam in the machine.
Step 9: Run Fresh Water Brew Cycles to Flush the System
Fill the clean reservoir with fresh water to the maximum fill line and put it back. Run brew cycles without a K-Cup to flush out any remaining vinegar from the internal lines. Repeat until you've used at least 3 full reservoirs of water, or until you no longer smell vinegar in the output.
We recommend running 5 to 6 large cups of fresh water through the system. It's tempting to skip this step, but if you don't, your coffee will taste like vinegar. This is the most important step for ensuring great taste.
Check the water level each time and be ready to refill as needed. Use a cup that matches the size of the water you're pushing through to track how much you've used.
💡 Tips:
- •To test if the vinegar is gone, brew a cup of water and taste it after it cools—if it tastes tinny or sour, keep flushing.
⚠️ Warnings:
- •If your machine has a water filter, keep it out during this step to prevent the filter from absorbing vinegar. Install it only after the final rinse.
Step 10: Clean the Exit Needle and Pod Holder Components
Mineral scale and coffee grounds can clog the exit needle (the part that pierces the K-Cup). This is a common source of slow brewing and weak coffee. To clean it, turn off and unplug the Keurig. Then remove the K-Cup holder and inspect the needle.
Use a paperclip or a specialized Keurig needle cleaning tool to gently insert into the needle hole and break up any debris. Do this carefully—there will be a few drops of water and perhaps some grounds. Also check the entry needle in the top of the machine under the lid.
Clean the K-Cup holder in the sink with warm soapy water and dry it completely before reassembly. This step not only improves performance but also prevents future clogs.
💡 Tips:
- •You can also soak the K-Cup holder in a bowl of vinegar solution for a few minutes to dissolve buildup.
⚠️ Warnings:
- •Unplug the machine and wait for it to cool down to avoid burns. Never use excessive force on the needle—it's sharp and the nozzle is small.
Step 11: Wipe Down the Exterior and Reassemble Removable Parts
With the descaling and flushing complete, take a clean, damp cloth and wipe down the outer shell, the drip tray, and the outside of the reservoir. If your drip tray is dishwasher-safe, you can put it in the dishwasher. Otherwise, wash it with soap and water.
Reinstall the K-Cup holder, exit needle area, and drip tray. Make sure everything is snug and aligned. If you removed the water filter, now is the time to reinstall it. If your filter was waiting in a bowl, rinse it in water before placement.
Your Keurig should look and smell fresh—ready for your next brew.
💡 Tips:
- •To keep the exterior looking new, use a slightly damp microfiber cloth and a bit of stainless steel cleaner if you have a metal model.
⚠️ Warnings:
- •Avoid putting the base unit in water or using abrasive cleaners that could scratch the surface.
Step 12: Run a Final Test Brew and Confirm No Vinegar Taste
You've finished descaling, but before brewing coffee, run one last cycle with just water (and the filter in place) to confirm the aftertaste is gone. If you have a water filter, the first cup might have a slight charcoal taste—flush with one or two extra cycles to clear it.
Once satisfied, brew a cup of your favorite coffee. If it tastes clean and like your normal coffee, the descaling was successful. Mark your calendar for the next descale (about 3-6 months, depending on your water hardness and usage).
Many Keurig models remind you when it's time to descale by showing a red 'Descale' light. Pay attention to it and run the cleaning process promptly.
💡 Tips:
- •Note the date of descaling in a maintenance log or set a reminder on your phone.
⚠️ Warnings:
- •If you still get a hint of vinegar, don't brew coffee—run more fresh water cycles. Coffee with vinegar is unpleasant and you'll waste a K-Cup.
▸Pro Tips
- •Use distilled white vinegar (5% acidity) for the best balance of cleaning power and low odor.
- •Remove the water filter before descaling to avoid absorbing vinegar and reducing its effectiveness.
- •After descaling, the first few cups might taste slightly different—run an extra rinse cycle if needed.
- •If your Keurig has a 'Clean' button, follow the machine's specific cleaning mode—it may automate the on/off cycles.
- •Mark the descaling date on your calendar or use the Keurig's built-in reminder to keep on schedule.
- •For heavy limescale, let the vinegar solution soak for 45 minutes instead of 30.
- •Use filtered water in your reservoir to reduce the frequency of descaling in hard-water areas.
▸Common Mistakes to Avoid
- •Using the wrong ratio (too much vinegar) can leave a strong aftertaste that takes extra cycles to remove.
- •Forgetting to remove the water filter before descaling, causing the filter to soak in vinegar and potentially shed allergens or taste.
- •Running a brew with a K-Cup inserted during descaling—ruins the coffee and could leave vinegar in the pod system.
- •Not waiting the necessary 30 minutes—the vinegar needs time to dissolve scale.
- •Skipping the fresh water rinse—vinegar residue will ruin your morning brew.
▸Troubleshooting
Problem: Keurig is still smelling like vinegar after descaling.
Solution: Run 2-3 more full cycles of fresh water through the machine.
Problem: The water flow is still slow after descaling.
Solution: Check the exit and entry needle for clogs and repeat descaling if necessary; if persists, contact Keurig support.
Problem: The 'Descale' light doesn't turn off.
Solution: Some Keurig models require you to press and hold the 'Descale' button for a few seconds after cleaning, check the manual.
Problem: The machine is not turning on after descaling.
Solution: Make sure the reservoir is properly seated and the plug is secure; contact support if necessary.
Problem: There is foam or bubbling during descaling.
Solution: If you used dish soap by accident, flush more; normally vinegar causes mild fizzing, that's fine.
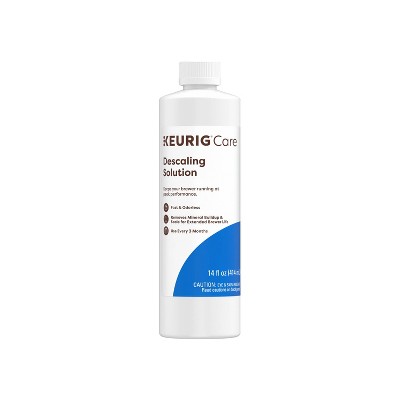
Keurig Descaling Solution (16 oz)
Official solution formulated for Keurig machines, removes tough scale without the vinegar smell and is safe for all internal parts.
Best for: When you prefer a no-mess, factory-recommended cleaner for fast descaling.
Price Range: $15-$20
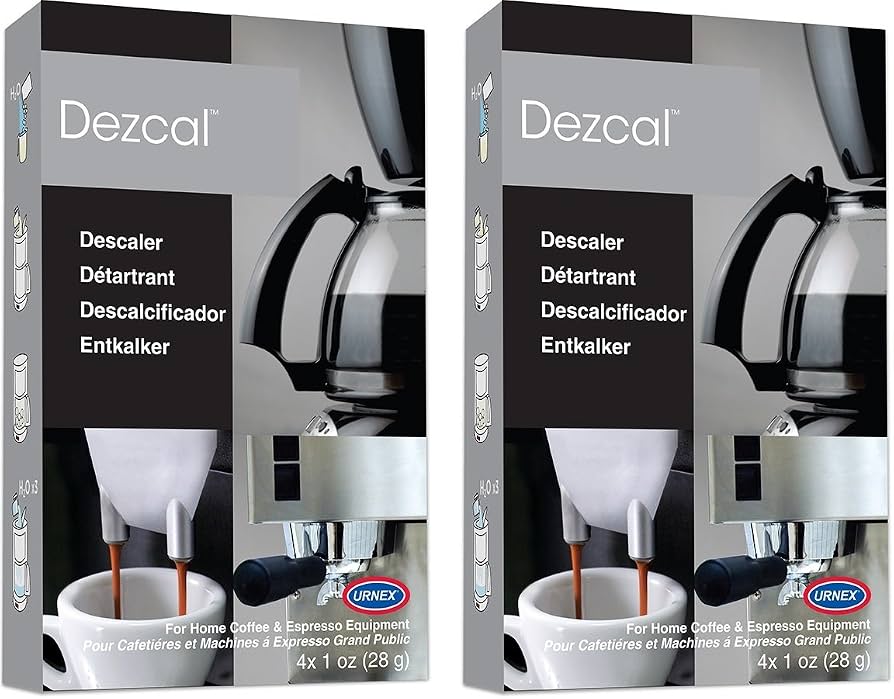
Urnex Dezcal Coffee and Espresso Machine Descaler
A popular descaler that works on many coffee makers, effective against hard water scale with fast action.
Best for: If you have multiple coffee makers or want a bulk packet for a thorough cleaning.
Price Range: $10-$15
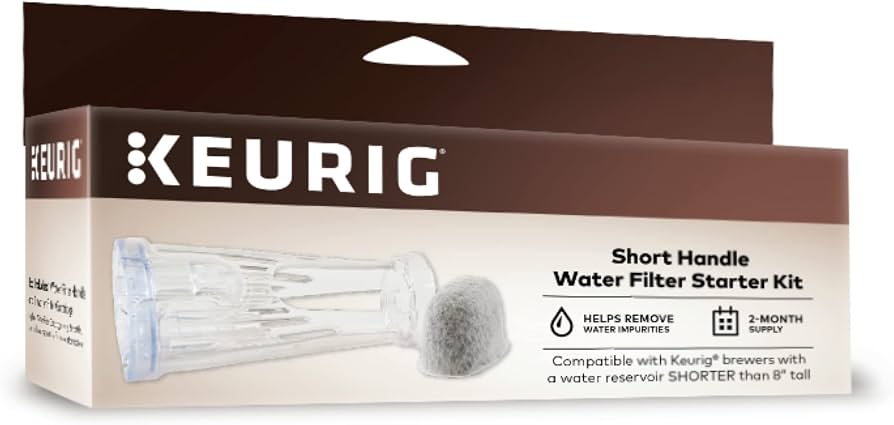
Keurig Water Filter Starter Kit
Reduces mineral buildup in the reservoir, improving water quality and decreasing the frequency of descaling.
Best for: Use with every tank refill; replace every 2 months or 60 tanks to maintain peak filtration.
Price Range: $10-$20
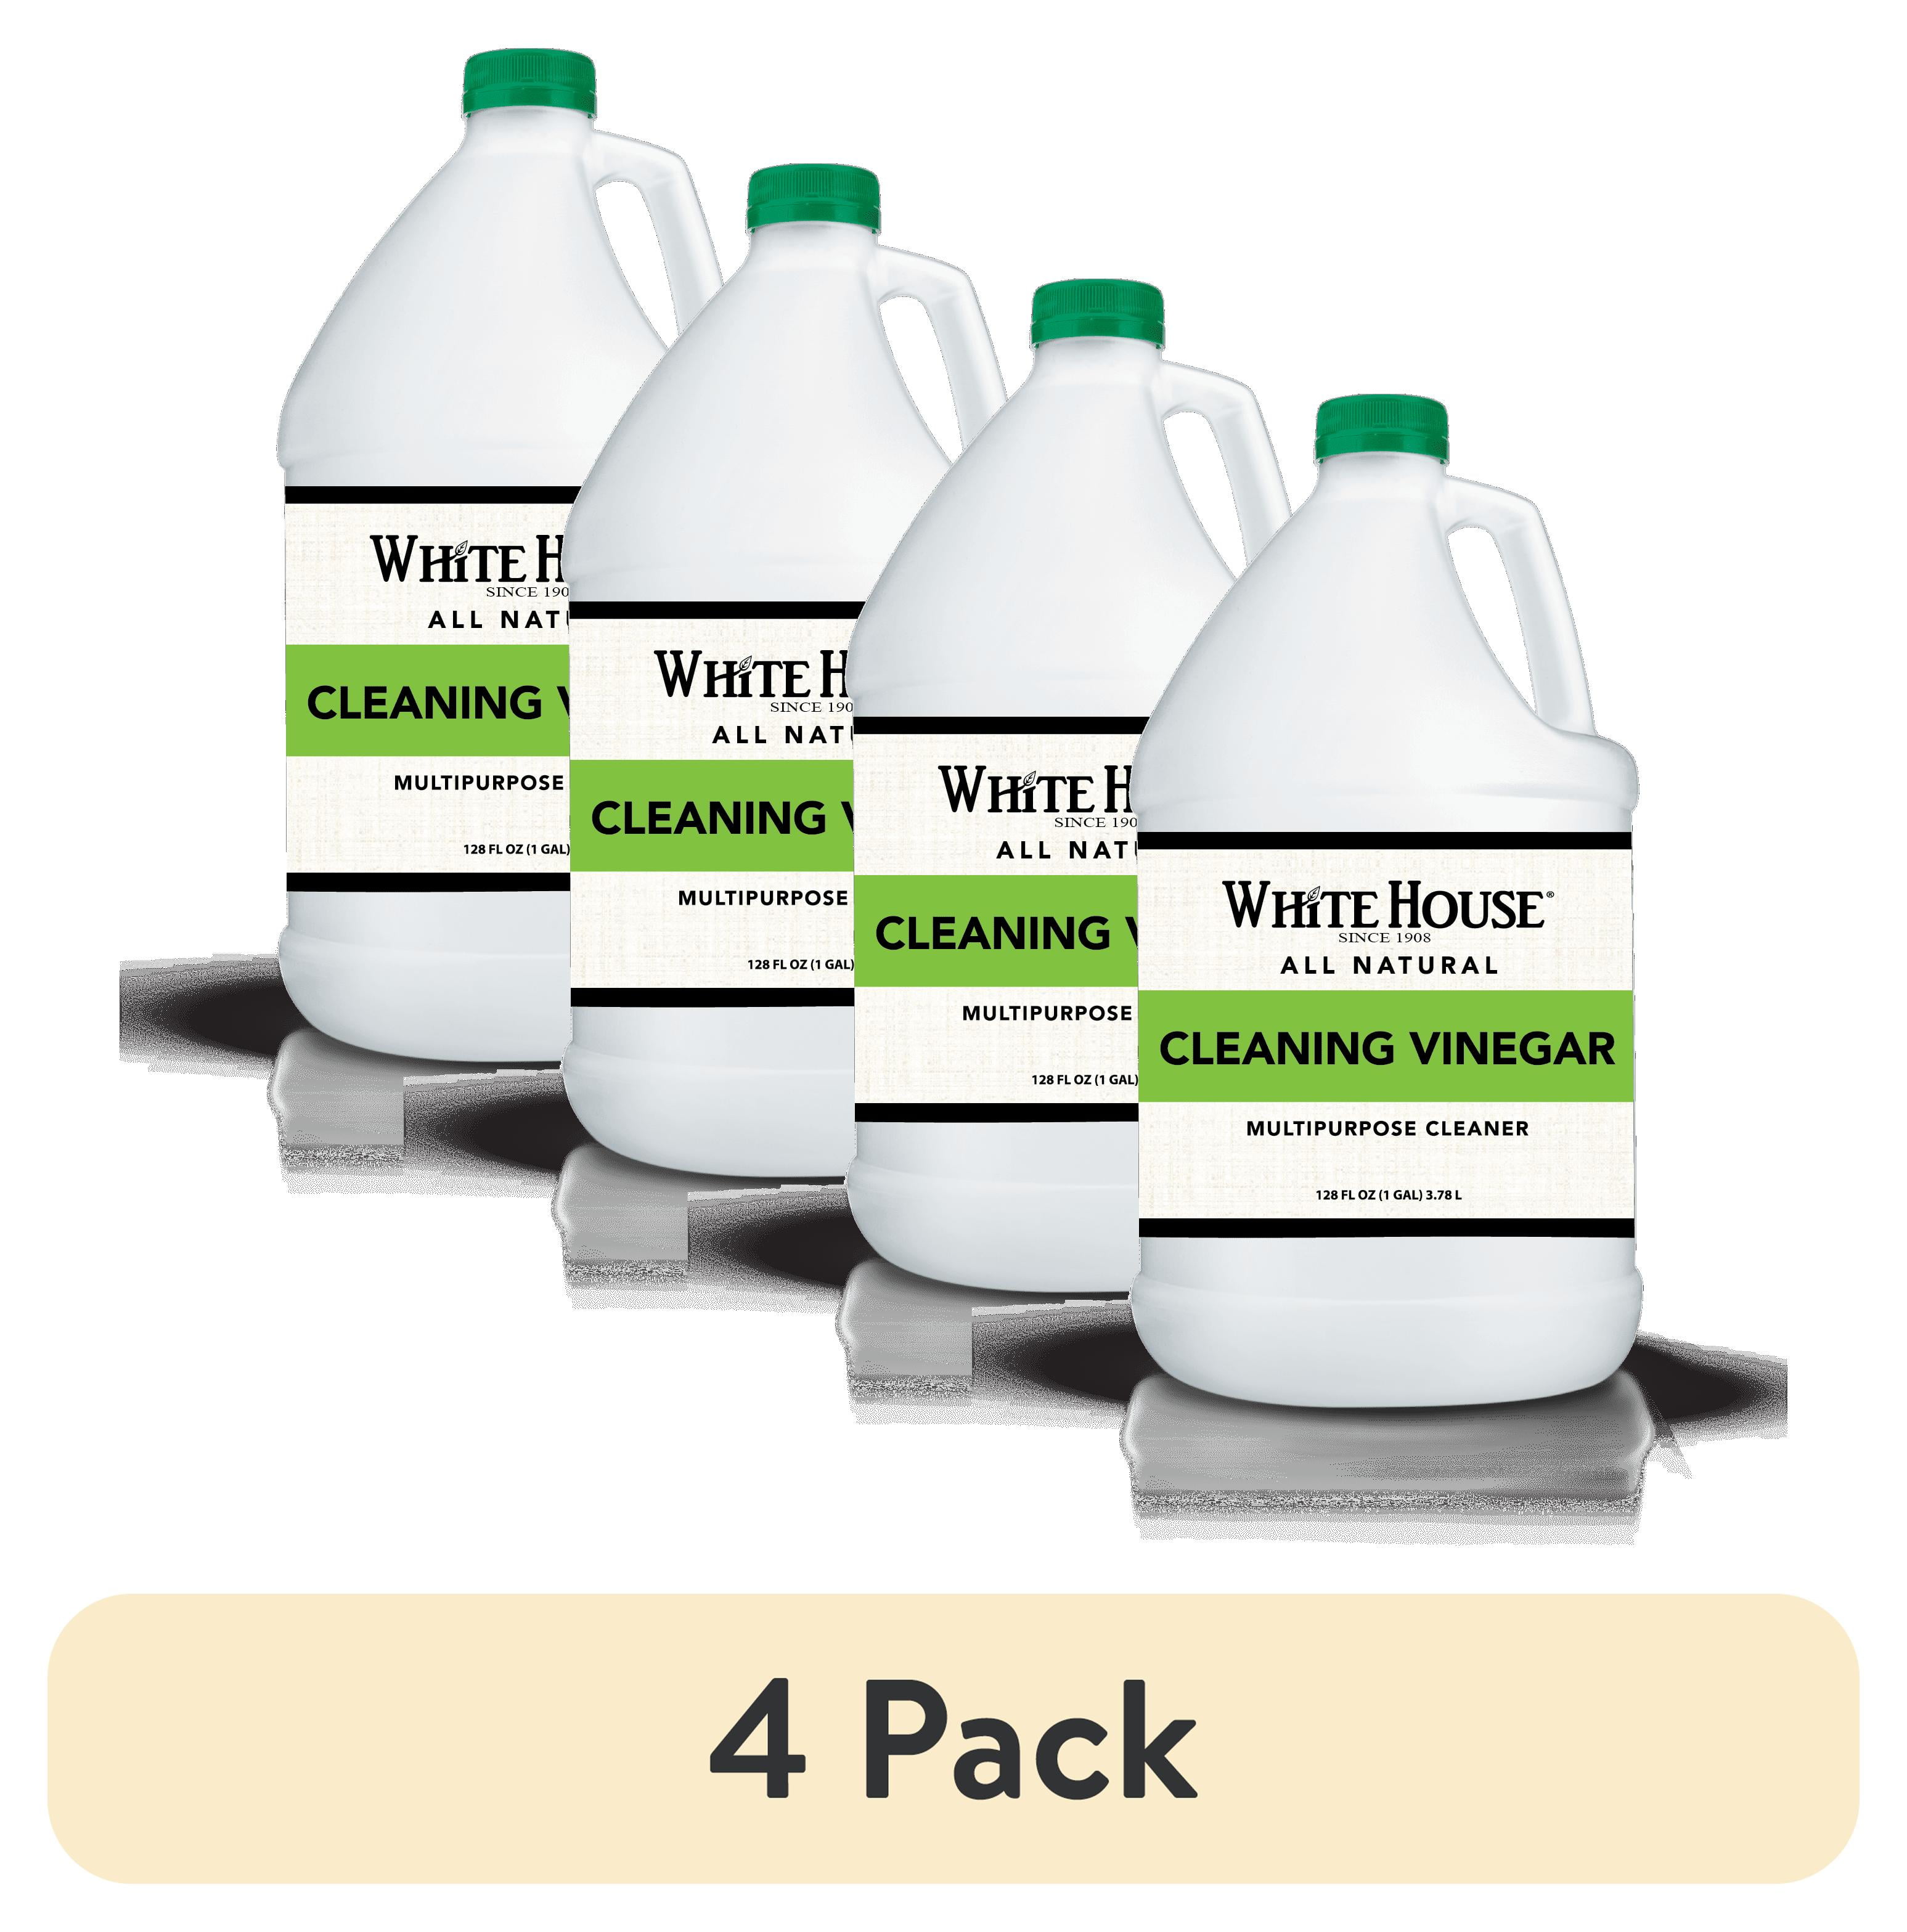
White Vinegar (cleaning pack)
Highly affordable and natural descaling agent; perfect for regular maintenance without special chemicals.
Best for: For budget-conscious users who want a simple, effective solution you might already have in your pantry.
Price Range: $5-$15 per gallon
Keurig Descaling Kit with Cleaning Tools
All-in-one kit that includes descaler, filter cartridges, and a needle brush for a comprehensive maintenance routine.
Best for: When you want everything needed for descaling and needle cleaning in one convenient package.
Price Range: $15-$25